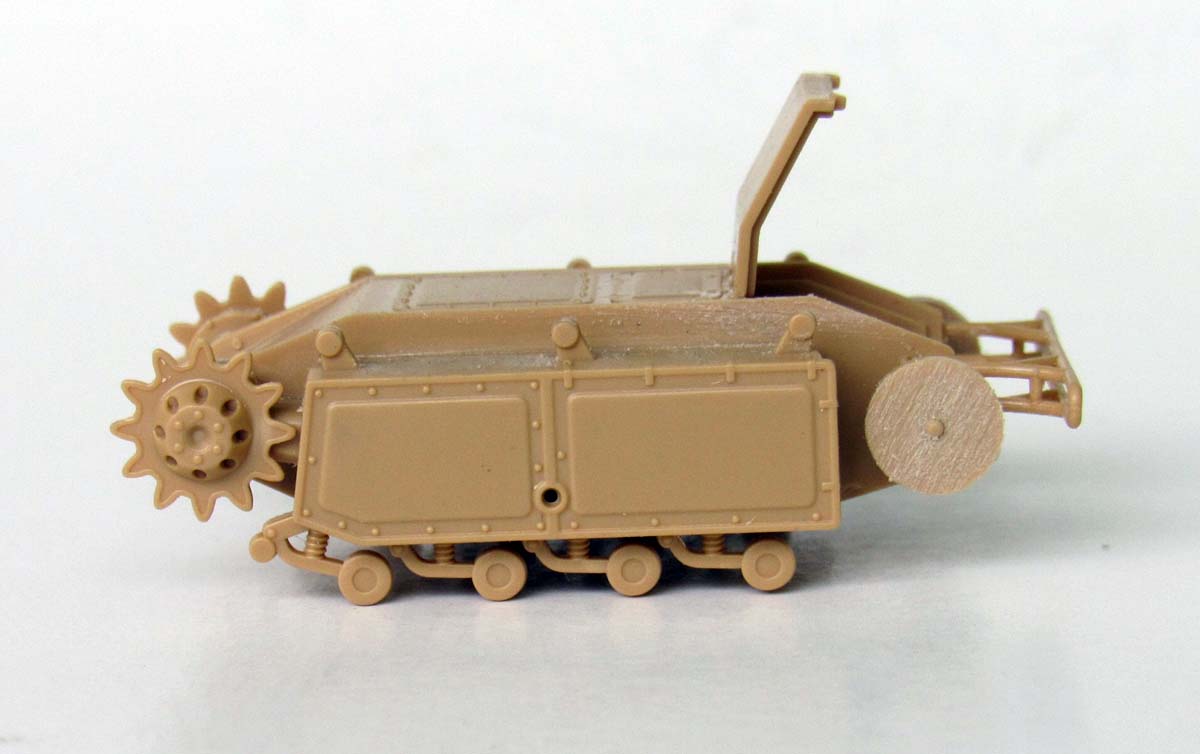
The Goliath was developed in the early 1940s. The initial version, SdKfz 302, was powered by twin electric motors and could carry a charge of 130 lbs. with an overall weight of about 800 lbs. It was steered remotely by a joystick control box, connected to the Goliath by a triple strand cable. One wire controlled right/left turns, one for forward/reverse and the third was for detonating the explosive charge. The Goliath had a range of .93 miles on roads and .49 cross country. Used mainly by specialized Panzer and combat engineer units, the Goliath was first used in early 1942 and appeared on all fronts where the Wehrmacht fought. The armor was only 6mm on the front and the sides and rear were extremely vulnerable to small arms fire. The electric version proved to be expensive and a newer version, model 303, with a small petrol engine was introduced in 1943. The 303 held a bigger charge (165lbs.) was cheaper and easier to maintain. A total of over 7000 Goliaths were produced during the war.
Contents
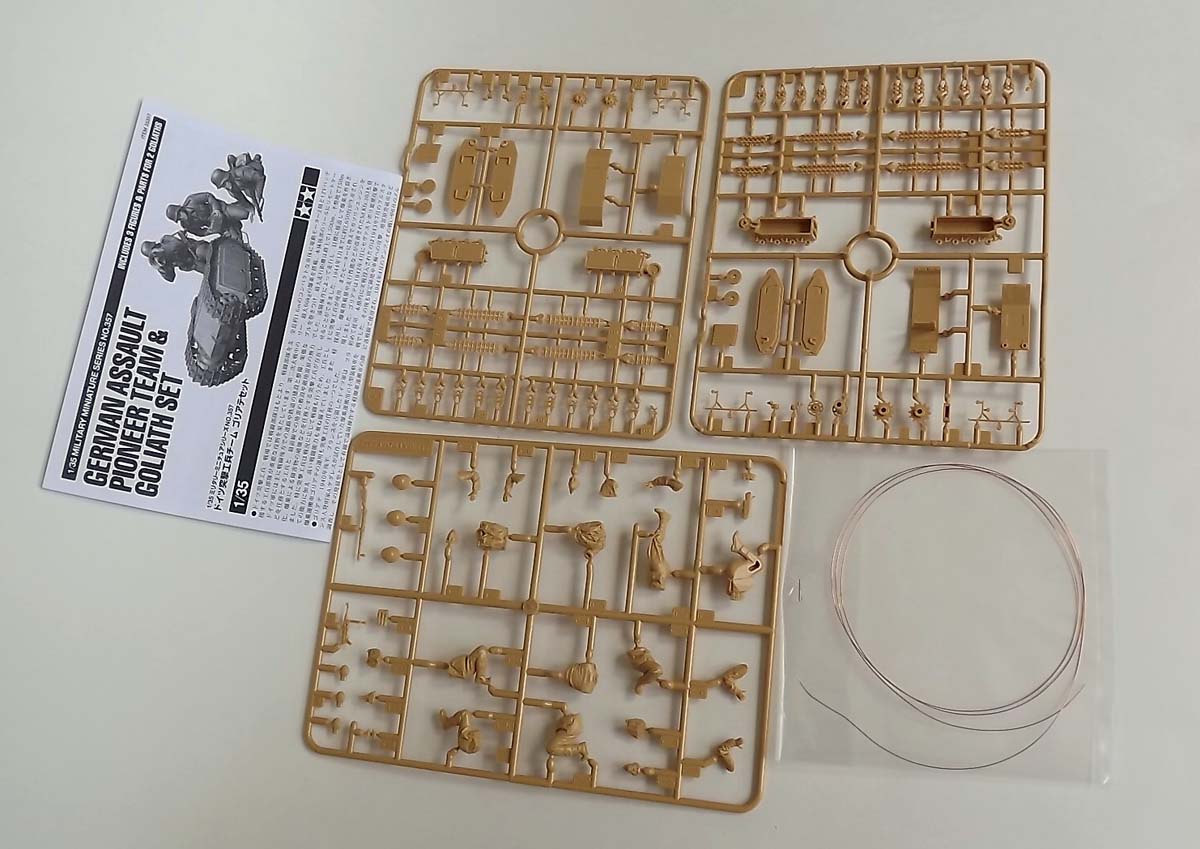
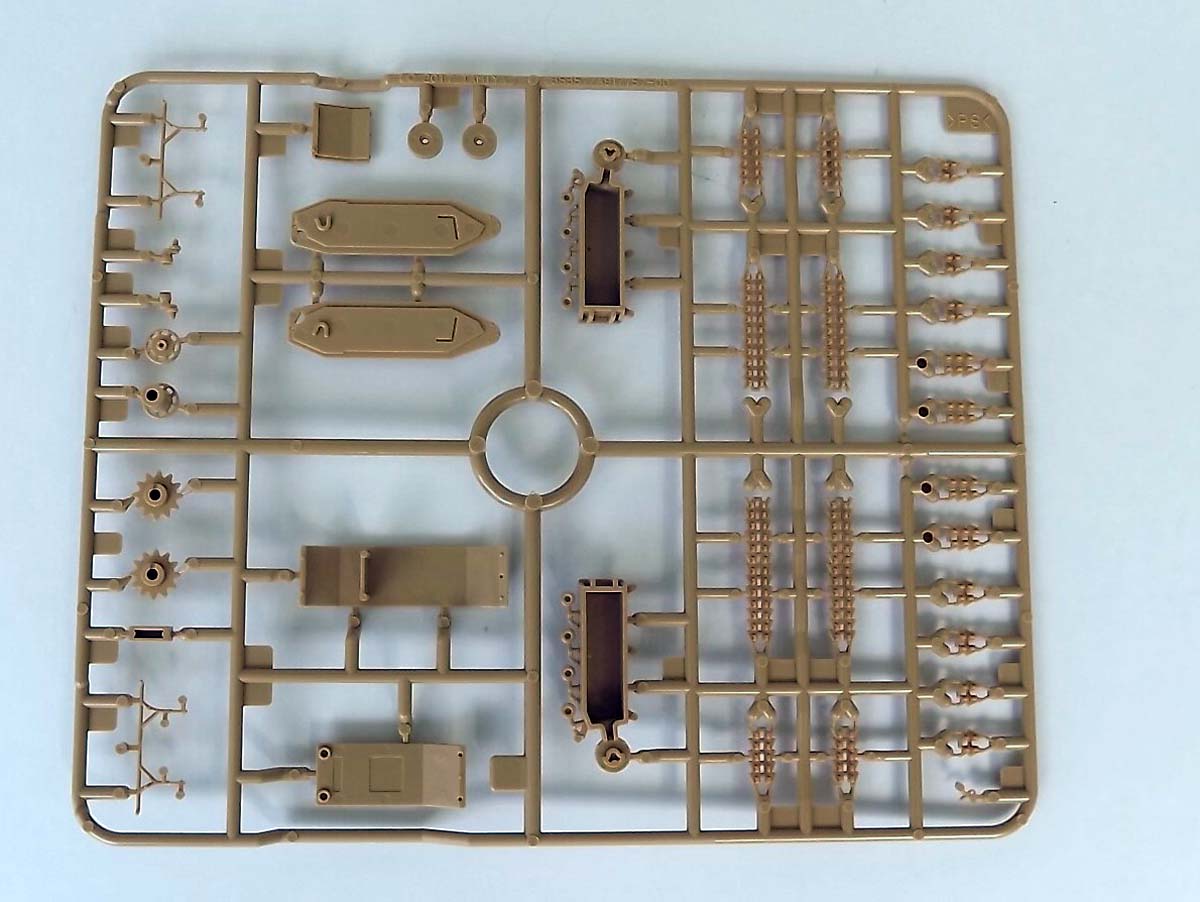
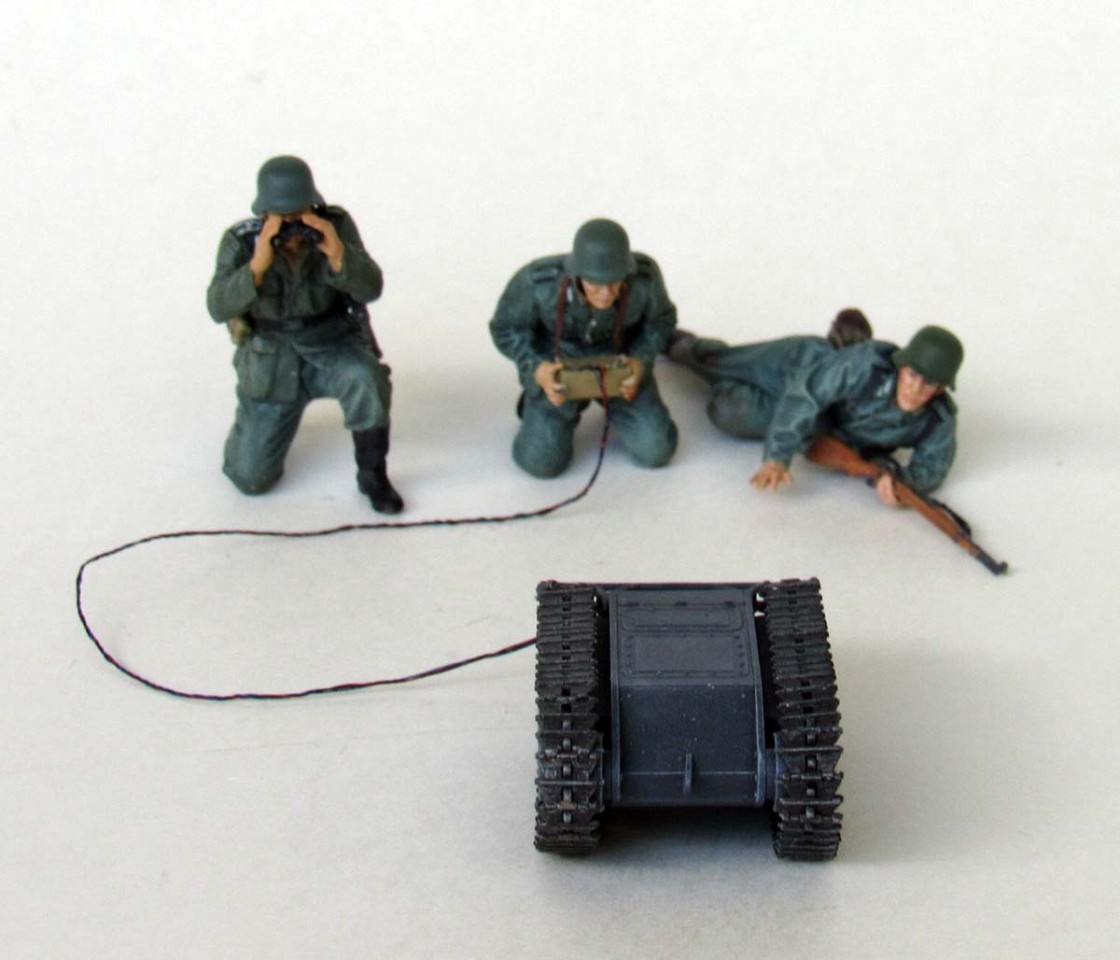
The kit comes in Tamiyas usual open top box. The cover shows the Goliath and support crew, operator, spotter and guard. Inside there are two sprues for 2 Goliaths and 1 sprue for the figures. The Goliaths are the SdKfz 302 electric version which was the lesser made version. You also get a strand copper wire for the control boxes, but as I mentioned earlier, the Goliath was controlled by a triple strand wire. A single page, double sided instruction sheet is well done, providing good clear diagrams for building. No decals are provided
The Build
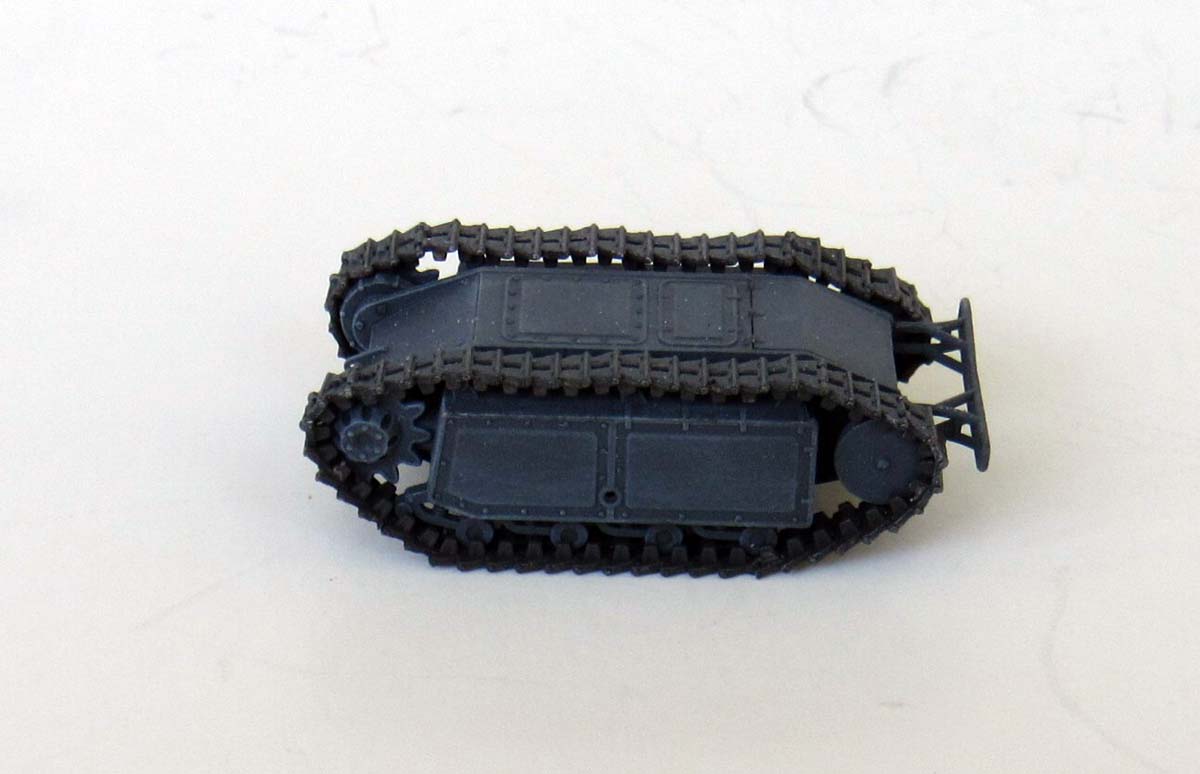
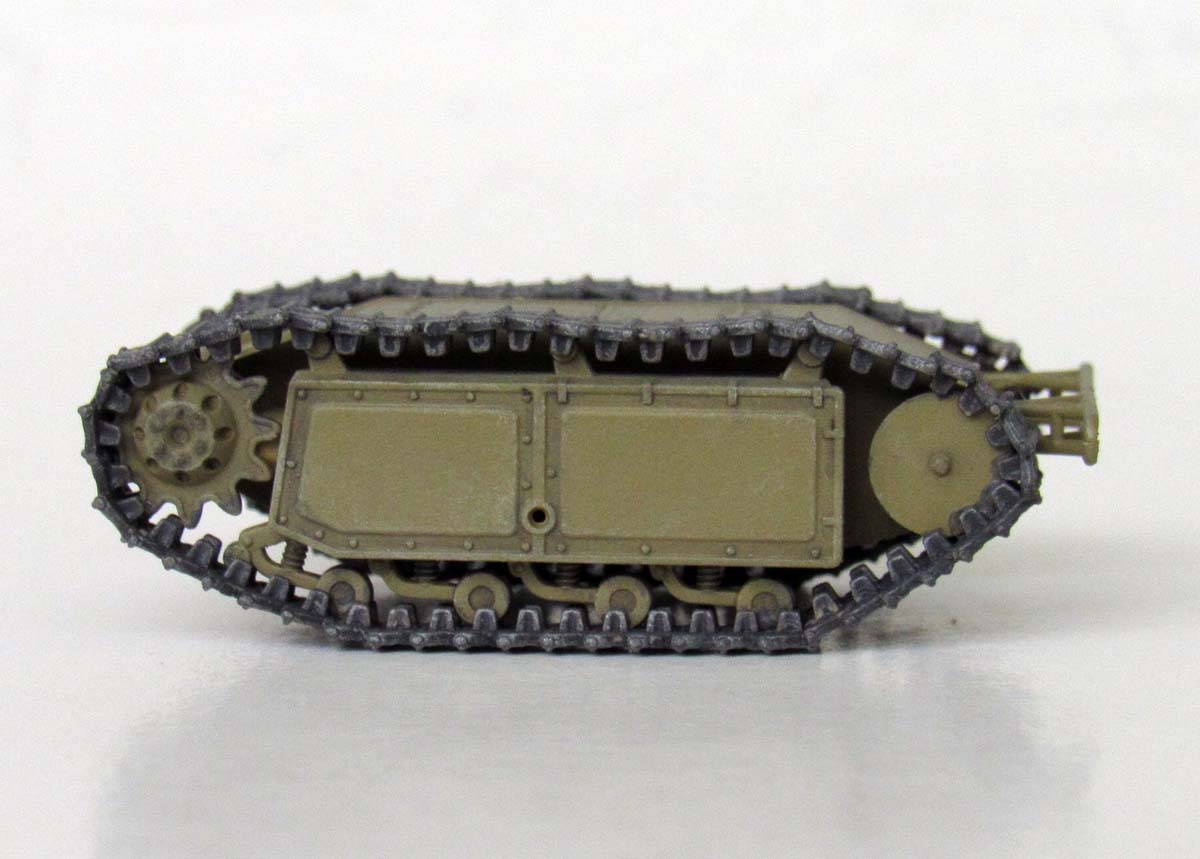
The first eight steps are for the Goliath. Steps 1,2,3 are the hull construction. The body is in 6 parts. Top, bottom, hull sides, the side boxes that contain the batteries and the road wheels. The front drive sprockets and rear idler wheels go on next. Step 4 is the tracks. These are link and length with 10 pieces making up each side. These are fiddly to say the least and you really need to take your time with them. When I did the first Goliath (remember, you get 2!) I didnt get them lined up very well. On the second one, it went much better. Step 5 is the spool that holds the wire. Once you put the cover on the Goliath, it wont be seen. Here is where you also attach the 1 piece copper wire. As mentioned in the beginning, the Goliath was controlled by a three strand twisted wire. I chose to replicate this by taking three very thin wires (painted red, blue and black) and twisting them together. These were then wrapped around the spool in the back and fed out thru the rear bumper and attached to the control box.
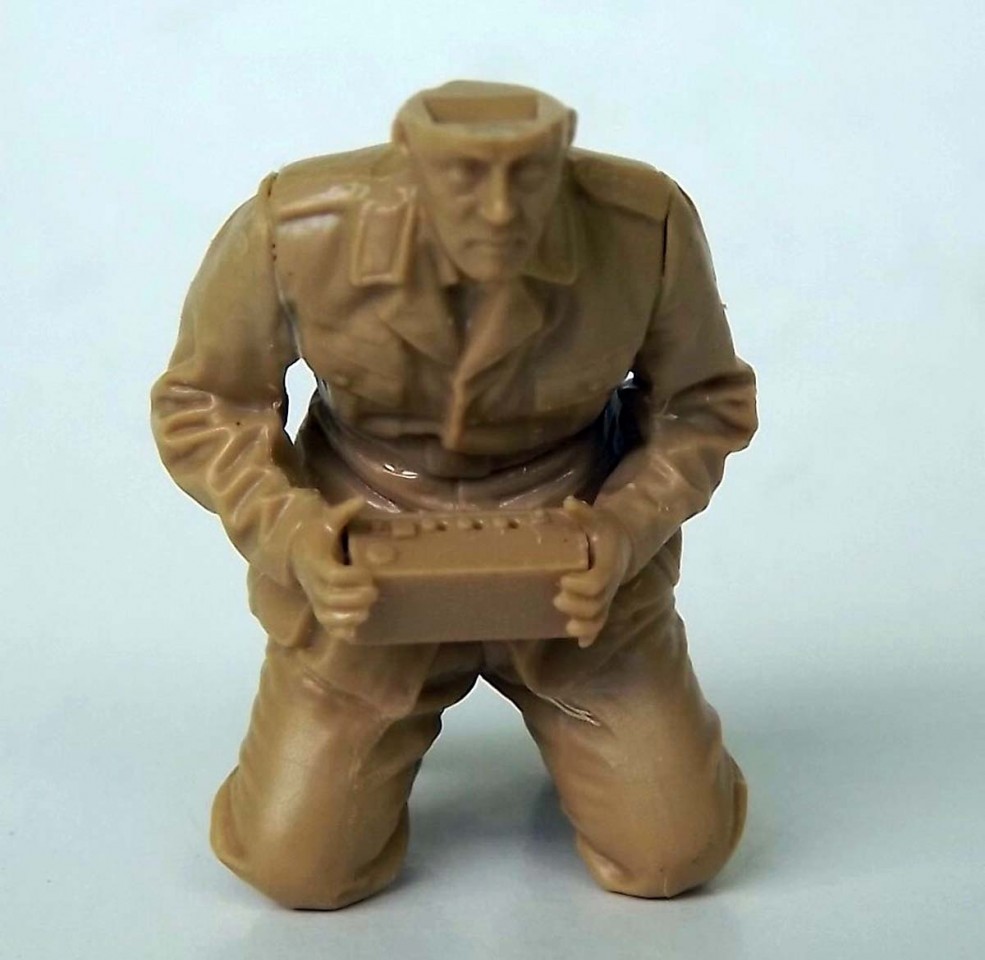
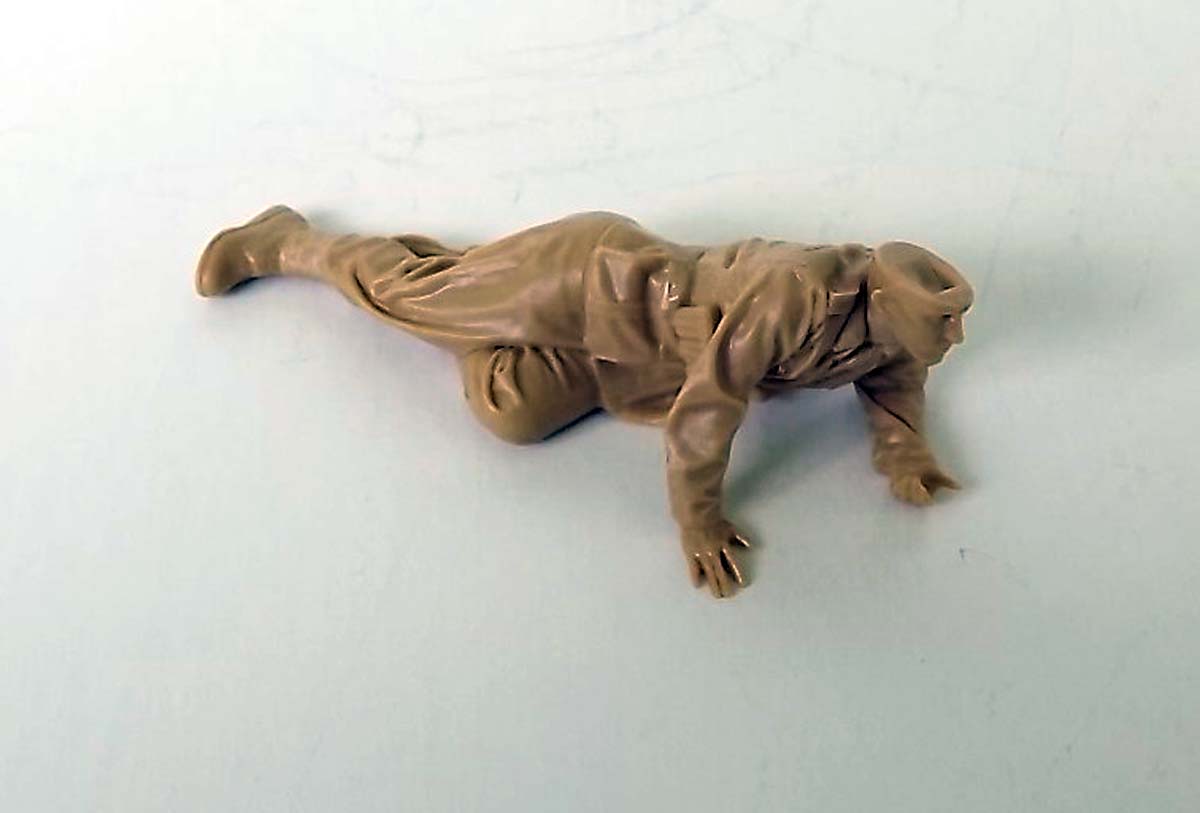
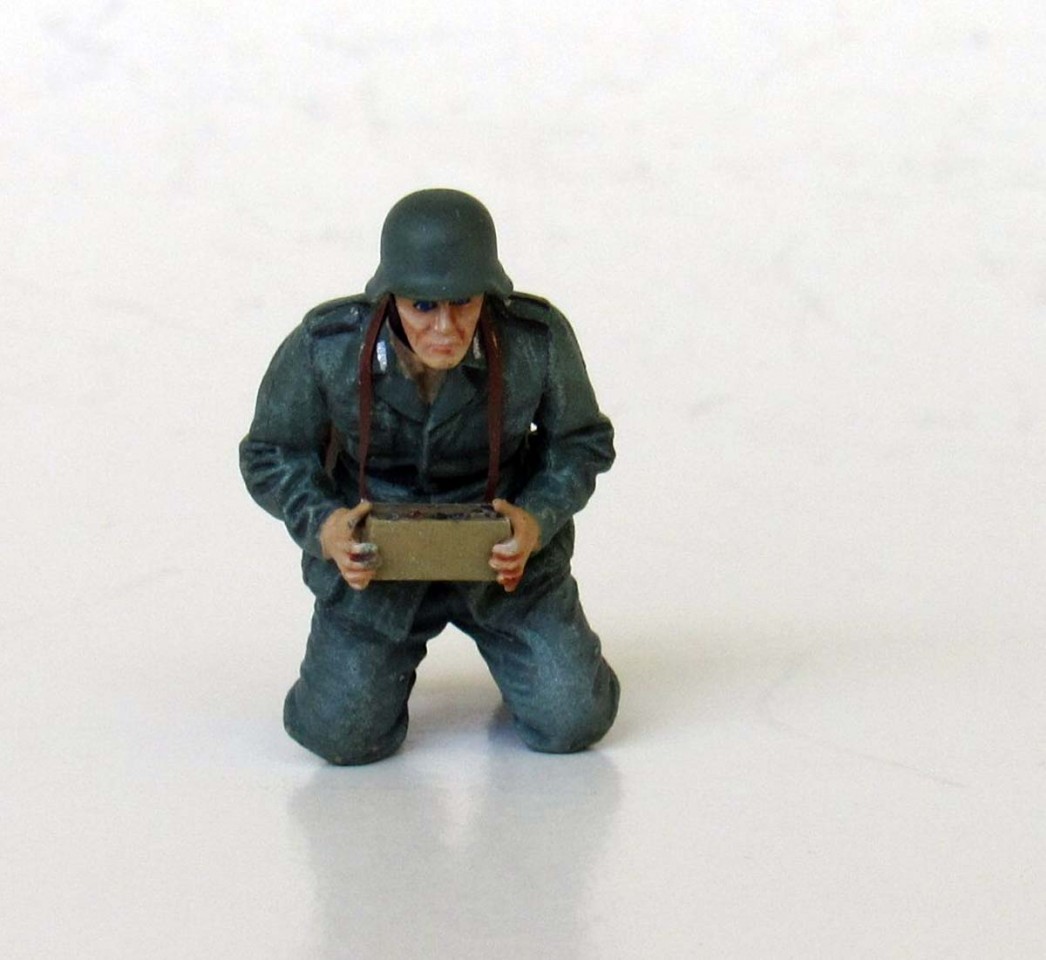
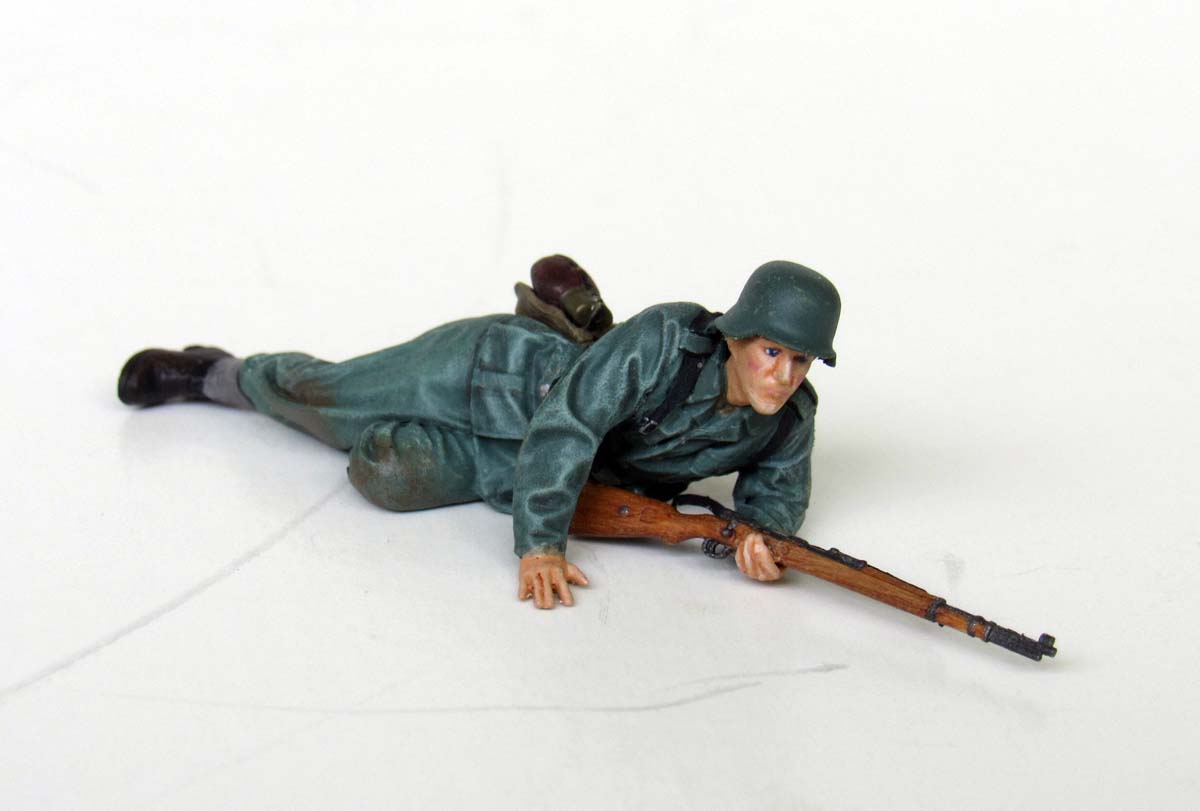
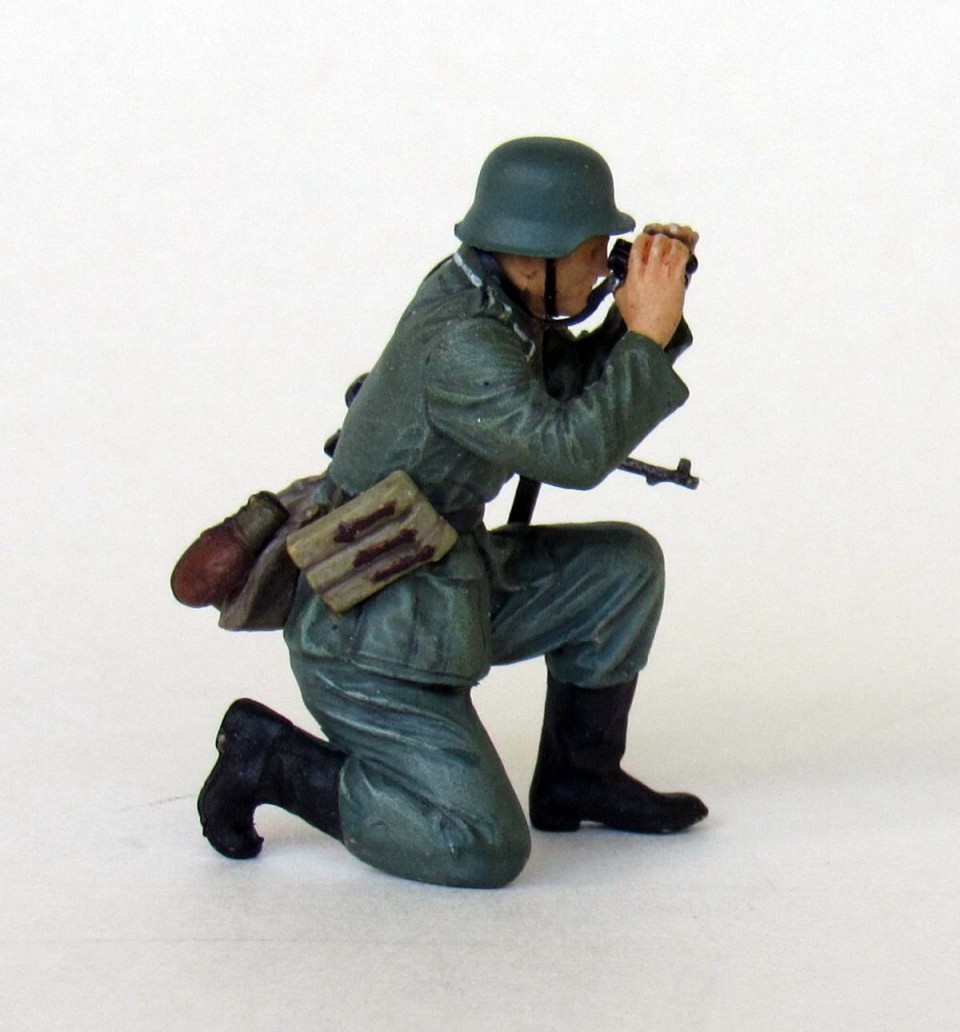
Step 8 is the figures and here Tamiya really steps up to the plate. The detail is amazing for injection molded figures and the fit is great. Only a little putty was needed on one figures arm. The extended hand on the reclining figure is excellent! Individual fingers (not just blobs like the old Tamiya figures) rival the resin figures out there today. The figures are dressed in 1943 uniforms, with the operator and reclining figure wearing gaiters and the Feldwebel wearing full boots. The uniforms are good (for injection molding) with crisp folds and hang properly. I did hollow out the sleeves a little. Each figure comes with ration bag, canteen and helmet. And finally, someone got it right! The ration bags are not just flat and empty, but appear to be full! They have some bulk to them. Other than replacing the control wire, I also made straps for the weapons, binoculars and control box. None of the figures have any detail on the bottom of their boots.
SUMMARY
Highs: Easy to build, figure details are a step above regular injection molding. You get 2 SdKfz 302s.Lows: Single strand wire instead of 3 strand wire, no detail on the bottom of the boots.Verdict: This is a nice little kit that builds into a small vignette or lends itself to a bigger diorama. Overall detail is good and it was a fun build. I want to thank Armorama for providing the kit.
Our Thanks to Tamiya USA! This item was provided by them for the purpose of having it reviewed on this KitMaker Network site. If you would like your kit, book, or product reviewed, please contact us.
About Jesse (oldbean) FROM: VIRGINIA, UNITED STATES
I am 58, married for 36 yrs to a wonderful woman, 3 great kids and 2 wonderful grand kids. I started building when I was 6 and have been at it ever since. For pleasure I build armour (all types, but mostly german) and figures, but I have done ships and aircraft on commission. I also teach karate ...
Thanks for the review Jesse! I've only begun painting figures (a grand total of 5!) and don't normally do small vehicles. This makes me want to try my hand with something new!
Hi Nigel,
It's a pretty simple build and looks great when finished. Just watch the link and length tracks, they can be a bit fiddely. Take your time with them and they turn out fine.
Jesse


Comments