A little History
The
Nashorn (pronounced Nahz horn, the German word rhino) was a development of the earlier
Hornisse, and later became the basis from which the Hummel was derived. It was comprised of components from both the Pz. III and Pz. IV platforms, with the engine, fuel pump, driving and steering mechanism from the PzKpfw. III Ausf. J, and the suspension components from the PzKpfw. IV Ausf. F. The
Nashorn was armed with the powerful 88mm Pak 43/1 L/71 anti-tank gun, only modified to fit into an armored vehicle. It was almost identical in appearance to the earlier
Hornisse, the only difference being a different drivers front plate and a differing gun version.
Only 474
Nashorn were produced from February, 1943 to March, 1945. It was designed by Alkett and produced by Deutsche Eisenwerke in Tieplitz-Schonau. The
Nashorn saw its debut in combat during the Kursk offensive (Operation Citadel) with the 560th
sPzJagAbt and 655th
sPzJagAbt. It also saw service with 525th
sPzJagAbt in Italy. Even with its limited armor protection and high silhouette, the
Nashorn proved to be a successful tank destroyer. One of the most notable
Nashorn aces was Junior Lieutenant Albert Ernst of the 519th
sPzJagAbt: on December 23, 1943, he destroyed 14 Soviets tanks all while only using 21 rounds of ammunition. In January of 1944, he was awarded the Knights Cross for his actions.
The
Nashorn was eventually replaced by newer and more-deadly generations of tank destroyers such as the
Jagdpanzer IV and
Jagdpanther, but continued to soldier on to the end of the war.
The kit
I have never built a
Nashorn kit by any manufacturer, and welcomed the chance to give this particular one the once-over. I am very happy I did. Ted Hayward did an inbox review
here. Ted commented on the lack of ejection marks, which is true, but there are a lot of little attachment points that need trimming and removing during the build if parts are to fit correctly. Not a game-ender by any means, but worth mentioning.
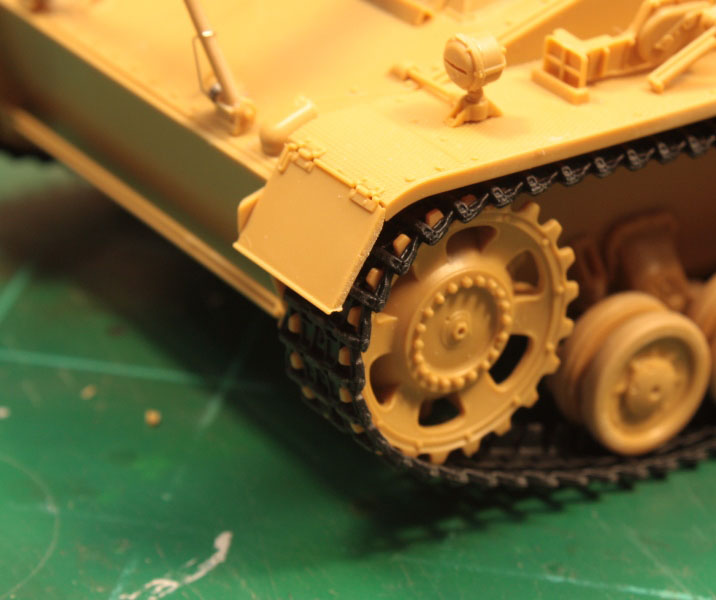
Construction starts off like most armor kits with the road wheels and other related suspension items. The rubber portions of the road-wheels are molded separately in plastic, and feature the manufacturers logo on them. This will make painting considerably easier when the time comes. The only snag I foresee is the road-wheels being a little snug to put on after painting them. Again, not a deal killer, just something to keep in mind.
The suspension can be made workable with each bogey consisting of six pieces. I usually dont build my models to function, but thought I would give it a shot. It didnt take long, and I had eight pivoting bogeys sitting on the work bench. You are provided a choice of hubs to install, and I am taking a SWAG (scientific wild a** guess) here, but I would say one is early and the other late? Others will know more.
Construction continues with the lower hull and return/support rollers. In step 6, I ran into a snag in identifying two parts that attach to the rear portion of the lower hull. The parts are shown, but no part number was listed. I was informed by an eagle-eyed Armorama member (PvtMutt) the parts could be found on the L sprue as #5. Thanks for the assist, Tony. I located and installed them in short order, finishing up the remainder of the suspension and leaving the support/return rollers off until after final assembly when it will be easier to install them.
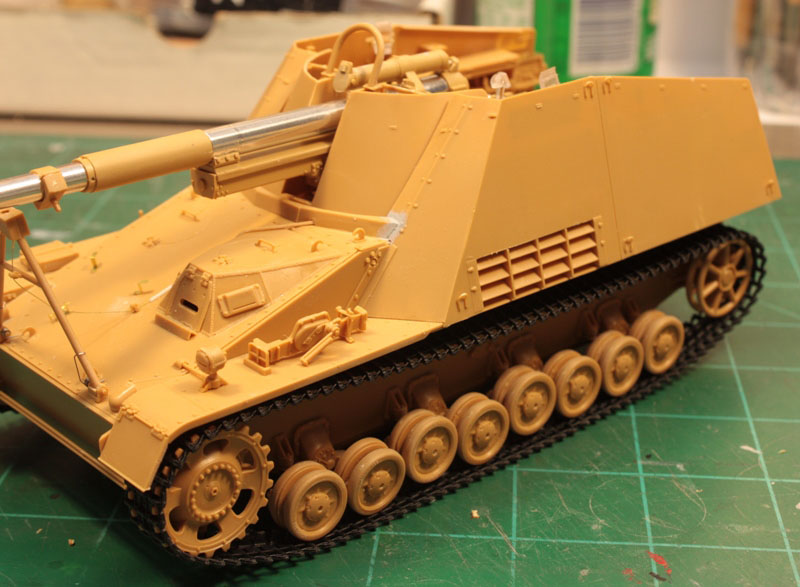
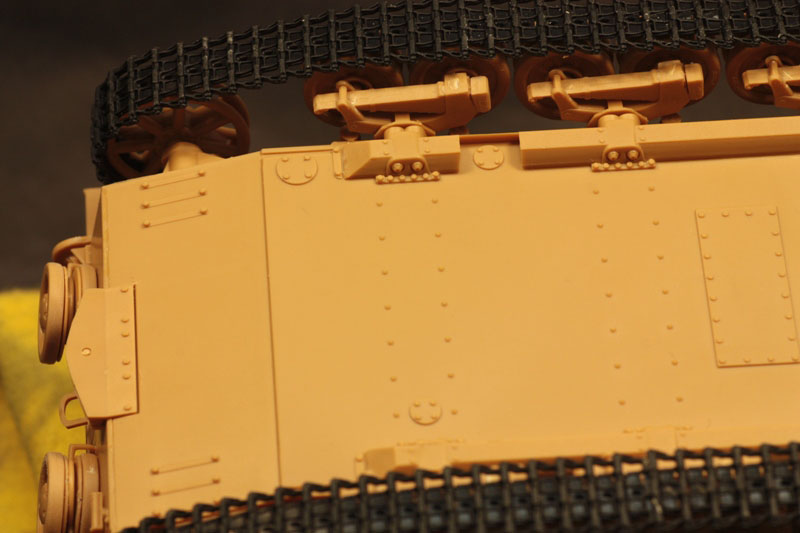
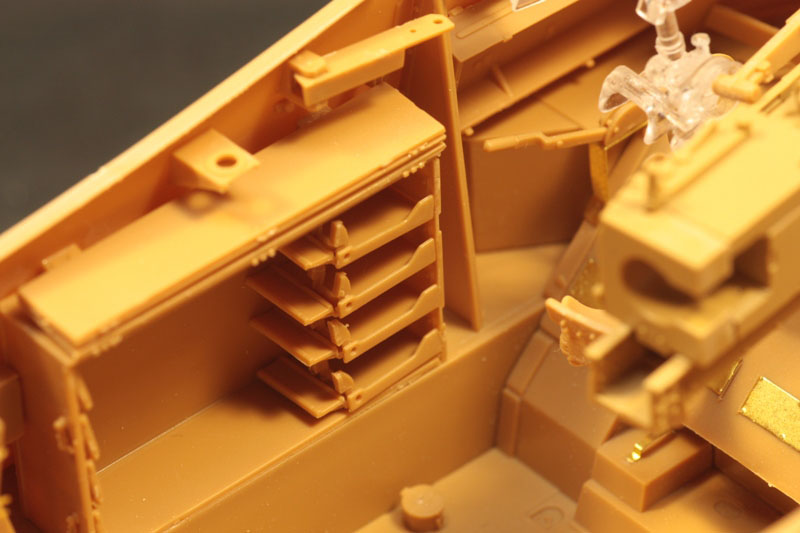
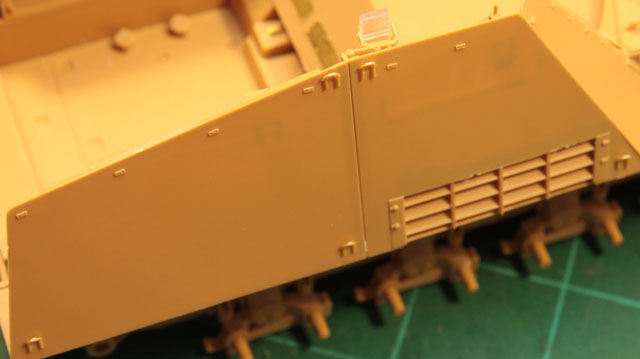
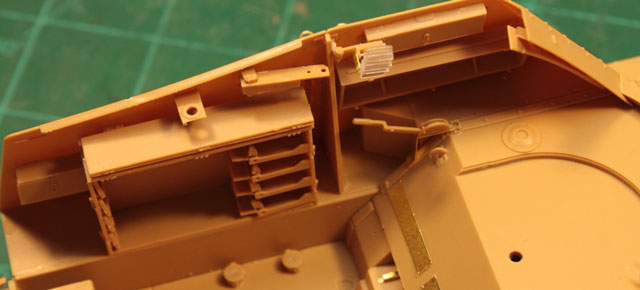
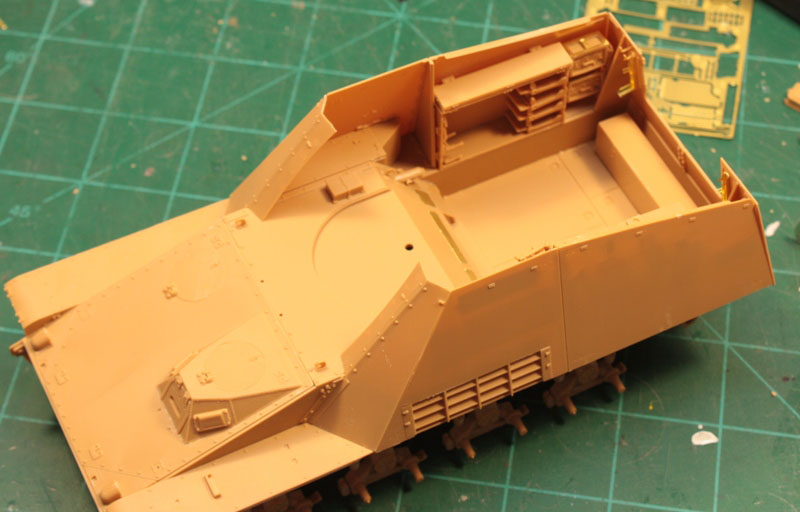
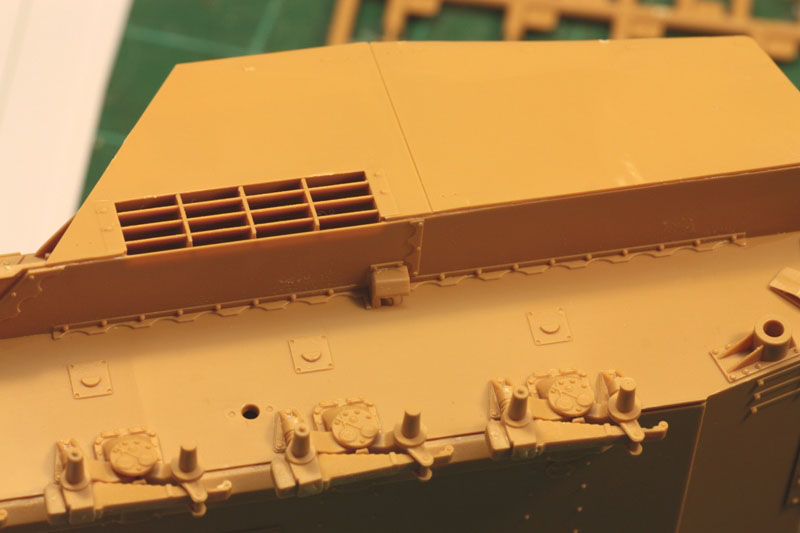
It is a shame that the bottom of this kit wont be seen, unless it is on its top, as the detail is exceptional. I remember when this area was nothing more than a blank canvas of plastic with holes in it no less. The detail here is exceptional and plentiful. AFV Club even included the cooling fans to install along the right side of the fighting compartment. They look the part once installed and add a little more eye appeal to the kit.
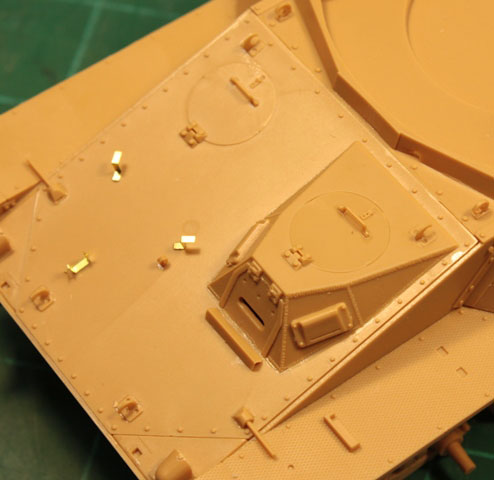
Step 10 provides an option for assembling the drivers hatch open or closed. As Ted alluded to in his review, there is no interior detail inside, so building it open really wasnt in my game plan. If one does build it open, there is some nice PE details that come into play for the hinge mechanisms. I chose the cheap and easy route of using just the hatch plate glued in-place. There is some nice detail molded onto the drivers rear firewall/bulkhead though, thereby making detailing the interior just a little bit easier should one decide to do so. The fenders are nicely detailed on the top as well as the bottom. The exhausts are installed in step 15, but again, I chose to leave mine off until after painting and final assembly.
Step 16 deals with the gun release lever for unlocking the travel lock, which is made up of both plastic and PE. Part D30 was finicky: it has a seam line that runs the entire length of the piece, and is very difficult to remove as the part is quite flexible. I contemplated tossing it and using pieces of .020 rod cut and glued in place, but kept the part instead. I did cut off one end of it, though, as it was warped. I replaced this with a piece of the .020 rod I mentioned prior.
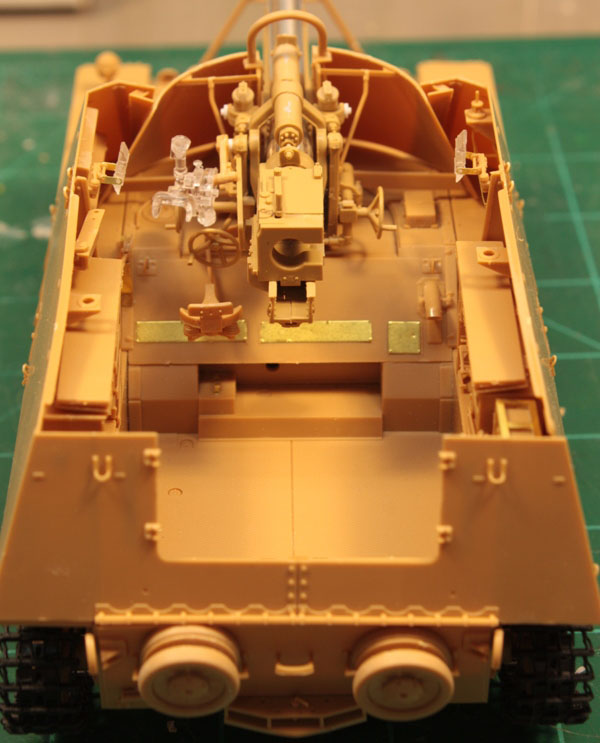
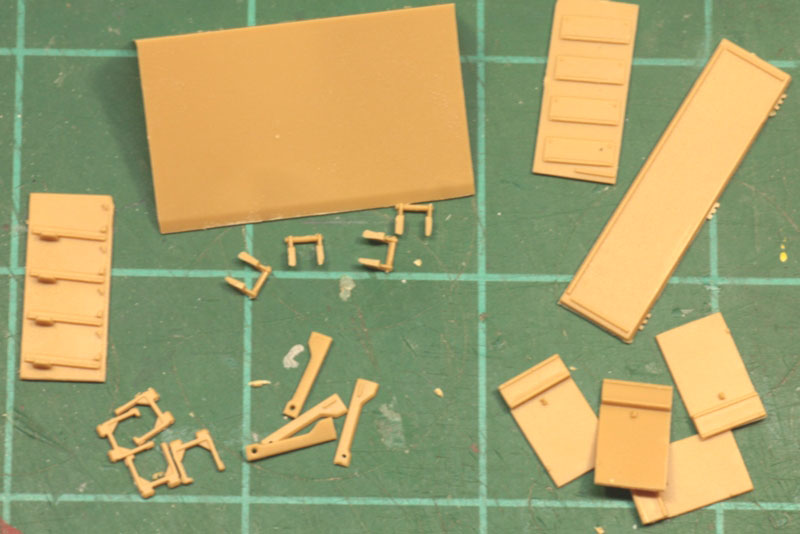
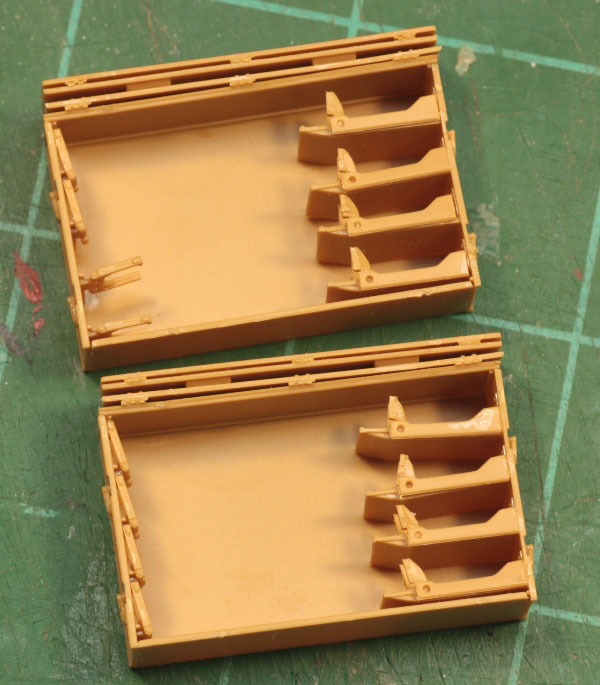
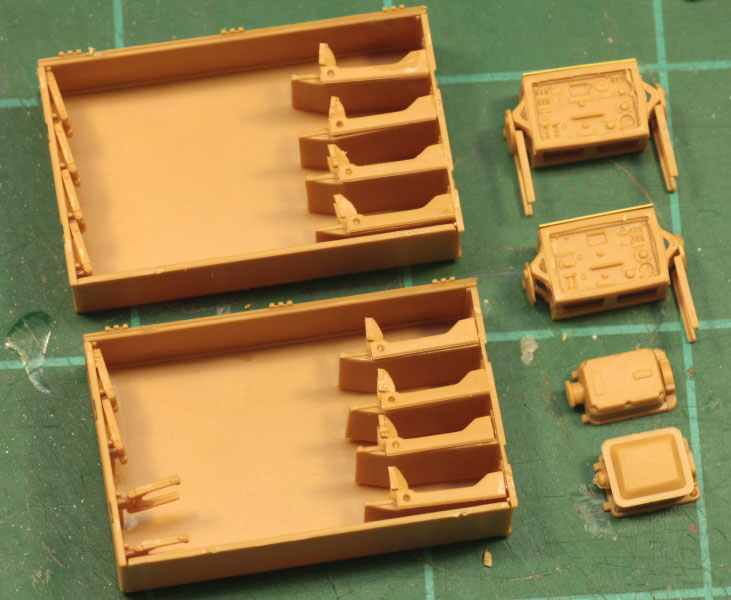
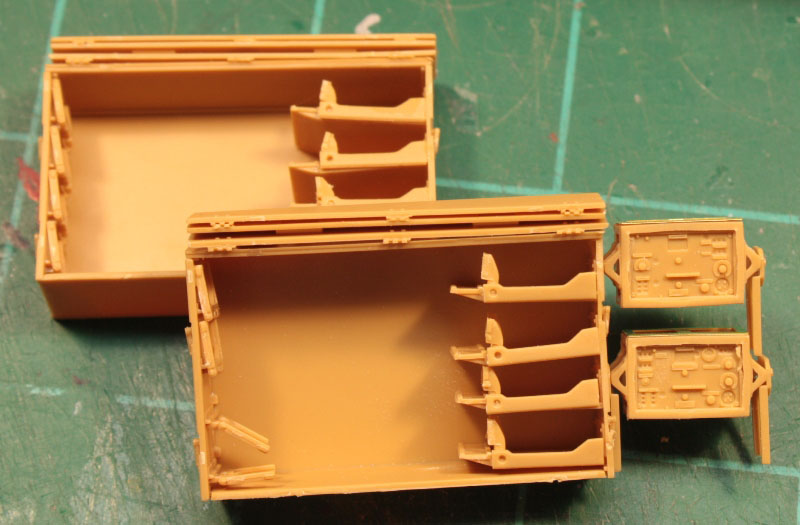
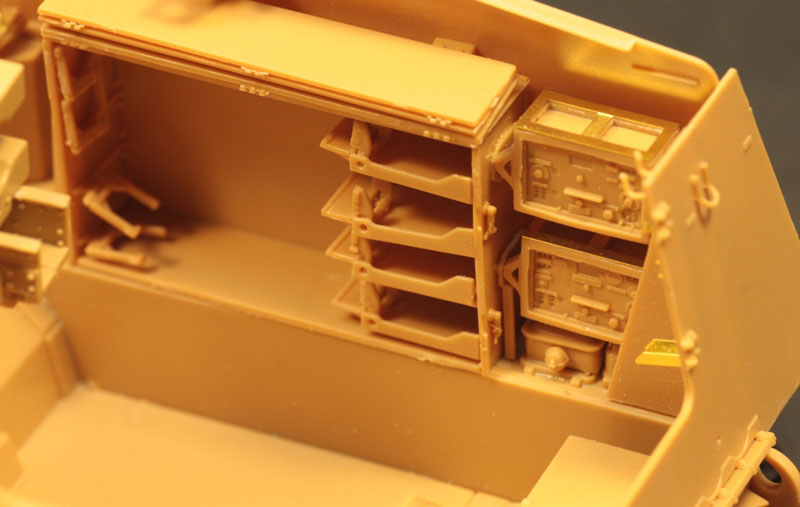
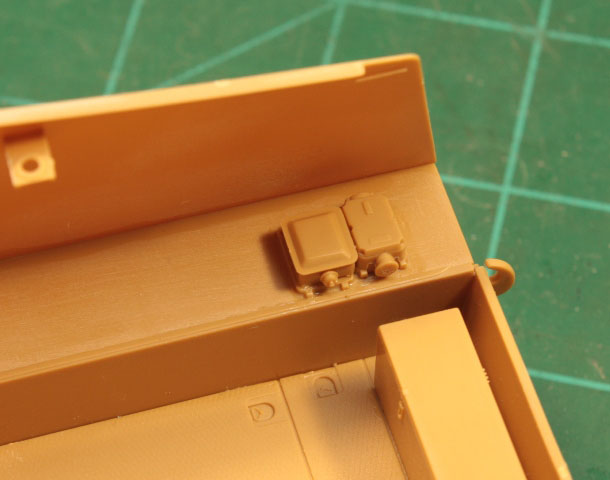
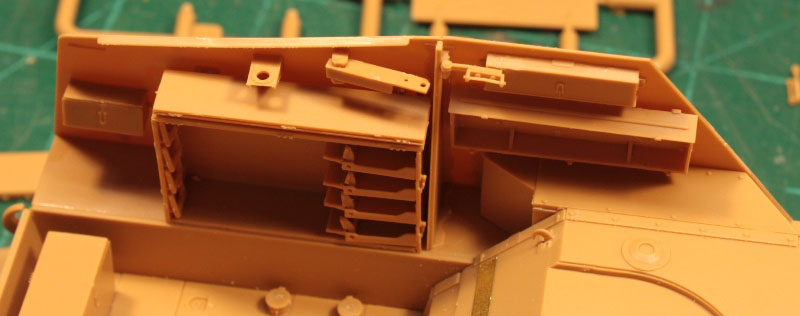
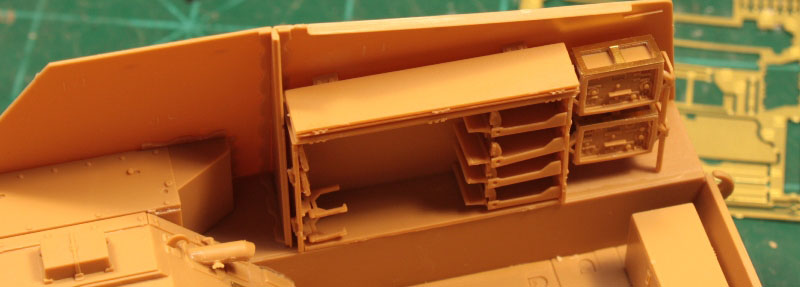
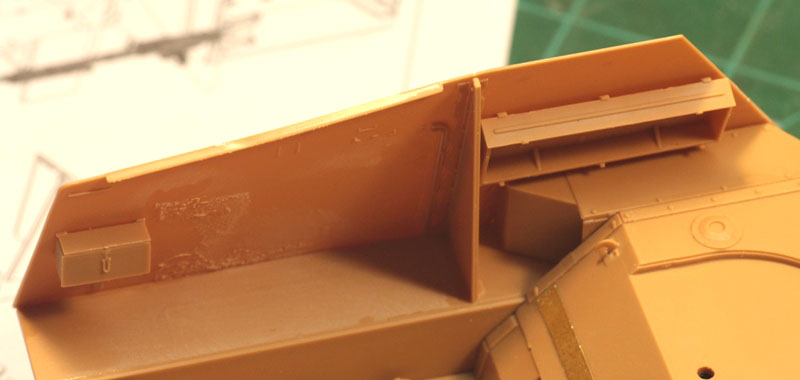
Steps 17 and 18 dealt with assembly of the ammo racks. These were small kits all by themselves. I left them out to aid in painting the interior of the fighting compartment. Just as the bottom of the kit is very detailed, so are these ammo racks. They even include the butterfly bolts used to hold the doors closed. The UKW receiver and Fu5 10 watt transmitter are very nice and detailed with a few PE parts, too.
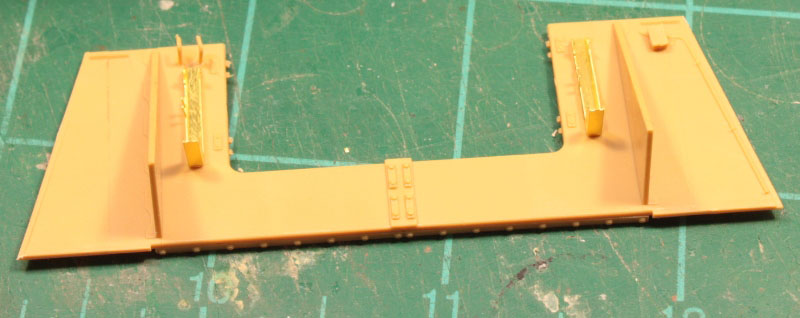
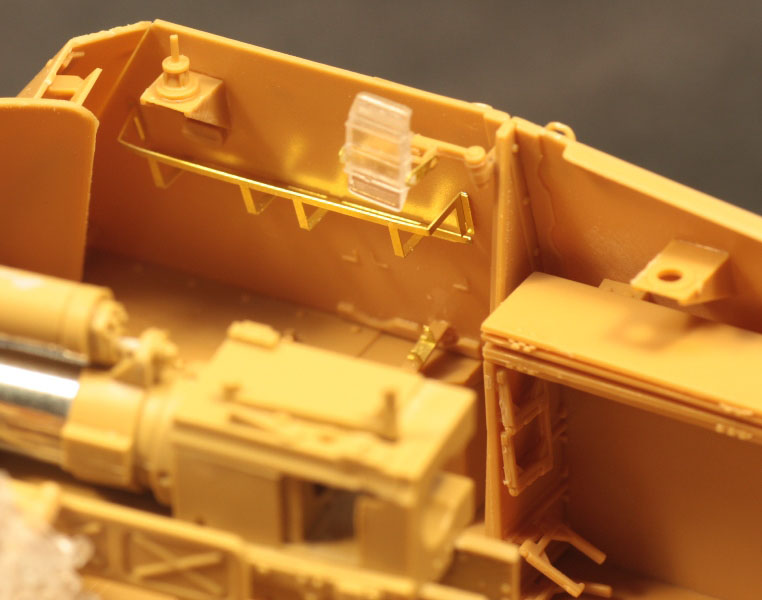
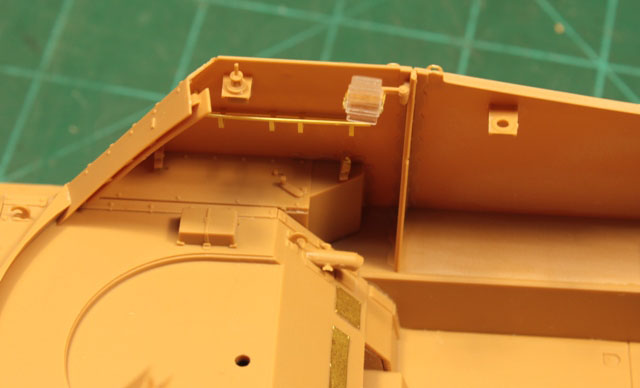
In step 24 there are several small pieces that are installed on the side walls. I installed those parts that were attached directly to the walls, and left off those which dont attach to the walls. My reasoning was that there would be less chance of snagging those extra pieces during the remainder of the build, and they could easily be added at the end. They included the swing arm mount for the MG34/42, and the S.F. 14 Z Gi Telescope. The same holds true for the opposite side of the kit.
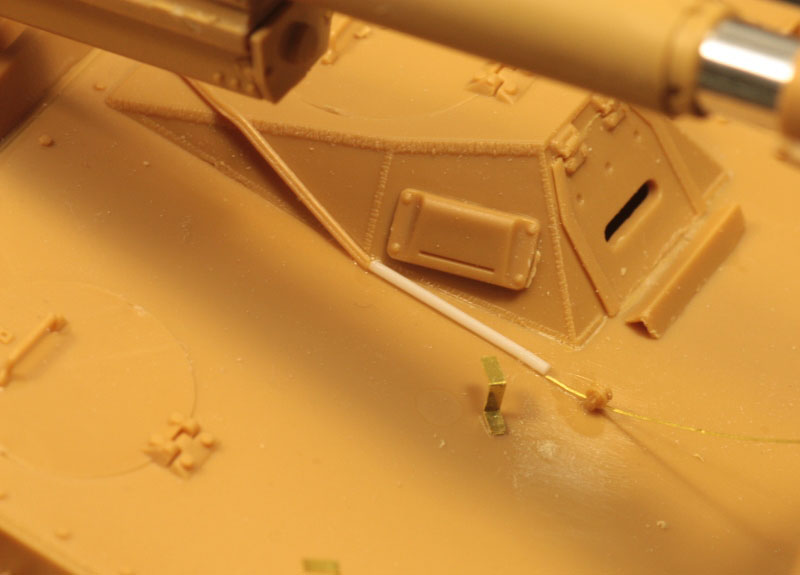
The cheek armor added in step 30 was pretty complex in assembly, but fit like a glove when installed to either side of the fighting compartment sides. The gun lock mechanism is tackled in step 32. There are some changes that need addressing here: the picture of part #O1 is misleading. It is a PE part that is shown as a larger loop with a short tail. It is actually a small oval loop that is folded over on itself, and has a long tail. It didnt fit the way it was supposed to, so I cut off the top portion of the loop and inserted it into the gap between parts D23 & D24.
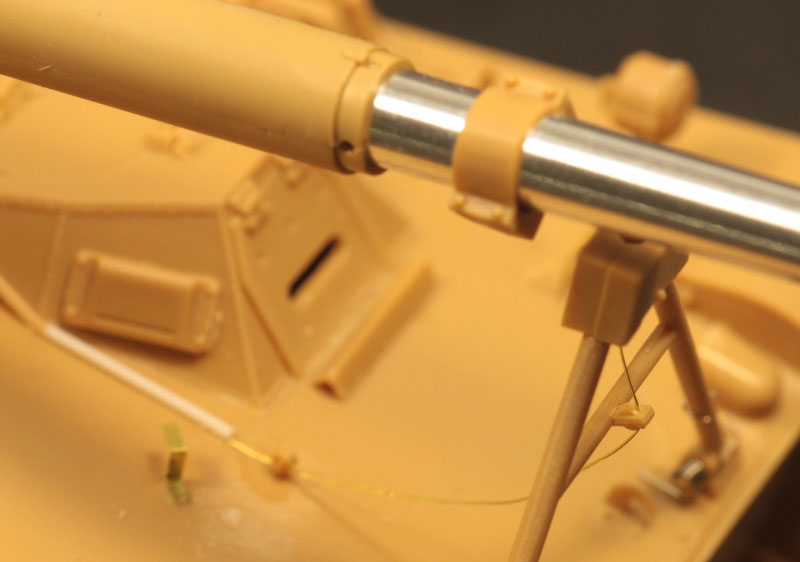
The tail represents the release cable, and is to be fed down through the pulley (part D31). This can be done, but use a small drill bit, approximately #80, and drill the hole out on the forward portion of the pulley. Thread the PE piece down through it, then through the other pulley on the front of the hull (part D22). It then butts up to the end of part D30. A small drop of CA here, and youre in business. The other two parts for the gun lock are actual springs that would allow the lock to drop when the cable was pulled. They are a nice touch and should look good once painted.
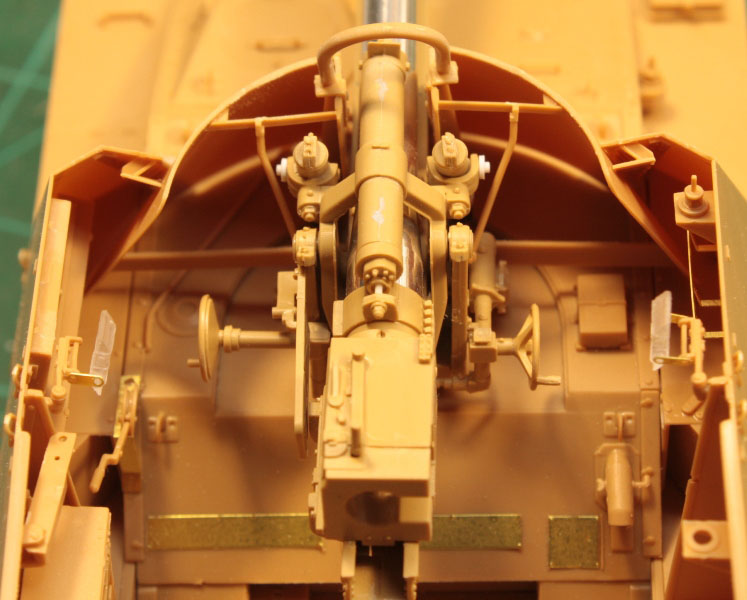
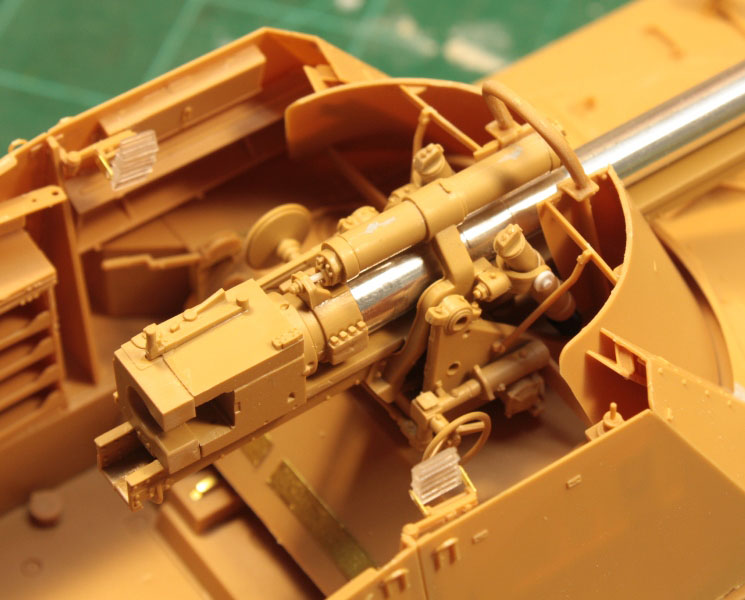
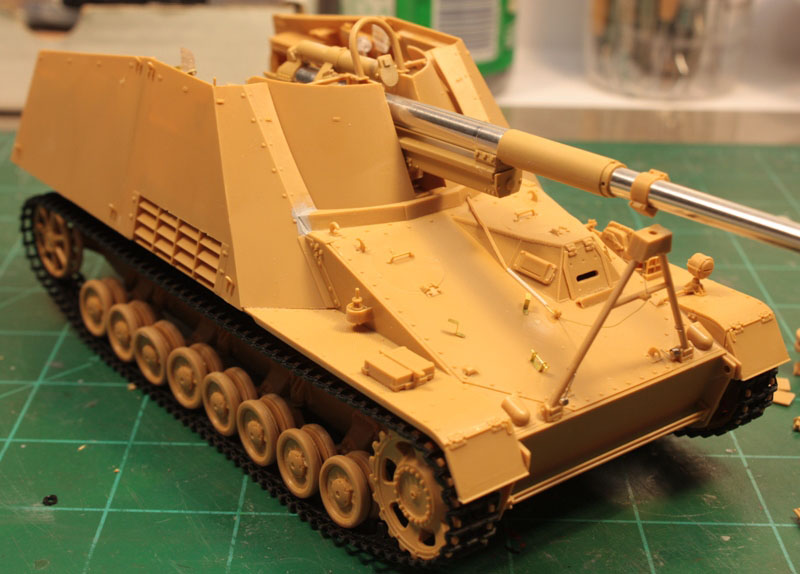
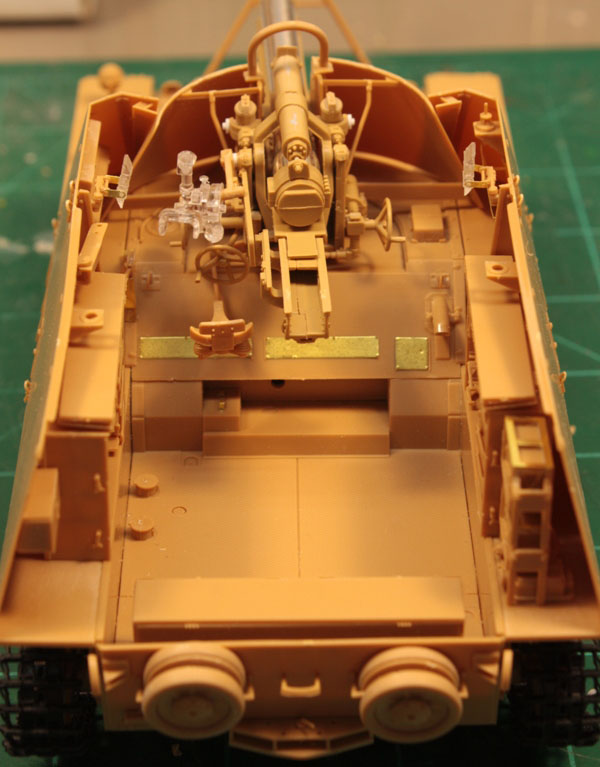
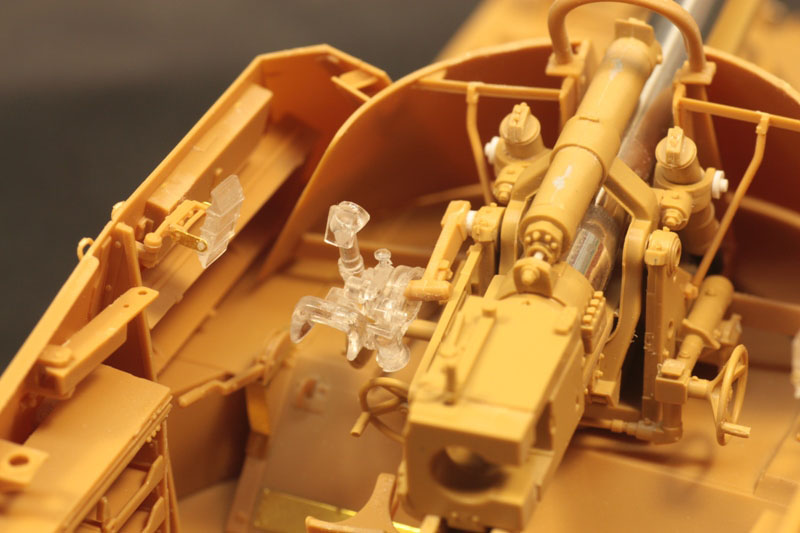
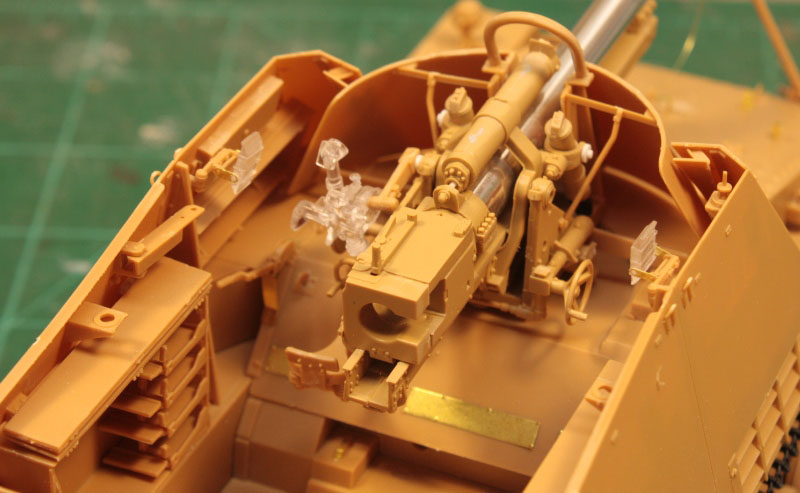
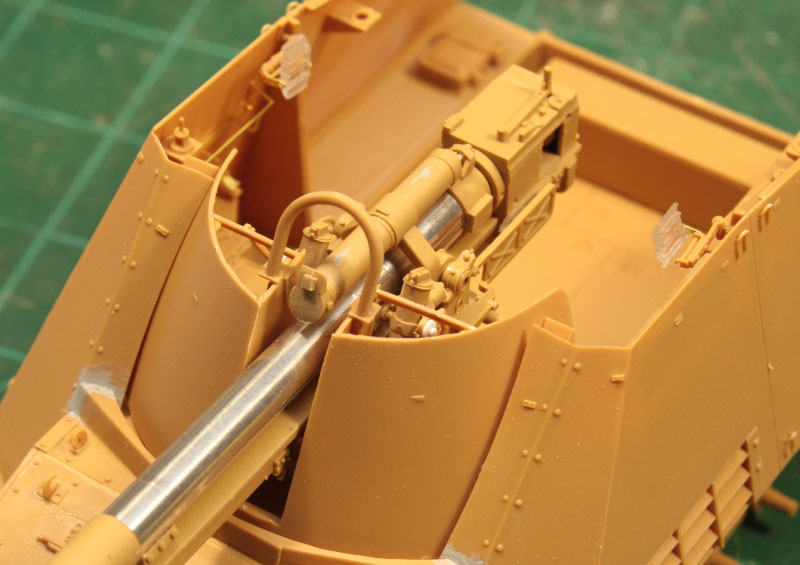
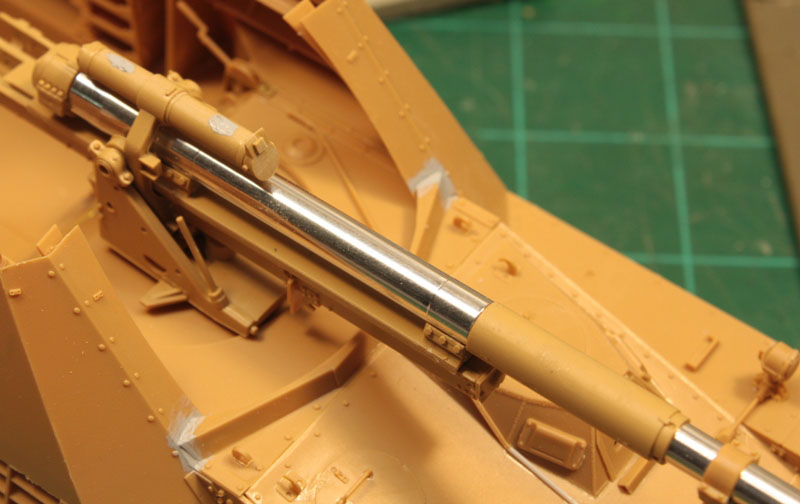
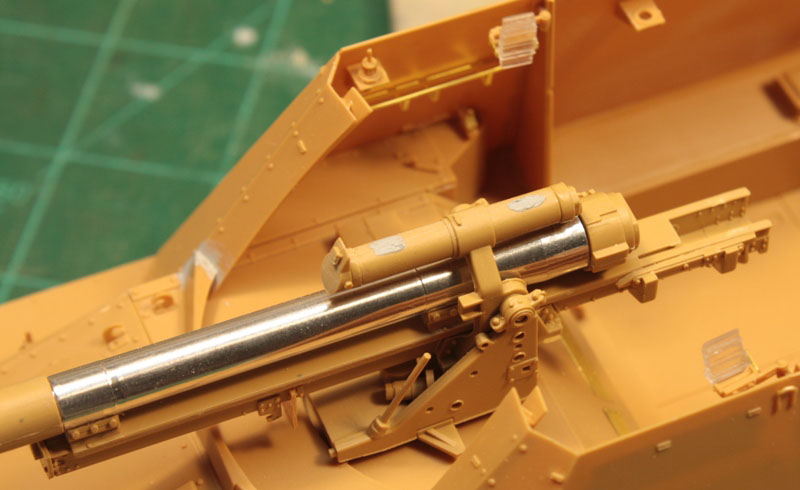
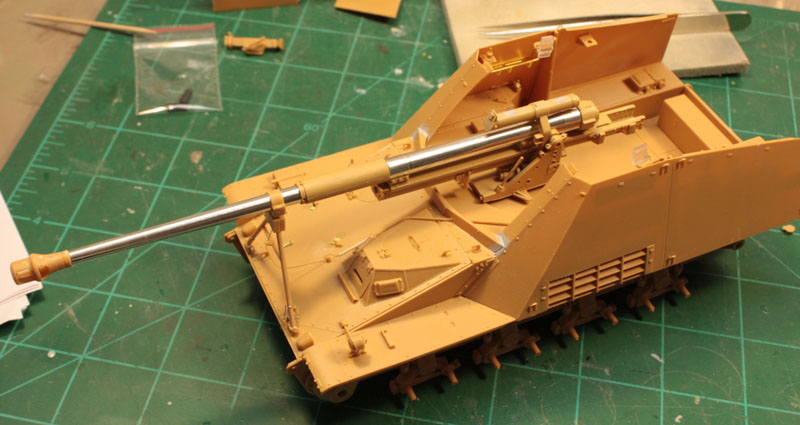
Assembly of the 88mm gun begins in step 33. The barrel is a nicely-turned aluminum piece with precise cut outs for corresponding plastic pieces. The build-up was smooth, with not a single hang-up. I had to use a small amount of filler on the re-cooperator assembly, as I took too much material away when I clipped the part free. Mr. Sufacer 500 made short work of that, and I was building again in no time. The gun can be made to elevate and depress, but it isnt pointed out in the instructions. To do so, simply sandwich part E36 in between E35 and E3. Be careful with the glue here. Part E27 is the gear mechanism that rests on top of part E36. I glued mine in place so there is no movement on my build.
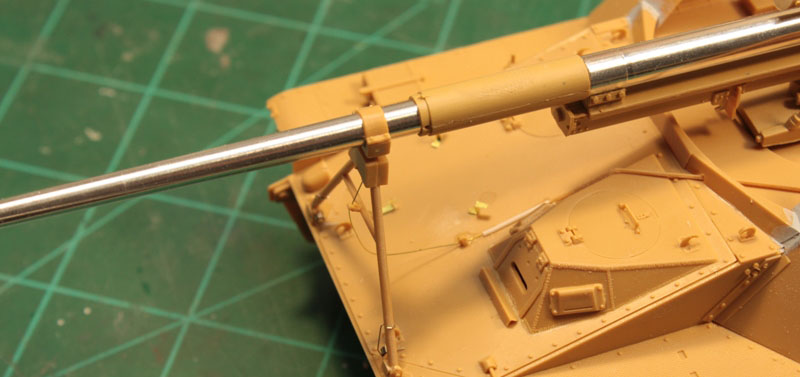
This brings me to the vinyl equilibrator boots. They have to be cut depending on how the gun is displayed. The instructions call for 4mm-8mm, I went with 4mm. I used one of them and cut it in half for a fully depressed gun. The choice is yours. Parts E28/29 slip over the ends of the equilibrators, and will move with them. I punched styrene discs to dress the areas where these parts meet, as it didnt look right to me. Correct? Probably not, but it looks better.
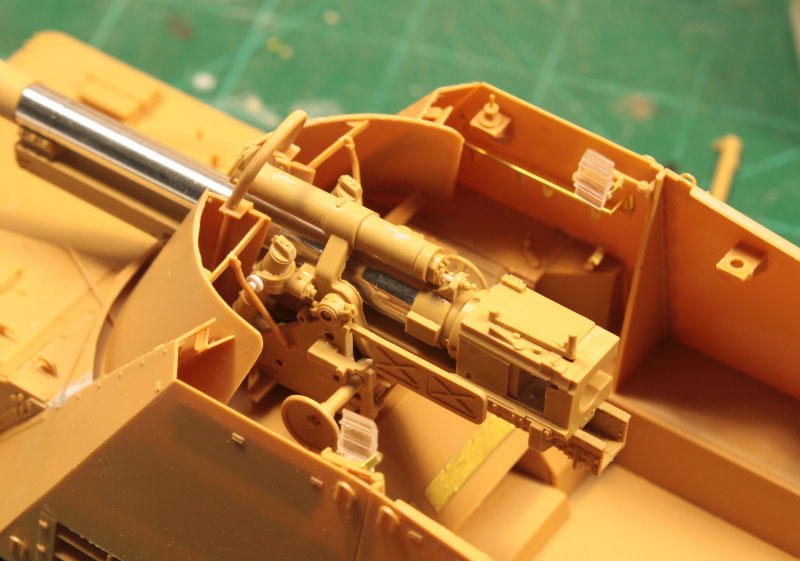
Construction continues into step #38 with the attachment of the gunners seat, associated hand wheels, gun shield, shield supports and optics. The optics are molded in clear, as are the periscopes for the fighting compartment. They proved to be a challenge to assemble: they had no depth to them, and it was hard for my aging eyes to determine where the locating tabs/pins/slots were. I would have preferred them molded in the same plastic as the rest of the kit, especially since they are going to be painted.
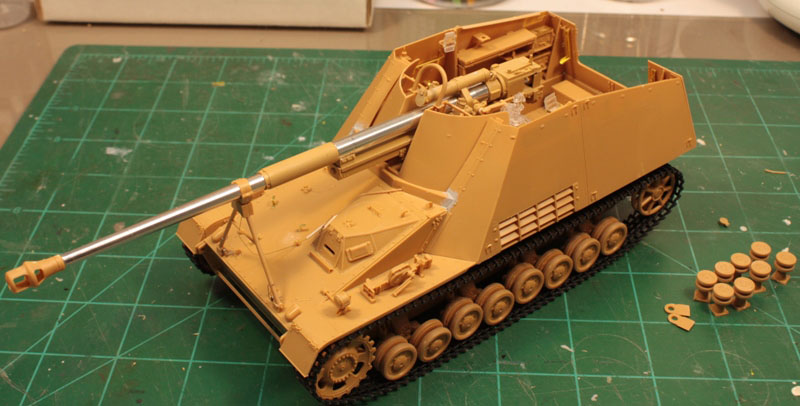
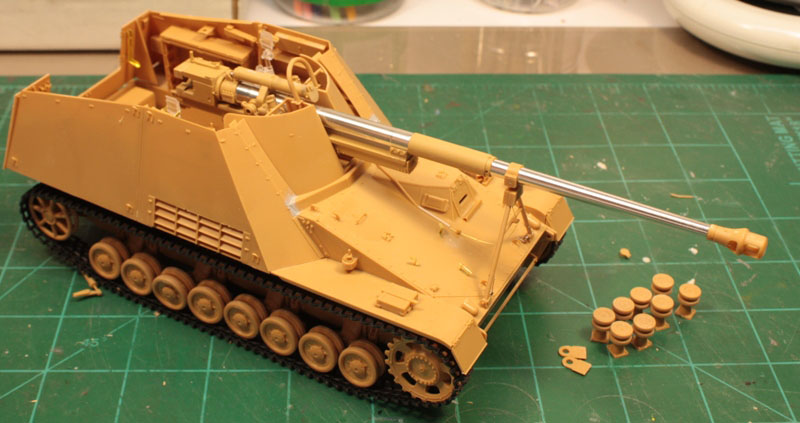
Final assembly takes place in step 39 with the attachment of the front fenders, tow cable, and length of spare track. The gun is then dropped/placed into the fighting compartment, and it is a snug fit. I dry-fit all the road wheels together and installed them along with the sprockets and idler wheels. The tracks were assembled using a Cyano-epoxy mixture I bought at this years IPMS national convention. It is possible to glue Teflon blocks together with this stuff, so I had little doubt my tracks would stay in one piece. I left the idler wheels loose to aid in getting the tracks on, then simply rotated/swiveled them rearward to tighten things up. They can be glued in place once things are where you want them. The tracks have great detail, but are a bit stiff. To get that ever-present sag seen on Pz. III and Pz. IVs, youll need individual linked items. Individual links would have been preferred.
conclusion
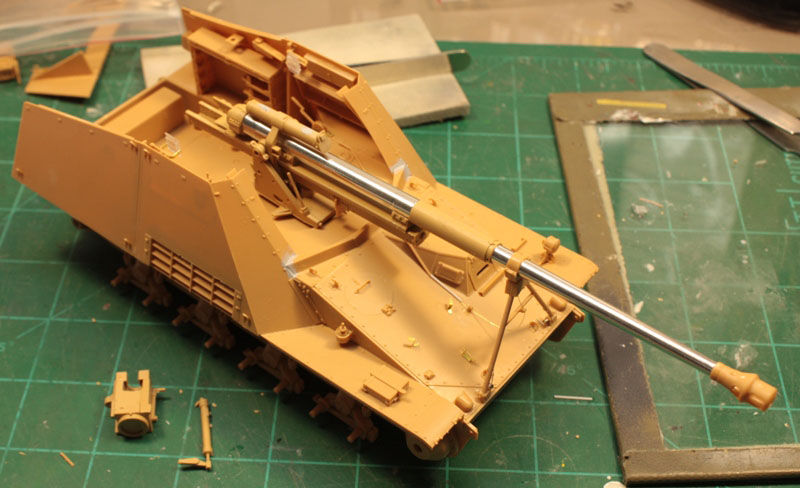
And were finished.
Well, almost. I still have some minor seam cleaning to do based on my observations in my pics.....doh! And there is still the matter of painting, but based on the amount of small parts I left off until final construction, it should prove pretty easy. This started off as what I referred to as styrene origami as there were so many parts/pieces. There are a ton of parts left over which will come in handy for other projects or when I need some Greeblies for my sci-fi builds. My overall impression is that AFV Club has a winner on their hands. I had no major hang-ups, parts fit was excellent, detail is also excellent and it is affordable for most people. There were a couple hiccups with it, those being the tracks, optics and the omission of the part numbers in one instance, but otherwise I really enjoyed building this kit. For the money and what you get in the box, this one is hard to pass up.
Source material:
Achtung Panzer!
Thanks to AFV Club for the review sample. Be sure to mention Armorama when you purchase this kit.


Comments