I think the most important question to ask yourself when buying an airbrush is what do you want from it? Do you want something for ultra-fine lines or something for large coverage? Dual action or single? Suction or gravity feed? Internal/External mix? Clone or premium brand? Something for dirty jobs or a prized possession for only the very finest of jobs?
Lots of questions- but if you dont have a rough idea of the answers then youll probably find yourself overwhelmed with choice and even baffled by the claims made about various airbrushes regarding their capabilities. Unless its a cloned brush, choosing a double action tool like this isnt cheap either, you could be talking upwards of $50/£50/50- and that usually doesnt include a compressor.
Plus you might wonder that if you buy something for ultra-fine work, can it still be used to cover a broader area? And will a very thin needle work with hobby paints or will it get clogged often?
You see? The questions just pile up unless you have a fair idea of what you require- and thats where reviews come in- hopefully by laying out the capabilities of a particular airbrush it should allow one to make a more informed choice, having seen what a particular piece of kit is capable of.
THE AIRBRUSH
About a week before I was offered the Omni 4000 to review, my rather excellent work-horse of an airbrush, my Premi Air G35, finally gave up on me. It was rarely cleaned properly and got all the dirty jobs but it kept on spraying until it clogged up so much I bent the needle trying to pull it out. So it was kind of fortunate that I was being sent the Omni as, from what I knew of it, I would have something capable of both wide and fine spray patterns and, whats more, the upgraded Omni shared some components with my Badger Renegade Krome- hopefully that would make the transition to using it a bit easier.
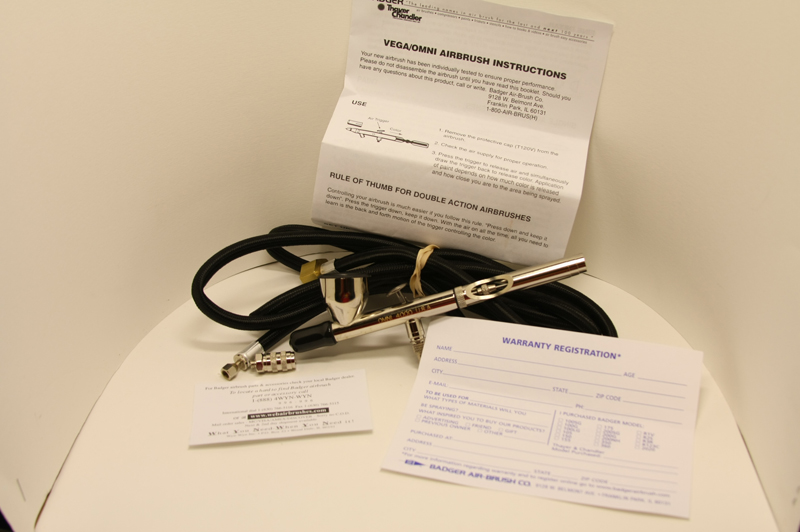
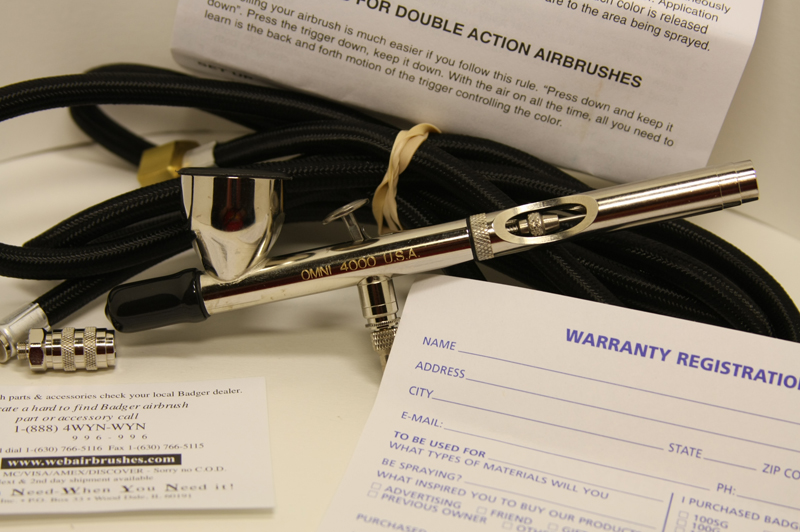
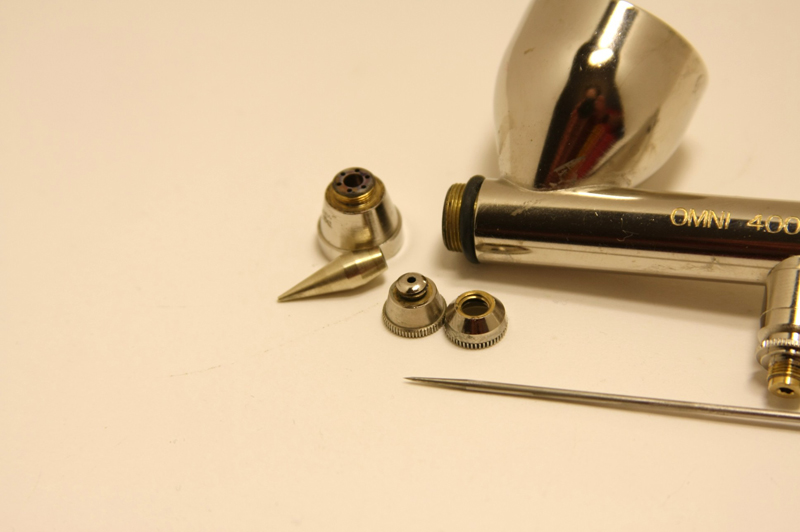
The Omni 4000 doesnt mess around- it doesnt come in a box and the instructions are brief. Personally I rarely ever use the boxes for my airbrushes- they usually sit out ready to use but I reckon a box wouldnt be too much to ask for. The instructions are like Badgers (Thayer & Chandler are owned by Badger Airbrush) - brief. That being said if you have some experience with a dual action airbrush youll know all you need to already and its unlikely youll ever need the instructions for anything more than getting the right code for spare parts.
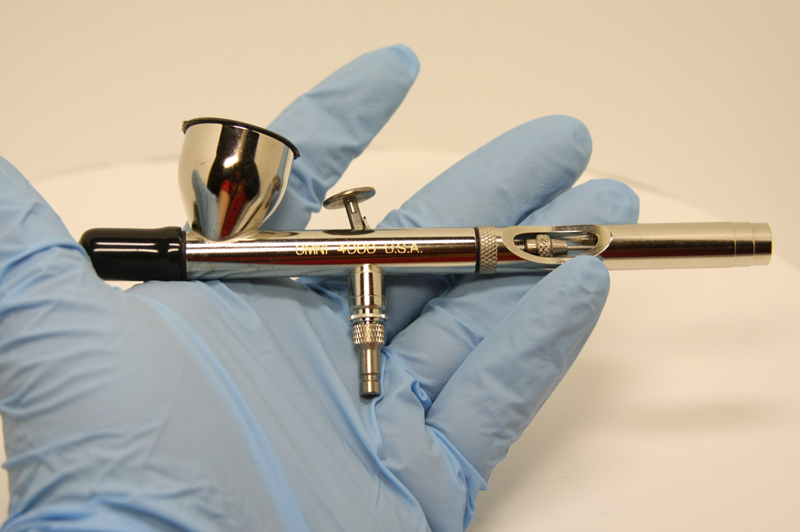
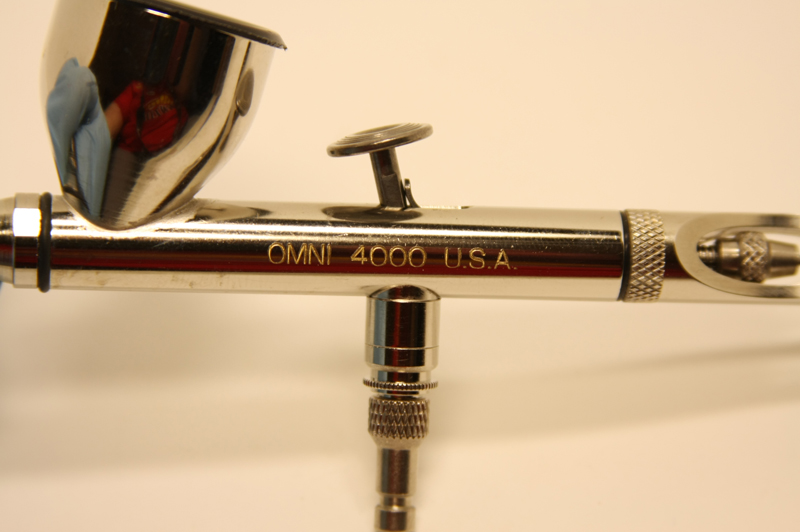
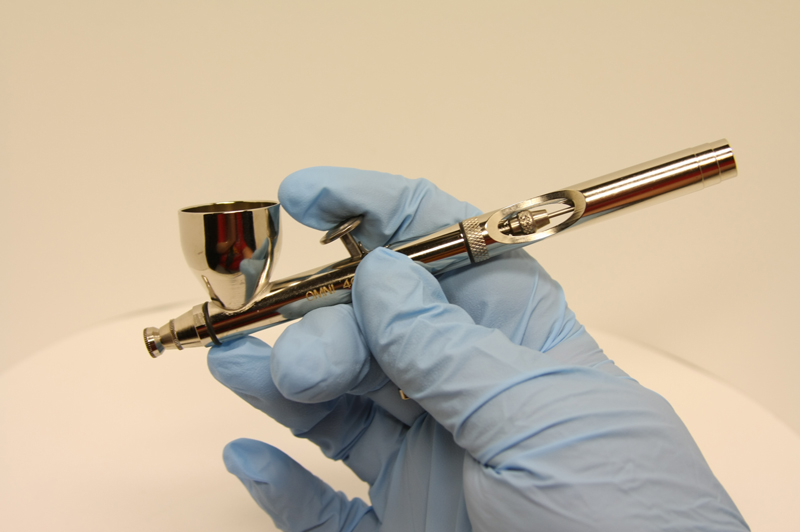
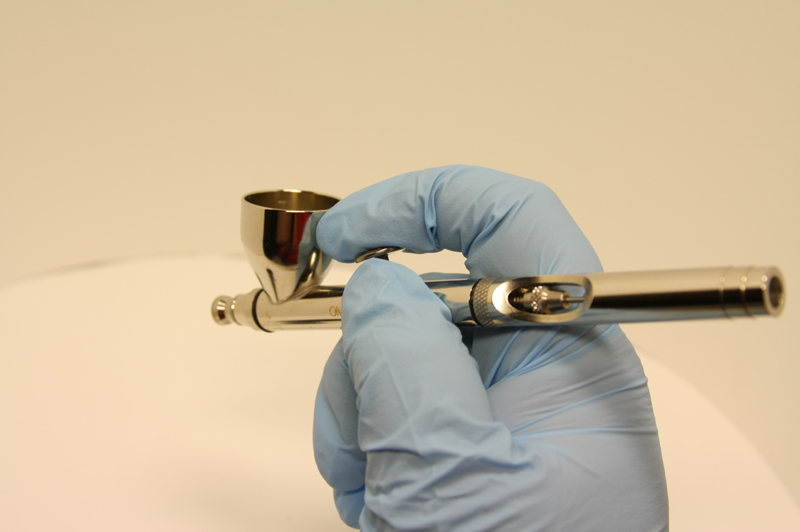
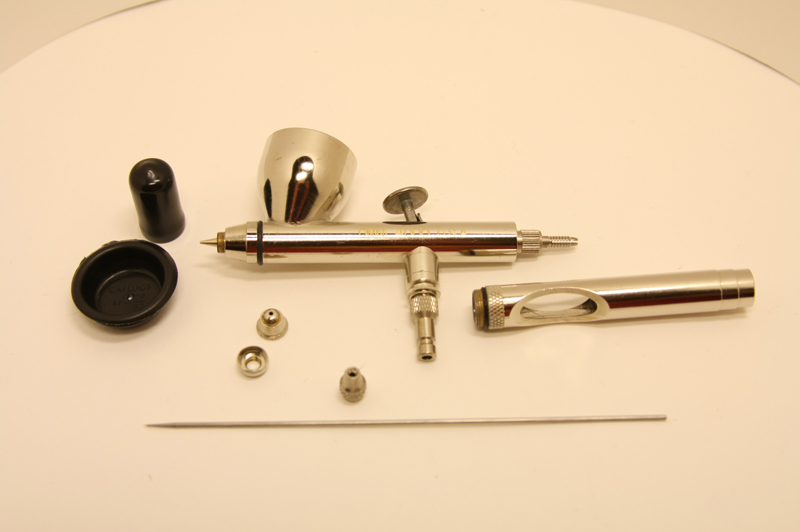
Immediately as I held the Omni I noticed the trigger mechanism was pretty much identical to my Krome which made it feel very familiar instantly. The trigger action is supremely smooth and the whole airbrush is nicely balanced when sitting in the firing position! The rear end is a cut-away type that exposes the needle and needle chuck. The end of the rear body is also open- I assume to save on weight. Screw the back off and the rear of the body and the rear needle assembly is exposed- this is a very quick process which means cleaning the needle should be very quick and handy.
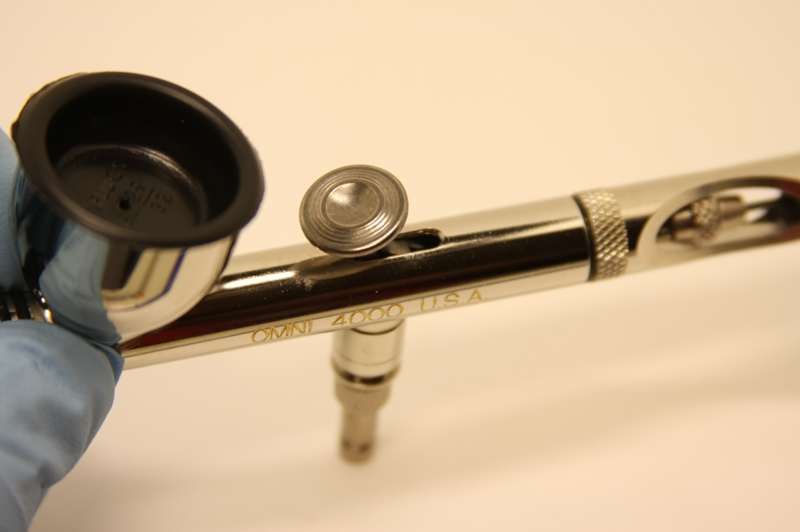
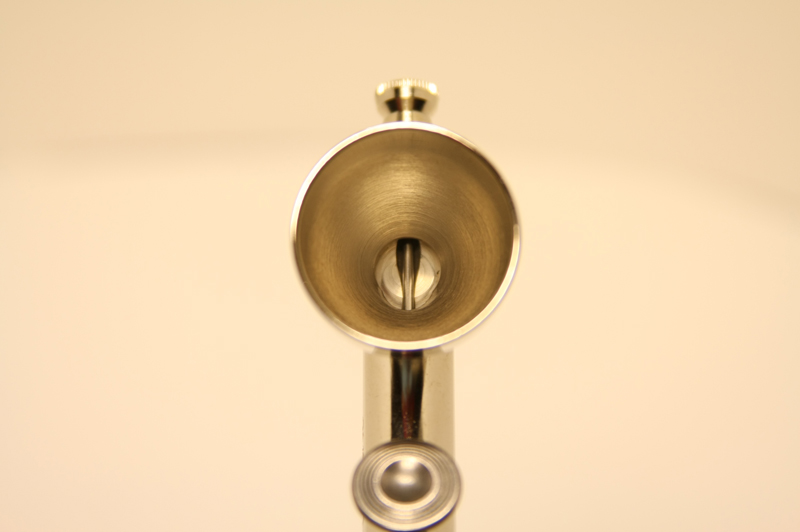
The color cup is nice and large and covered with a rubber stopper- something I prefer to the metal cup covers which I find can stick quite easily. The cup itself is nicely tapered to the bottom and, with the needle removed, allows a cotton bud to get down into the well to do a good clean swabbing.
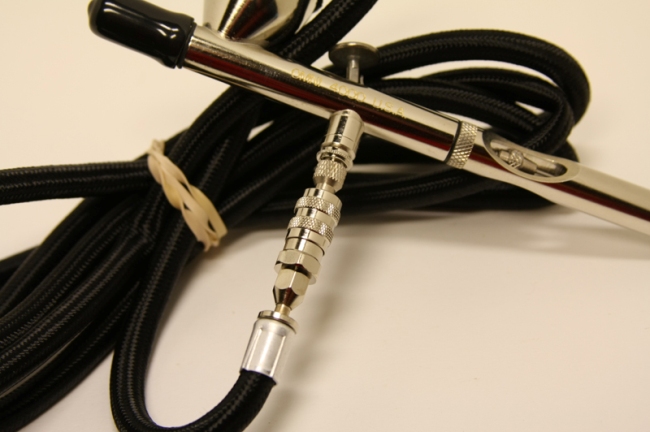
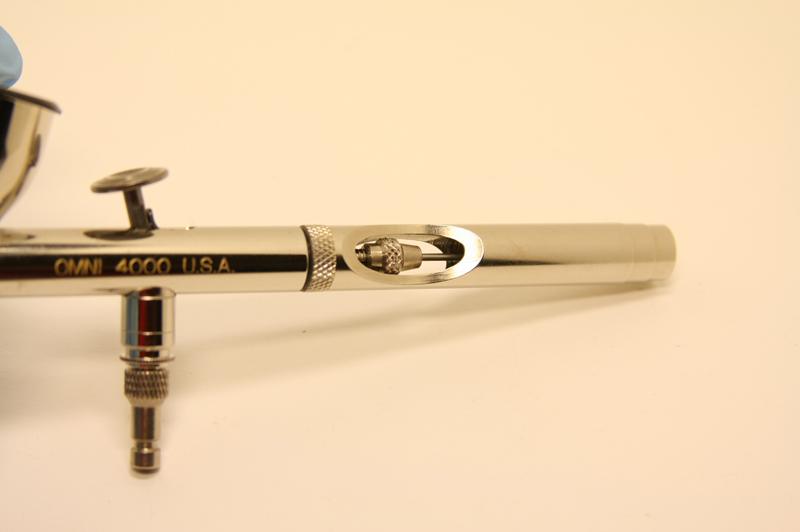
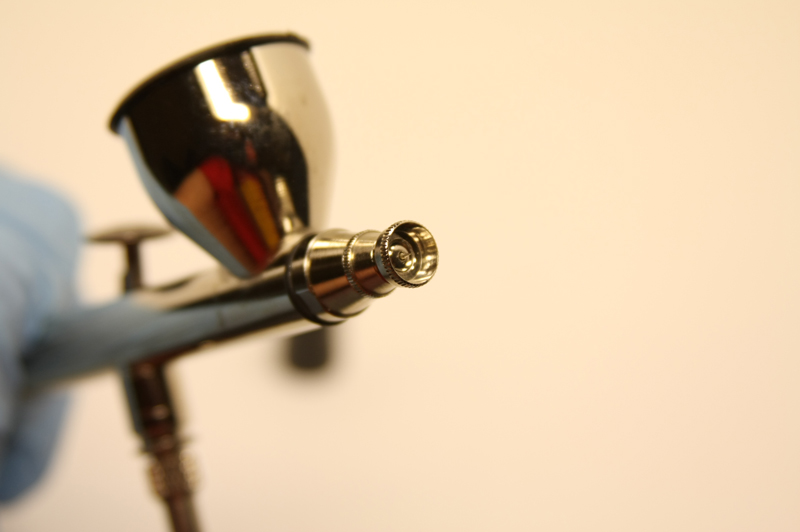
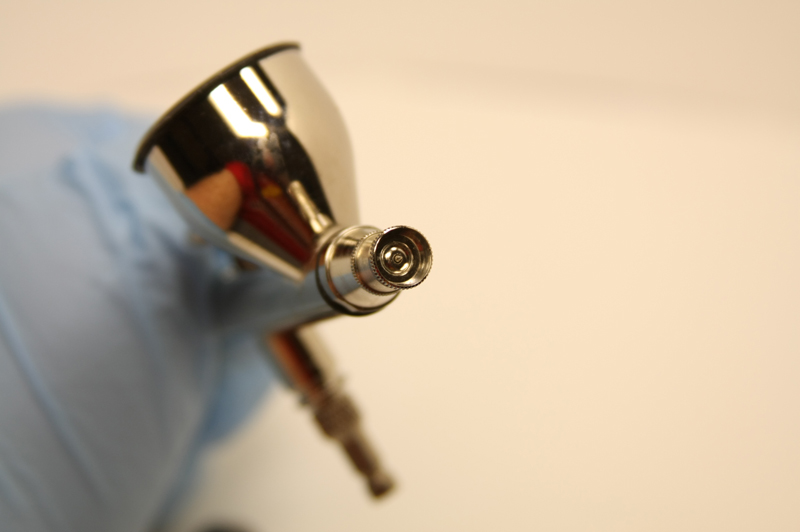
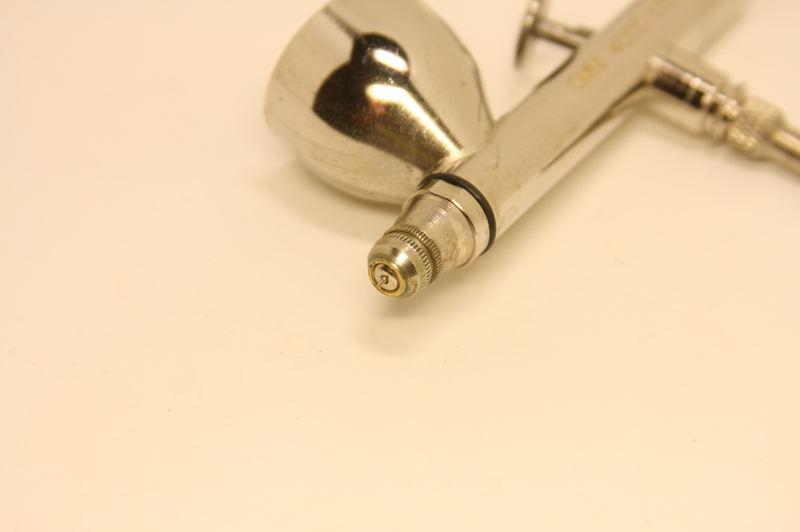
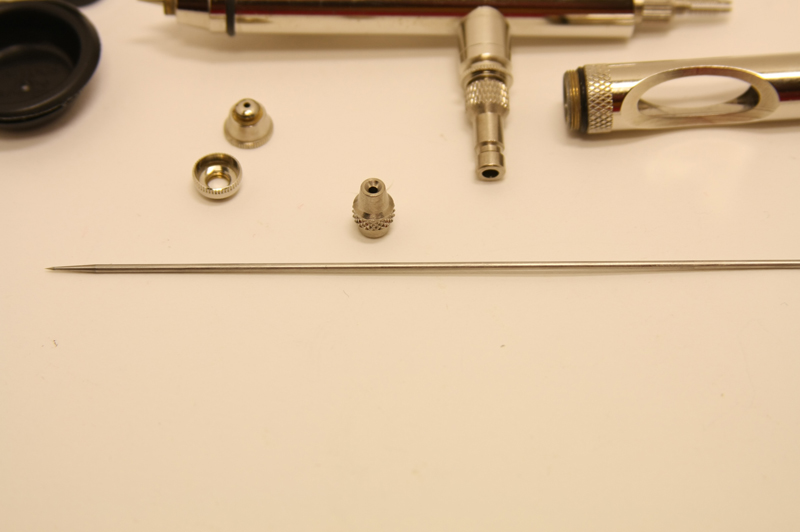
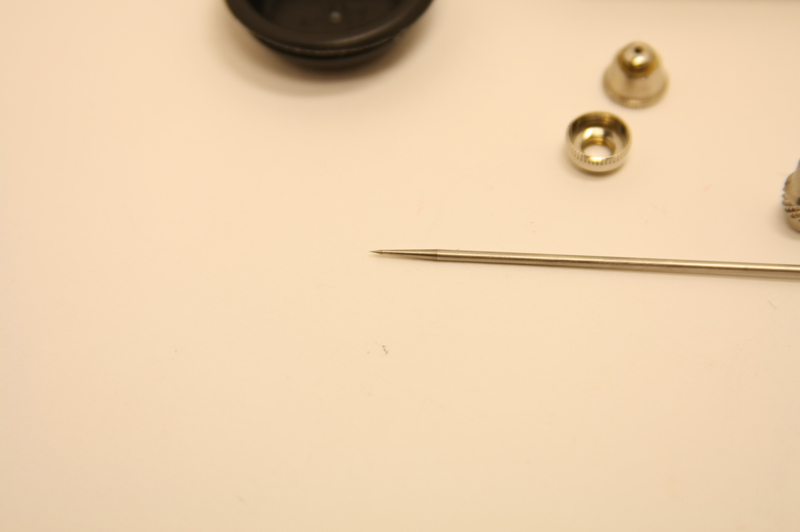
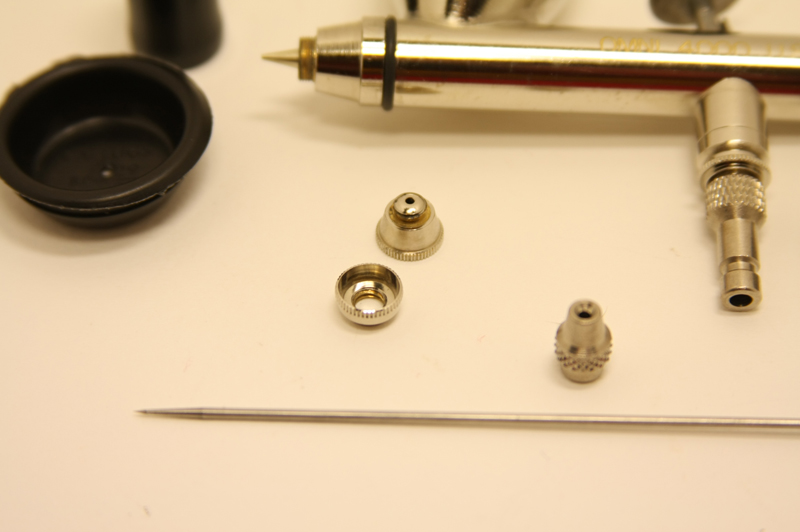
At the business end is where things differ from a lot of dual action airbrushes. For a start the needle guard is a reverse-a-guard meaning it can protect the needle in its normal position and it can also be unscrewed, turned around and screwed back on and in this position it exposes the needle- very handy for fine detail work and it also means you dont accidentally lose the needle guard when you cant find it after taking it off!
Taking the needle out and unscrewing the front assembly also exposed the nozzle which is a very long and bulbous piece- much bigger than most dual action nozzles- and it is also held very securely in place on the front assembly. In order to actually remove it you need a wrench (usually included with the airbrush) to unscrew a sizeable part of the front end that sandwiches an O ring just in front of the paint cup. In my opinion this is a nice design feature as it makes for a very sturdy front end with minimum fuss in terms of cleaning and break-down.
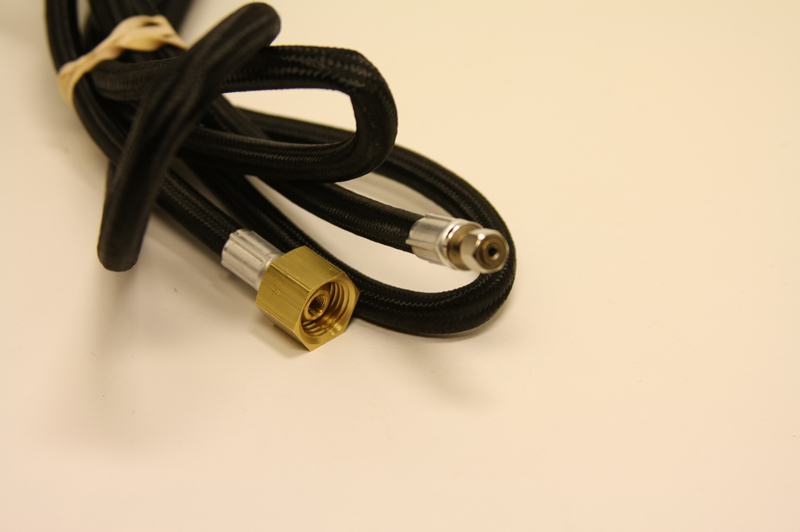
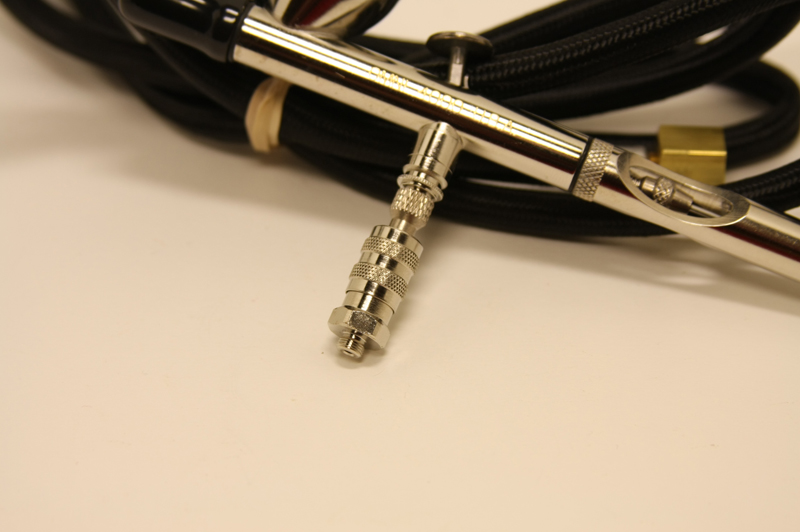
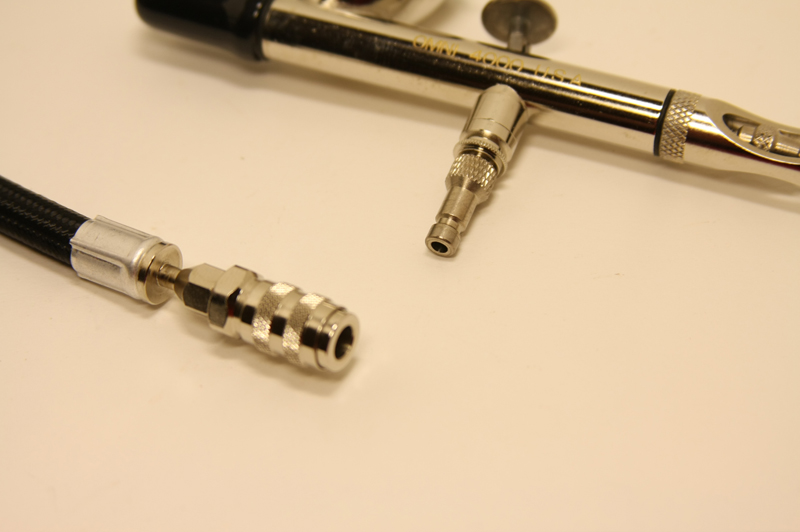
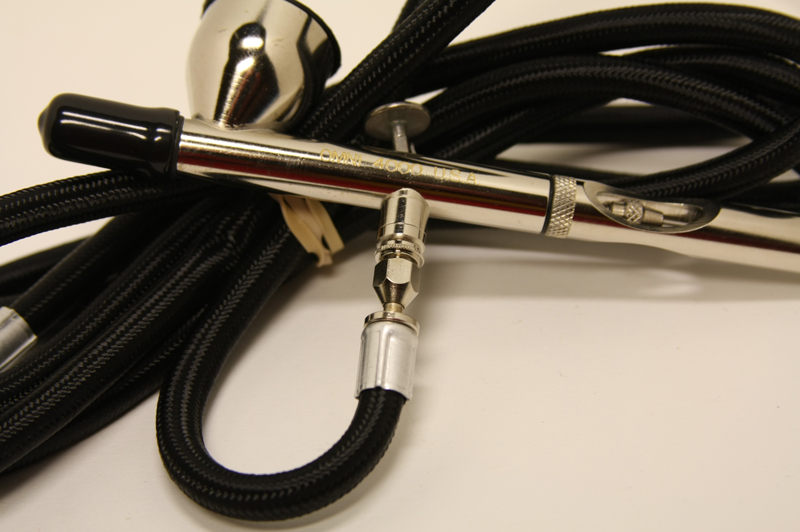
Included with my review sample were a braded hose and a quick release valve.
ON to the TEST
A word on paint thinning: When using Tamiya paint (which I used for testing this airbrush) the consistency of thinned paint you want to achieve is usually described as that of milk or skimmed milk- so thin but not too thin. The good thing about Tamiya paints is they are basically fool proof and will spray even at full consistency through most airbrushes with a 0.3mm needle. They wont spray very well at that consistency, mind, but they will work.
I find that the skimmed milk consistency is a good rule of thumb- around 1.7ml of thinner to 2ml of paint- to use my very rough measurements via eye droppers. However, in saying this I actually find that my airbrushes require different consistencies- my Krome, for instance, performs better with paint slightly thinner than the skimmed milk consistency- so my advice for thinning paint is to experiment and see what consistencies perform the best for you and your equipment.
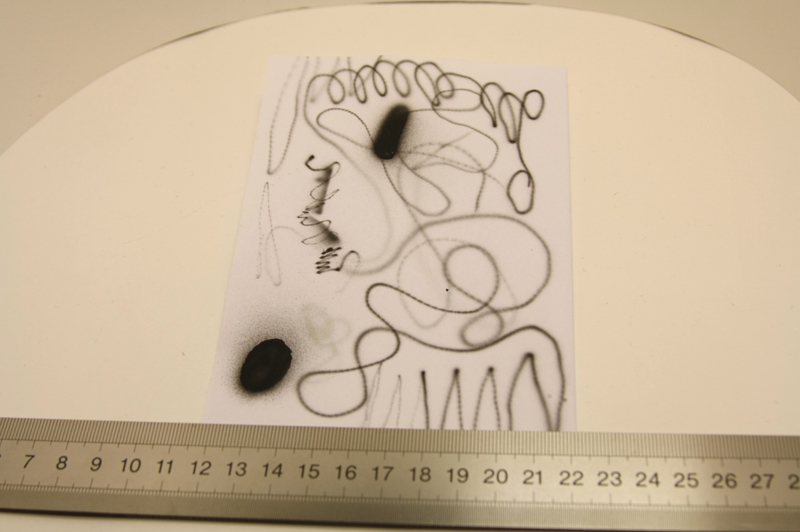
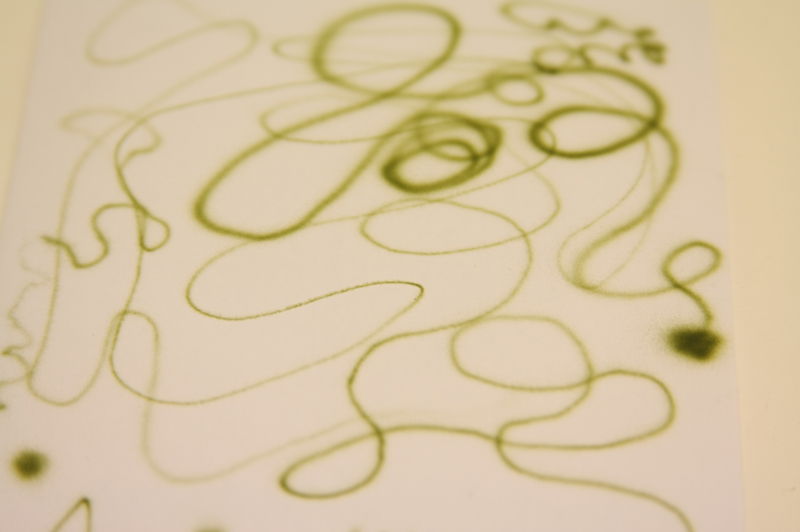
So, the first color was Tamiya Flat Black and I started spraying over a scrap model. Ive got to say that I have never achieved such a decent line from a brand new airbrush on its first test than I have from the Omni. I think in part this was because the trigger felt like my Krome and was instantly familiar. But still the lines went down fairly effortlessly at about 15-18 PSI and they only really began to distort at 21 and below 7- roughly speaking.
I would say a decent test of an airbrush is to lay down a camo scheme and I had NATO-ish colors handy so I started a quick outline of black. There was some overspray on each part and each line but I put this down to the fact it was literally the first time Id used the airbrush. I also kept pulling the trigger back too far- the reason for this was because the trigger felt identical to the Krome I kept thinking I had the Stop-Set mechanism to rely on which stops the trigger coming back too far (as doing this will result in uneven spurts of paint) but, obviously, there isnt one on the Omni!
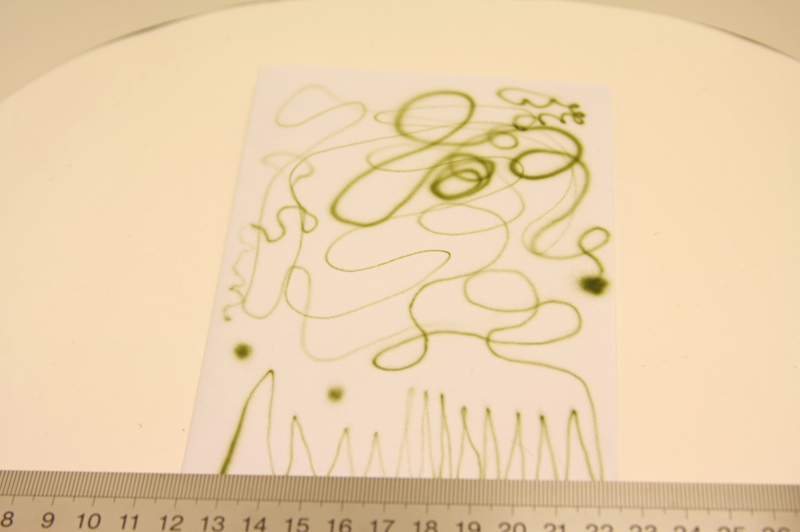
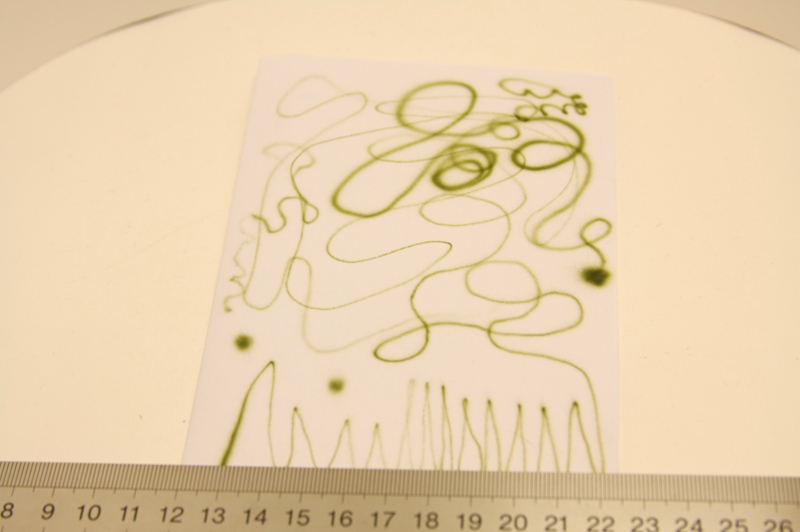
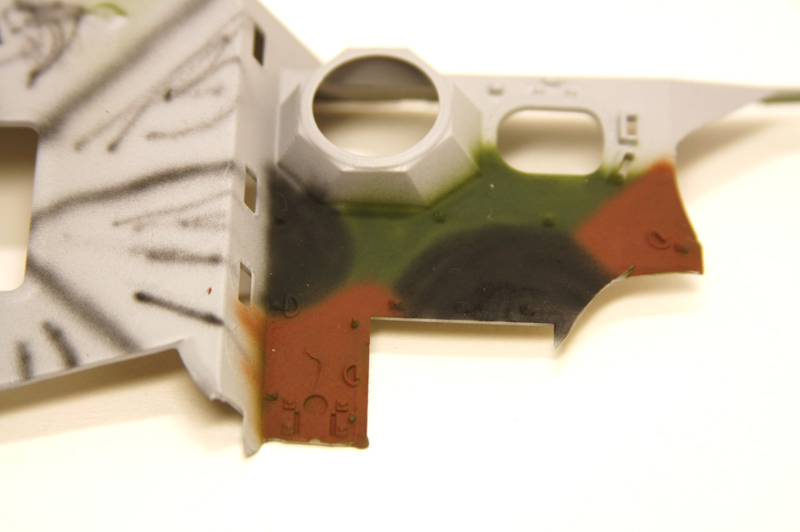
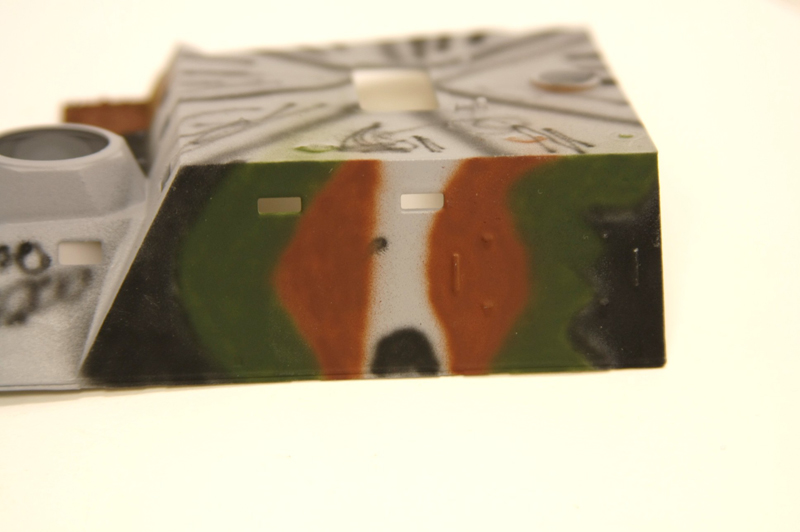
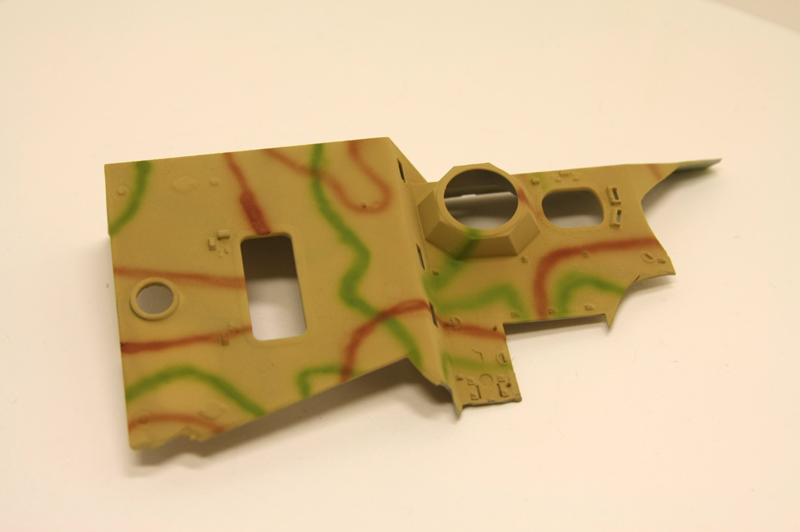
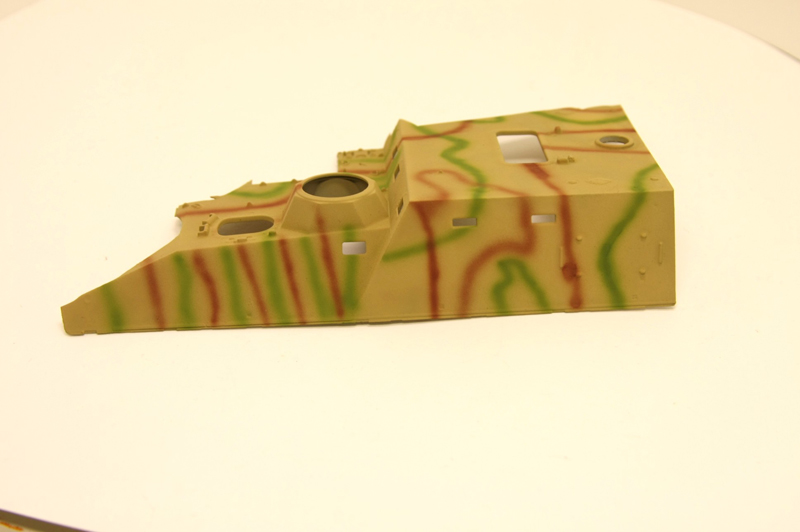
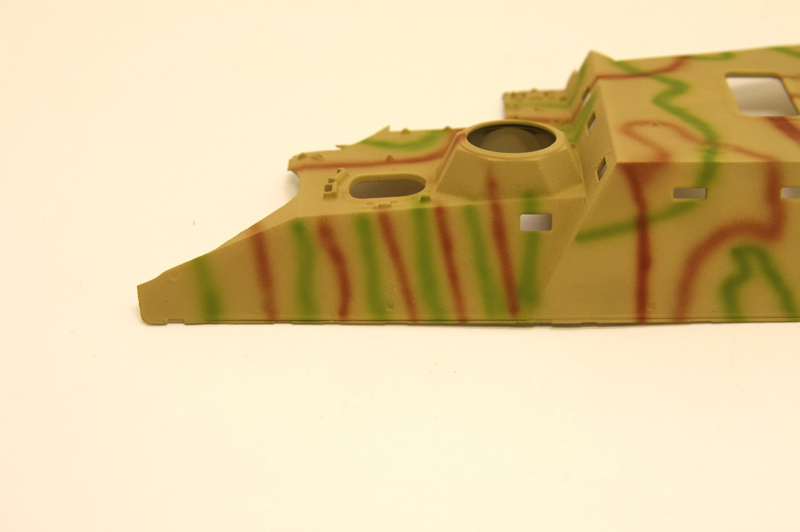
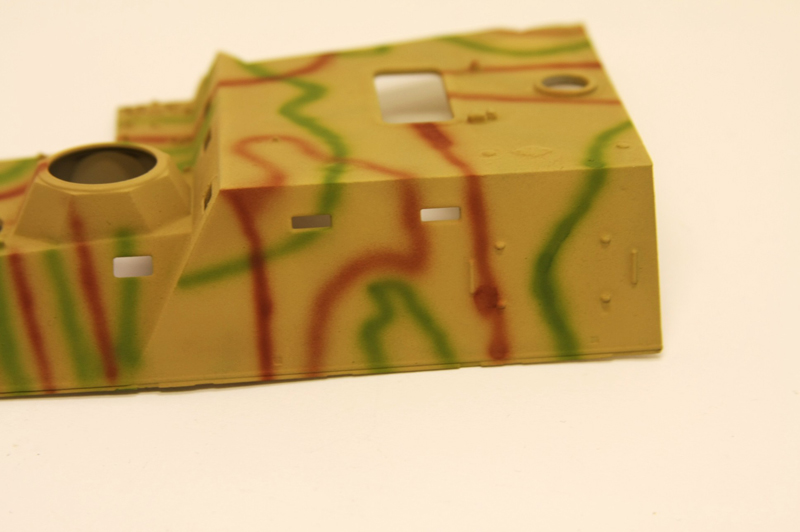
Next up I grabbed some brown and green paints and laid out a very quick and rough NATO scheme on my piece of scrap. This is a fairly common scheme for modellers and the Omni laid it down with only the barest amount of visible overspray. On a lighter scheme the overspray would be more visible but with practice this would undoubtedly become less and less.
On the larger side of spraying the Omni covers exceptionally well- large areas can be done very quickly and the color cup is big enough to keep a lot of paint- to be honest I have not seen an airbrush yet that can go between fine lines and large swatches quite as easily as the Omni.
Laying down a German 3 color camouflage was pretty quick as well- the Omni had the dark yellow coat sorted in quick time and then it was on to some green for the first lines. I did, for a while, avail of exposing the needle with the other end of the needle guard but I didnt really notice much difference compared to the other way it mounts. For the most part I simply used the protected end- the hollow, bowl type shape allows you to get the needle nice and close without worrying about hitting the exposed tip off the surface of the model. The lines I laid down with green and red arent perfect but airbrushing effectively requires a good deal of practice- you really have to get to know your airbrush. Overall I was impressed with the performance of the brush on this test and the control it provided- solid practice with this piece of kit should mean such camouflage schemes will become easy to do and I look forward to trying out more with it.
I also received a quick disconnect adapter with the Omni. I have never used one of these before as I rarely need to quickly go between airbrushes. But if you do then this is a great solution. However, I just found it a really quick and handy addition to my set-up, allowing me to quickly disconnect the hose, enabling me to move the airbrush to a holder or away for cleaning very quickly with no fuss or screwing bits on and off the air supply and hose.
The adapter itself simply screws on to the end of the hose and then a smaller, thinner adapter screws onto the air outlet on the airbrush- simply click one into the other to connect click again to disconnect- easy, simple and no fuss. The only drawback is the lack of a moisture trap.
CLEANING & BREAKDOWN
I would say the most common complaint from modellers regarding airbrushes is the amount of time spent stripping down and cleaning them. You have to concentrate so as not to break or lose any of the small, delicate parts and, in order to ensure the airbrush performs optimally, you have to try and scrub every last bit of paint out of it so it doesnt compromise your work. All this cleaning takes up time that could be spent gluing or painting- i.e. actual modelling!
Hence I always like an airbrush that can put up with a bit of dirt and abuse. My Krome doesnt- its a high maintenance airbrush and requires a helluva lot of cleaning- just like any other high end airbrush really. However, my trusty Premi-Air G35 put up with a lot of abuse- it was usually at least half coated in the previous color Id been using and I sometimes left it for ages without a thorough clean. Yet it still performed.
The Omni is, I feel, slightly too expensive to abuse in such a way. Ive been using it for over two weeks now and I havent yet fully broken it down to clean it- instead Ive just been removing the needle and cleaning it with a cotton swab dipped in thinner, then swabbing the color cup and finally swabbing the fore-end to remove any paint build up.
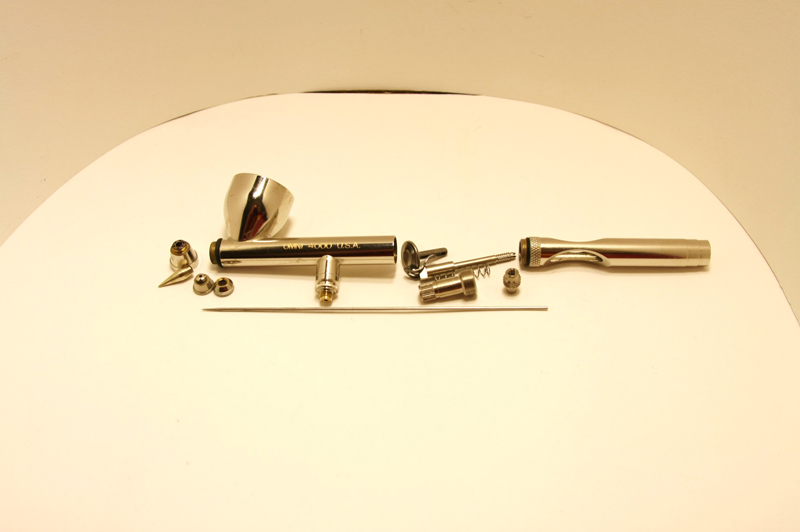
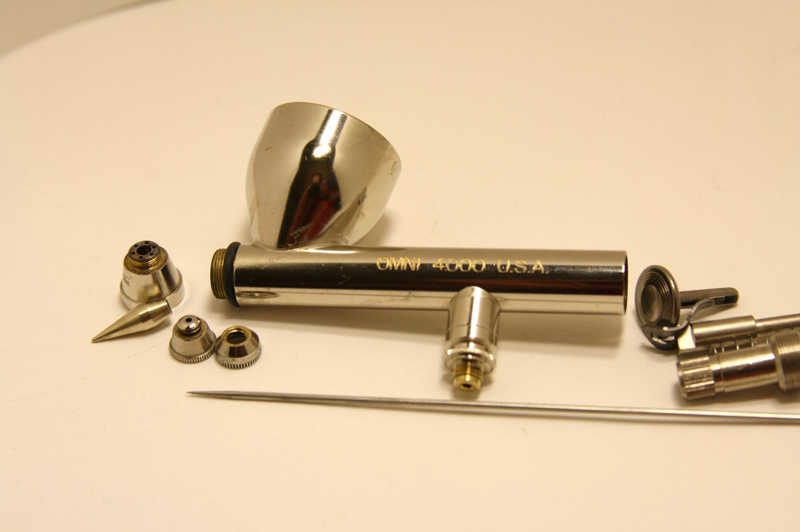
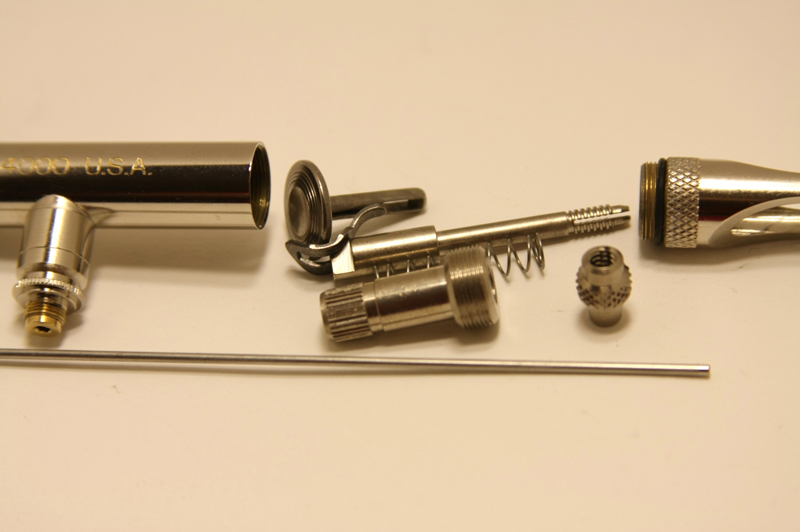
The first sign that it needed cleaning was that it started producing a wider and poorer quality line than it usually did- at this point I decided to do a full breakdown. At the rear it goes pretty much the same way most double action brushes go- rear body off, needle chuck off, needle pulled out, spring adjuster screwed out and with it comes the needle tube, spring and rocker assembly- the trigger itself can just be pulled out at this point.
At the front things differ slightly- once the needle guard and air cap are taken off a wrench is needed to unscrew the front head assembly that stops at the visible O ring in front of the color cup. This comes off easily with a wrench and then there is two parts- the nozzle clamp ring and the nozzle. I actually found the breakdown at the front very easy as the parts were all fairly big- no miniscule nozzles to go missing!
The solvent resistant O rings (the rubber seals) on Thayer & Chandler (and Badger) airbrushes mean you can put every part in an ultrasonic cleaner with a little airbrush cleaner and water- thatll get things nice and clean. I dont use one myself anymore- I prefer the cleaning brush and cotton swab method!
Once I gave all the parts a thorough clean it went back together quickly and was back to spraying perfectly.
INSTRUCTIONS/PRESENTATION
I mentioned this a little earlier in the review but I think it could do with a re-stating. The price of this airbrush is usually between $85 and $110- for the performance this is a fairly reasonable price- certainly in line with other similar airbrushes from other brands. However, the lack of a box is a bit strange (thought apparently it does come with a hook style bench mounted holder)- even the very cheap clone airbrushes usually come with a box. So I definitely think the Omni should have a box especially considering there is a wrench with the airbrush.
The instructions could also do with sprucing up- they seem very dated and run to a total of four pages and are not totally Omni 4000 specific. Theres a few how tos and the usual parts blow out diagram but not much else. If you have used an airbrush before then there wont be a problem but something a bit more detailed and modern looking would, I feel, be commensurate with the airbrush itself.
CONCLUSION
I think Omni is a very apt choice of title for this airbrush. Meaning all, I feel that really does describe this piece of kit well- it is an all rounder but not just your run of the mill workhorse- it can perform to the highest standard and create very fine lines as well as being able to cover much larger surfaces effortlessly. The sturdy design (especially at the front) also gives it the potential to be a great beginners airbrush- a quick breakdown doesnt really contain any ultra-small parts and the only brittle bit is the needle but its nowhere near as delicate as something like a .2mm needle.
The Premi-Air G35 was basically an all rounder type airbrush but it certainly didnt feel terribly comfortable- the trigger mechanism wasnt very smooth and needed a lot of lubricant (in my experience) to perform well- fine lines were certainly achievable but the lack of finesse in the trigger operation made this difficult at best. The Omni is totally the opposite- the trigger mechanism is smooth and easy and the overall balance lends itself nicely to user control when attempting fine lines.
The Omni 4000 is a real catch and the performance right off the bat is surprising and gratifying- if you are looking for a true all rounder or your first airbrush then I would have no hesitation in recommending this piece of kit.
SUMMARY
Highs: Very balanced, sturdy, comfortable and capable of both detail and large coverage work.Lows: No box, poor instructions.Verdict: A premium quality, all rounder airbrush with fantastic handling and performance - a stellar piece of kit.
Our Thanks to Badger Airbrush! This item was provided by them for the purpose of having it reviewed on this KitMaker Network site. If you would like your kit, book, or product reviewed, please contact us.
Thanks Darren- the end cap idea certainly means you won't lose it from putting it down somewhere to expose the needle!
Paul- I've never used the 105 but I can see some similarities- I doubt it is simple a re-badge but it might share some components.
The trigger is set up differently than the 105. Internal parts and the nozzle end assembly are also different parts. Similar operating style and appearance.
Roman's correct that these are not retail packaged and were "bare bone" except for the hose and quick release, although I'm not sure if the Omni comes with a case (I didn't see anything online that would lead me to think it did). I would think a wrench would be provided for it though.
Excellent review Karl, you asked and answered some important questions
Thanks guys!
Roman- I would usually assume that, as you said, it would come without a box because it was only a review sample but when I looked the Omni 4000 up to see prices etc, I didn't see or read any mention of a box with it. My Krome came in a nice box too, so I would be fairly surprised if the Omni didn't come in a box- but there doesn't seem to be any seller that says whether it does or not.


Comments