introduction
The M332 Ammunition Trailer began service during the Vietnam War era and is still widely available for sale for civilian use. Weighing in at a hefty 2800 lbs. with a 3000 lb. payload capacity, this trailer was commonly used by 2.5 - 5 ton trucks. Handling is assisted by using an air over hydraulic braking system, as long as the hook-ups are available on the tow vehicle. This trailer also had the capability to be towed in tandem. The M332's low bed height made loading/unloading an easier task.
Perfect Scale Modellbau brings us this popular trailer in 1:35 scale to hook up behind that deuce and a half, or whatever suits your needs. Thanks to its long service life a variety of painting/marking schemes are available making this a versatile kit to get on your bench.
contents
Packed in a very sturdy cardboard box are:
57 resin pieces
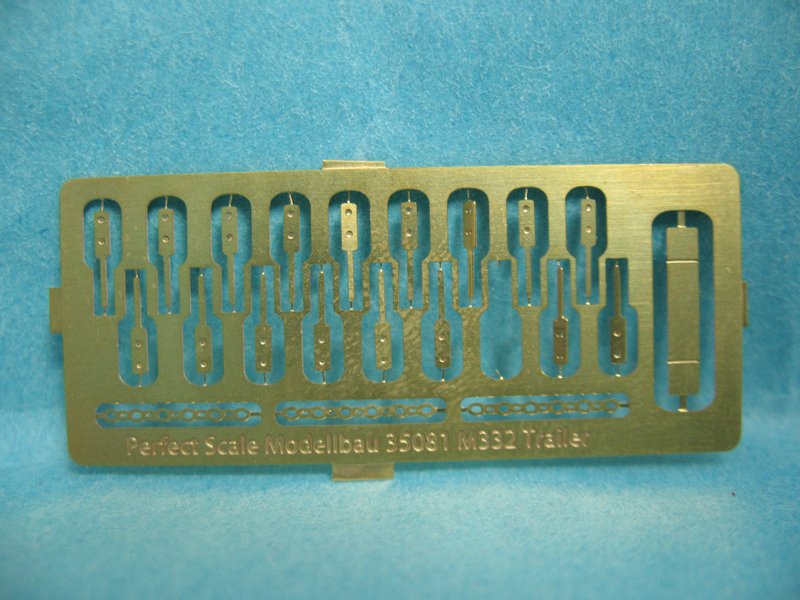
PE fret
Instructions
Unfortunately, the heavyweight box is where the excellent packing ends. All the resin pieces are packed in a single zip style bag and with the "delicate" handling of worldwide postal services many of the finer parts were destroyed in my sample. On the plus side, most of these parts can be fabricated at the bench. PSM also includes a quality control section on the instructions for missing/damaged parts instructing to send the damaged items to their office for replacement, something that I did not take advantage of.
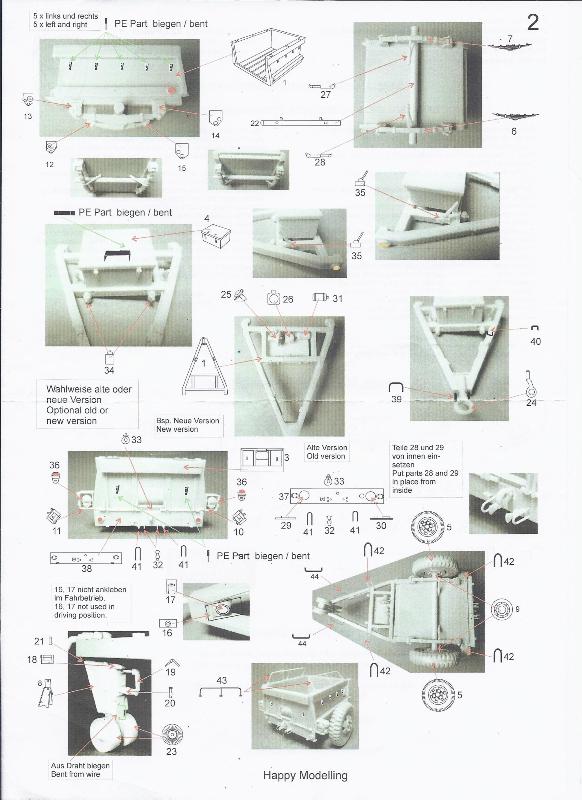
The instructions are on a single sheet of paper showing the individual parts with their corresponding part number and photo/line drawing assembly sequence. Simple kit, simple instructions...although they could have been a bit more clear in a couple of areas.
partial build
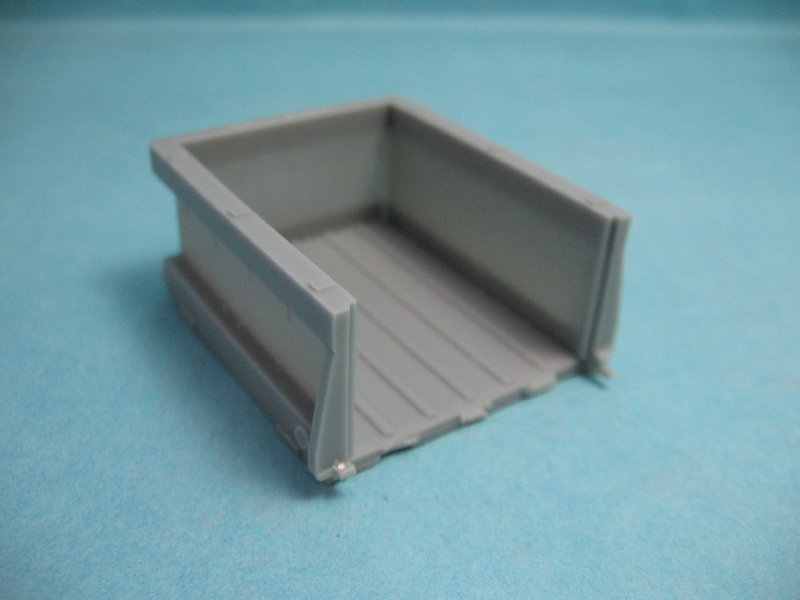
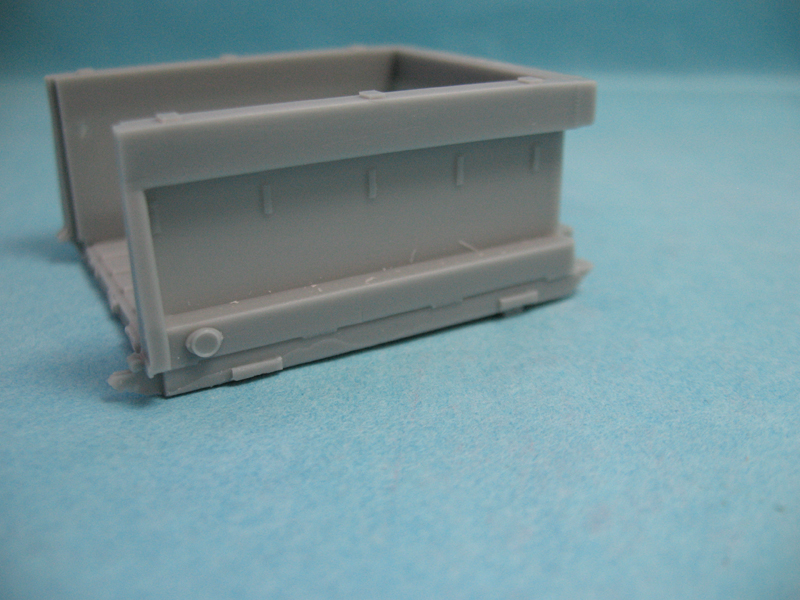
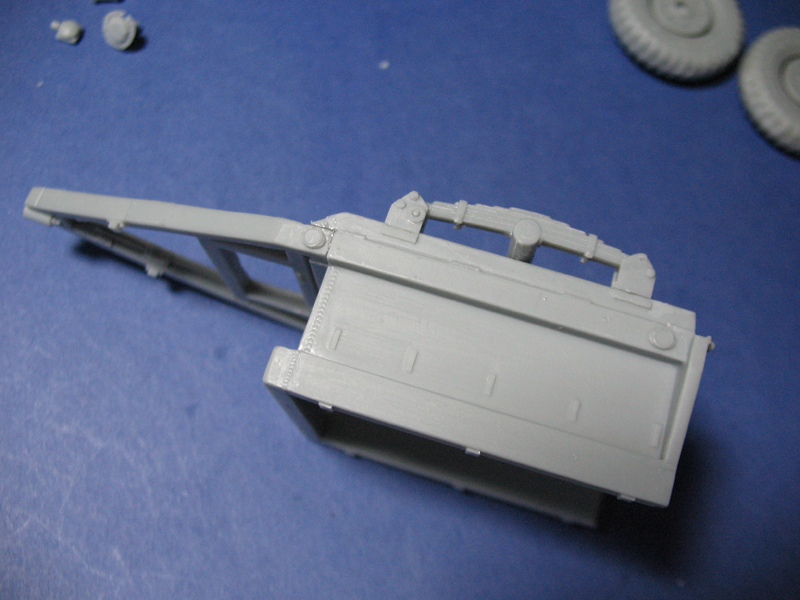
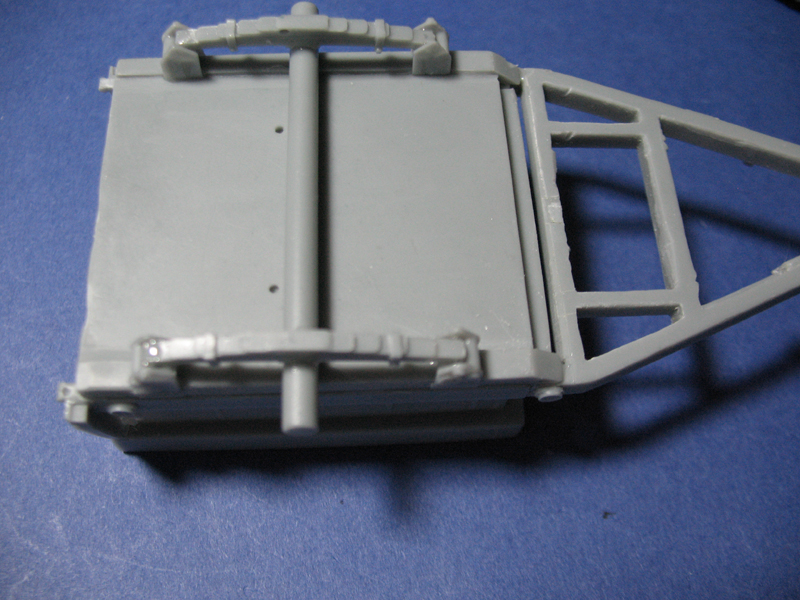
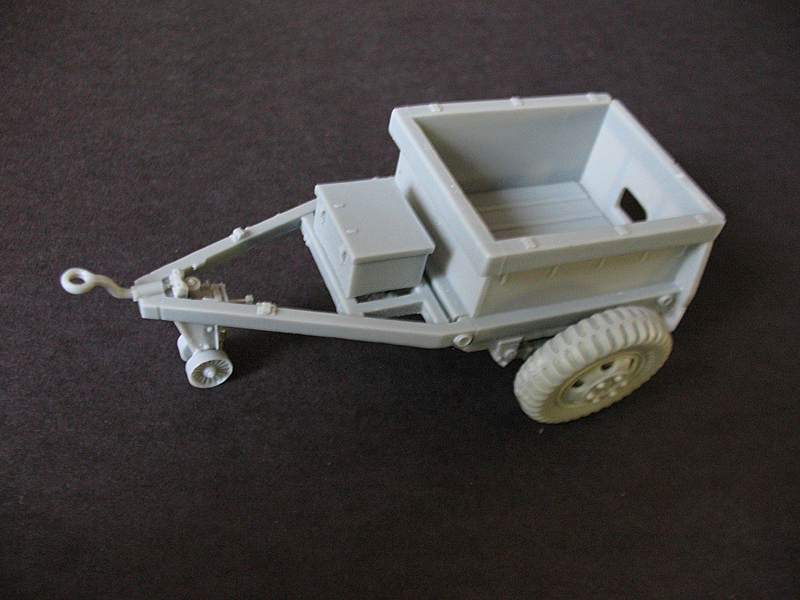
Clean-up of the grey resin parts was an easy task, as well as removing them from the casting blocks. Pinholes were a bit more than average, but that's the luck of the draw with resin sometimes. The trailer box is cast as a whole, sans the tailgate, providing a stable platform to work with. Weld beads are cast where appropriate and really look the part.
Not following the construction steps, I joined the A-frame to the box first. The mounting points of the A-frame are relatively small and I felt this was an easier way to get these two main components lined up correctly.
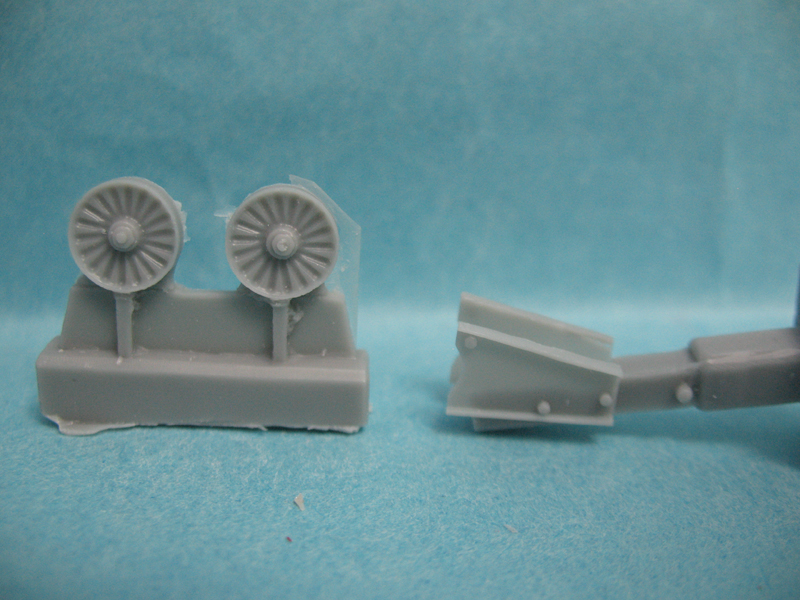
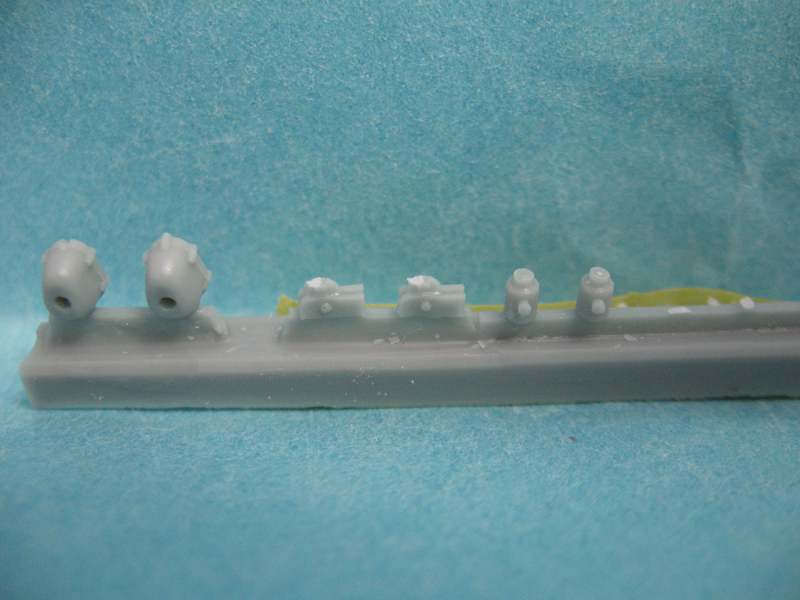
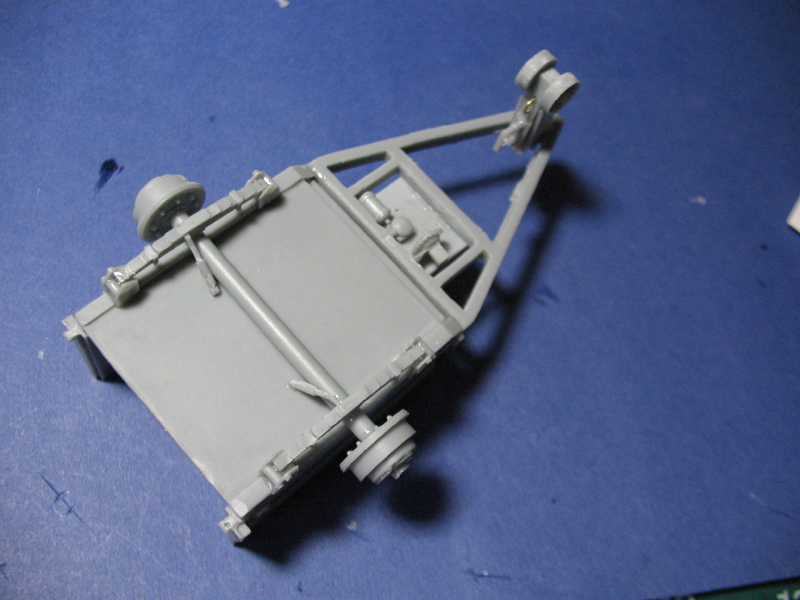
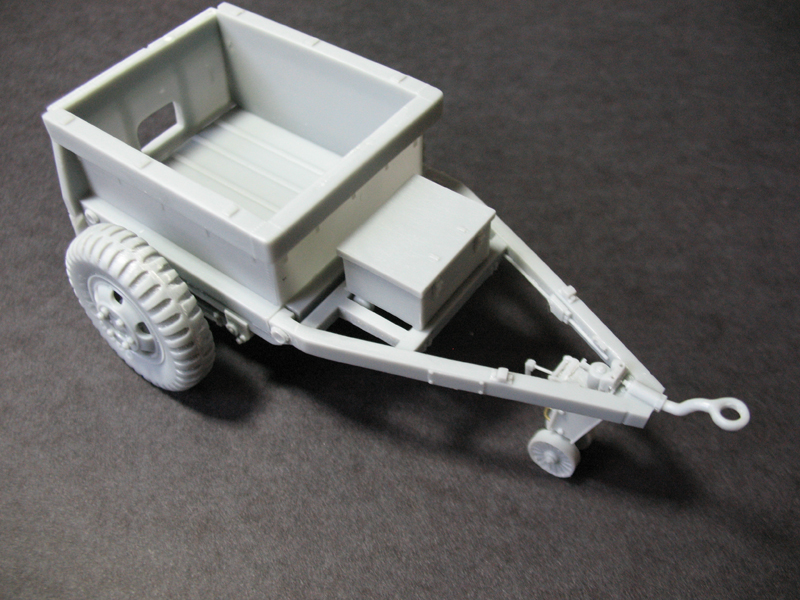
From there the axle, leaf springs with their mounts and the shocks were added. The instructions do an excellent job of indicating where each of the four unique mounts go. The handbrake levers are shown pointing towards the front in "brake on" mode. Reference photos show these in both configurations (towards front & towards rear) so I'm unsure if this was an early/late design or just the way the cables were hooked up for each trailer.
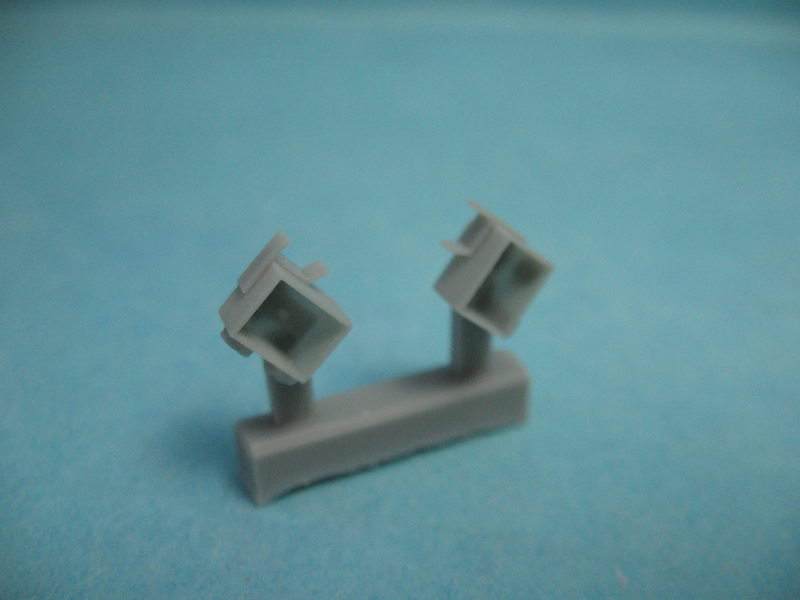
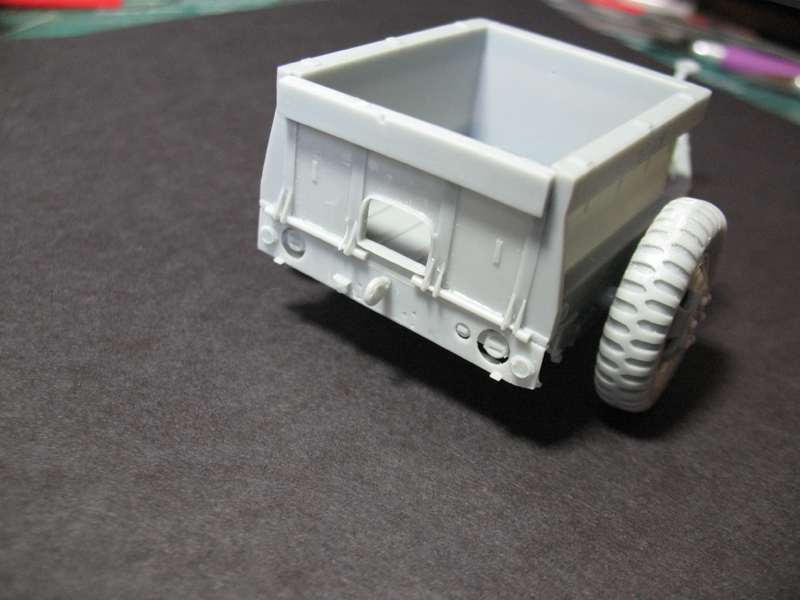
Both the early and late rear bumper is provided along with the appropriate lights. Since I'm going for a Vietnam era version I opted for the early style which has the lights incorporated within the bumper. Later styles use the side pods for the lights.
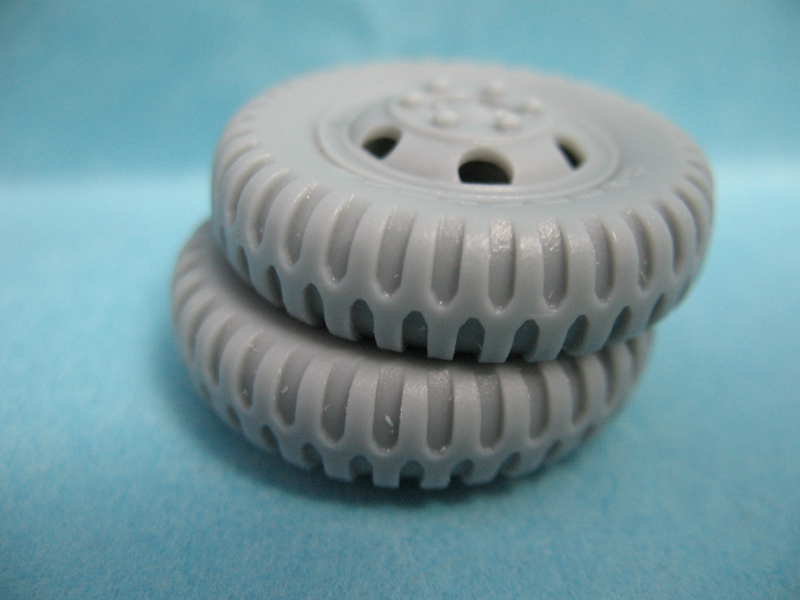
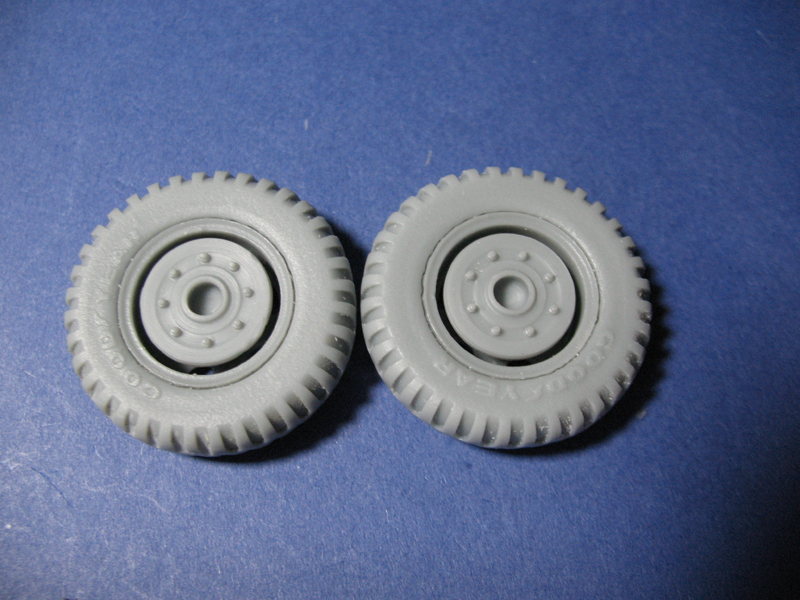
The rims/tires are cast as one piece and are absolutely beautiful, and include the Goodyear logo in raised letters. I temporarily affixed the wheels to the brake drums to serve two purposes: to help align the wheels properly and to assist in getting the landing leg at the correct height. I wanted to be able to remove the wheels later for easy painting, Gators Glue worked perfectly here.
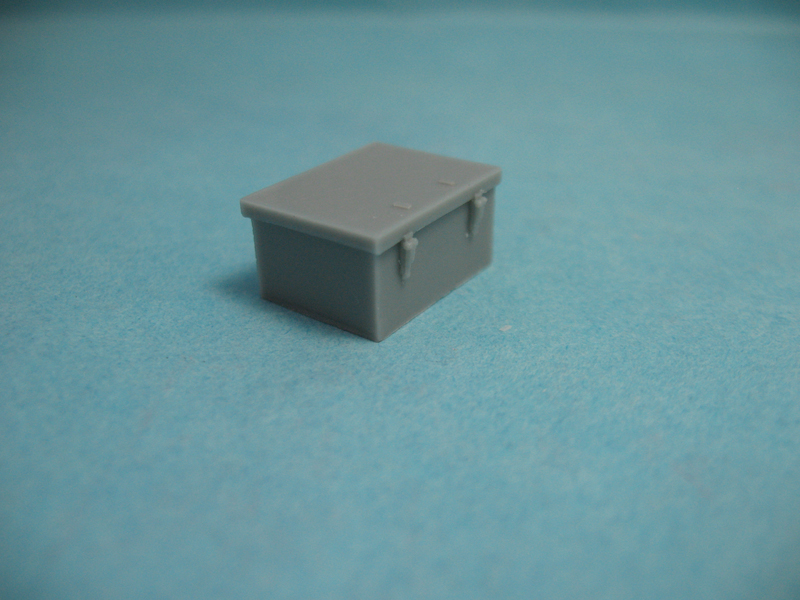
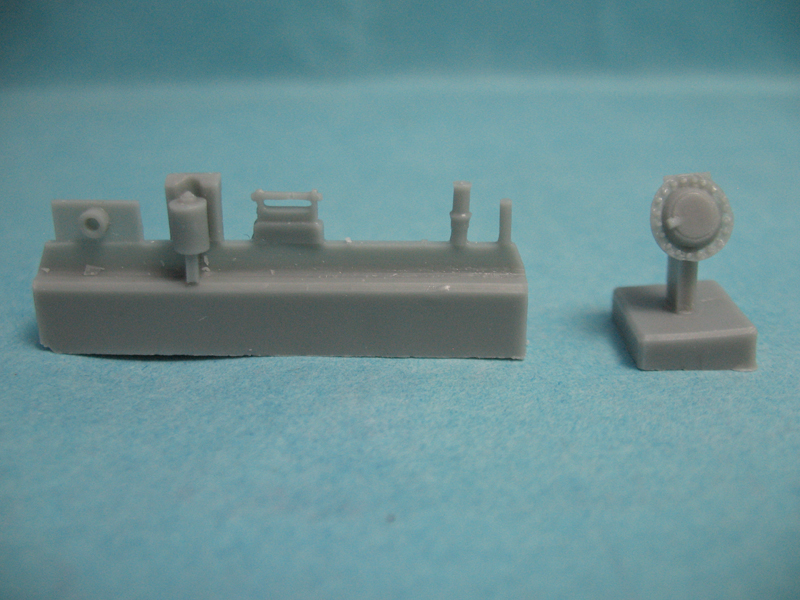
The fuse box is cast as one piece. A PE handle is included if you choose to add one. The tank, filter and other brake related components are added under and in front of the fuse box.
The landing leg is one area that the instructions could have been more clear and reference photos will help out to get this section done. A handle will need to be formed out of wire that is not included in the kit. This whole assembly looks great when complete.
A handle can be attached at the front of the A-frame, or you can fabricate a couple of eyebolts for safety chains. PE chains are included, although only three of them, so these can be used either for the safety chains up front or for the tailgate, but not both. Personally, I'll source out some fine chain to be used both front and rear.
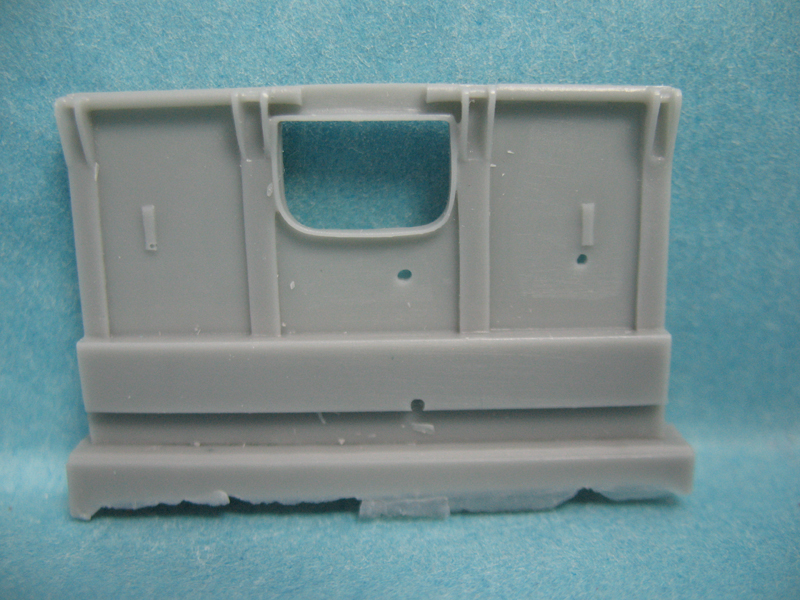
The tailgate is a perfect fit width wise, although a bit shy on height. A piece of strip styrene will bring the top to the correct height to match the sidewalls. PE tie-downs are provided for all around the box which is a nice addition. Airlines/gladhands to connect to the tow vehicle are not included. These can be scratch built fairly easy if desired. No decals are included for the ID plate or other markings.
Approximate kit measurements:
Rim dia. 18mm
Tire dia. 30mm
Tire width 7.37mm
Overall width 65.8mm
Overall length 112mm (tailgate to front of hitch)
Height 39.25mm
Inside box 44.8 x 35mm
Note that overall width can be slightly altered with axle length, and overall length by adjusting hitch length.
conclusion
All in all this is a very nice kit that builds up very quickly. Casting is excellent with only the pinholes and some very light flash to deal with. Detail is excellent, and the option of an early or late model is a plus.
M332 TM pdf


Comments