

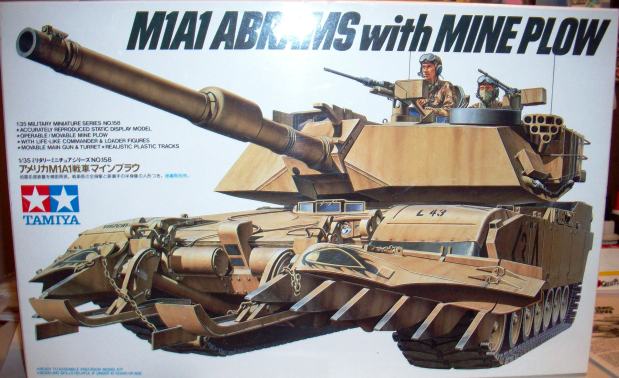
Dragon M1A2 Sep with warrior tank crewmen and the Legends Tusk set.

Legends Tusk set

Warriors Tank crews


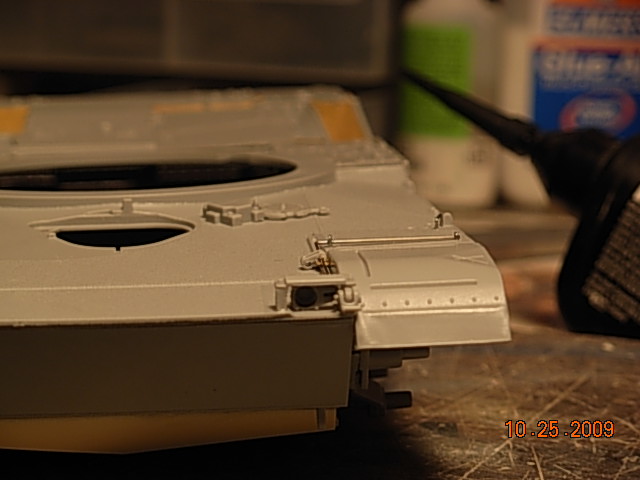

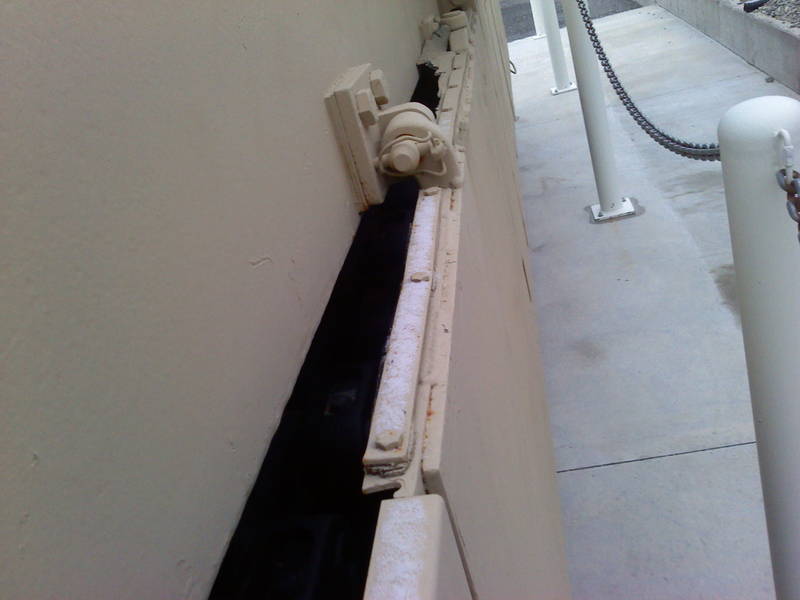
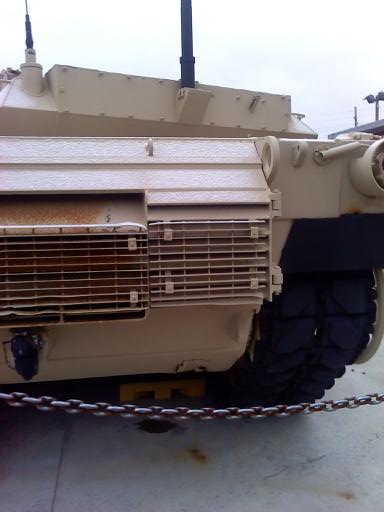
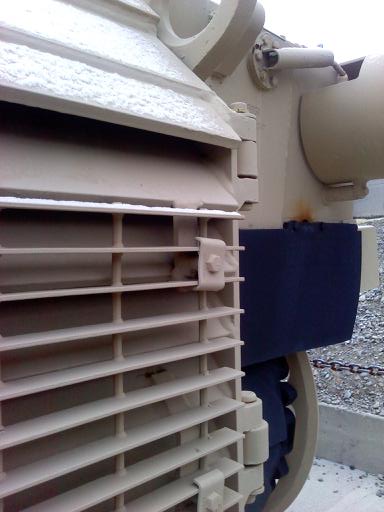
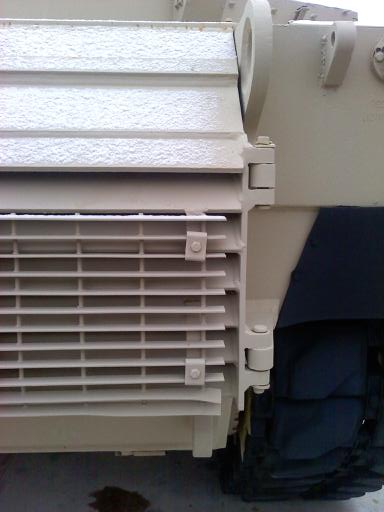
 As I was cutting out the rear grill pieces part # U12 and U11 I realized how fragile they are!! So, if anyone is building this kit, get a fresh x-acto blade and cut out the grill as one piece, not screen by screen as I found out.
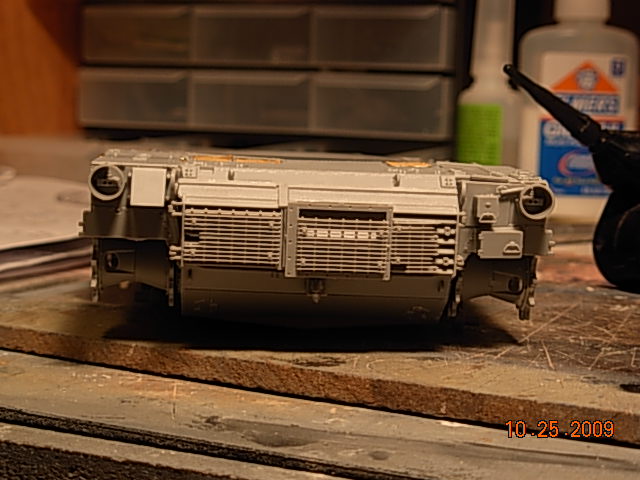


It looks as if you are off and flying there Mike, and I may have a spare set of the parts you damaged, if I have I will get them off to you as soon as possible. I may need an extension on this campaign as I was not expecting anything to happen for at least 3 months.


Hi all, was wondering being a fairly new member to this site, if it was to late to join this campaign, I started a M1A1 AIM about 6 weeks ago an have done some documenting of is build, except for the tracks I have kept it SOB, as I am getting back into building armor after a very long break from building. Happy tankin


 |


