

Irvin


 sure hope I could do justice to this one.
  Good luck on your build and the campaign itself!

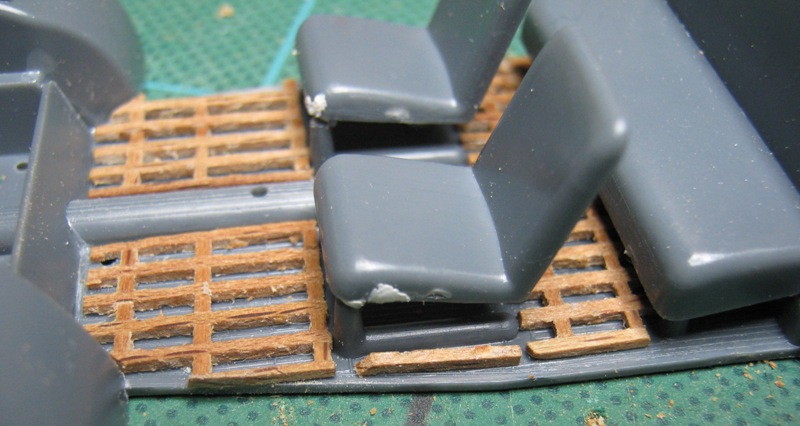
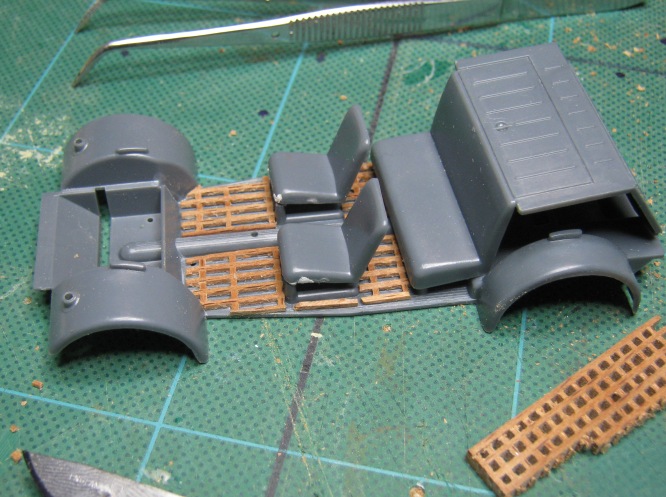
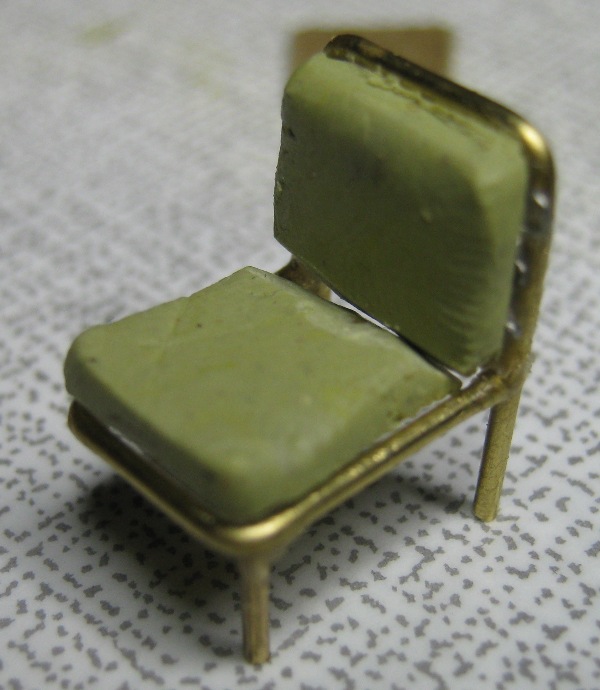


I like the wooden floor! The chairs are nice too, but I think the cushions are a bit generous - the real things were as thin as they could get away with. And if you want to get more detail, there are side braces you could add. Here's a pic of the Hasegawa kit (1:24 scale) for reference.
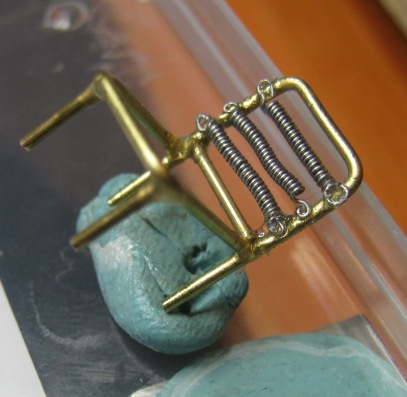
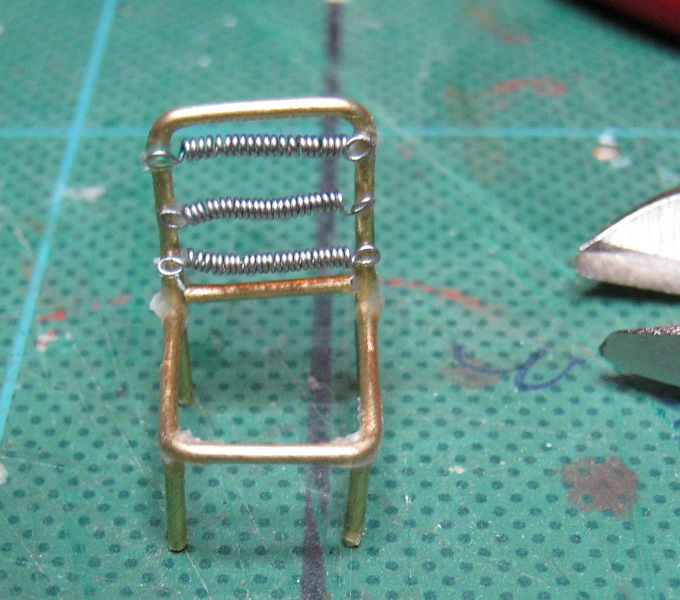
 Seeing the Hasegawa kit I realize that the cushions are on thick side, I'll redo them and add the braces. I might even make a new chair considering that the back of the chair and the legs are made of one piece of pipe. I'm having some issues on how to fasten the chair to the chassis and remodeling the chair will solve that.
Are you planning to add figures?

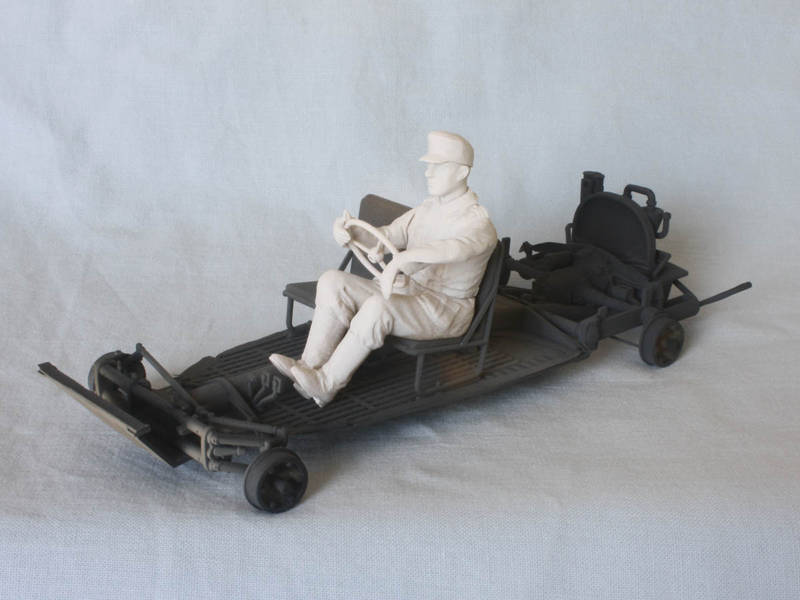
Nice work on that Jeepskie, Sal! What I'd love to know is how it relates to Tamiya's 1:48 version - did they do a new design, or just pantograph it down?...
Tom


 I was gonna do FDRs "sunshine special" but found out that it was a Lincoln, not a Packard, but I found out that he still used a Packard on his road tours. so it will now be a FDR Packard
 Does ICM really think that this is better than a one piece mold??
 does anybody make resin replacements?? Or should I putty up the grooves and scribe my own treads
  finished the multi piece body, turned it into a one piece for easier installation and painting...


 and I've got a computer literacy problem cause I don't know how to do that. When I uploaded the pic, I thought it would do it automatically cause there wasn't an option for pic size. Can someone explain how to upload a bigger pic in the thread?? This is only my second campaign, and also the first time I've attempted to include pics... sorry guys
 |


