Ontario, Canada
Joined: October 17, 2002
KitMaker: 448 posts
Armorama: 306 posts
Posted: Tuesday, September 02, 2014 - 07:34 AM UTC
Hi.
First Bronco kit, pretty nice kit from the looks of the sprues.


Nice, albeit a little on the small size


Hopefully I can do it justice.
Cheers
Jeff
Go Green! Go White!
On the bench
1/32 BF-109 G-6
1/24 1968 Dodge Dart
Louisiana, United States
Joined: March 06, 2010
KitMaker: 3,128 posts
Armorama: 2,959 posts
Posted: Tuesday, September 02, 2014 - 04:37 PM UTC
Right dinky tank that is, Jeff! I have the USA version kit - same size, of course!

VERY cool-looking in the box. I'm waiting to see it built up!

But if you really want DINKY Bronco vehicle kits... try a Topolino! Like the DAK Topo I'm doing HERE. Them is seriously TINY vehicles and kits!
Bob
Napoli, Italy
Joined: April 17, 2014
KitMaker: 652 posts
Armorama: 600 posts
Posted: Wednesday, September 03, 2014 - 11:03 PM UTC
OK dear friends, definitely I enlisted today !
No any idea which kit I'll do, but for sure it will be 1:35 german or italian WW2 afv !
I have sometime to decide...
Regards
Giovanni
Lisboa, Portugal
Joined: March 04, 2008
KitMaker: 5,386 posts
Armorama: 4,727 posts
Posted: Wednesday, September 10, 2014 - 06:23 AM UTC
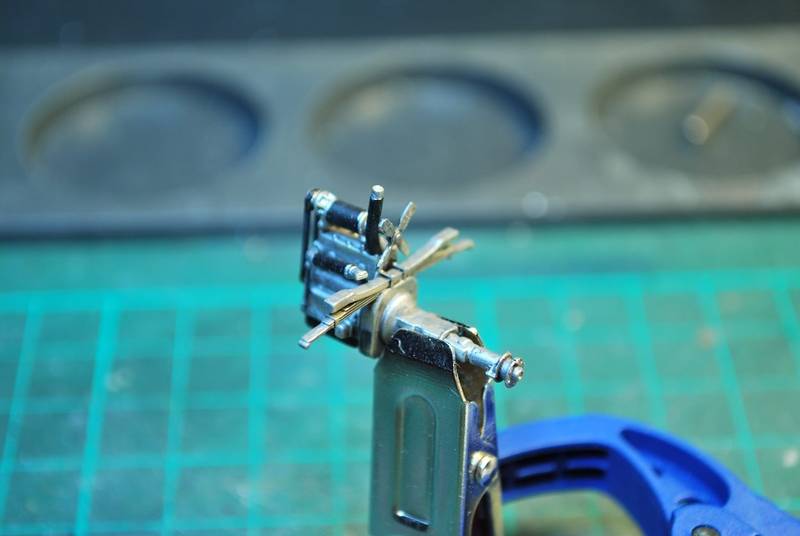
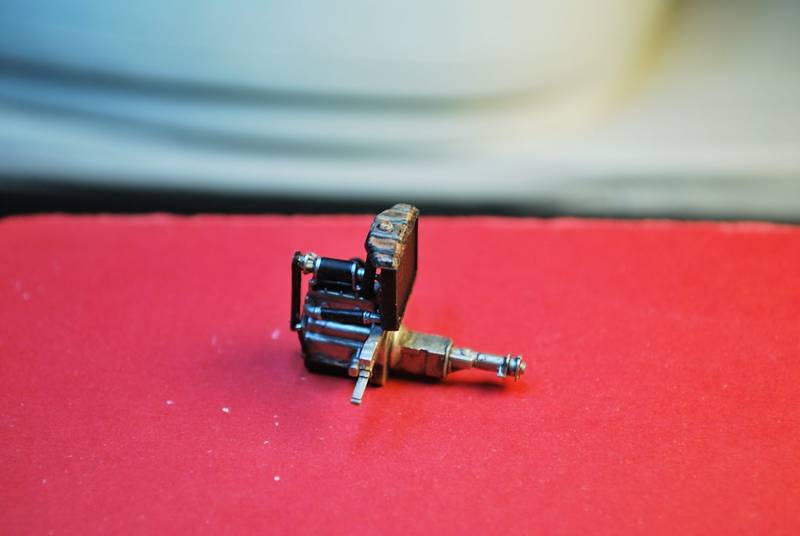
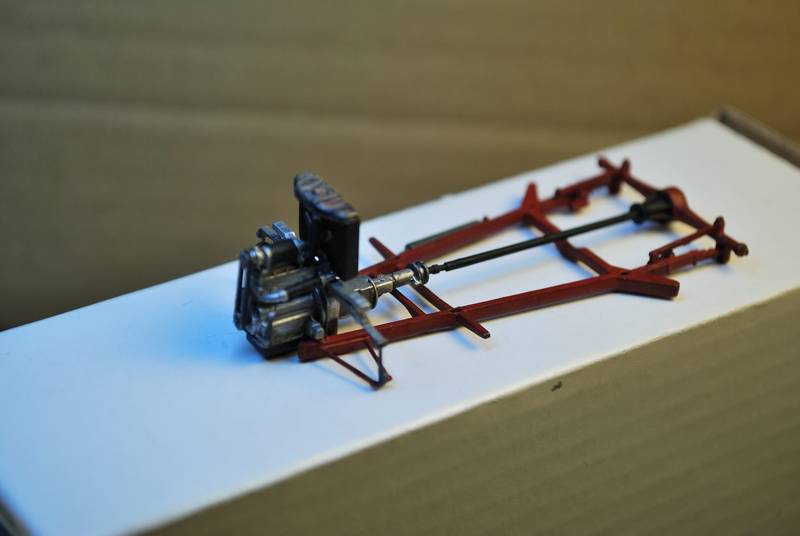
Update,

Still need to work on the other side suspension.
Active Builds: 0
Active Campaigns: 0
Ontario, Canada
Joined: November 03, 2012
KitMaker: 2,275 posts
Armorama: 2,233 posts
Posted: Wednesday, September 10, 2014 - 11:20 AM UTC
Ontario, Canada
Joined: November 03, 2012
KitMaker: 2,275 posts
Armorama: 2,233 posts
Posted: Friday, September 12, 2014 - 10:06 AM UTC
Update:
So I got some more of the tiny , tiny PE put on ...primed in black.
Next is to paint interior- then paint outside.

Ontario, Canada
Joined: November 03, 2012
KitMaker: 2,275 posts
Armorama: 2,233 posts
Posted: Thursday, September 18, 2014 - 06:30 AM UTC
update:
I got some paint on it!

Ontario, Canada
Joined: October 17, 2002
KitMaker: 448 posts
Armorama: 306 posts
Posted: Thursday, September 18, 2014 - 02:47 PM UTC
@Bob - That Topolino is tempting...


Looking a little rough, but hopefully the primer will tie it all together nicely. Used a little Mr. Surfacer 500 on the turret to add some texture, but other wise OOB. It's in 3 pieces right now to facilitate weathering and painting down the line because I see that side skirt causing me problems access wise. I also need to add the exhaust, but seeing how the hull is in two pieces that can't be completed until they are fused together.
It's a fun, but fiddly build.
Cheers
Jeff
Go Green! Go White!
On the bench
1/32 BF-109 G-6
1/24 1968 Dodge Dart
Louisiana, United States
Joined: March 06, 2010
KitMaker: 3,128 posts
Armorama: 2,959 posts
Posted: Friday, September 19, 2014 - 04:44 AM UTC
Looking GOOD, Jeff!

"... a fun, but fiddly build..."
Hey! It's a BRONCO! "Bronco" is, I think, actually a cleverly-different way to spell "fiddly"! Or a kind of goofy-but-intriguing substitution-based code!
To be sure, that Topo is also a "fiddly" (but lots of FUN!) kit... You do need to have your patience on tap for these B kits!
Speaking of my Topo...

I better get some progress posted!

Bob
Ontario, Canada
Joined: October 17, 2002
KitMaker: 448 posts
Armorama: 306 posts
Posted: Sunday, September 21, 2014 - 01:19 PM UTC
Slowly making progress.
Tried some new paint techniques. Instead of priming grey and preshading lines, I went with a black primer.

Then promptly went way too heavy on the base coat and obliterated the black pre shade. Not my best paint job ever, but I should be able to salvage it. There is a little bit of lightened paint in most of the panels, but it's not showing up well on camera. I also just noticed I didn't set my white balance correctly for the lighting because it has a much more brown tint then in reality. Baby steps, I'll get some better photos eventually.

For a size reference here's a photo of it next to a M4A2.

She's still in 3 pieces for paint/weathering so any gaps should disappear.
Thanks again for the encouragement
Jeff
Go Green! Go White!
On the bench
1/32 BF-109 G-6
1/24 1968 Dodge Dart
Victoria, Australia
Joined: October 11, 2013
KitMaker: 160 posts
Armorama: 152 posts
Posted: Thursday, September 25, 2014 - 10:35 AM UTC
Lots of awesome work happening guys!
Been away for a while, and my second build (GAZ-69) is on the shelf of shame at the moment. The instructions are very vague in areas and things aren't fitting together as they should

But it's great to see everyone's progress.
Currently building:
Italeri M60A1 Patton - what if 4 challenge
Revell 1/25 32 Ford rat rod
Italeri 1/48 Junkers JU-87B Stuka
Bronco 1/35 Hungarian Zrinyi assault gun
New York, United States
Joined: March 08, 2010
KitMaker: 3,662 posts
Armorama: 3,078 posts
Posted: Thursday, September 25, 2014 - 10:58 AM UTC
Hi guy,
I haven't even started my kit yet for this build and I just had surgery on my shoulder. I have to keep it in mobilized for a while so I am on the disabled list now. So I have no idea when I will be able to get back to the bench


Active Campaigns on the bench:
Operation Fall Gelb - Pz.Kpfw. IV Ausf. C
Engineering the Future - M-26 Recovery Vehicle
115 Campaigns completed
Wisconsin, United States
Joined: April 05, 2007
KitMaker: 2,023 posts
Armorama: 1,234 posts
Posted: Thursday, September 25, 2014 - 05:59 PM UTC
Jeff, Thanks for the size comparison between the Sherman & the Locust. WOW ! that little thing must of been one cramped vehicle !
On the bench :
A whole bunch of figures, Too many half built kits and a (gasp) wing thing
Ontario, Canada
Joined: October 17, 2002
KitMaker: 448 posts
Armorama: 306 posts
Posted: Monday, October 06, 2014 - 03:41 AM UTC
Hi again, made a little progress.
Glossed it with Alcad aqua gloss (love it) and used the kit decals. I decided to keep the gun cleaning rod and headlight brush guards off since the photos I've seen from Varsity shows them missing on the 1:1 version. The one thing kind of driving me nuts is the asymmetrical turret numbers. I think it looks a little bit like an eye sore to have one near the front mid turret and one on the rear situated higher. You'd think that the 6thAAR could have thought of future modellers when they were designing markings.


It's still in 3 pieces to help facilitate weathering so that front gap should disappear.
Take care,
Jeff
Go Green! Go White!
On the bench
1/32 BF-109 G-6
1/24 1968 Dodge Dart
New York, United States
Joined: March 08, 2010
KitMaker: 3,662 posts
Armorama: 3,078 posts
Posted: Monday, October 06, 2014 - 04:02 AM UTC
Ok guys Im a little late to this party but here is my entry

and here is my progress as of this morning

hopefully more today
Active Campaigns on the bench:
Operation Fall Gelb - Pz.Kpfw. IV Ausf. C
Engineering the Future - M-26 Recovery Vehicle
115 Campaigns completed
New York, United States
Joined: March 08, 2010
KitMaker: 3,662 posts
Armorama: 3,078 posts
Posted: Thursday, October 09, 2014 - 01:54 PM UTC
Ok never thought a Bronco kit would be a speed build especially this kit which i can see why the discontinued

But here is my progress


Used all the PE that was offered and now with some color

Hope to have this little guy finished in a week and Im looking for a figure and some gear to add to the inside if thats allowed
Active Campaigns on the bench:
Operation Fall Gelb - Pz.Kpfw. IV Ausf. C
Engineering the Future - M-26 Recovery Vehicle
115 Campaigns completed
New York, United States
Joined: March 08, 2010
KitMaker: 3,662 posts
Armorama: 3,078 posts
Posted: Monday, October 13, 2014 - 07:18 AM UTC
Active Campaigns on the bench:
Operation Fall Gelb - Pz.Kpfw. IV Ausf. C
Engineering the Future - M-26 Recovery Vehicle
115 Campaigns completed

#041
Kobenhavn, Denmark
Joined: July 20, 2006
KitMaker: 10,069 posts
Armorama: 4,677 posts
Posted: Thursday, October 16, 2014 - 02:31 AM UTC
Quick build, Sal. Looks good.
I decided to join this campaign as well. I do not what to build, but I rummage through the stash and see what Bronco kits I find.
Campaign'oholic - 252+ campaigns completed
New York, United States
Joined: March 08, 2010
KitMaker: 3,662 posts
Armorama: 3,078 posts
Posted: Thursday, October 16, 2014 - 04:23 AM UTC
Quoted Text
Quick build, Sal. Looks good.
I decided to join this campaign as well. I do not what to build, but I rummage through the stash and see what Bronco kits I find.
Thanks Jasper and welcome back you have been MIA for a while
Active Campaigns on the bench:
Operation Fall Gelb - Pz.Kpfw. IV Ausf. C
Engineering the Future - M-26 Recovery Vehicle
115 Campaigns completed
Ontario, Canada
Joined: November 03, 2012
KitMaker: 2,275 posts
Armorama: 2,233 posts
Posted: Thursday, October 16, 2014 - 05:15 AM UTC
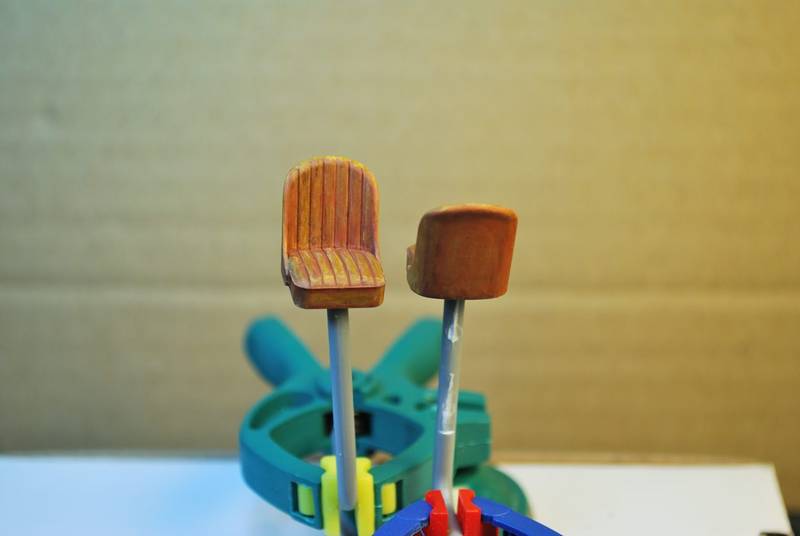
Update: I've completed the model, but here's some pix of interior while working on it. Interior 80% painted in this pic.

Completed model.

Different lighting.

#298
Hong Kong S.A.R. / 繁體
Joined: August 08, 2002
KitMaker: 1,182 posts
Armorama: 665 posts
Posted: Sunday, November 02, 2014 - 02:41 PM UTC
Just started to build my entry, Chinese PLA ZTZ-99G.

Lisboa, Portugal
Joined: March 04, 2008
KitMaker: 5,386 posts
Armorama: 4,727 posts
Posted: Thursday, November 06, 2014 - 07:17 AM UTC
I have to drop this one..

I won't make it in time.
I still have a lot of work on my Pz II
I'll end it on the next Unfinished Campaigns for sure.
Active Builds: 0
Active Campaigns: 0
Colorado, United States
Joined: February 24, 2014
KitMaker: 3,033 posts
Armorama: 2,492 posts
Posted: Thursday, November 06, 2014 - 08:06 AM UTC
Quoted Text
"had some trouble getting the rear wheels to stay on as I said I can see why this kit has been discontinued" ... "little guy is very fragile"
Hi Sal,
Looks great! I recently purchased this kit after seeing your WIP photos completely ignored all of your warnings! We'll see how it goes!
mike
Hame, Finland
Joined: February 04, 2009
KitMaker: 702 posts
Armorama: 665 posts
Posted: Saturday, November 15, 2014 - 11:32 PM UTC
This is where I'm right now: kit painted, some dry brushing and chipping done. Bad news is, that I'm suffering nasty tennis elbow and it makes using paintbrush quite impossible or very painfull at the moment, so I can't promise this will finish in time...
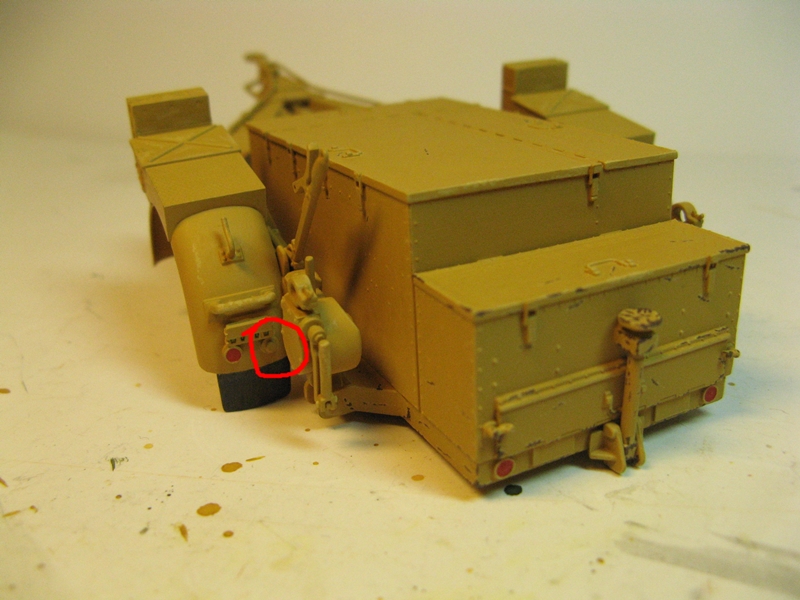
One question: does anyone know, which colour I should use for that round light(?)on both fenders? (The one inside red circle)
An anti-modulation modelist.
#156
Madrid, Spain / España
Joined: February 29, 2004
KitMaker: 119 posts
Armorama: 53 posts
Posted: Saturday, November 22, 2014 - 04:23 AM UTC
Current Campaigns:
Mighty Battleship: Kombrig España (What else?)