

Cheers,
Jan.


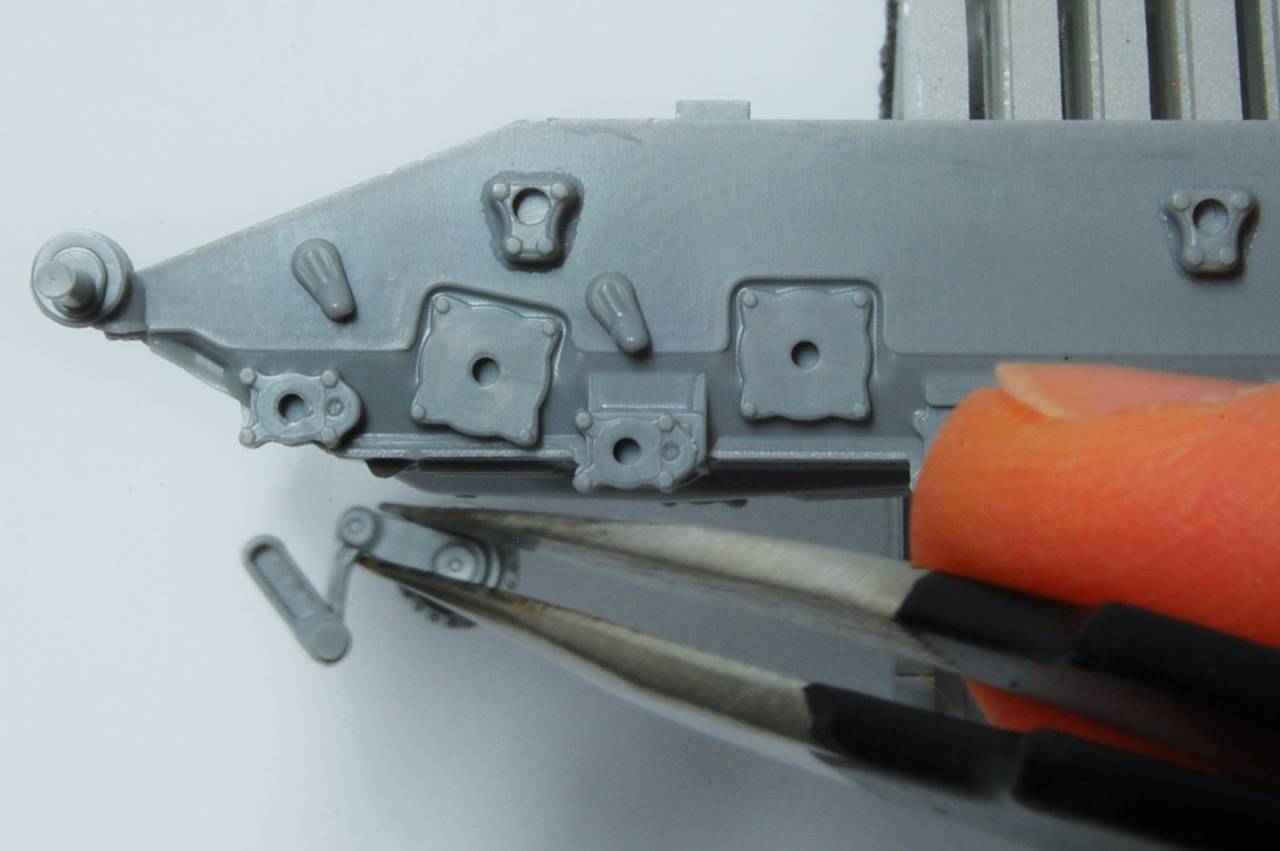
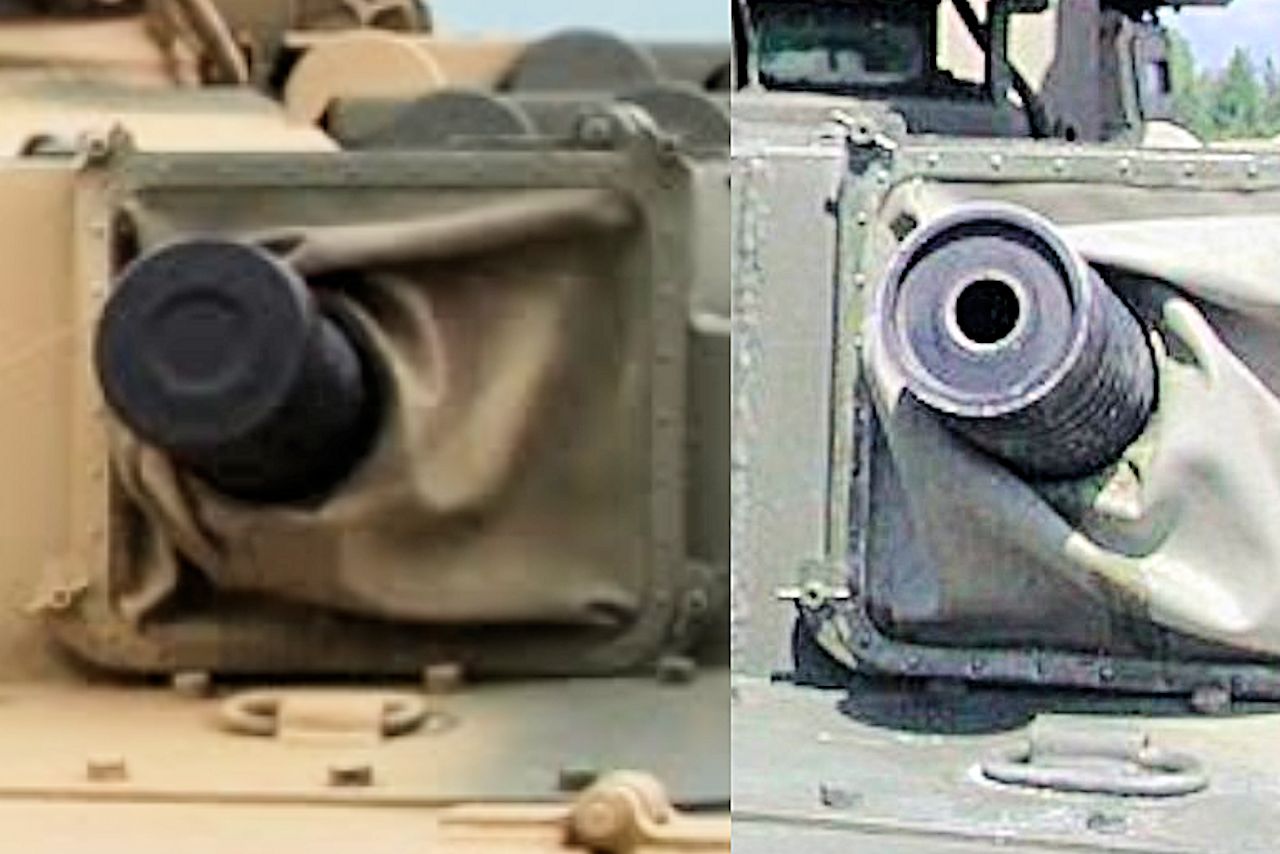
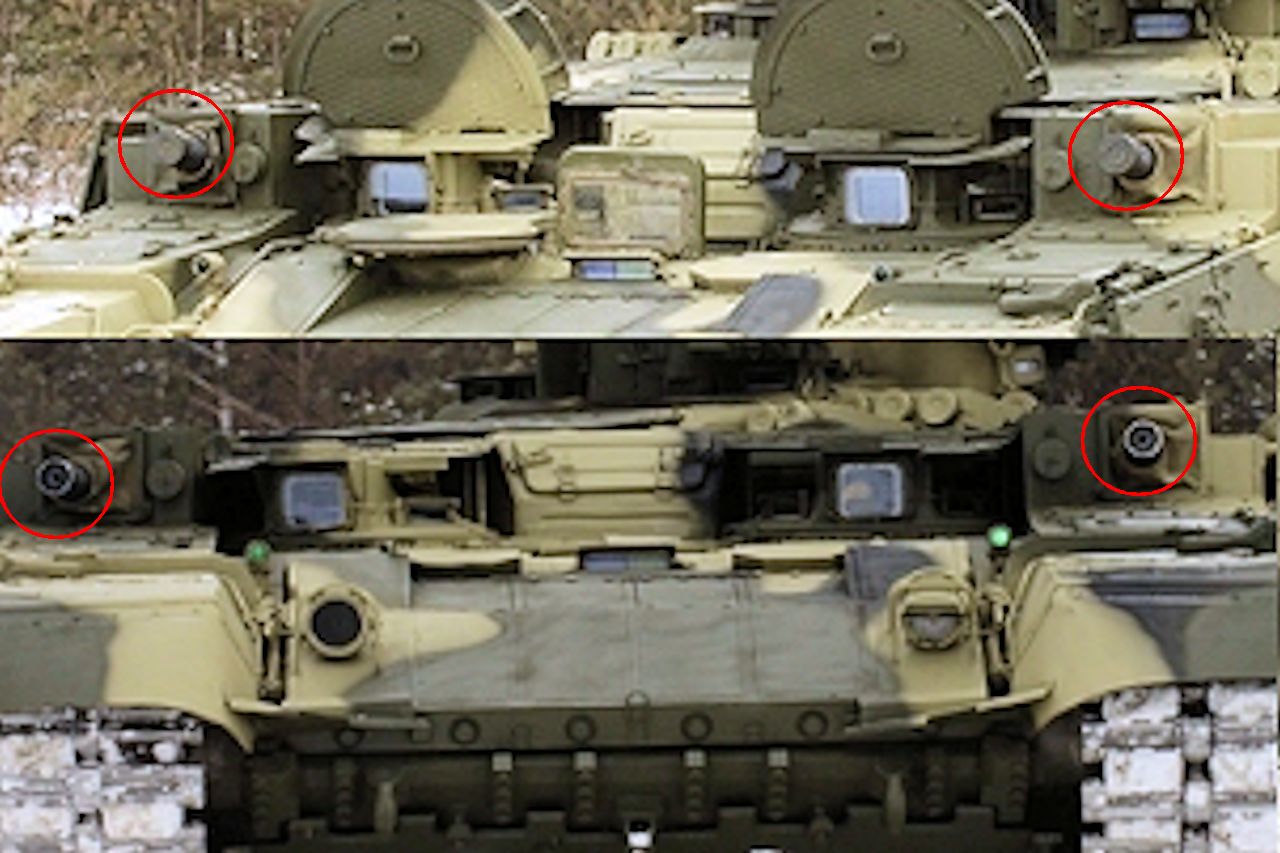
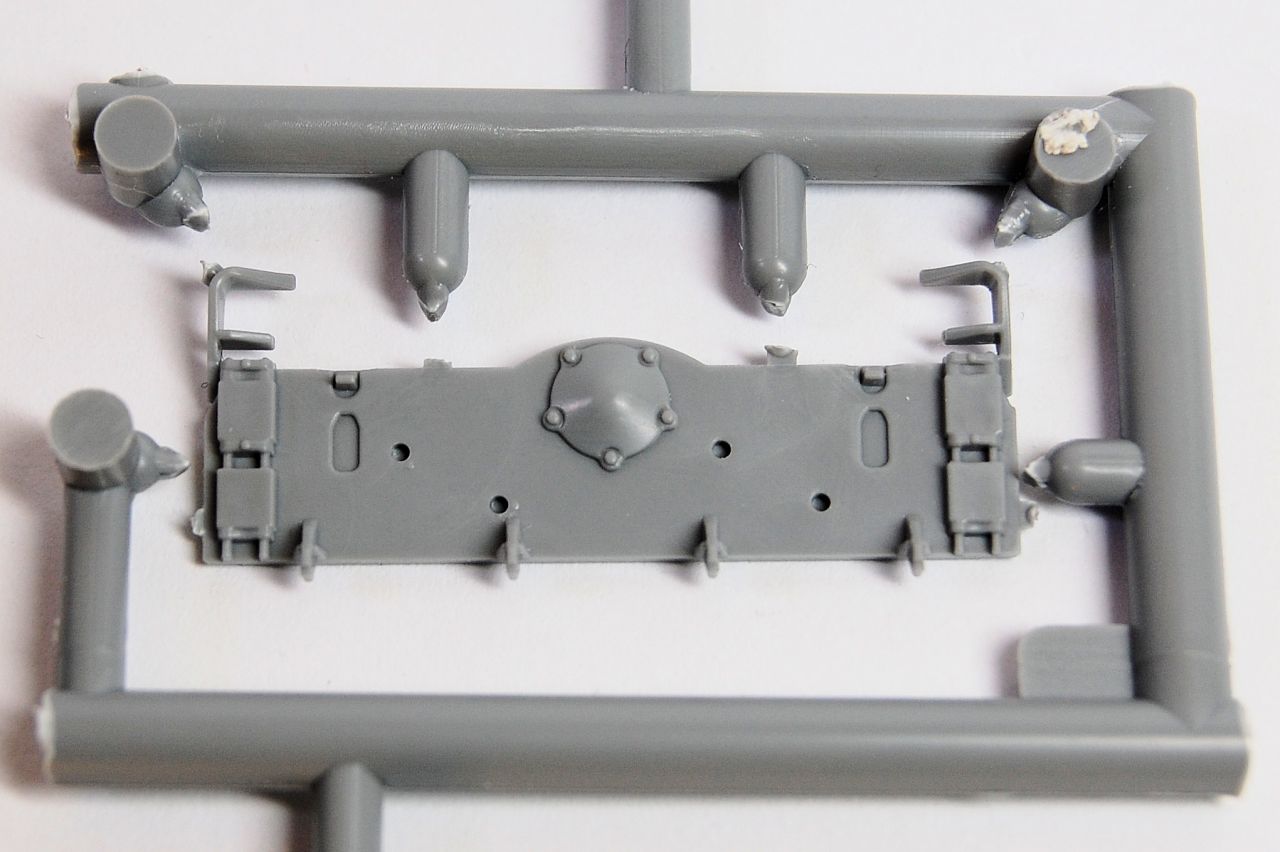
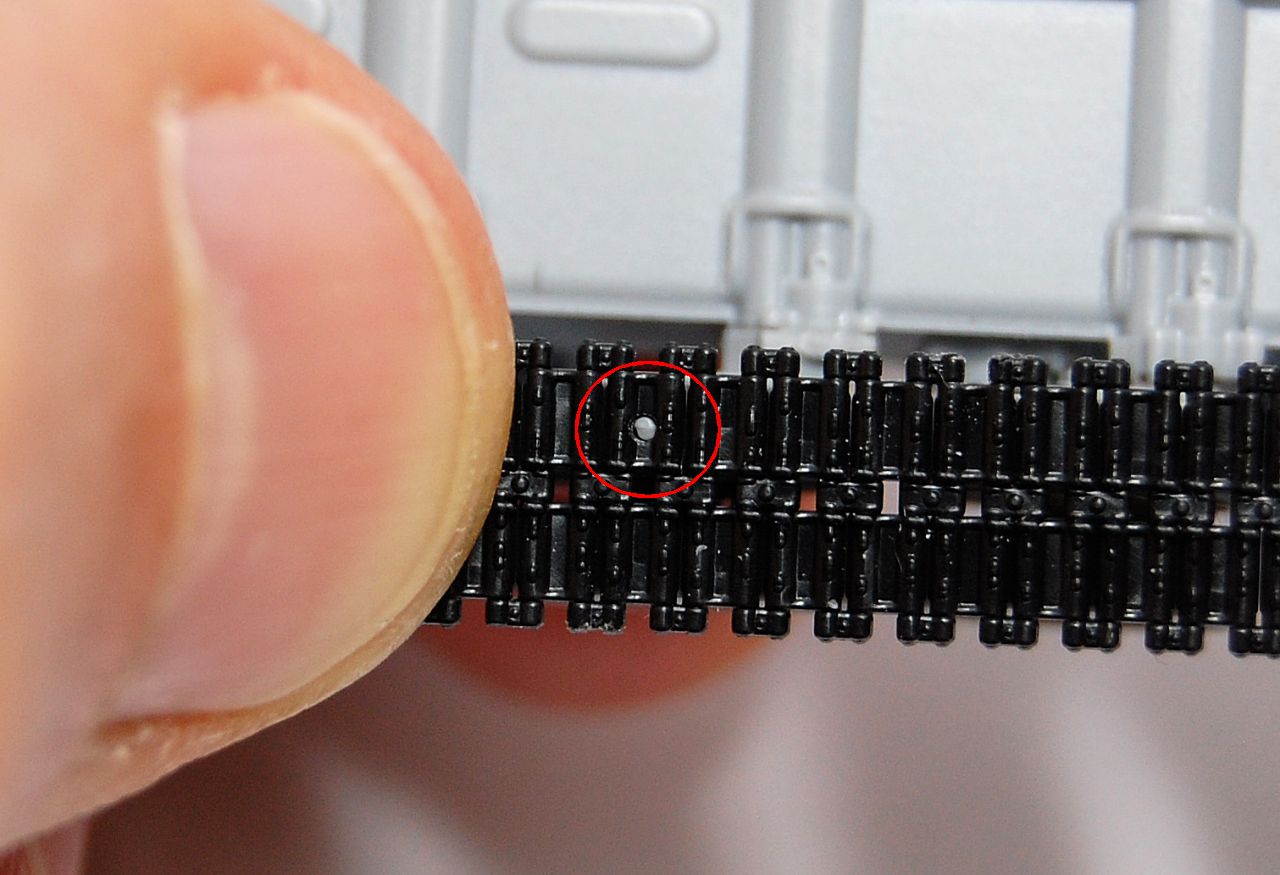
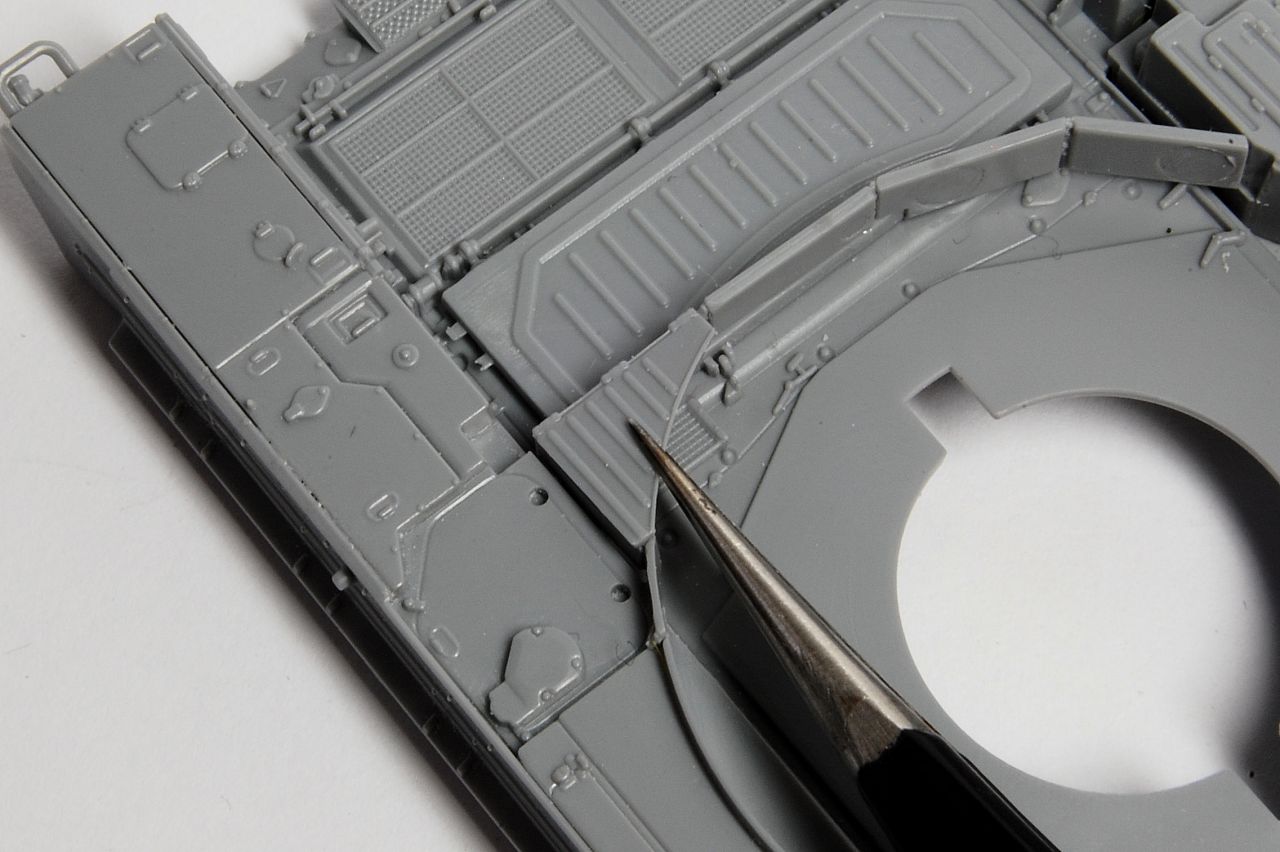
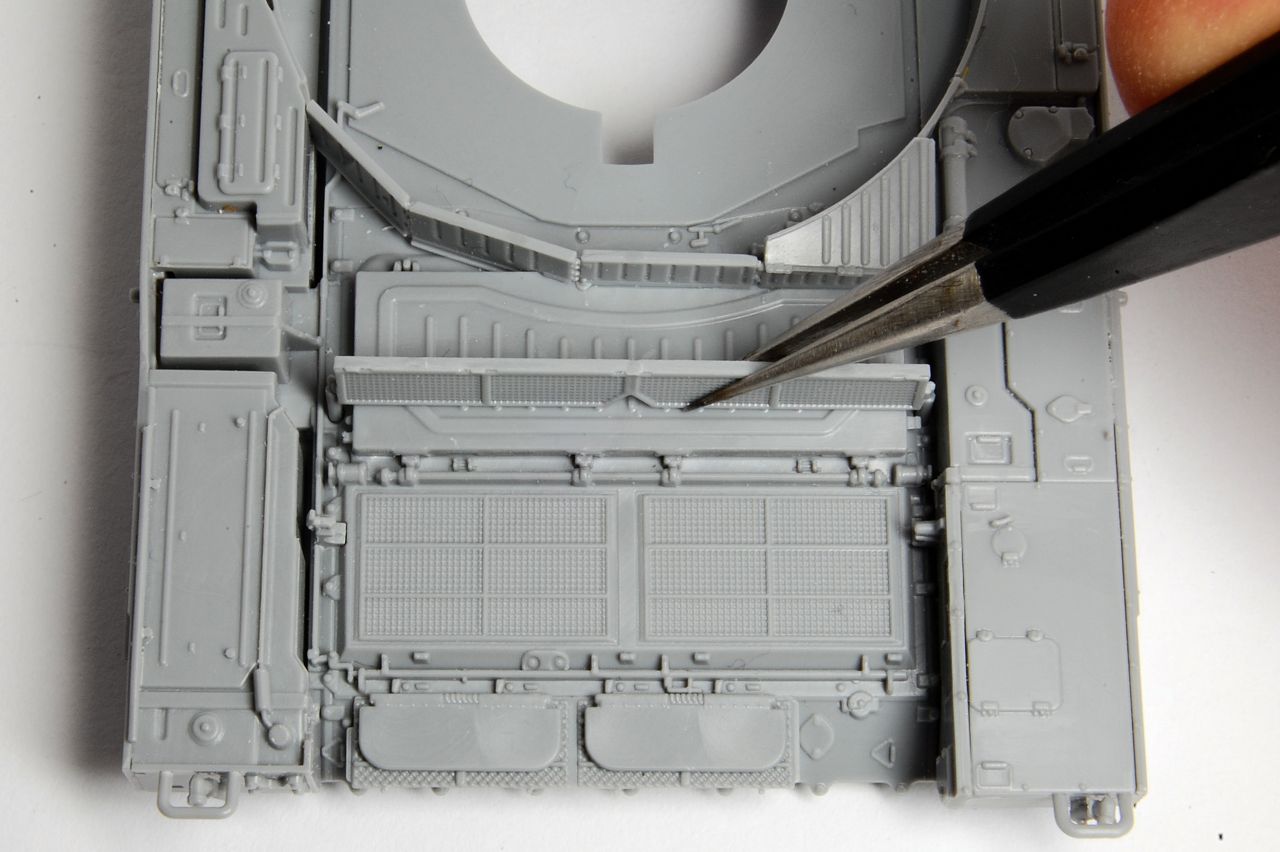
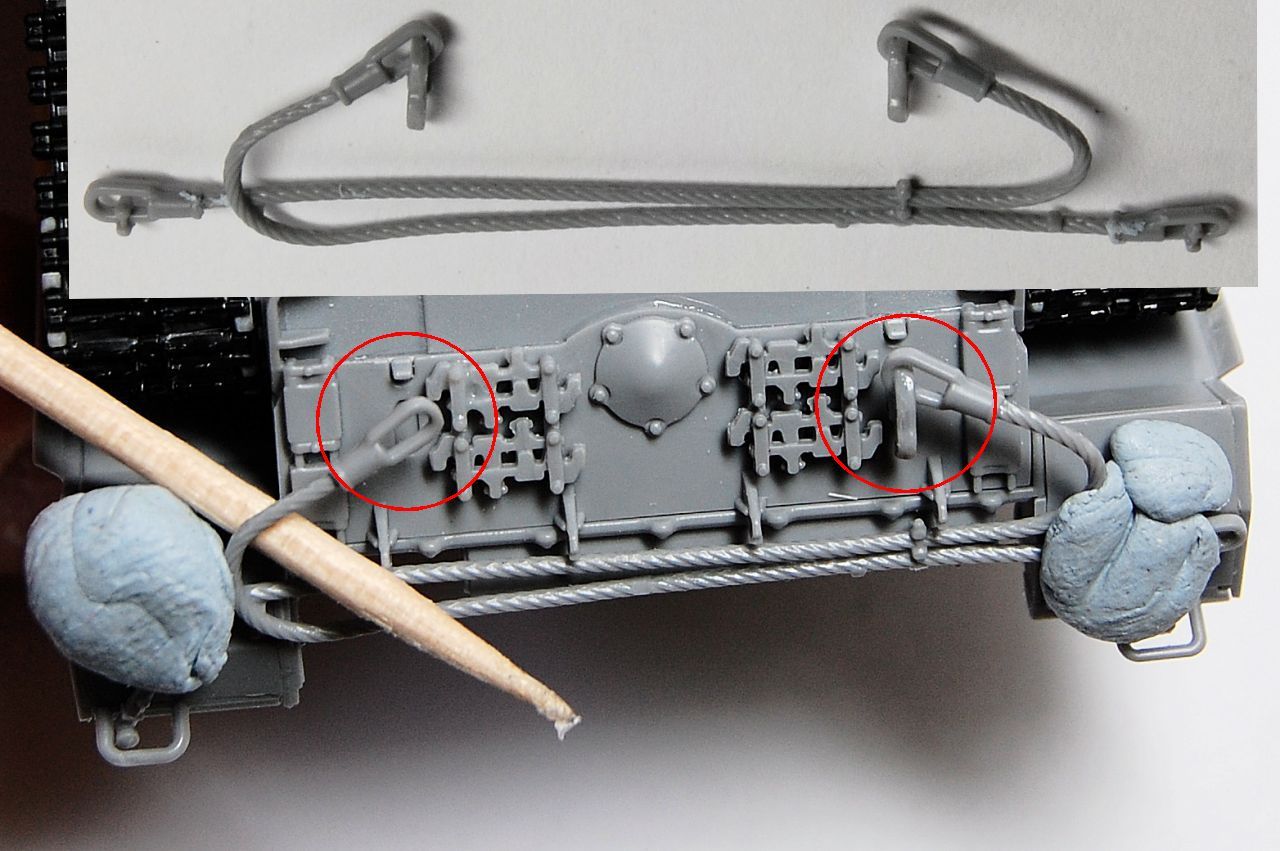
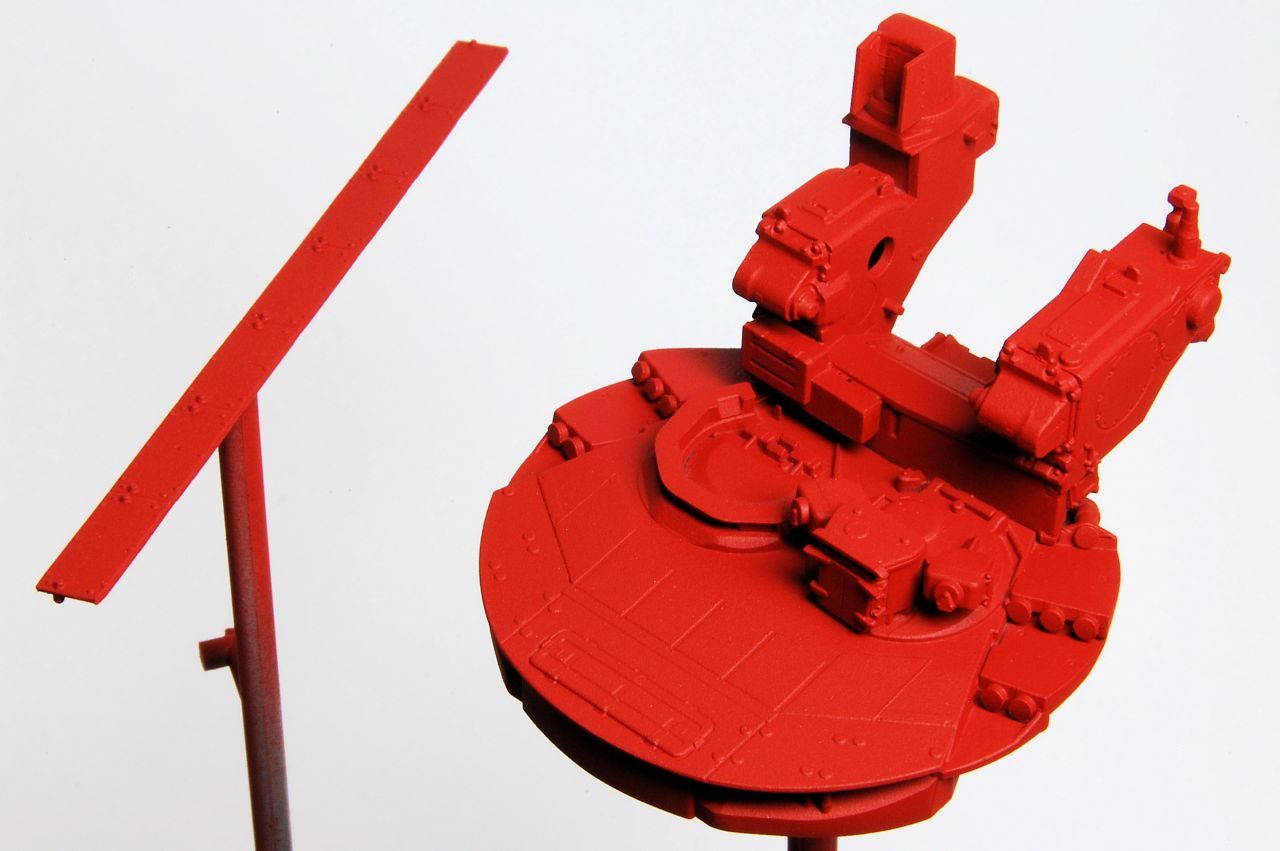
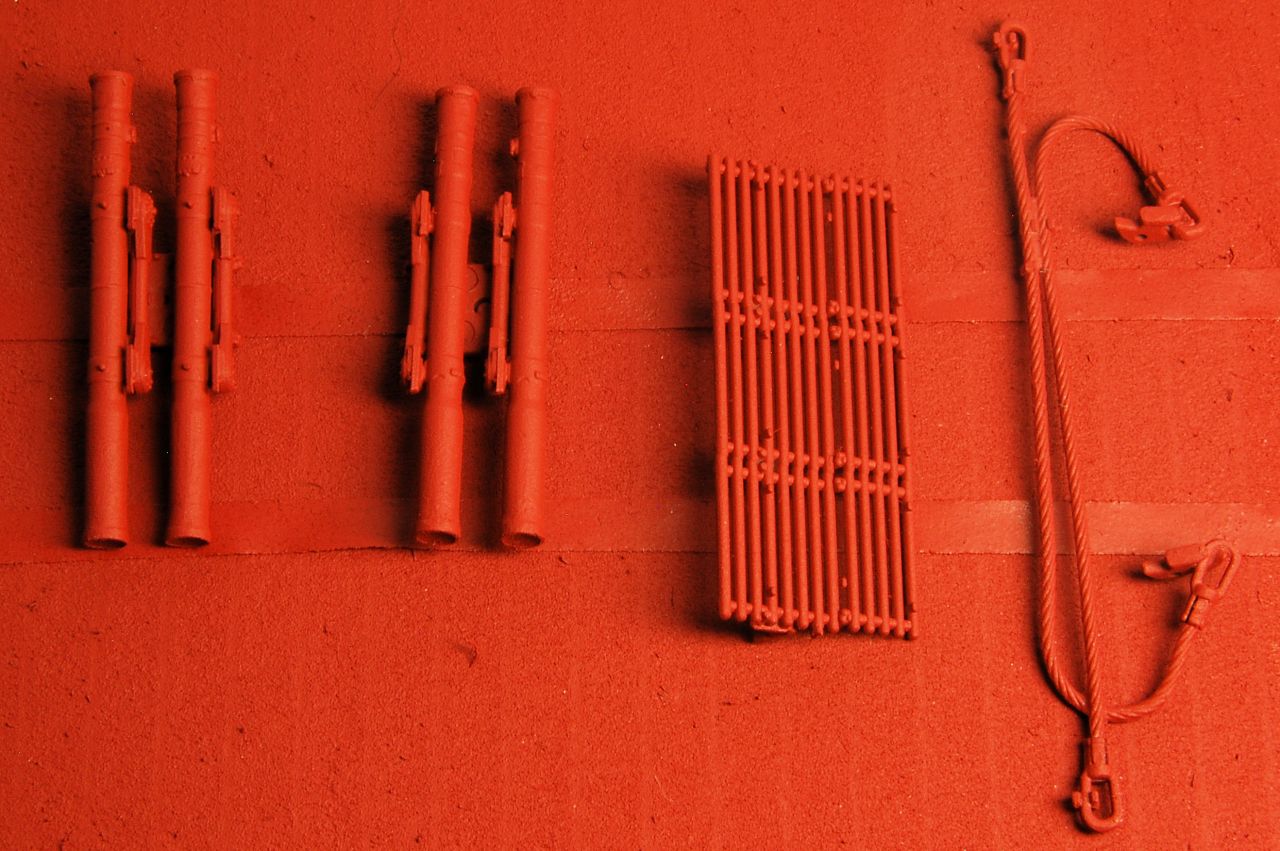
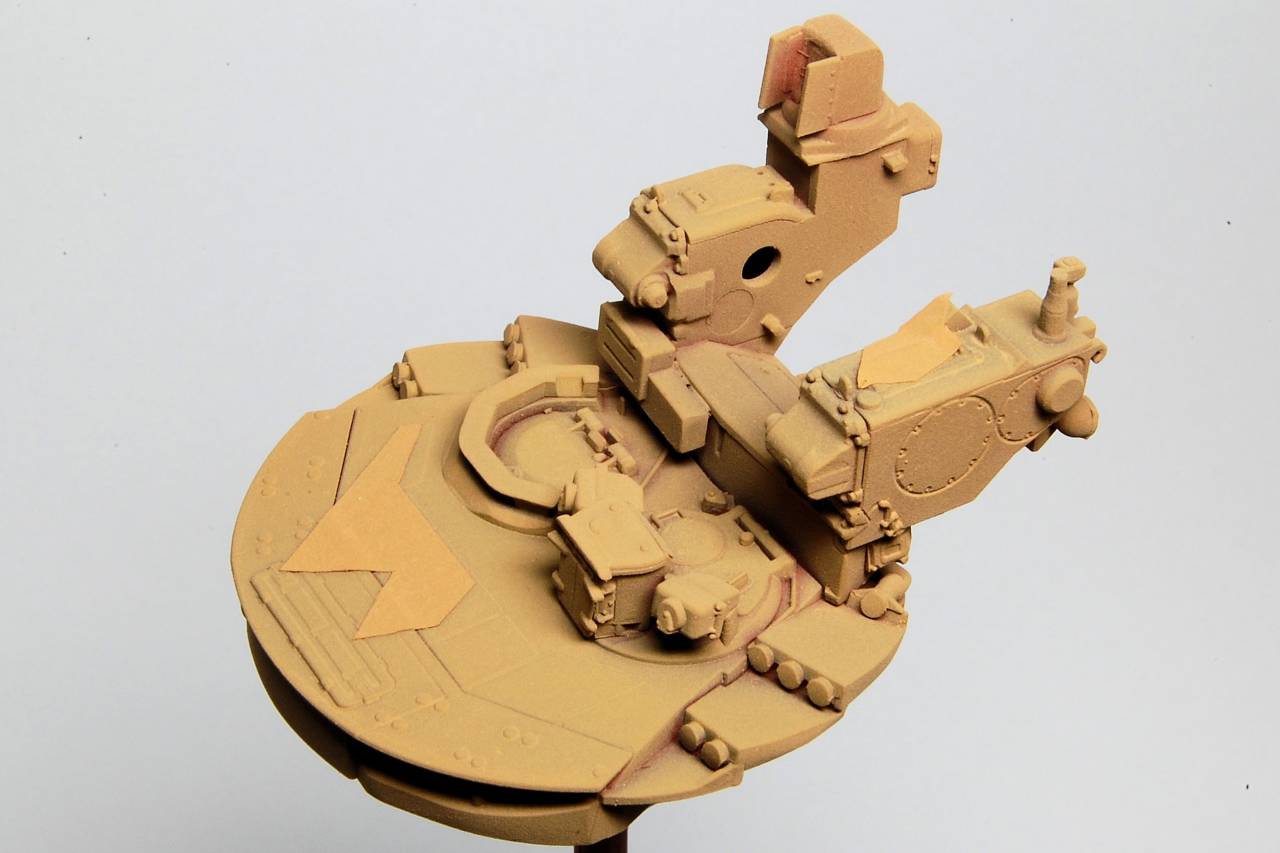
Just a quick note for now, Matthew. Those two items to the outside of the two hull hatches that have what appears to be fabric bases are AGS-30 30mm grenade launchers.
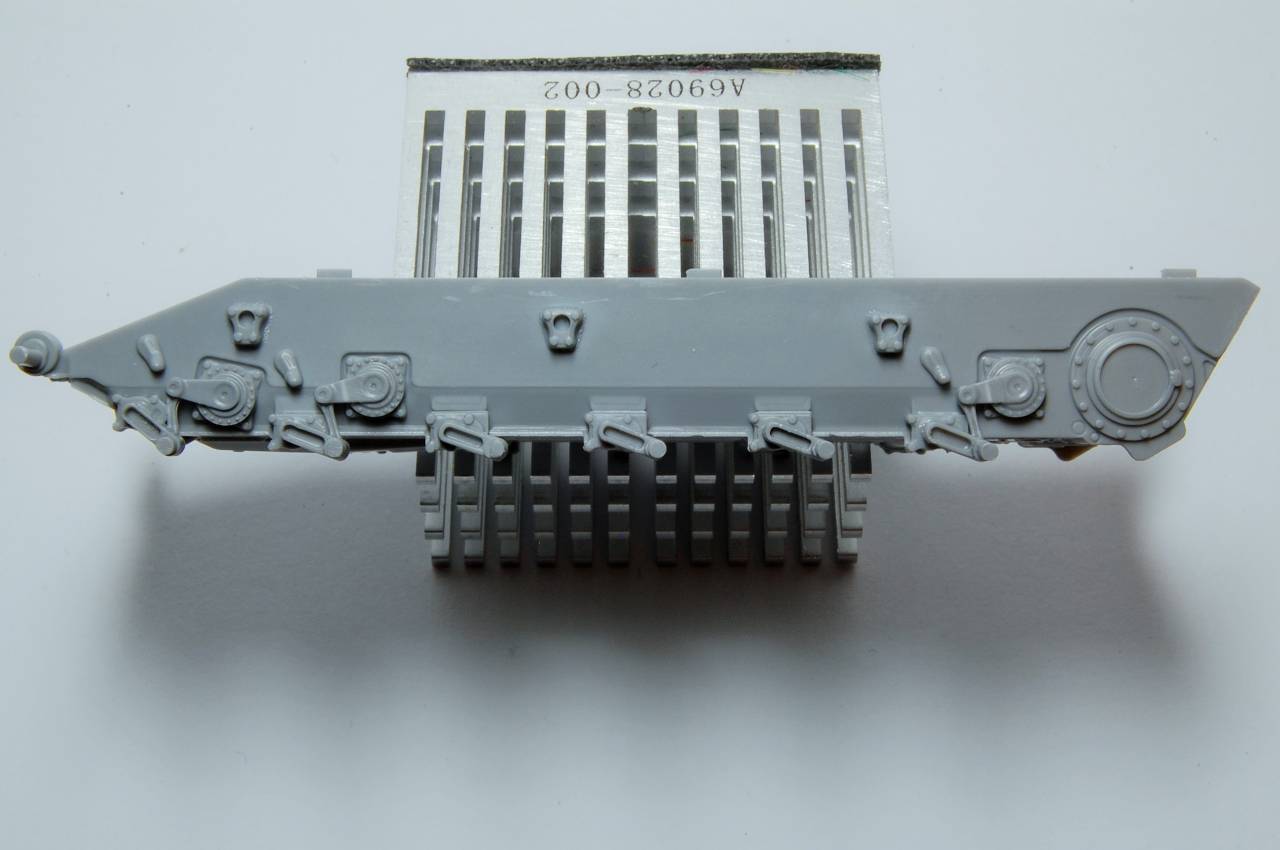
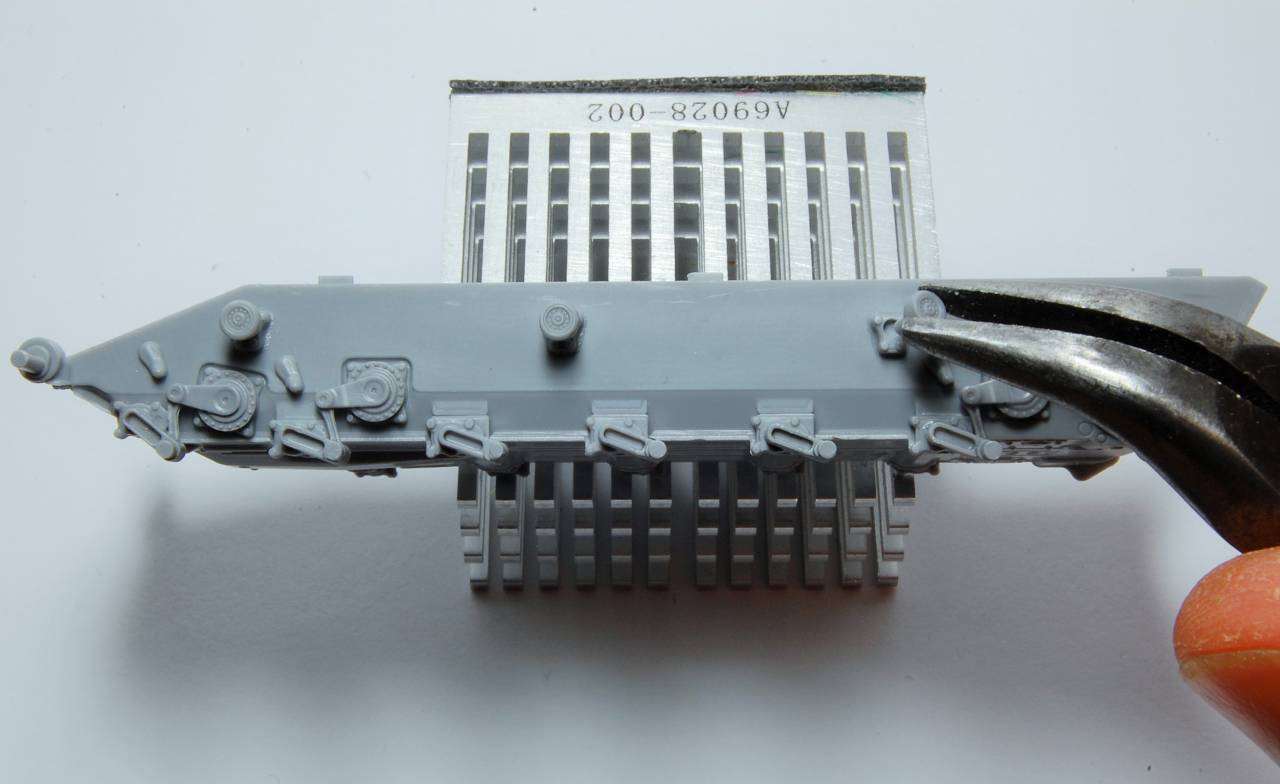
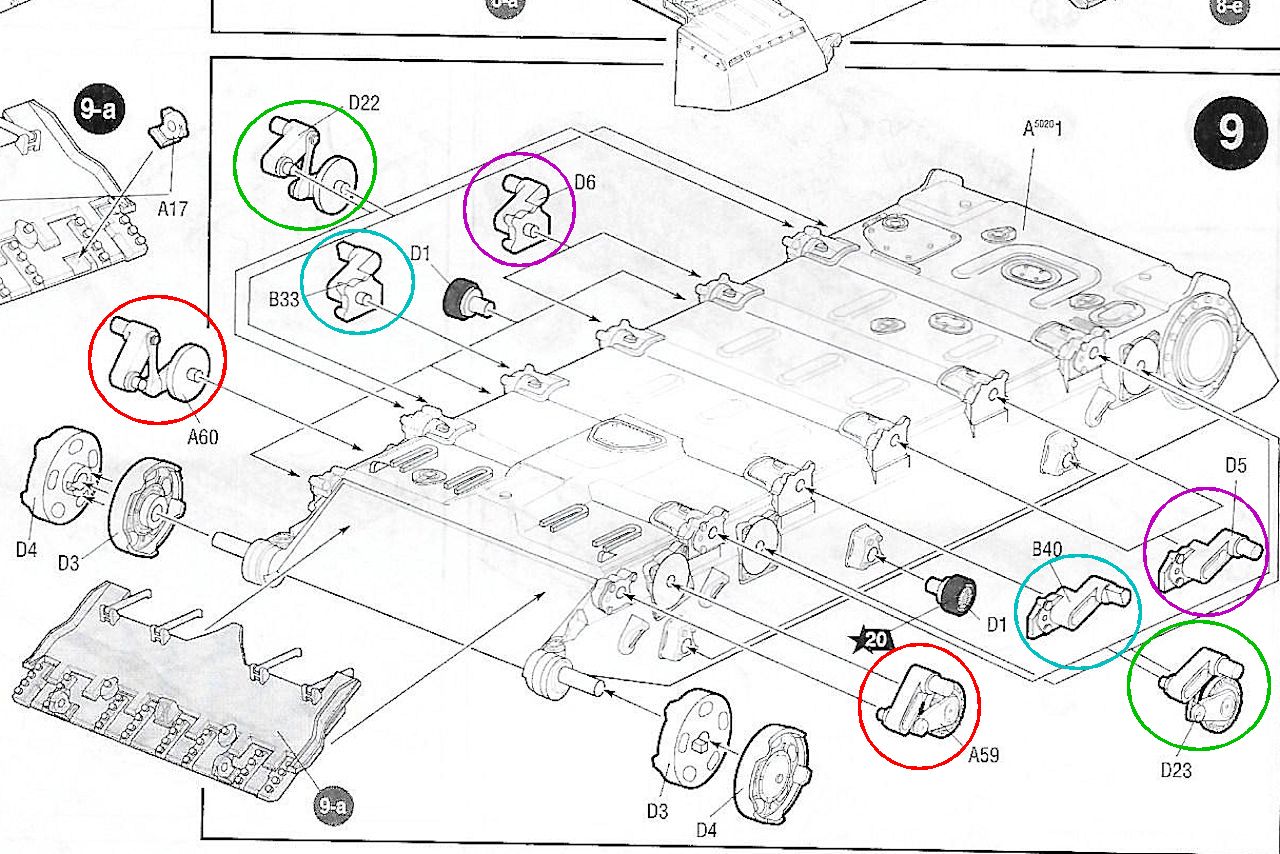
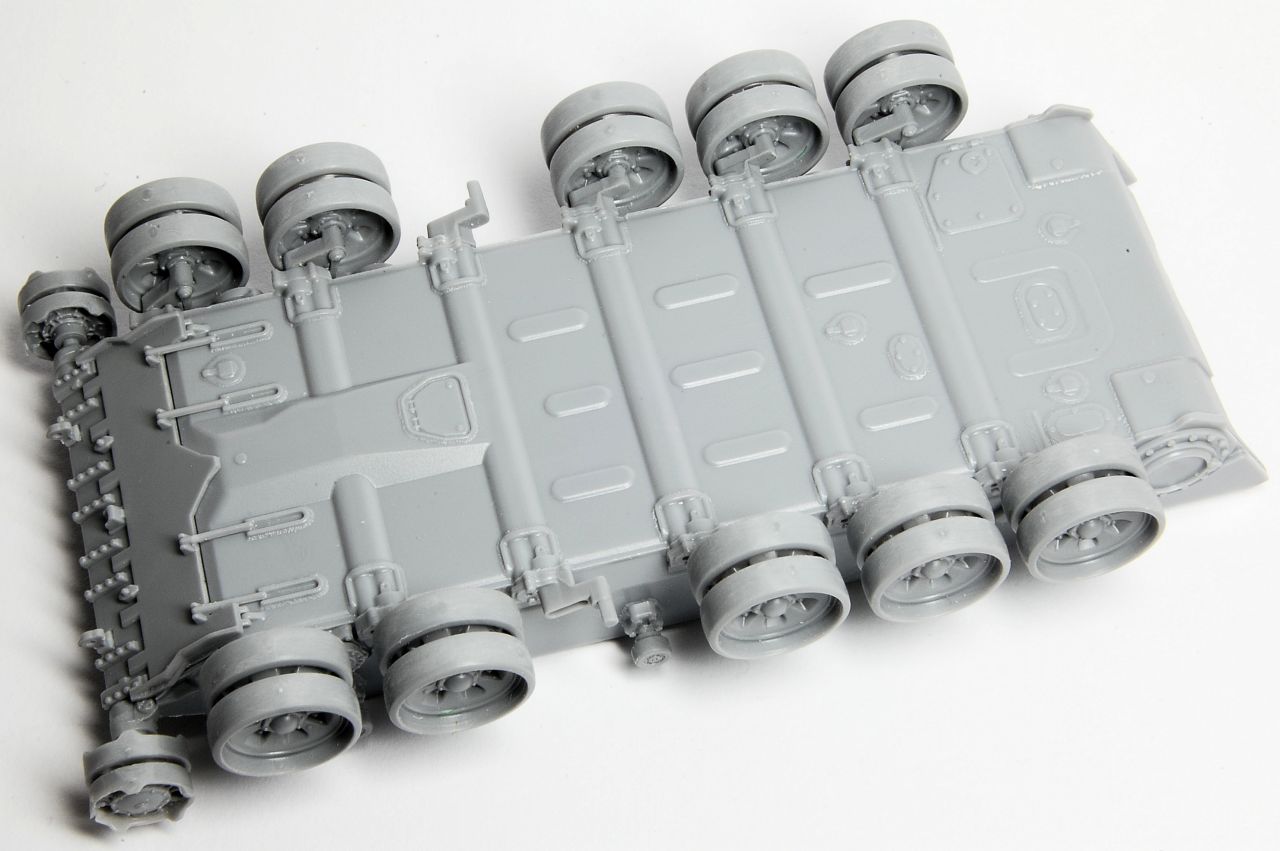
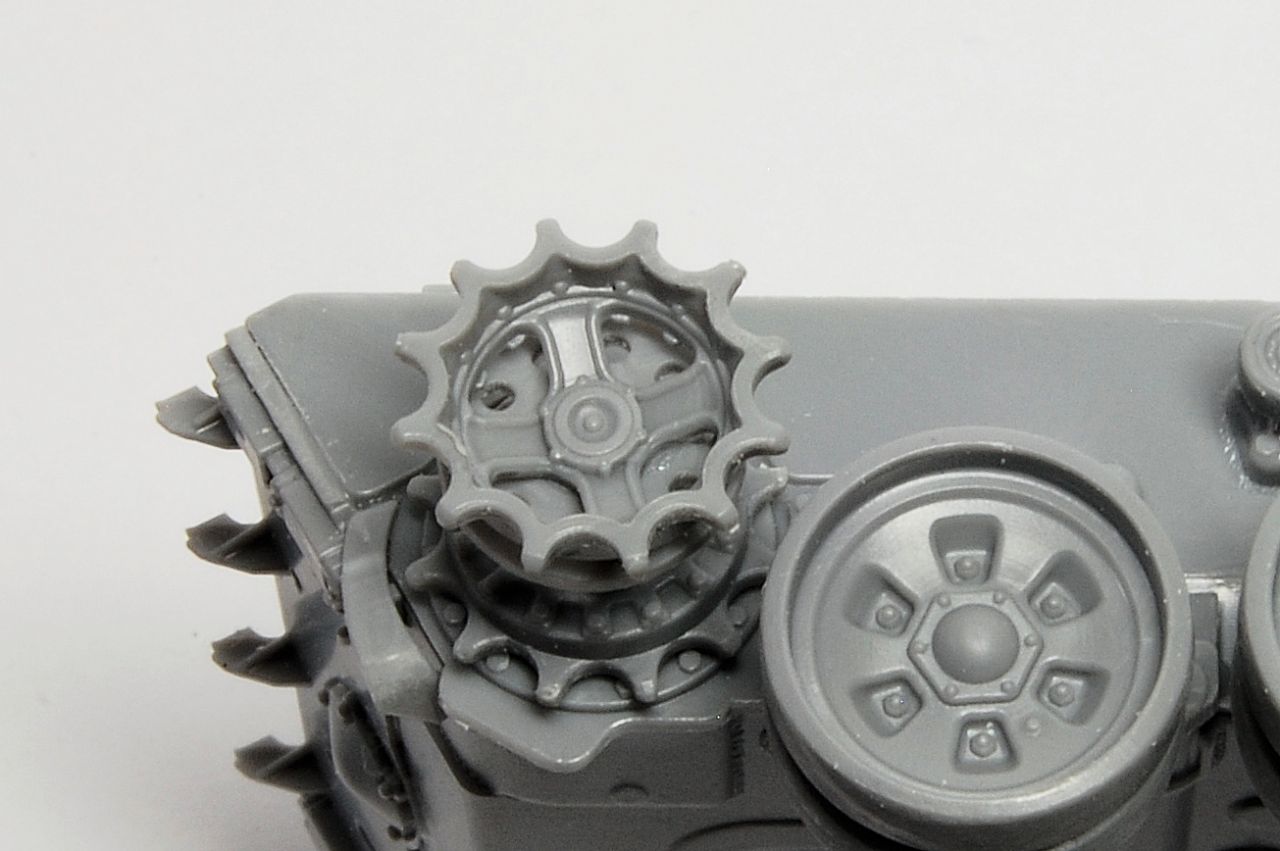
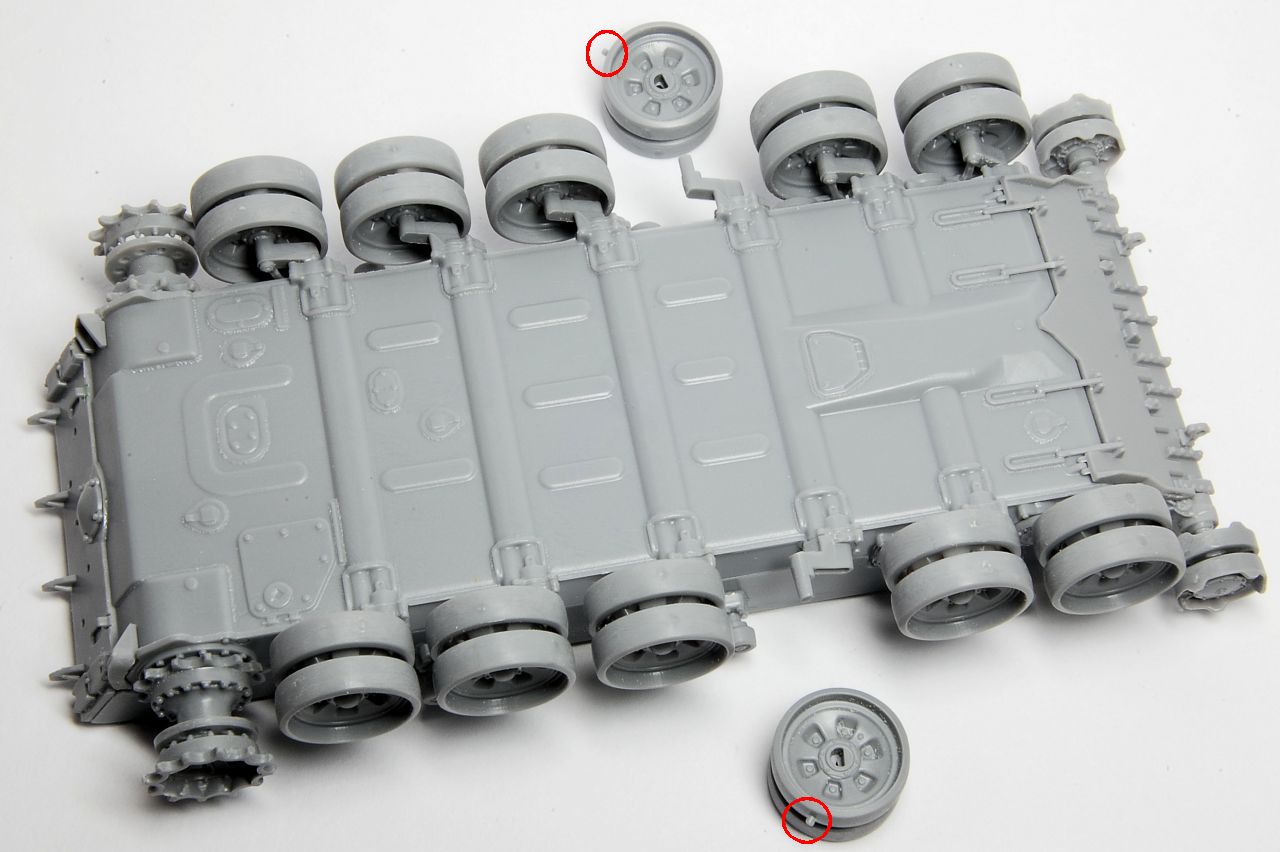
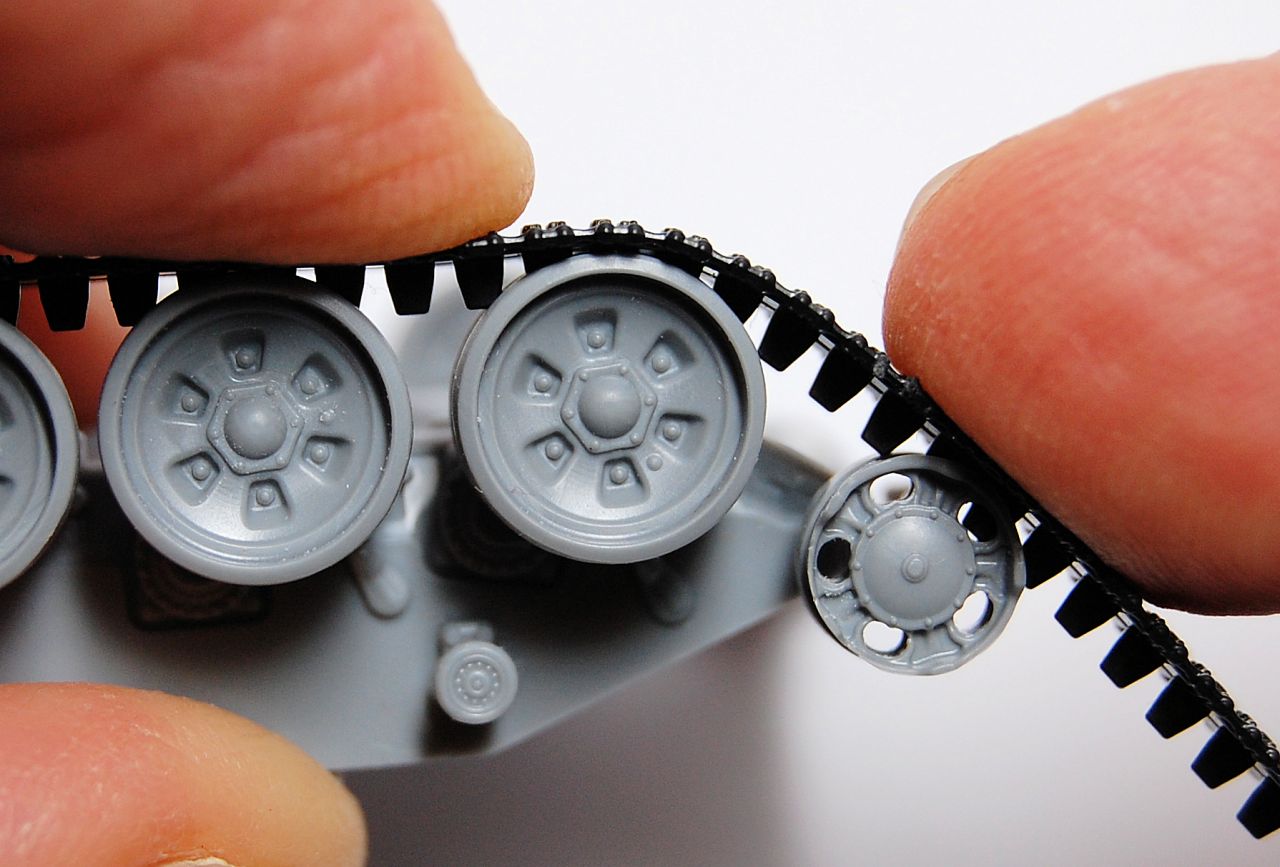
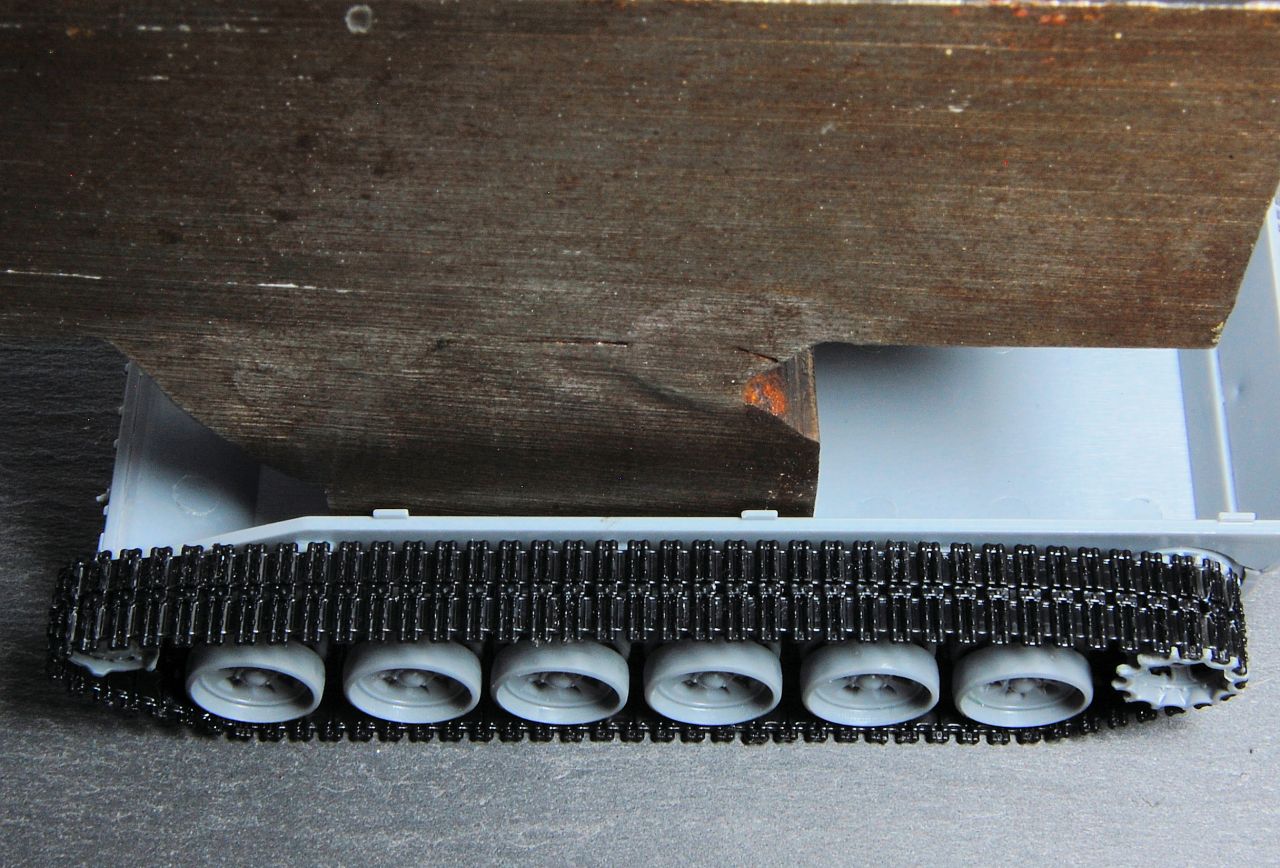
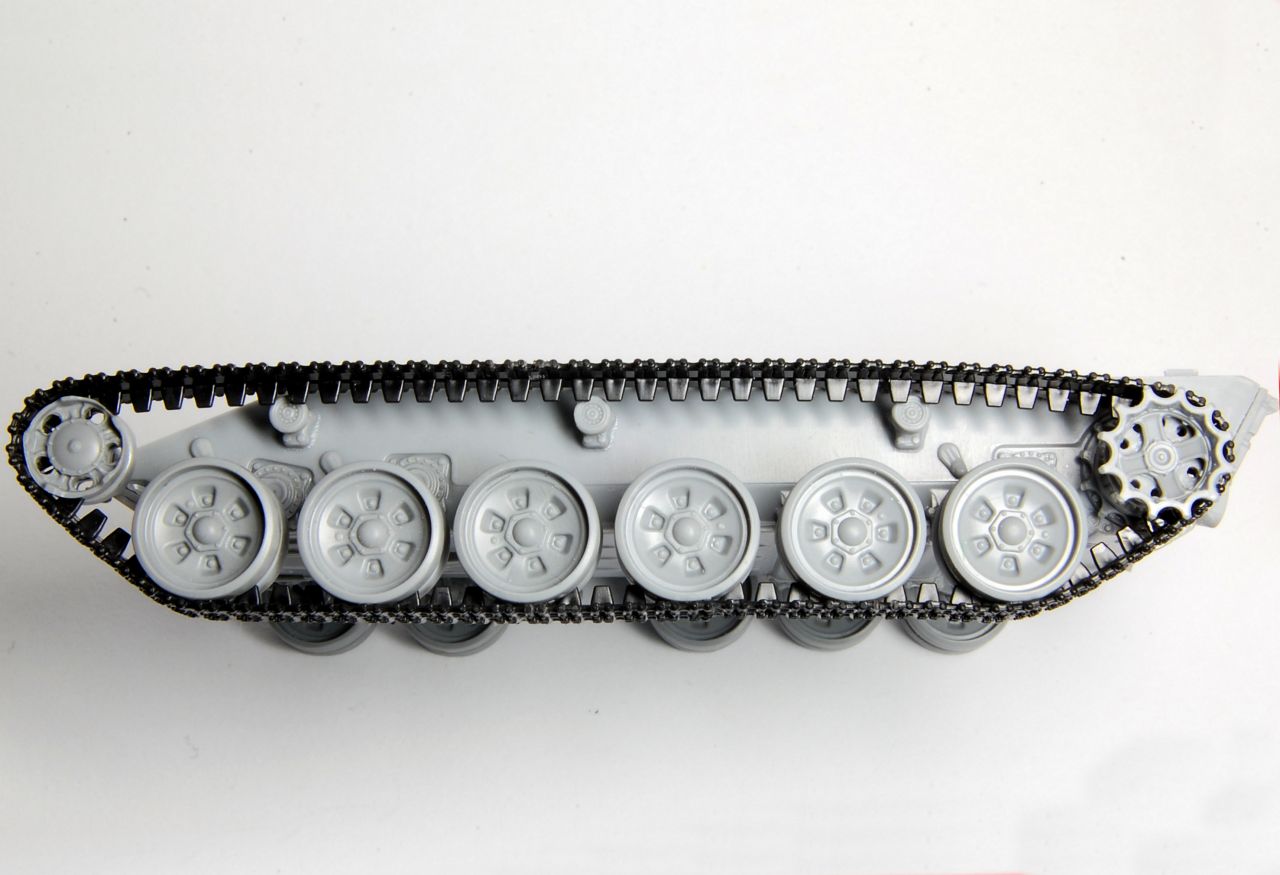
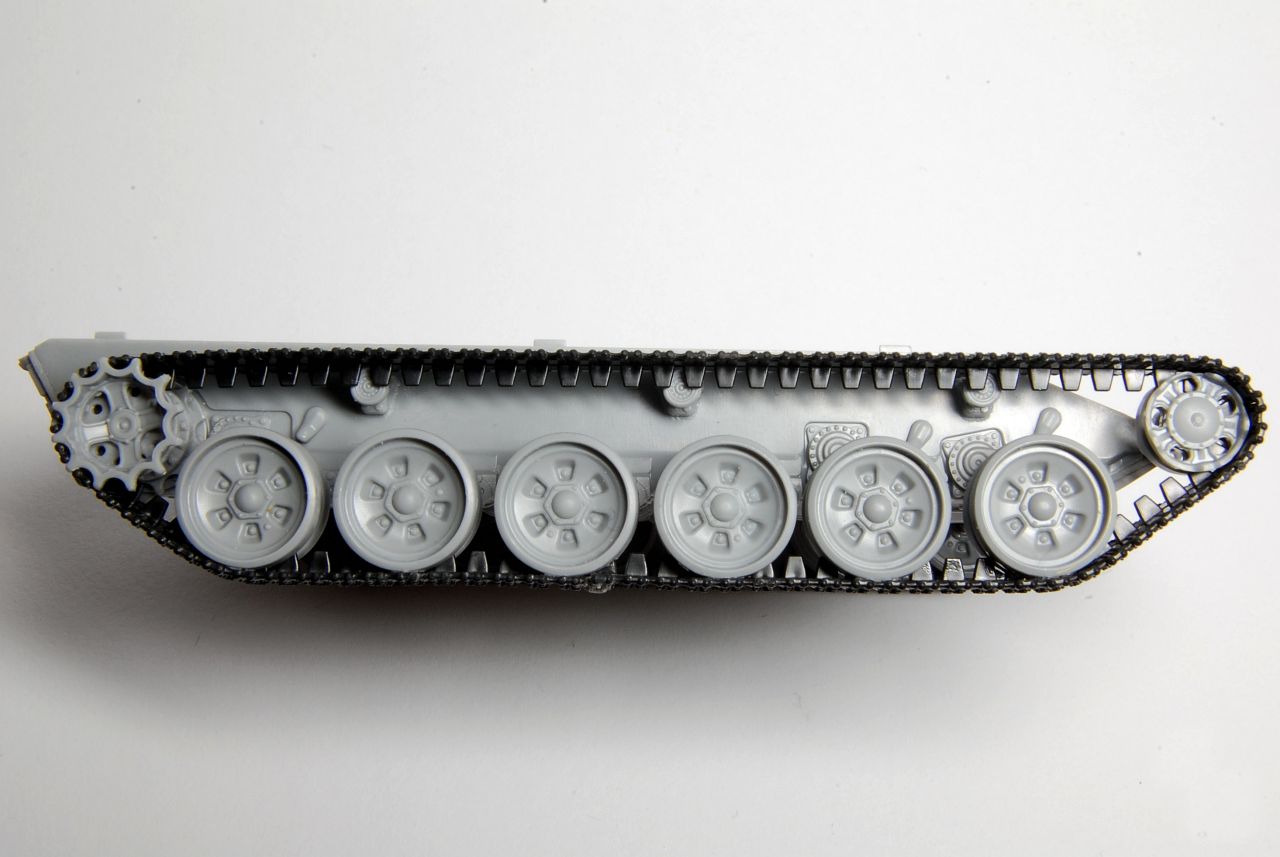
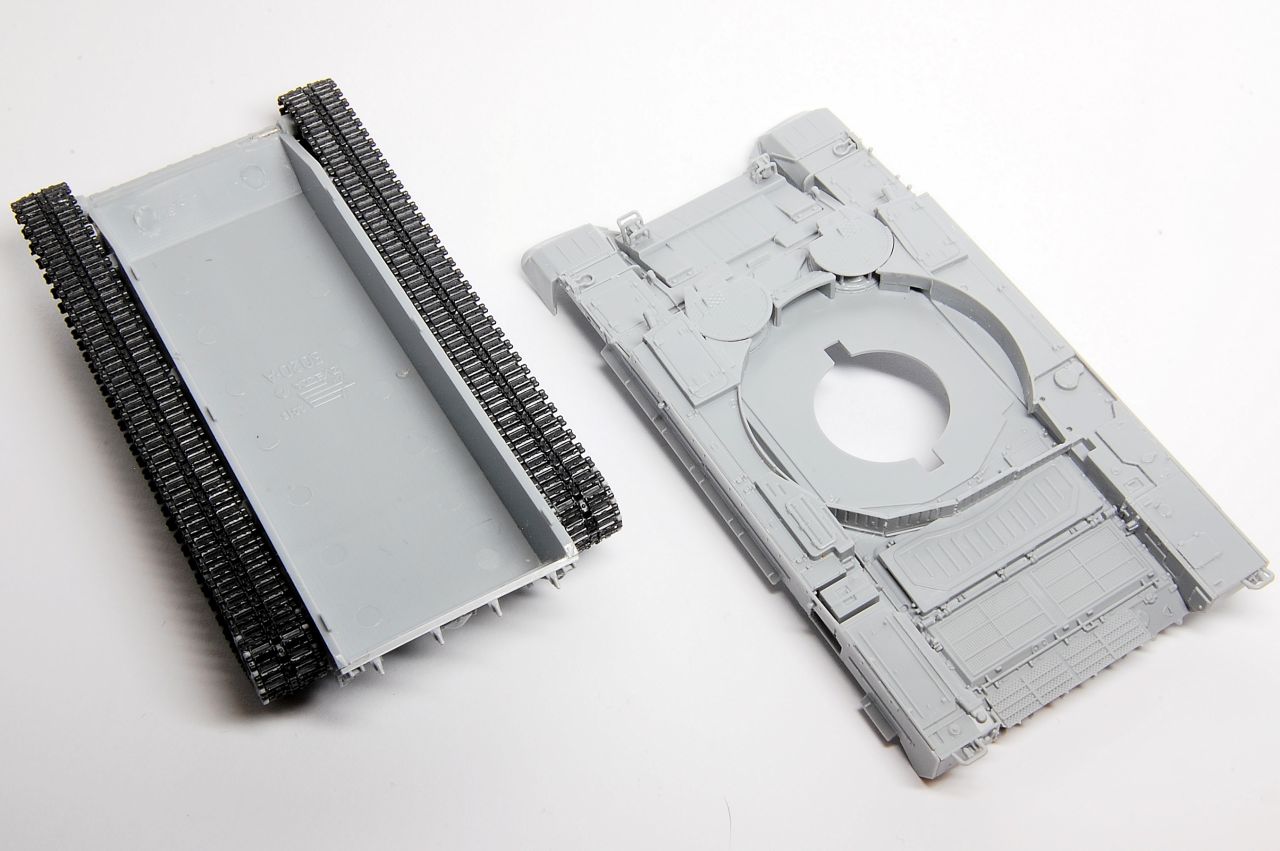
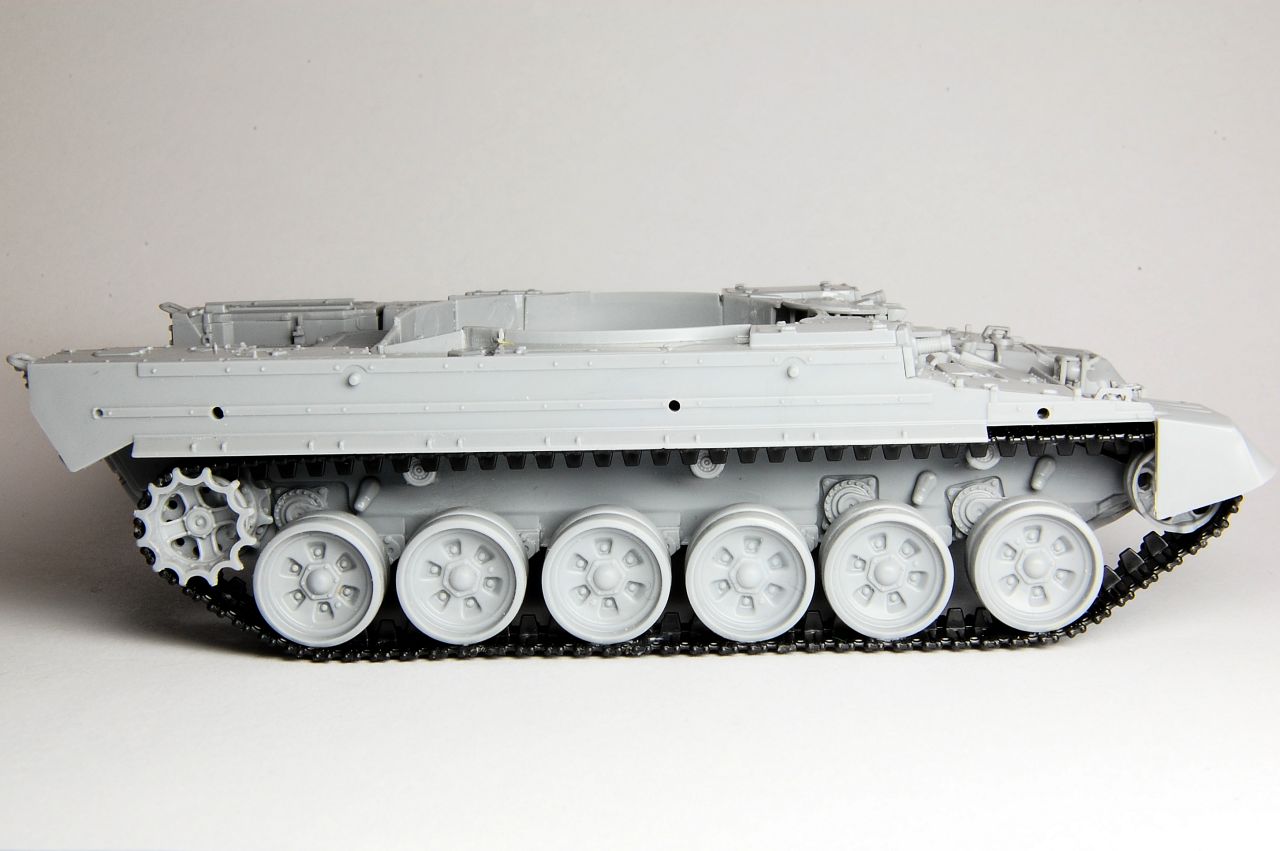
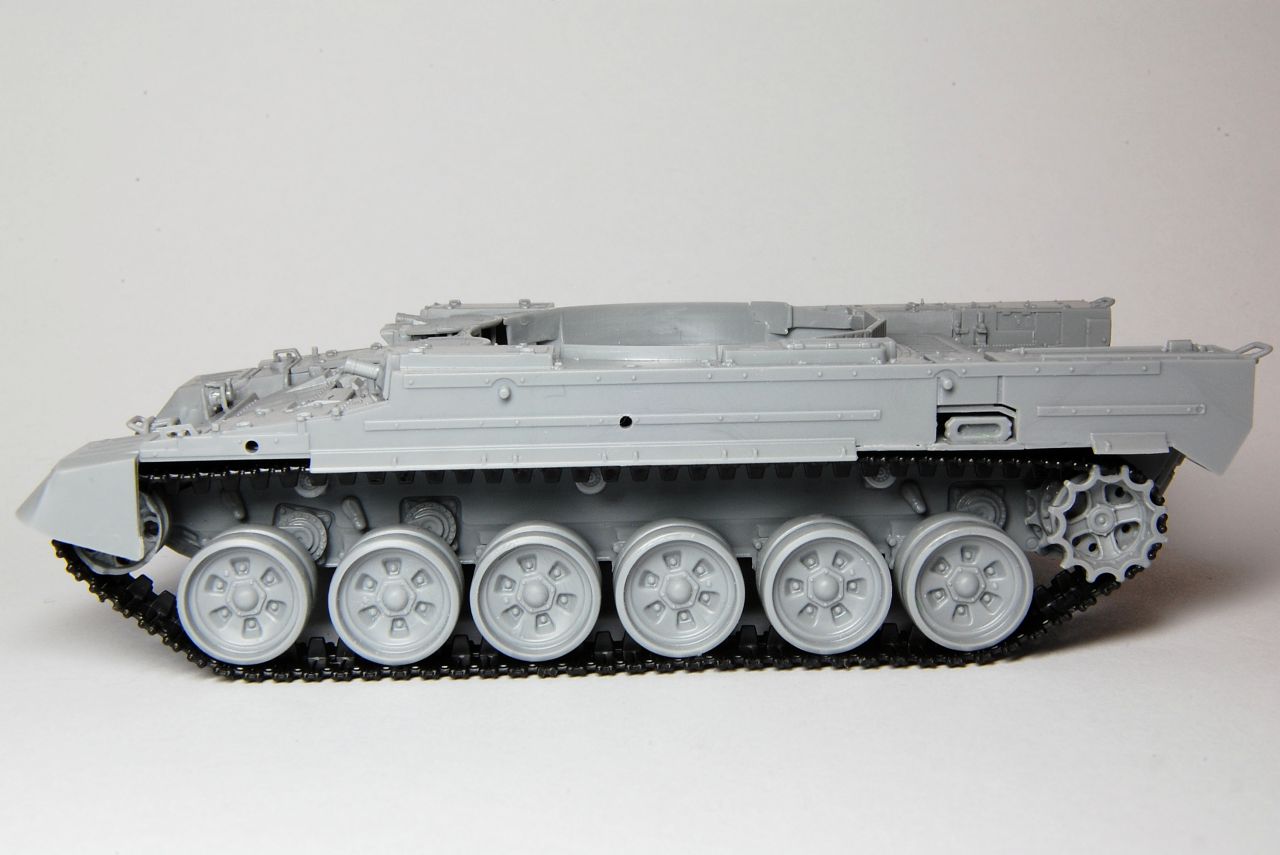
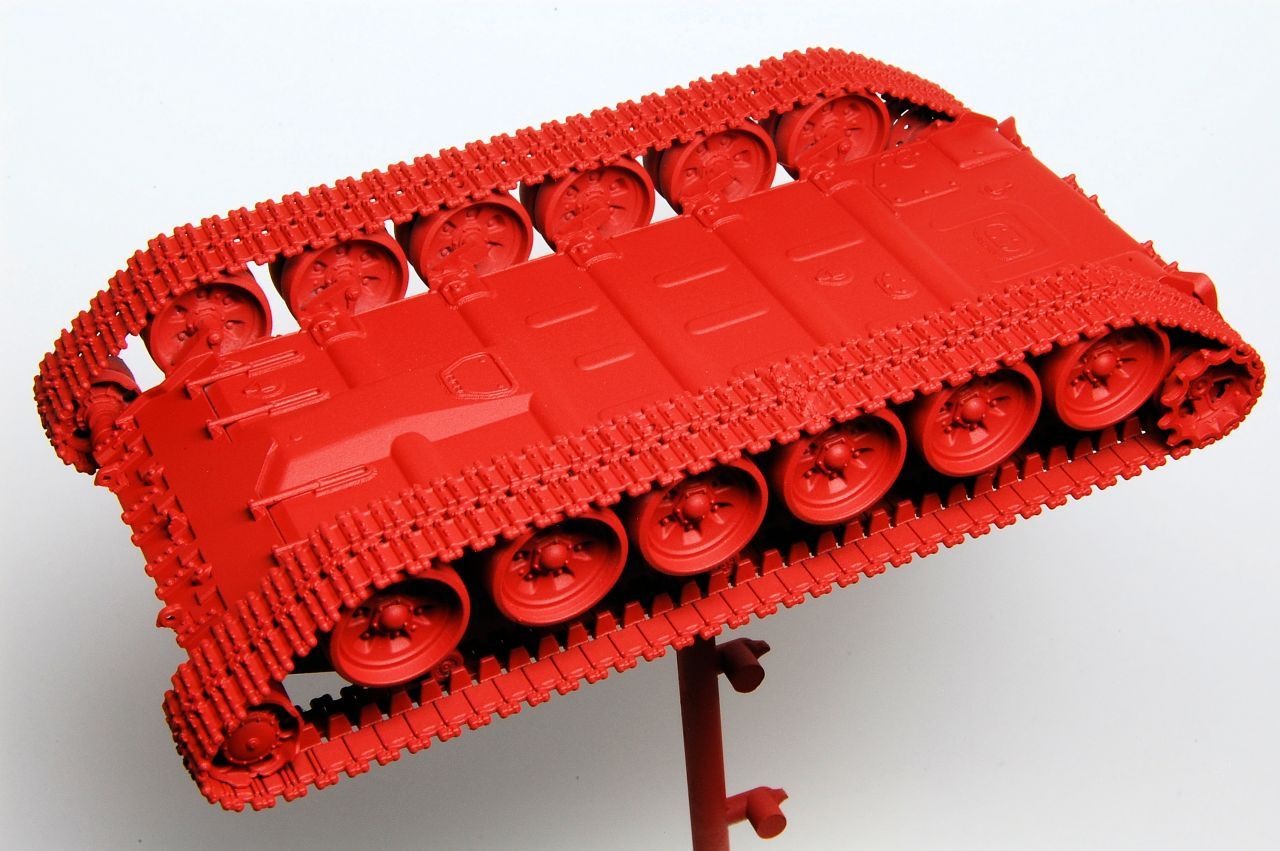
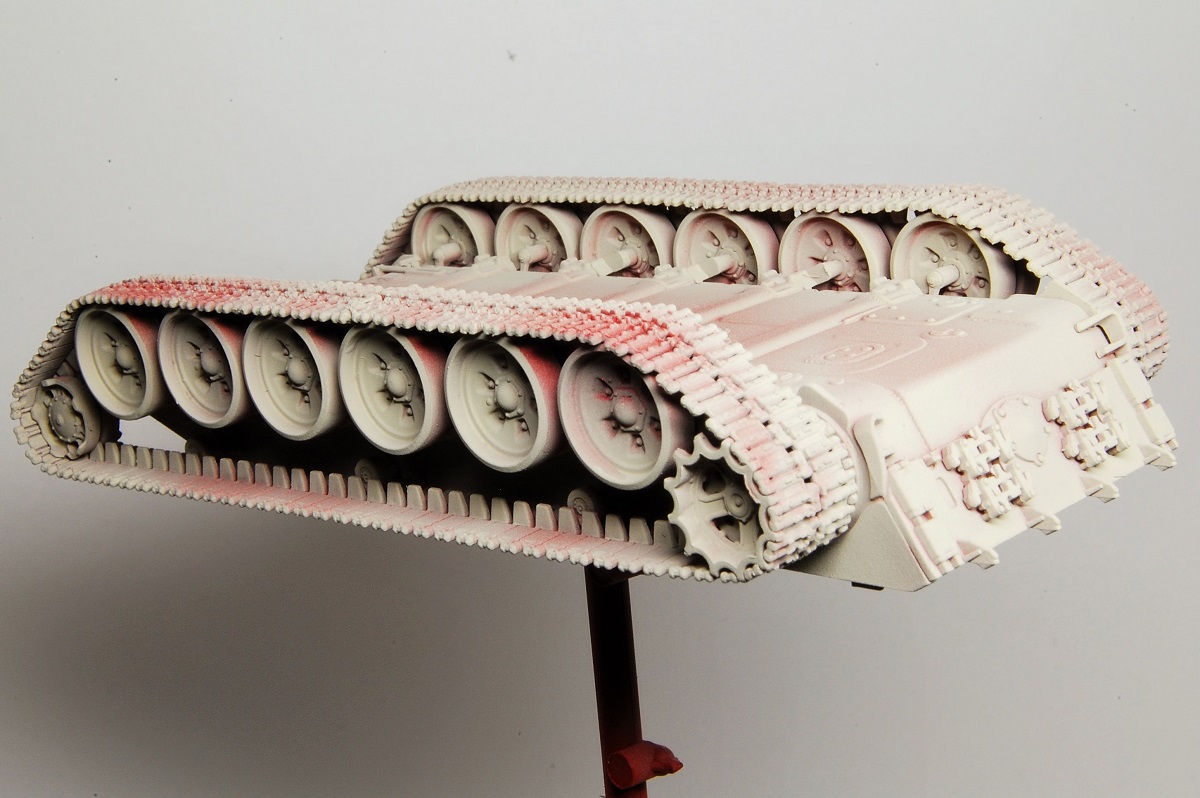
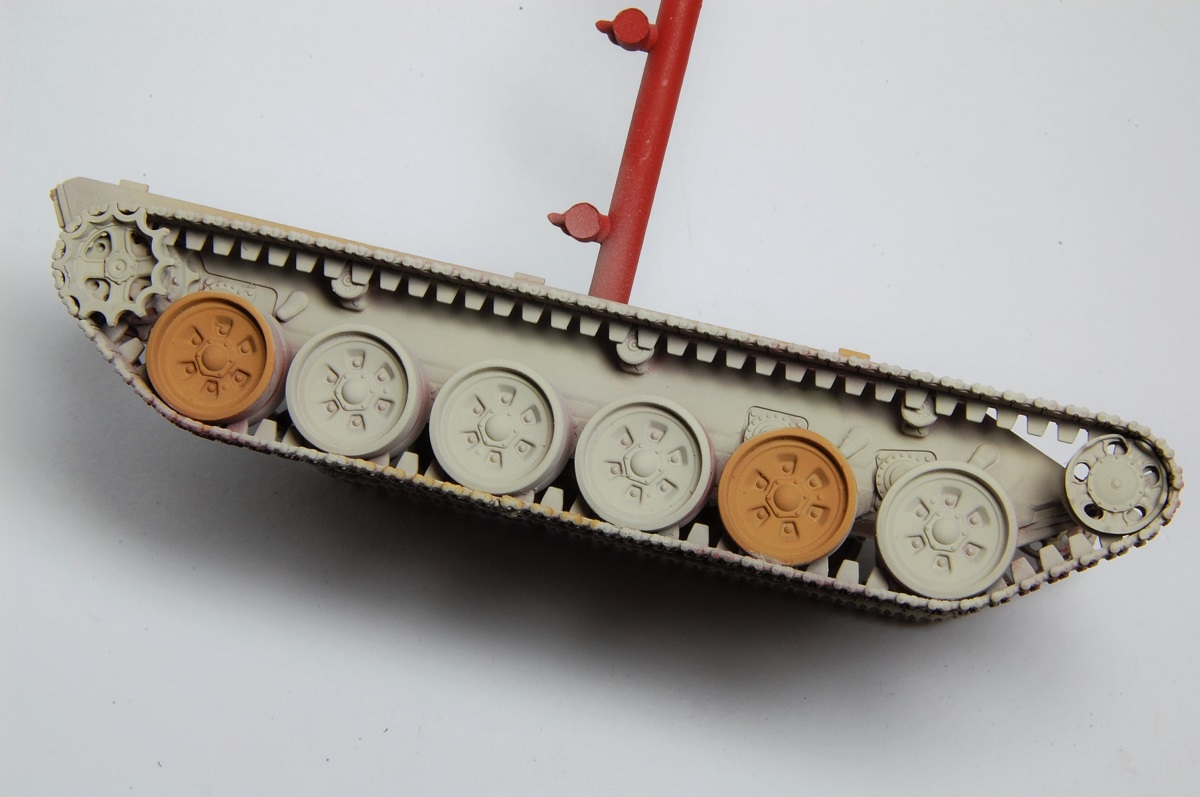
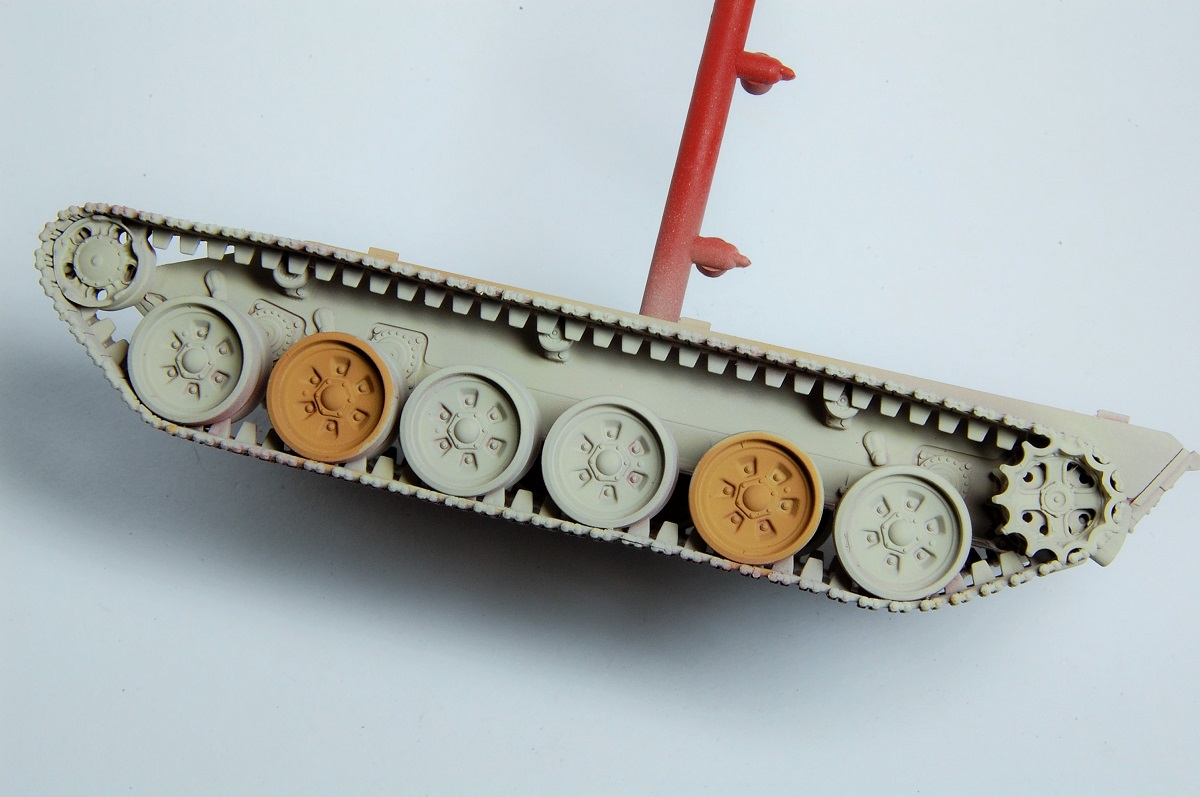
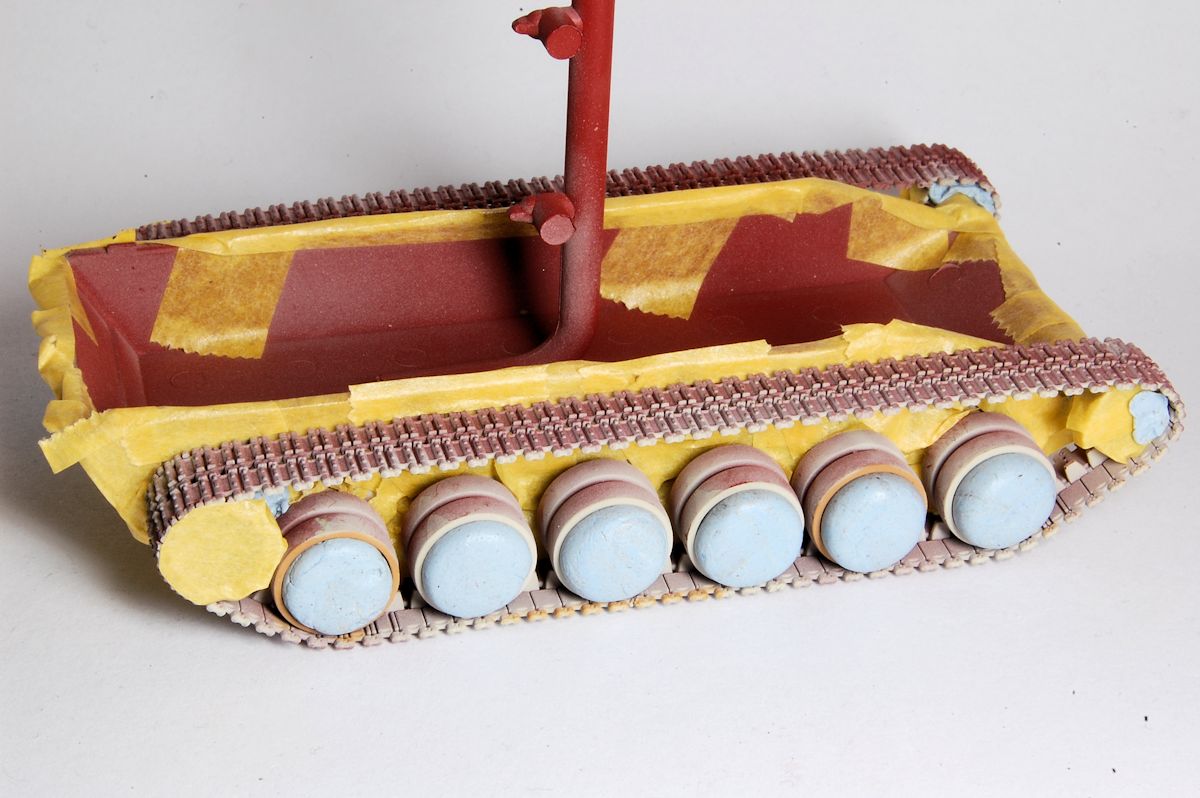
 Checking back in my build photos I think that I can safely say that this Terminator does appear to possess the T-90 kit's suspension. As a passing note, I have recently read that the "new" Terminator 2 will be and/or is based on the older T-72 suspension. Just for you and the general publics edification, here are a couple of build images from the T-90 kit.
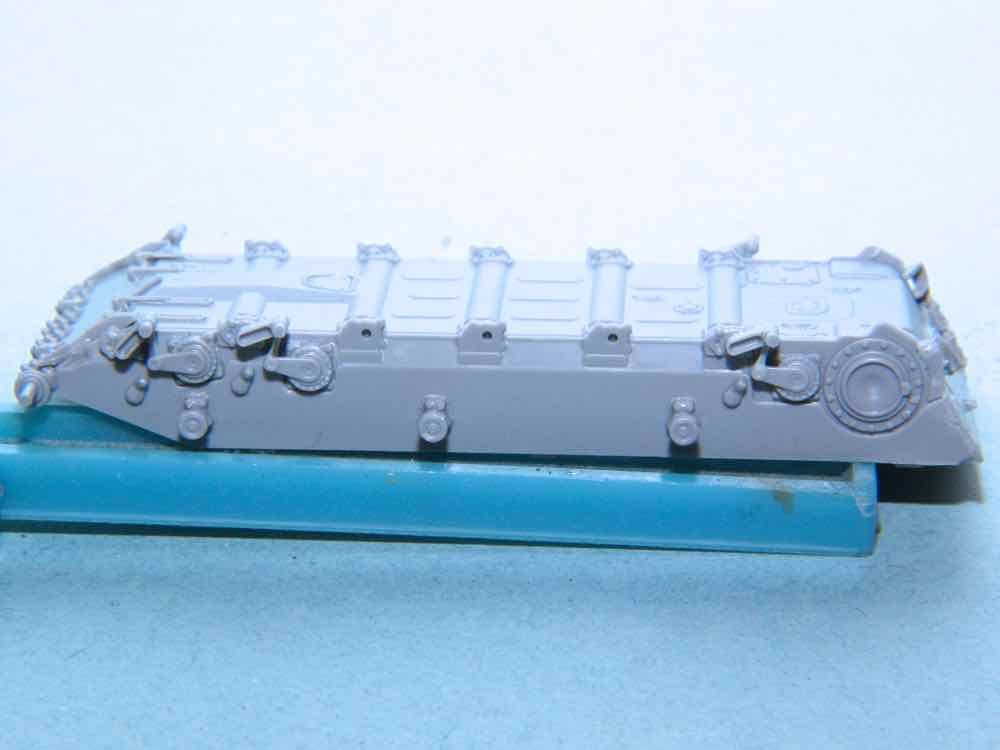
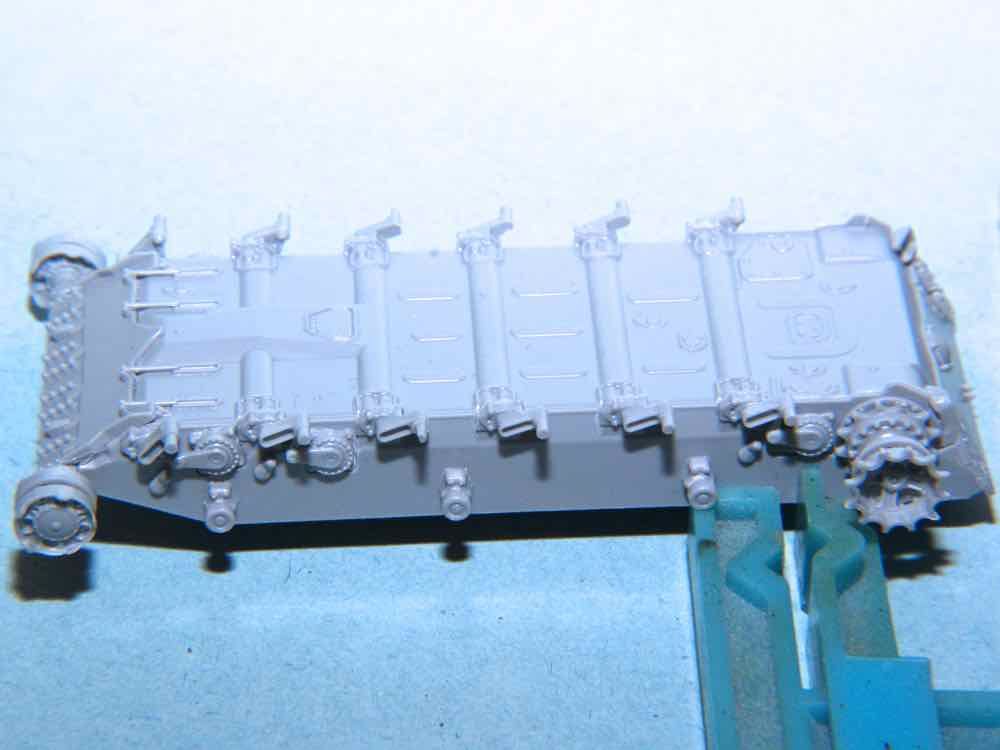


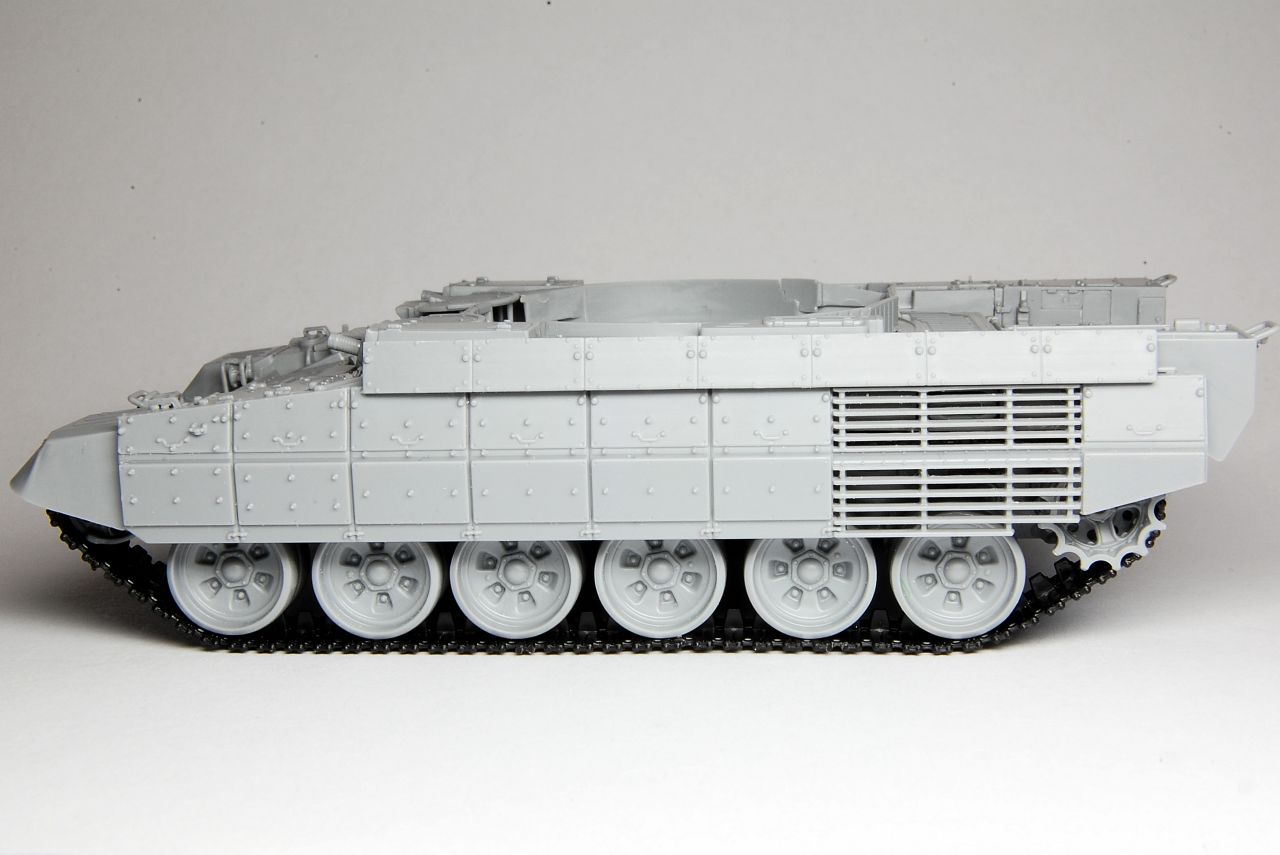
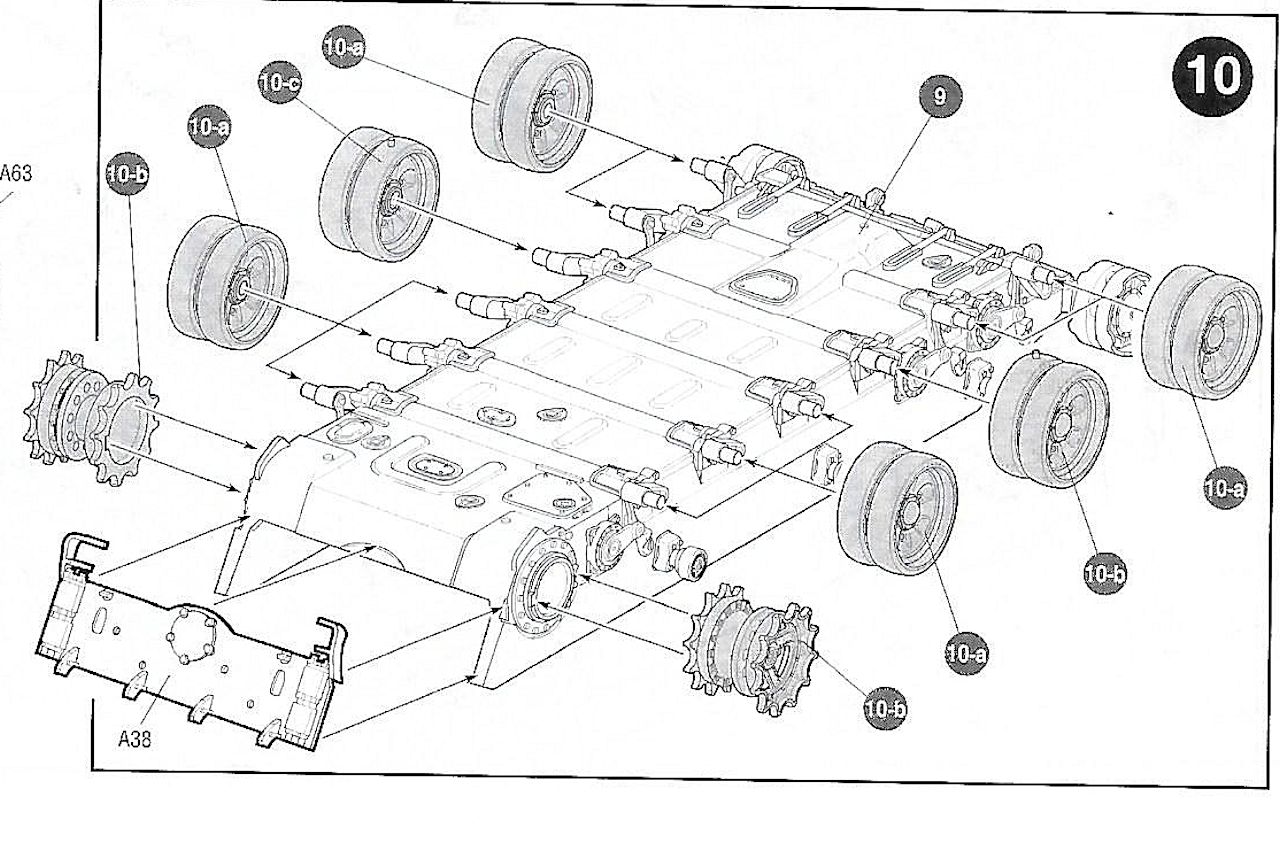 I think it may be safe to say that painting this kit will be an exercise in juditious planning, especially the suspension with the way it is made. Great work so far and indeed an enjoyable read.

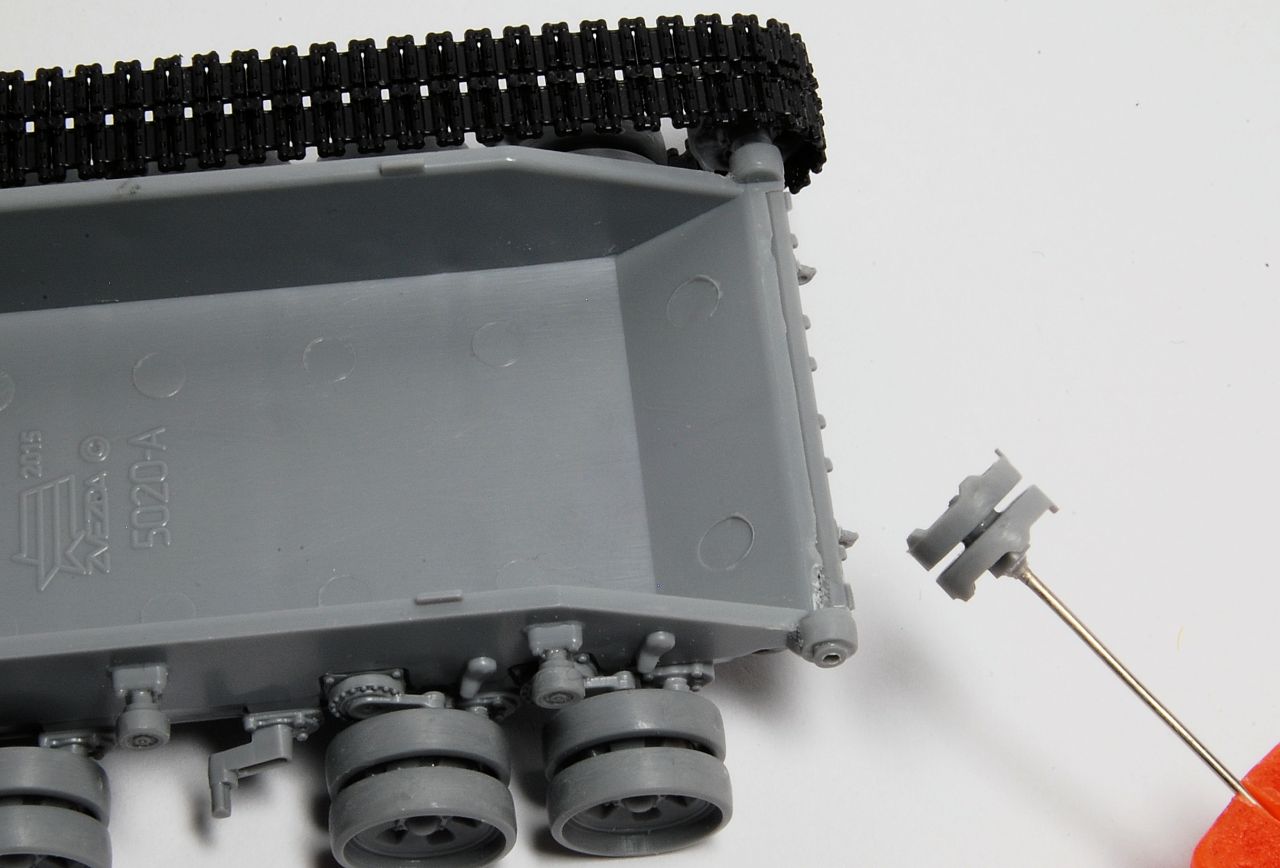
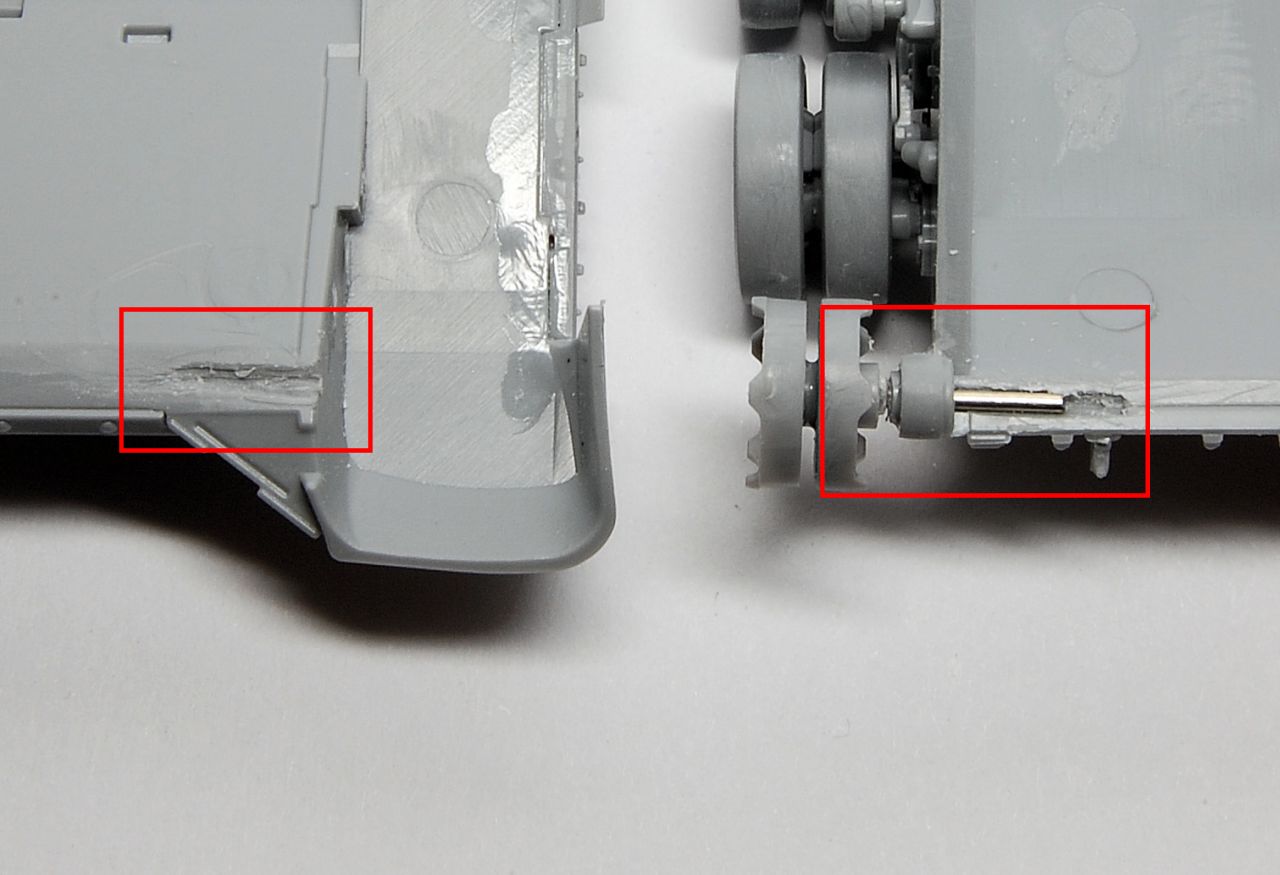
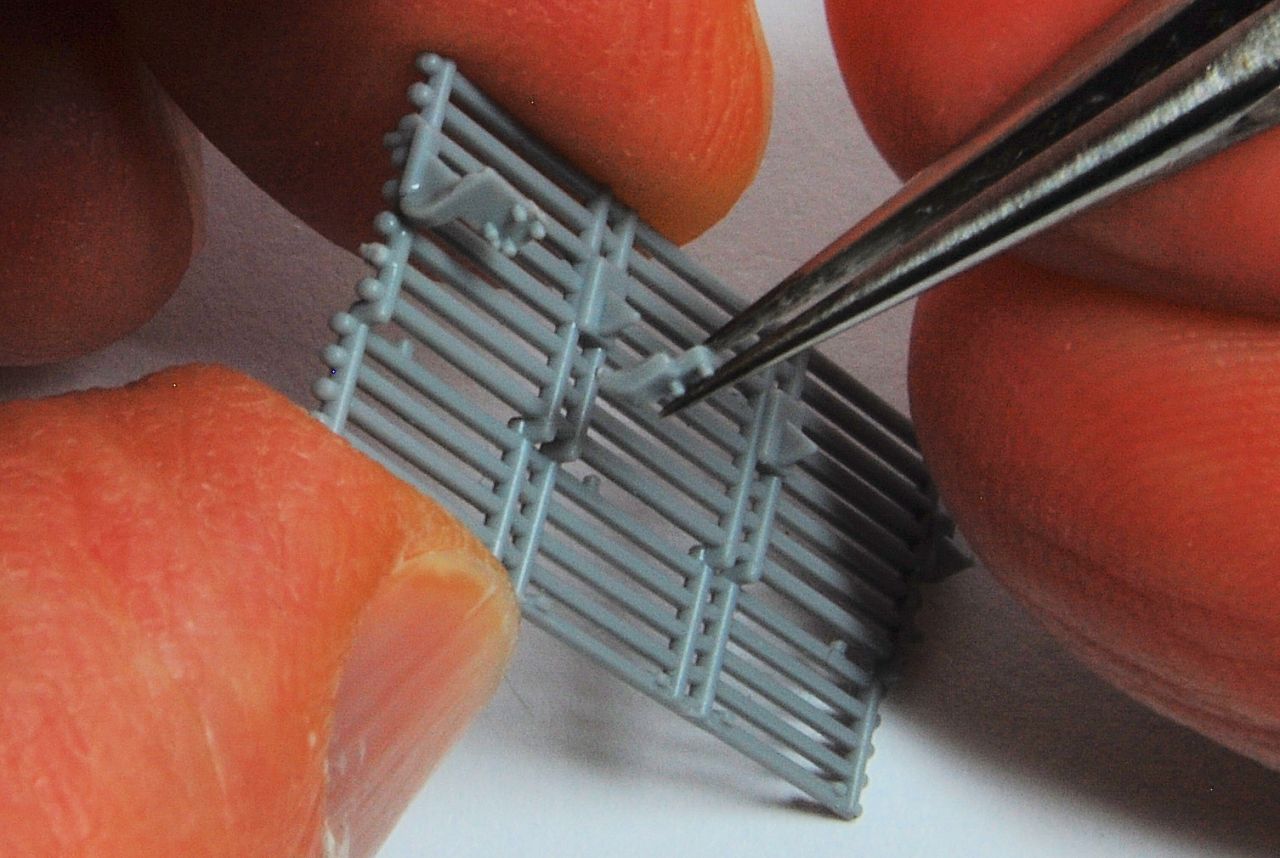
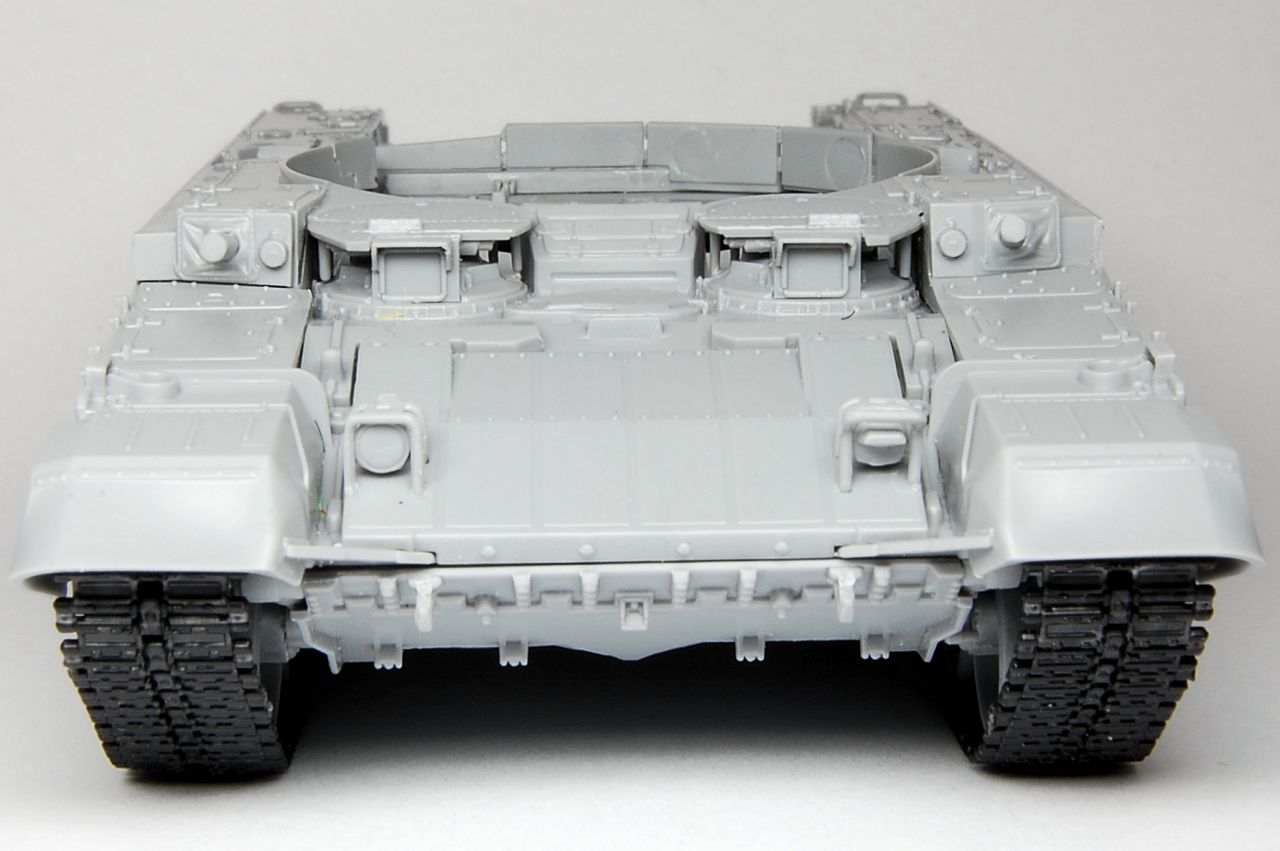
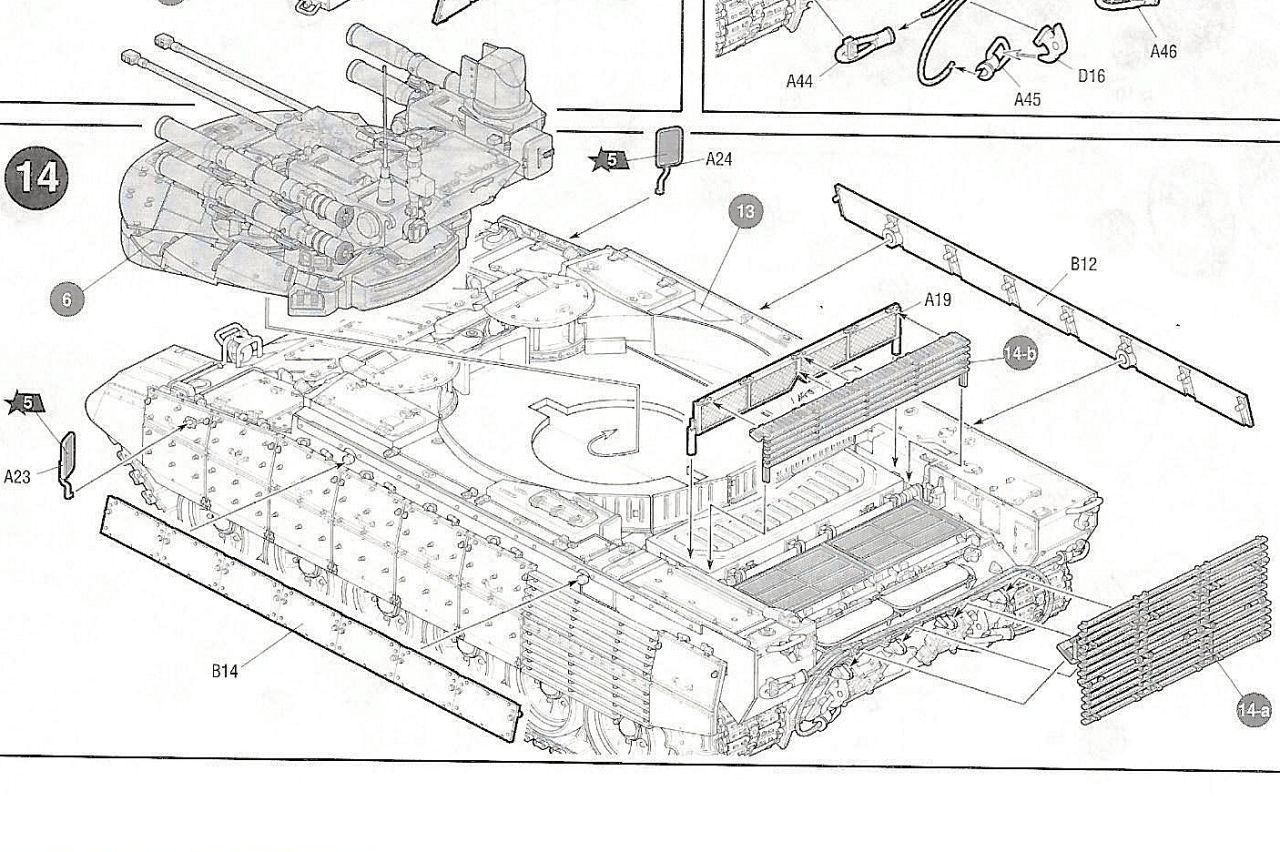
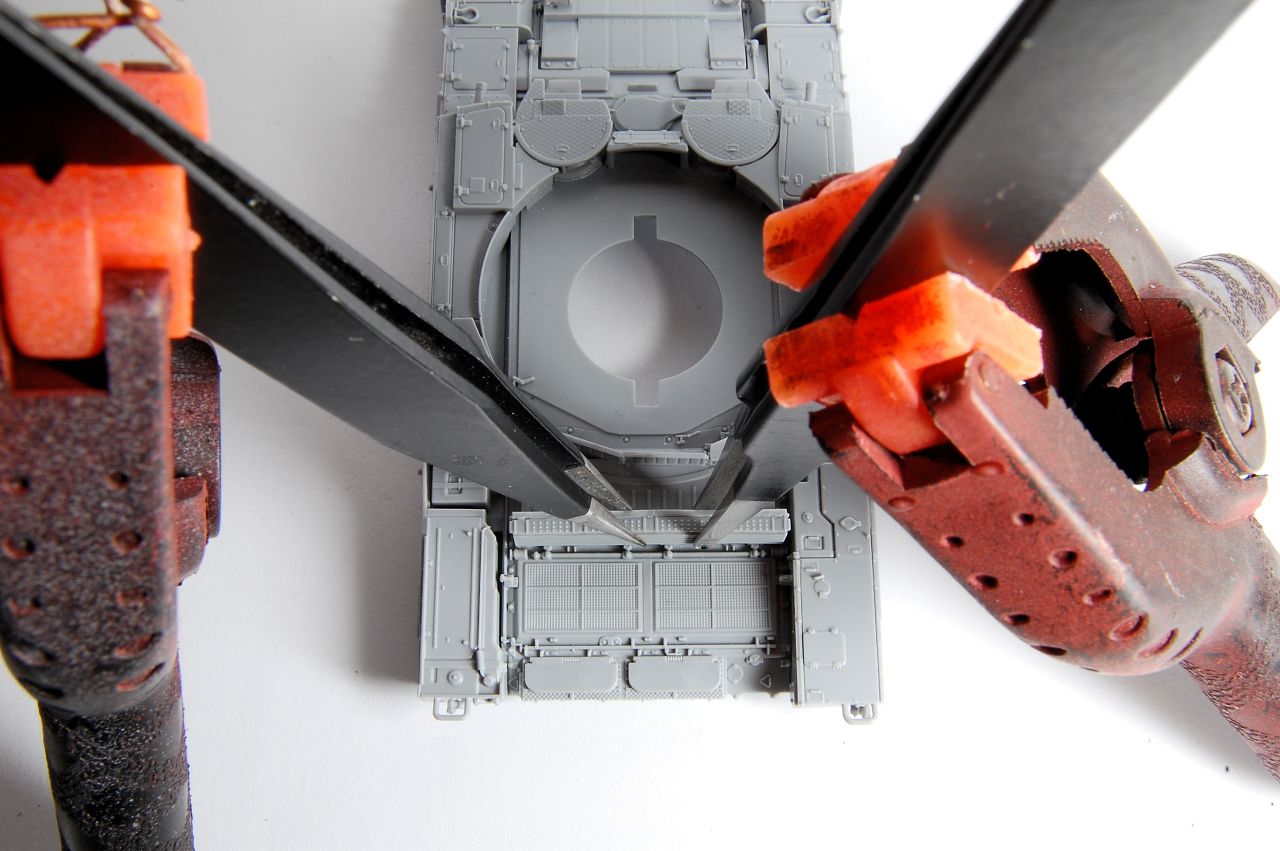
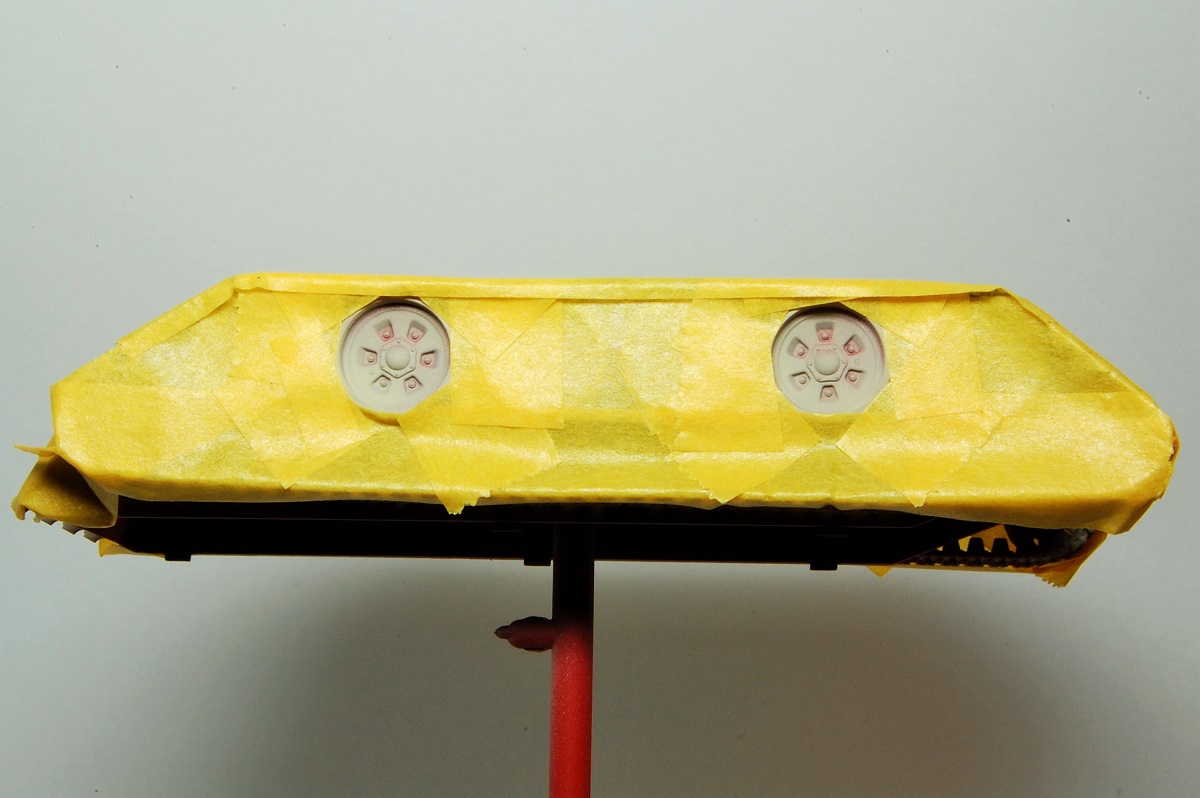
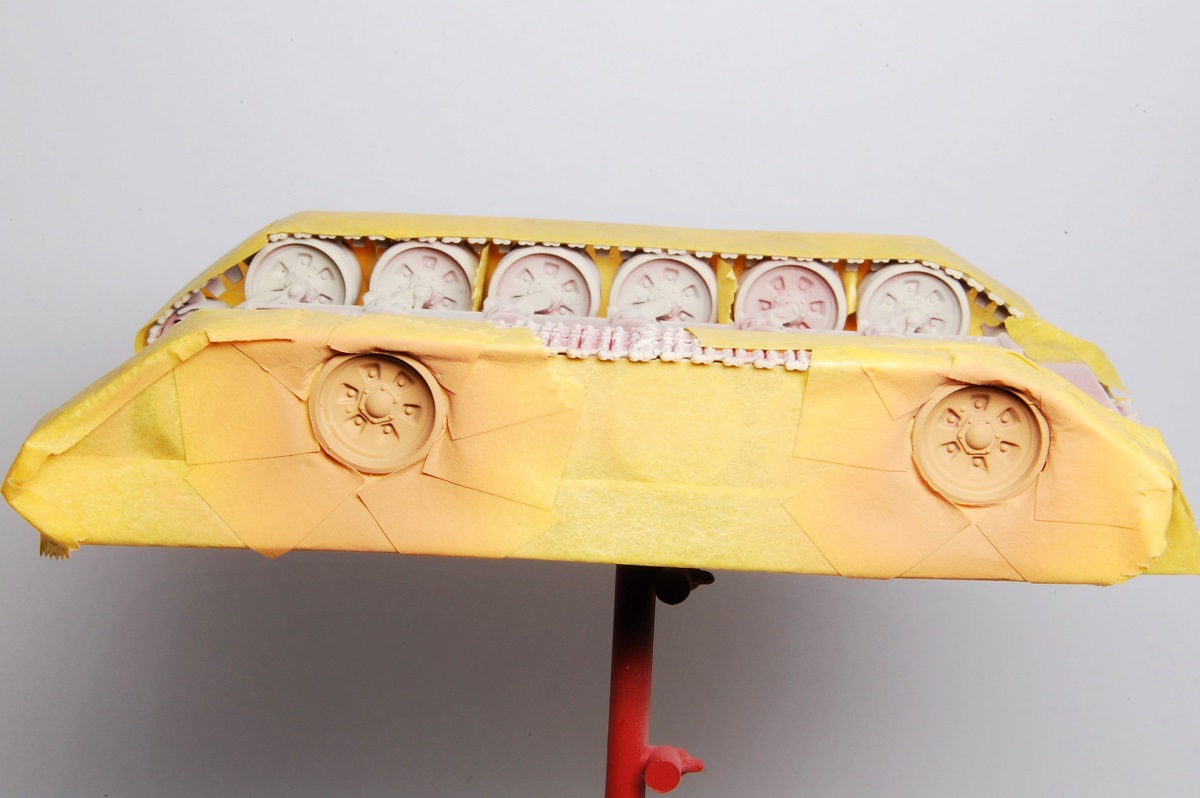
 Many 1/35 scale modellers seem to be in the habit of painting the hull in one piece, the wheels all individually, then adding them to the painted hull, then adding the tracks. It might be possible with this kit, but I think that in this smaller scale, assembling tracks to painted wheels would be especially painful. It is also probably easier to do all the masking that this method requires on a small scale model than on 1/35 scale. I'm expecting (hoping) that the side skirts can be attached to the upper hull first and be painted prior to joining the hull halves together; the instructions don't actually specify which order that is done in as they are in the same step...
 T-90=D-9 by Jan Etal, on Flickr
 T-90=D-3 by Jan Etal, on Flickr
 Looking forward to more!
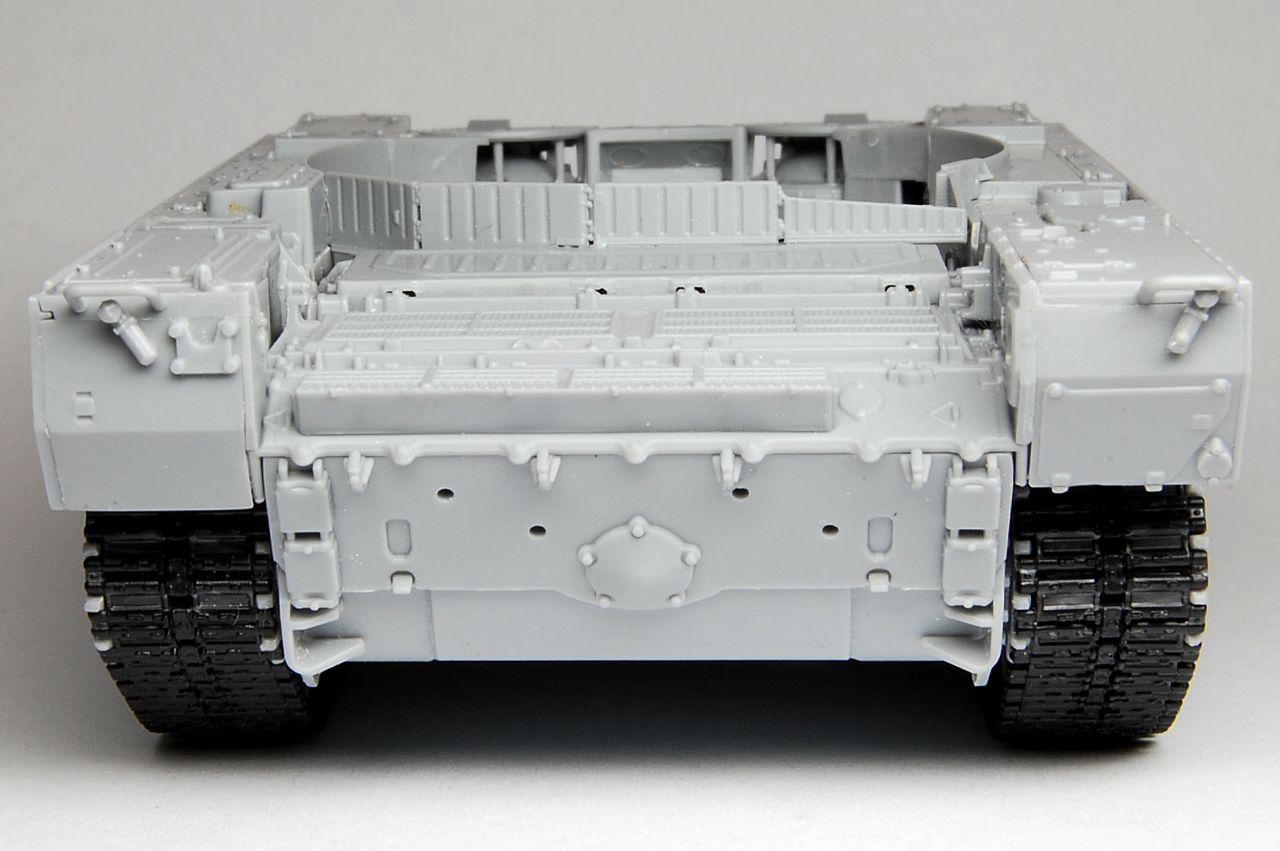
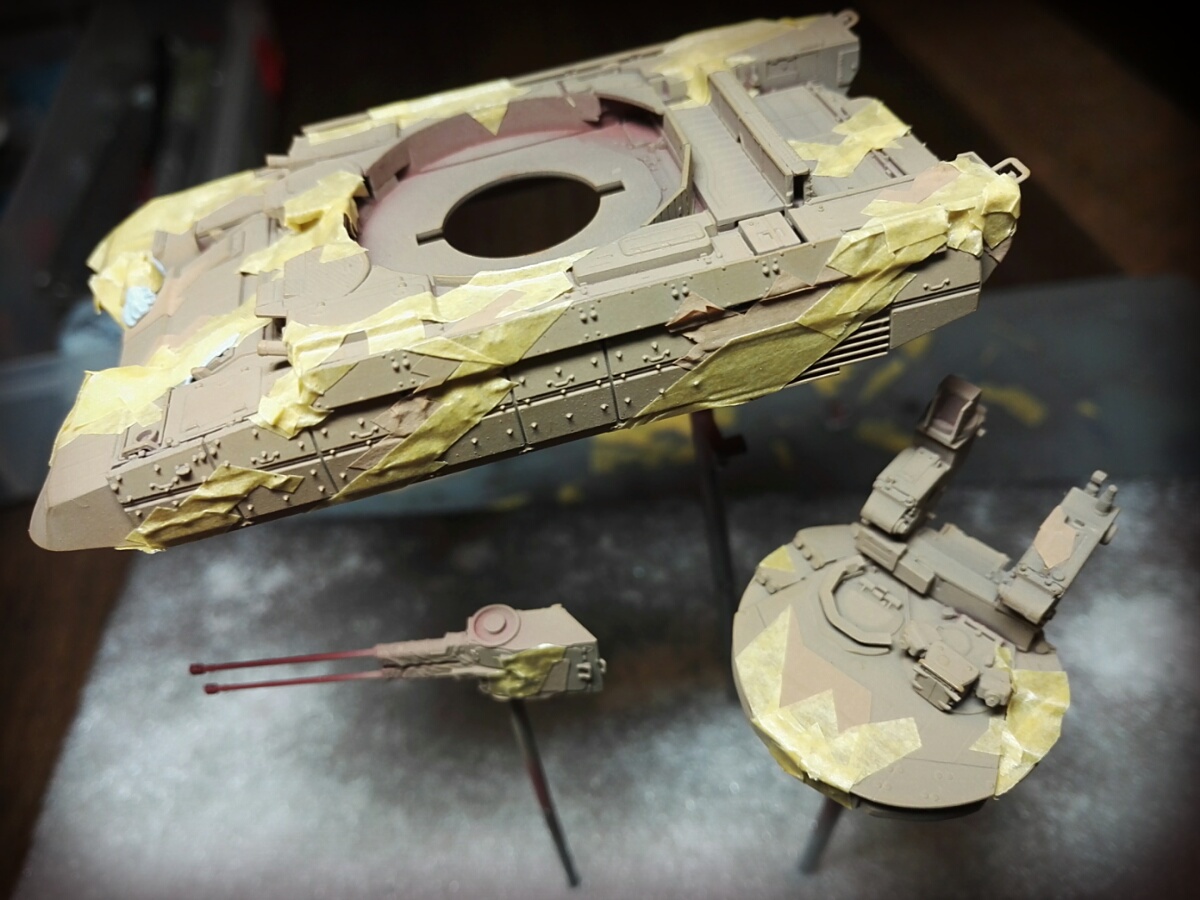
My plan is to apply the grey and black camo pattern, and do the wheel hubs in grey (I primed them in Nato Black so I can mask off the rubber), then add the completed wheels, then paint the track, glue it on, and then weather the entire kit.
...I hope
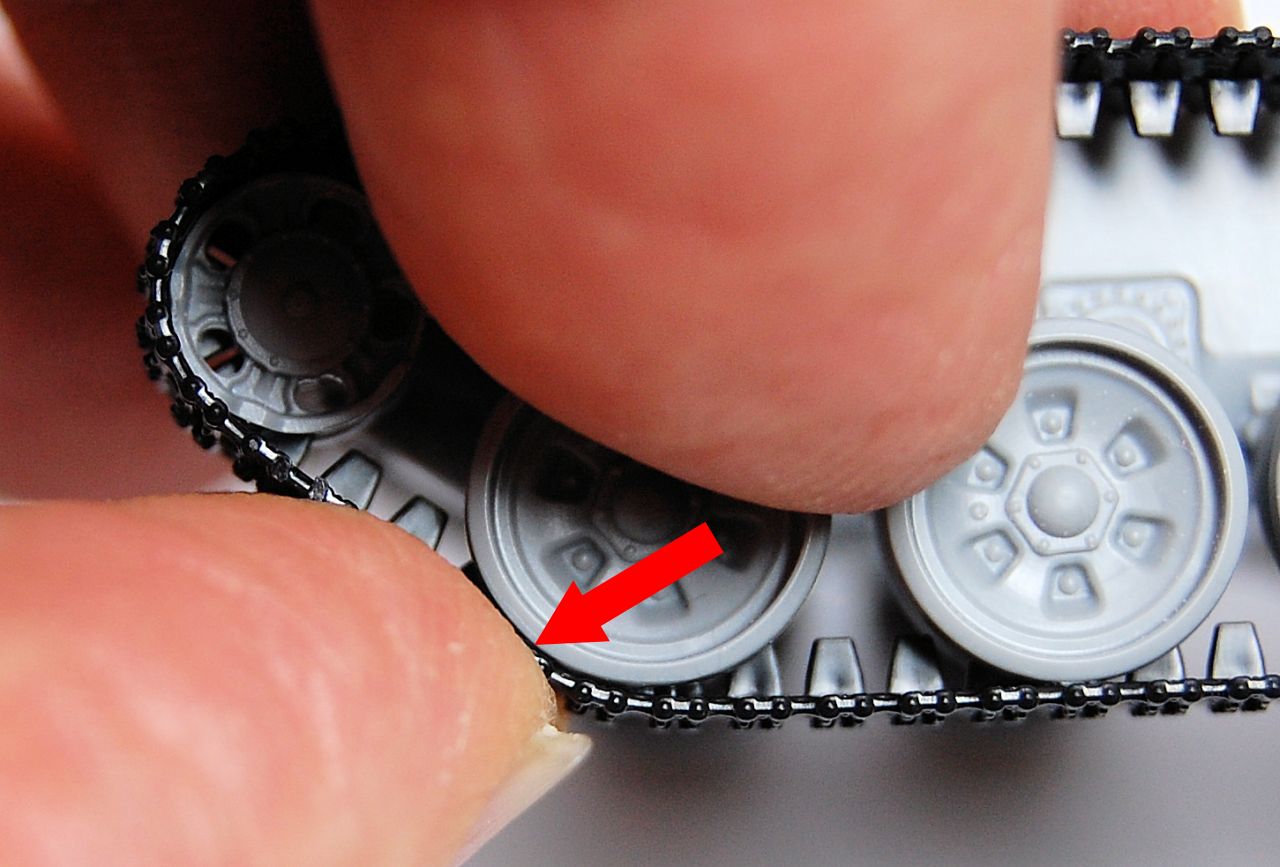
. I guess you will still have to touch up the track and tyres after assembly, unless you are very accurate with the cement. I have kind of noticed in modelling magazines how build articles often seem to skip over the stage where the pre-painted tracks are assembled on to the painted wheels.... Agree that Zvezda have taken quite a bit of care of the instructions similar as they may be to the T-90 kit, despite one or two errors.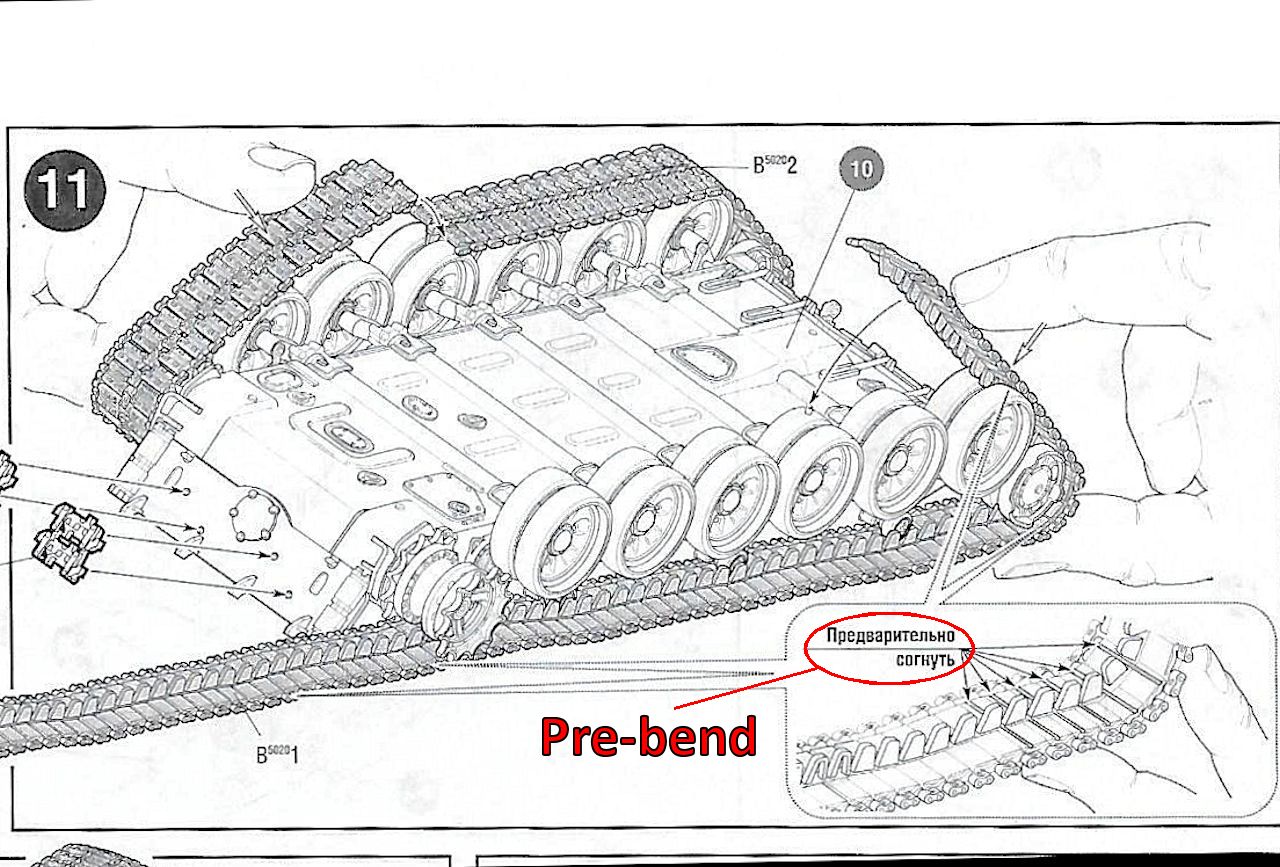
 So far from what I can understand about the method you described is that it doesn't seem to offer any advantages over my old way. It's taken a while to get to the point that I'm at so I'l just bide my time, think it over a bit more and not rush into things.
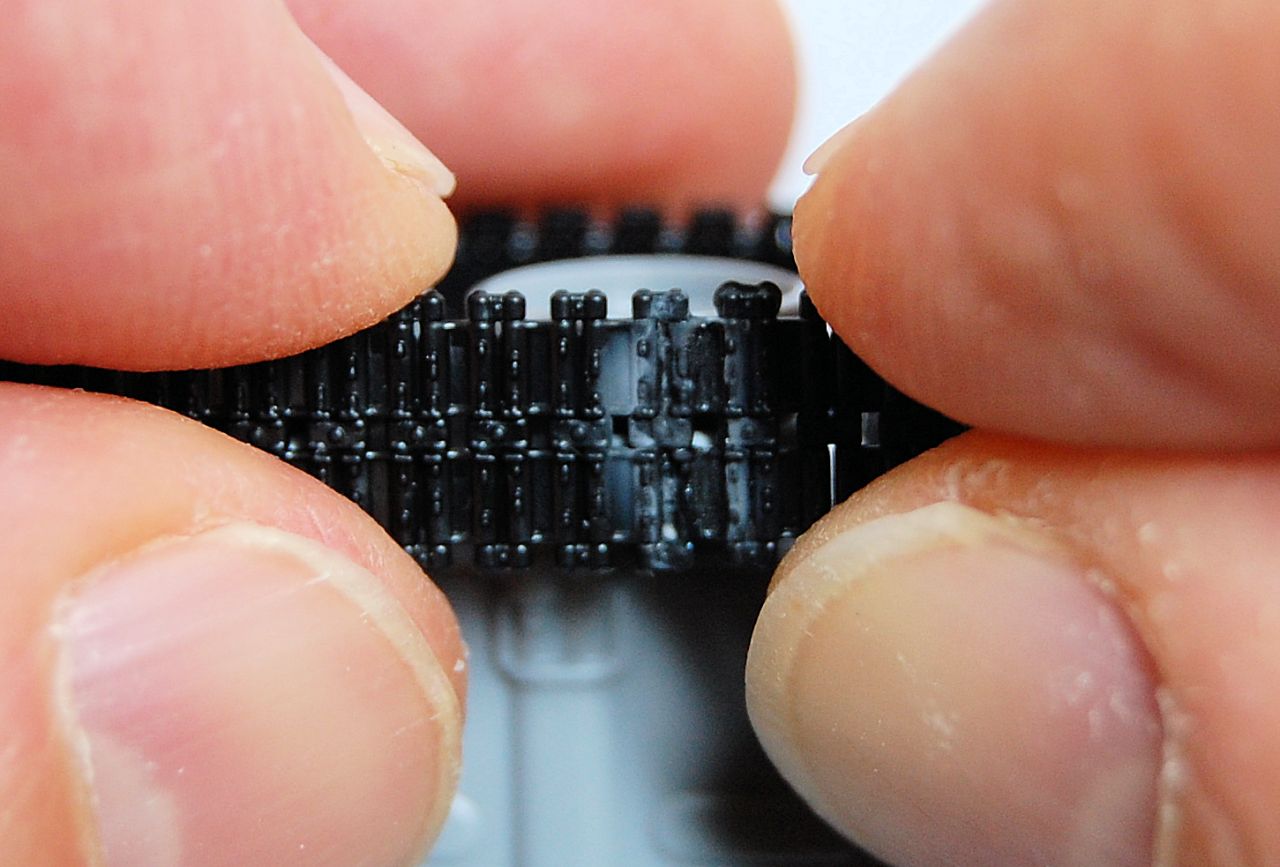
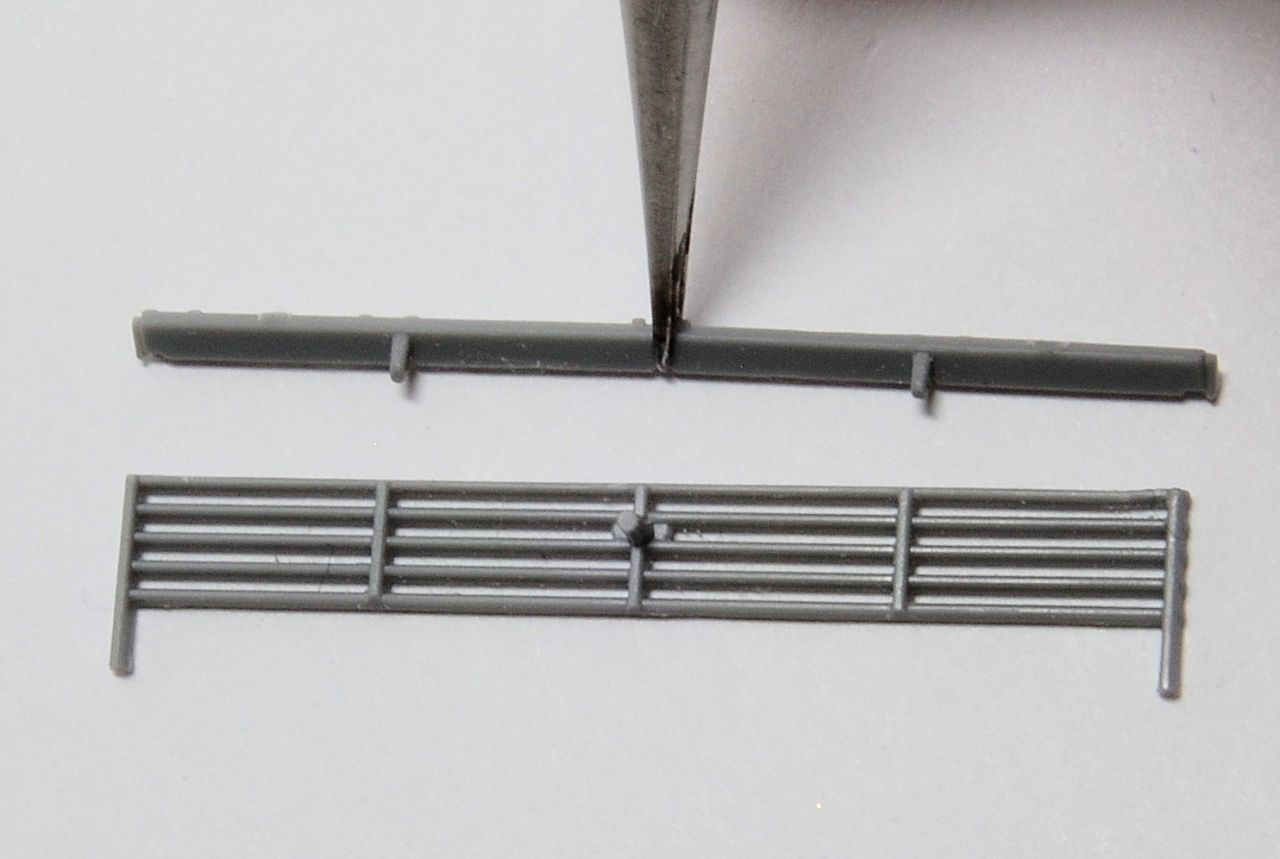
 Nice job on the tracks and I take it that the pre-scorring on the inside of the tracks greatly assists in the ability to bend them around the suspension wheels?
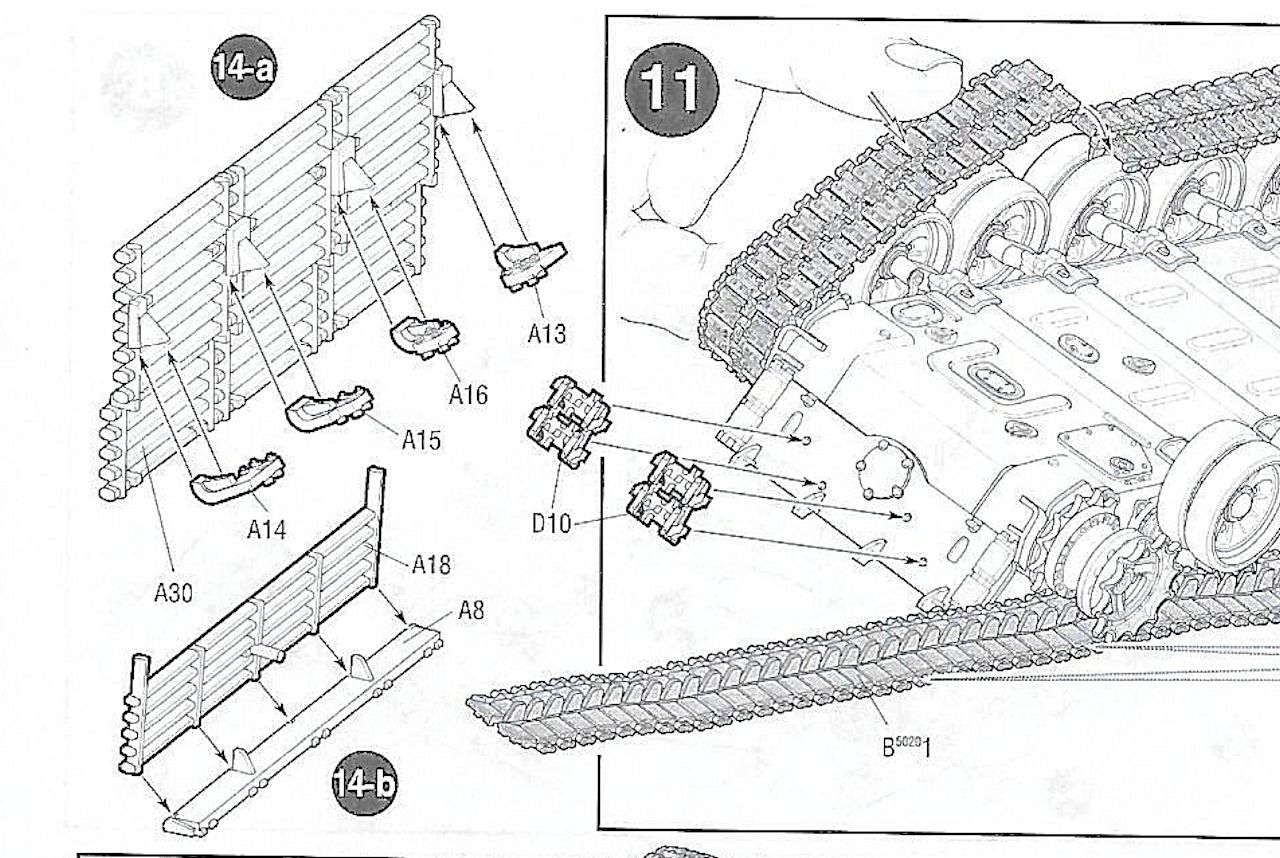
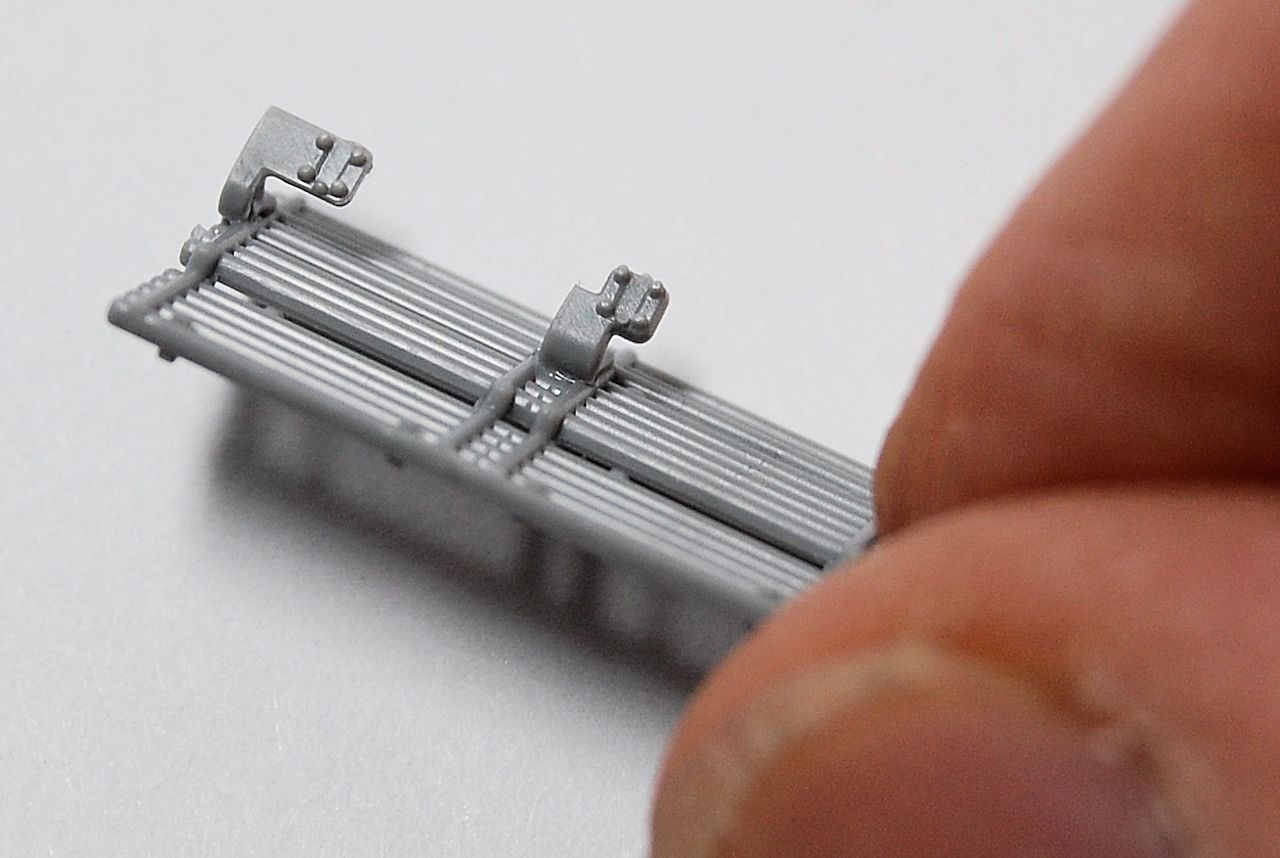
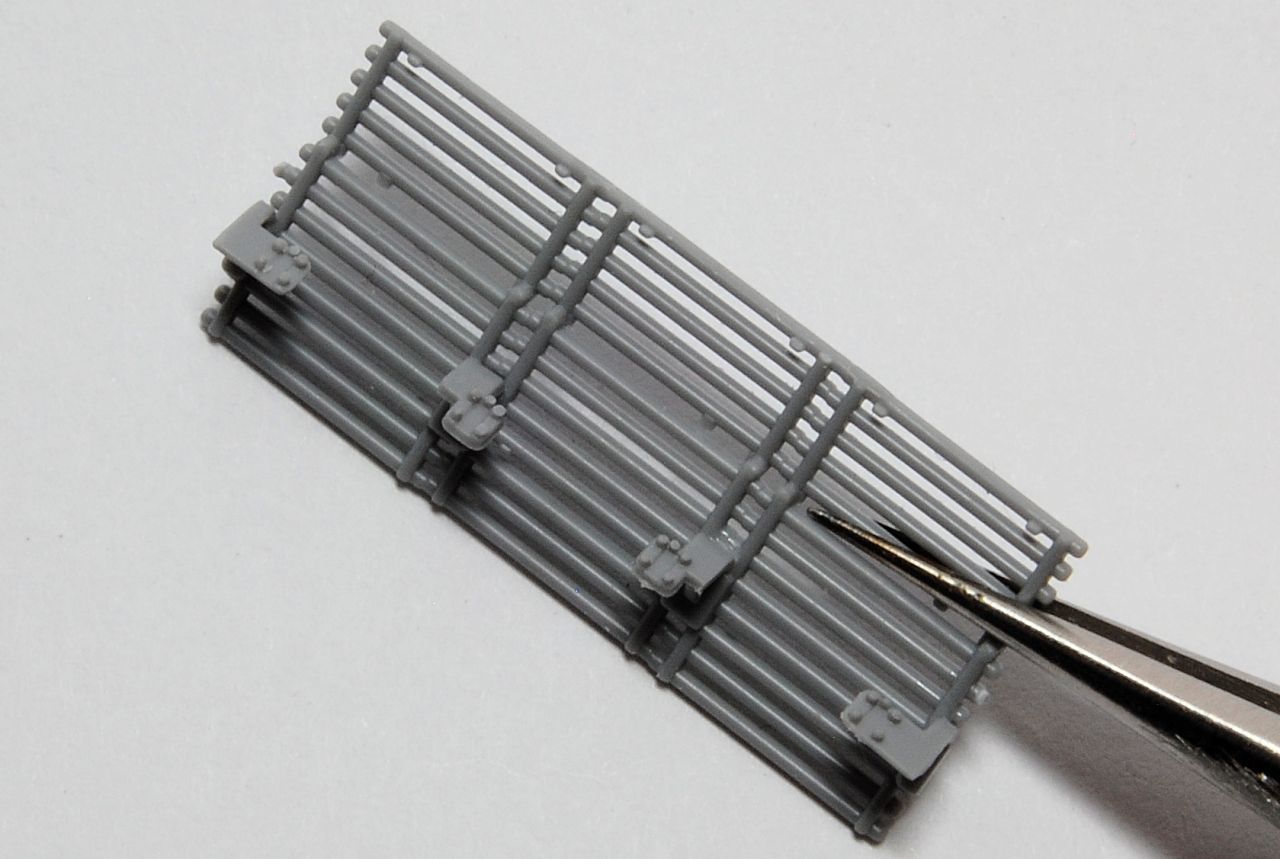


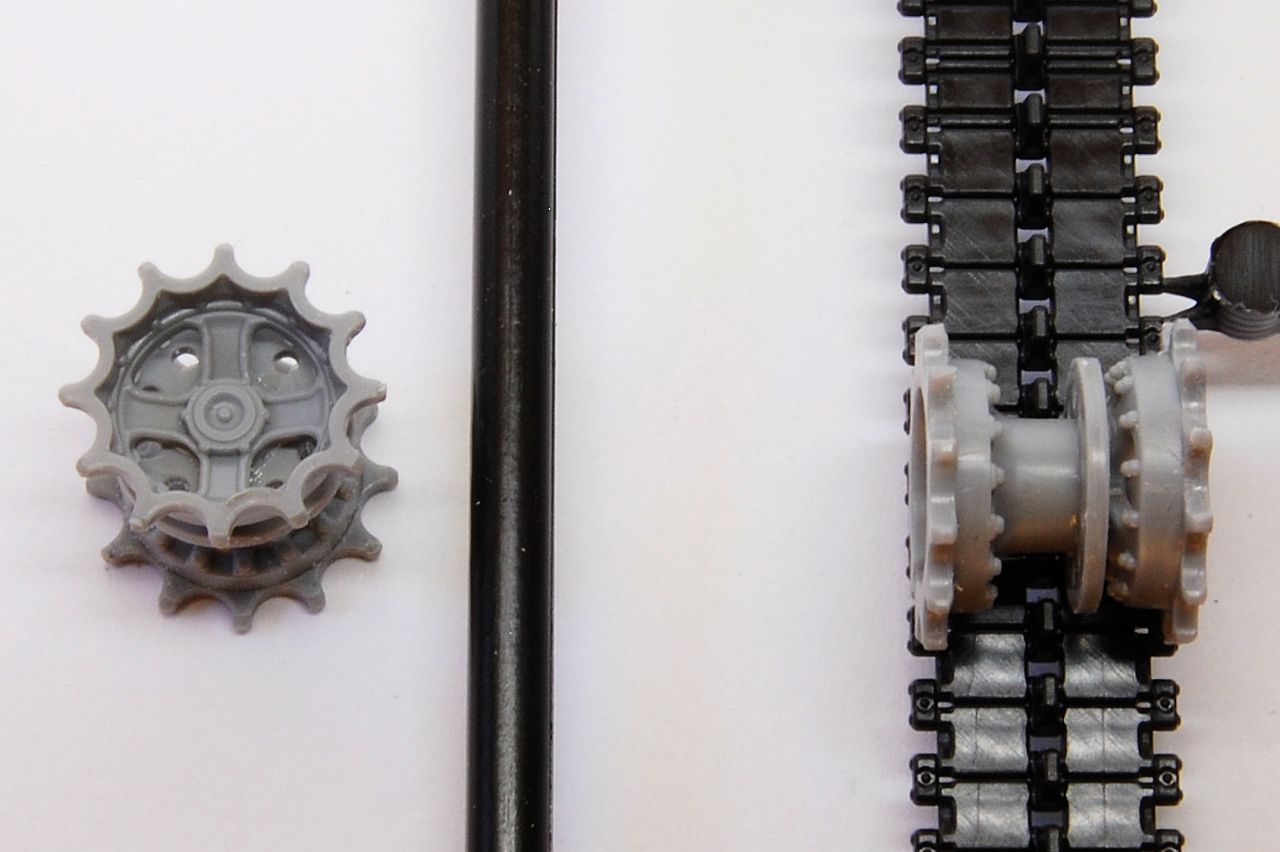
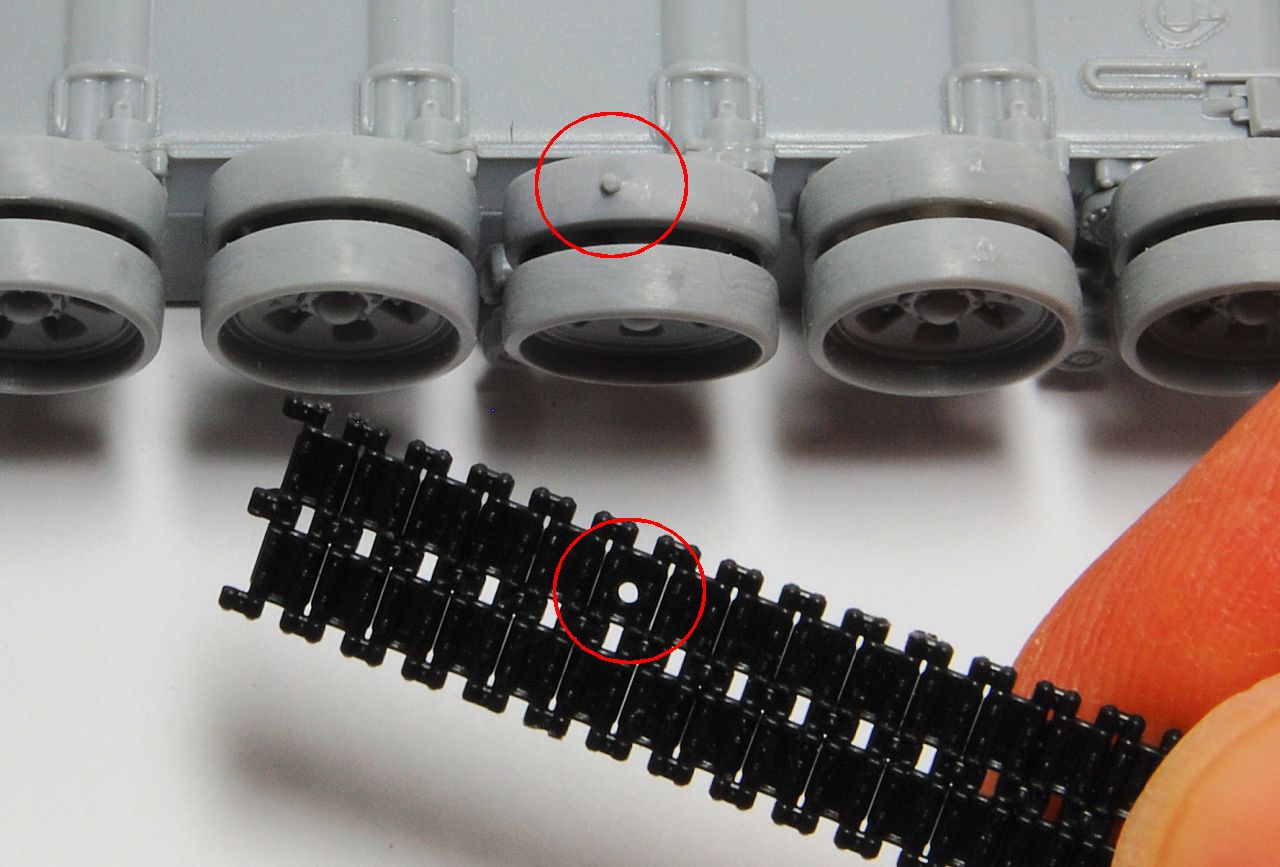
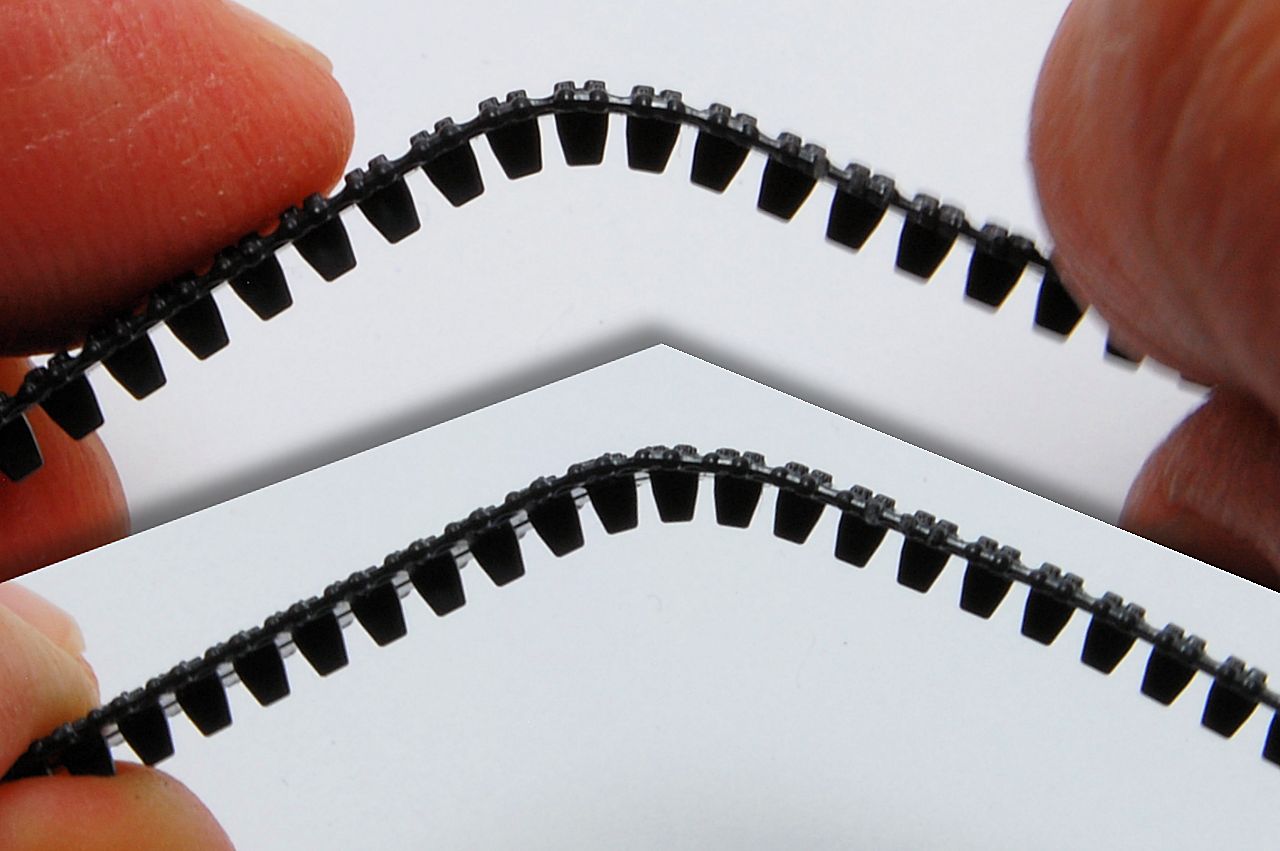
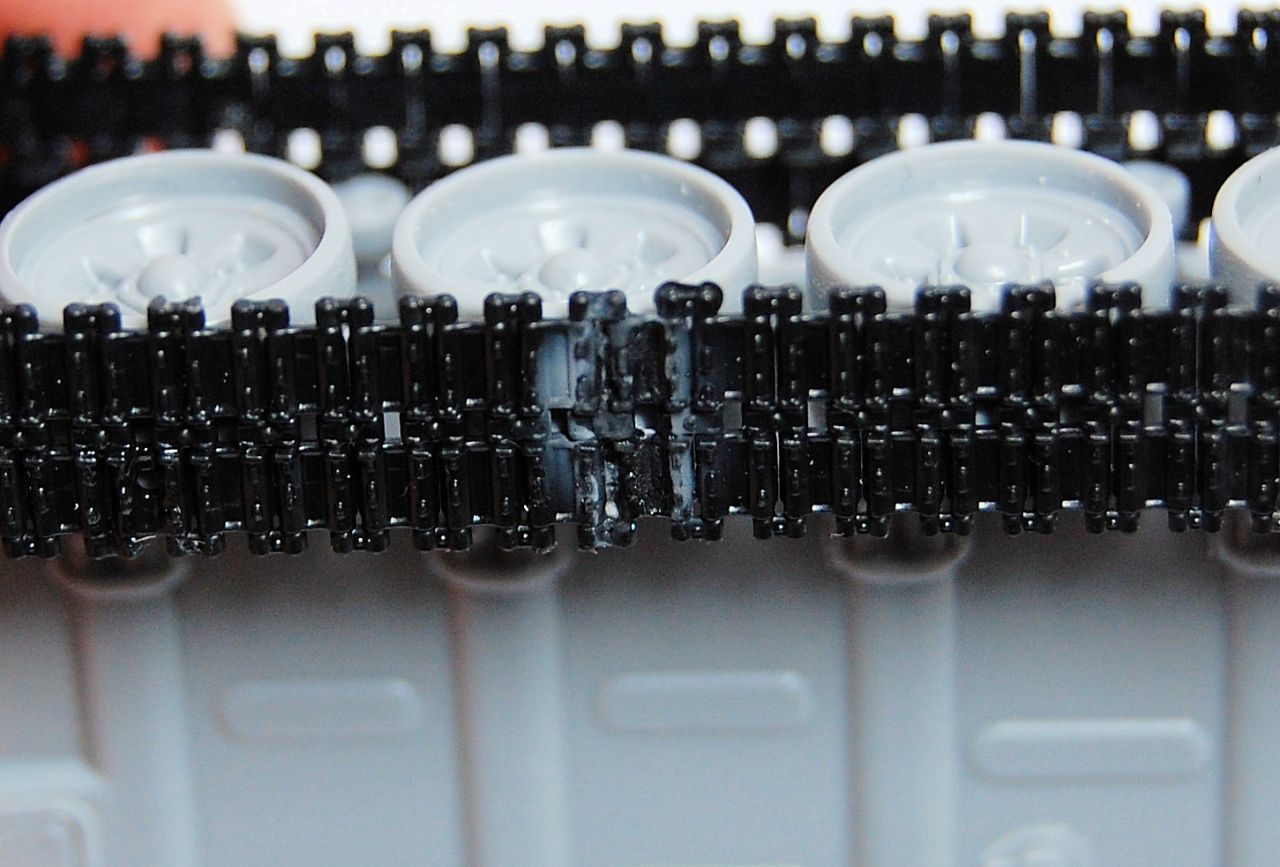
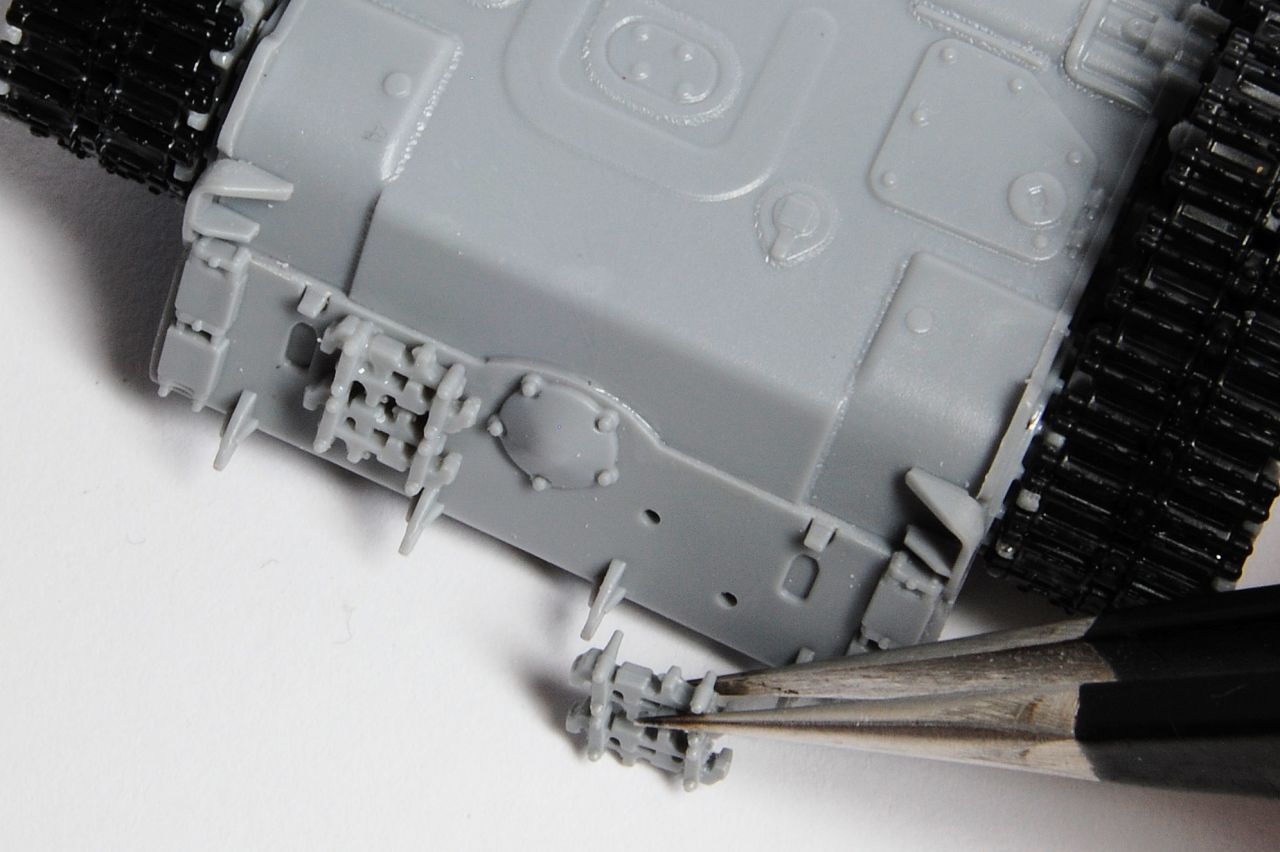
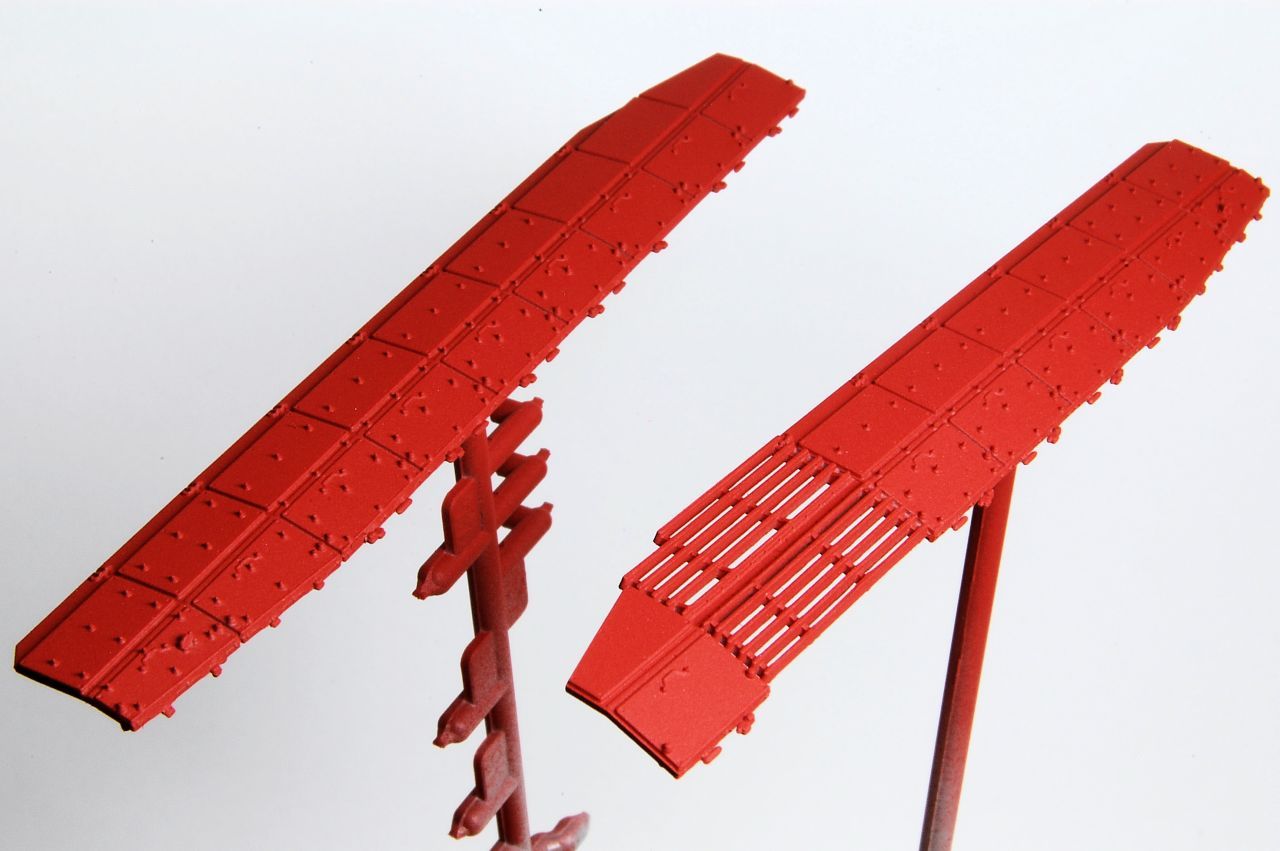
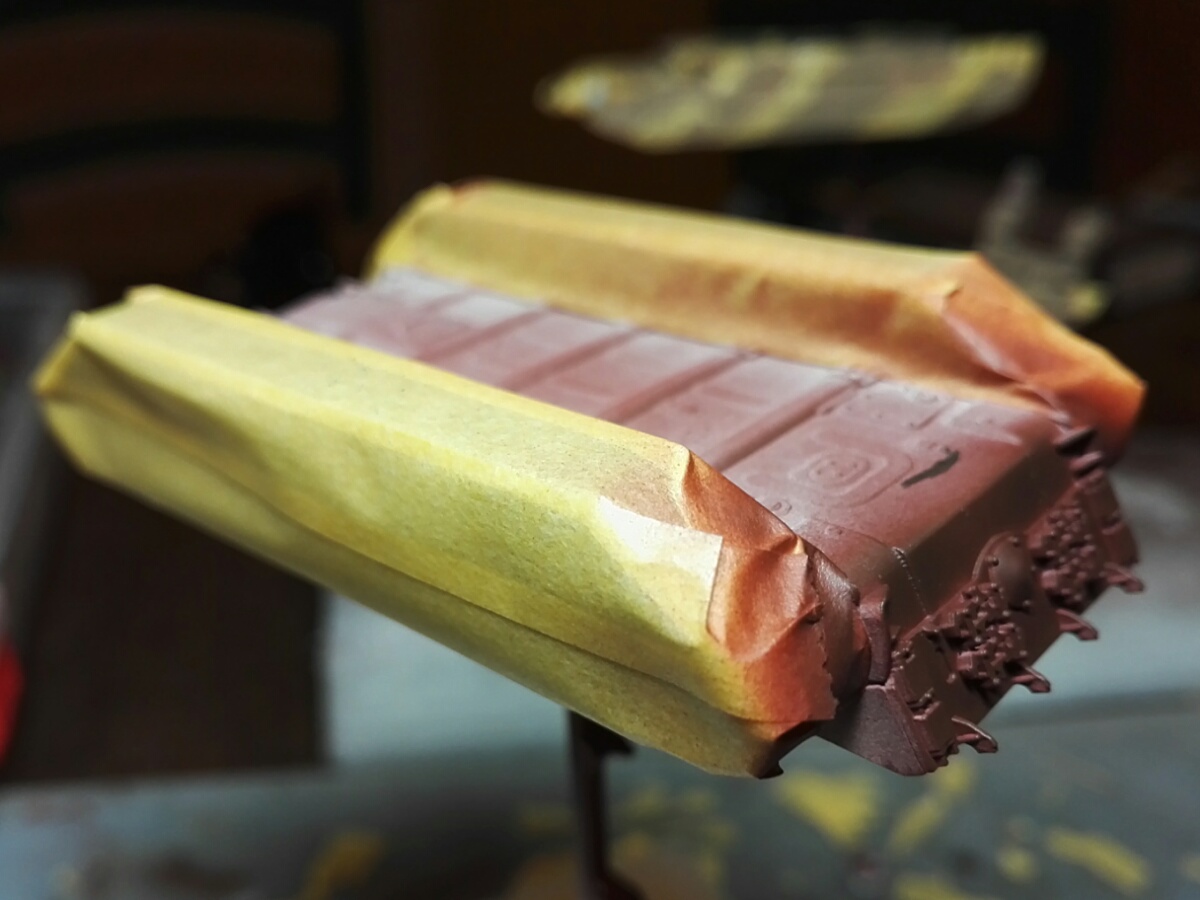
 Thanks to your "advances" in the construction that you've posted here, I felt "adventurous" today and removed Track Part #1 from its sprue and tested it's fit. What can I say other than "PERFECT"!!!!!
  That track is meant for the right side of the suspension, I lined up the hole in it with the peg on the third wheel and it all but wrapped around the other suspension components by itself! BTW, the "scored/pre-scribed" track sections bent around their respective wheels like a charm, including the sprocket teeth. Oh, the meeting of the two ends of the single piece track part/unit was nothing short of perfect! This experience only reinforces my loathing of link and length track systems when compared to what Zvezda has achieved with tracks in these kits.


Jan, I'm glad this has inspired you to tackle more of the T-90, and I agree that the fit and design of these kits is very good indeed, with the track system being probably the best I have seen in this scale at the present time.
My current delay on further progress is caused by my only local full service hobby shop having closed its' doors due to the owners retirement and thereby not having suitable paints available within 30 miles (50 km).  I should be travelling to the location of the nearest suitable emporium early next week and will have a suitable(and sizeable) list of supplies to stock up on.

I think Zvezda should send you a thankyou free kit, because I just ordered this and a few of their other braille scale kits.
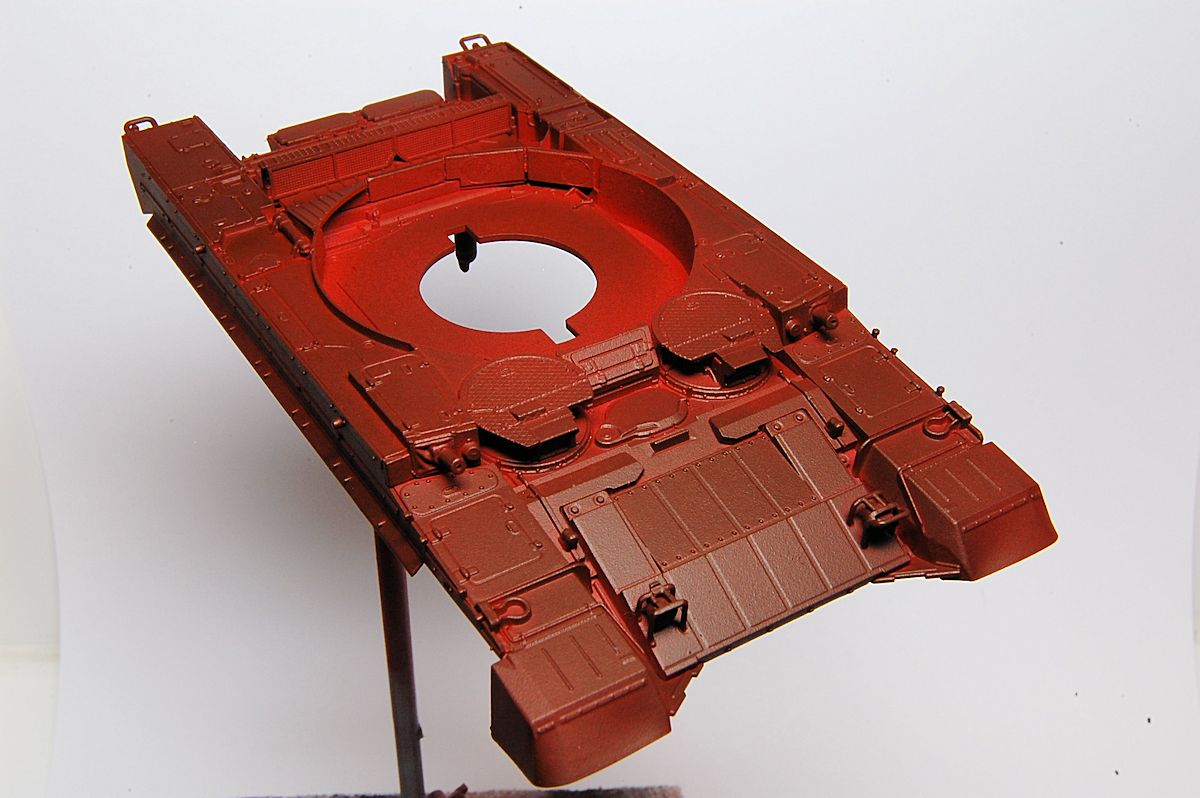
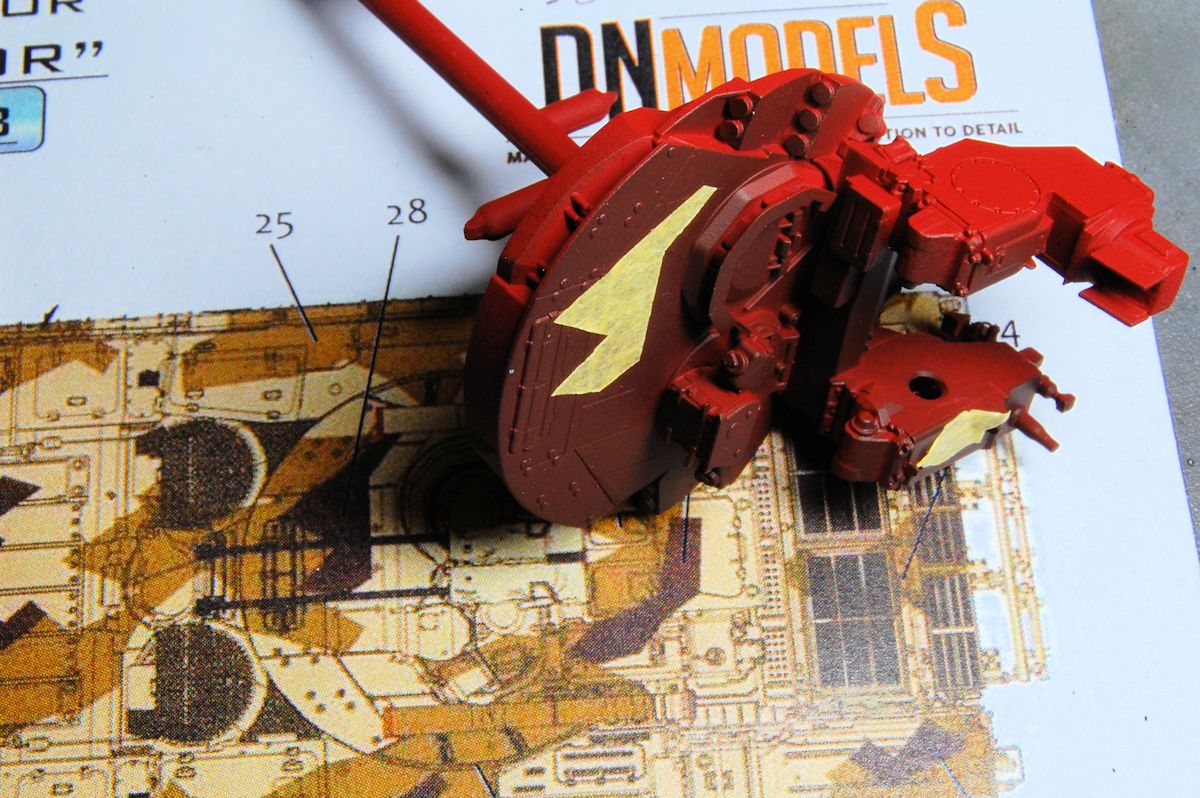
 Red oxide primer - no special reason other than I have a mostly full can, and this is going to end up in mostly brownish shades, so why not? When I give it a really close look I expect to pick up some defects under this.
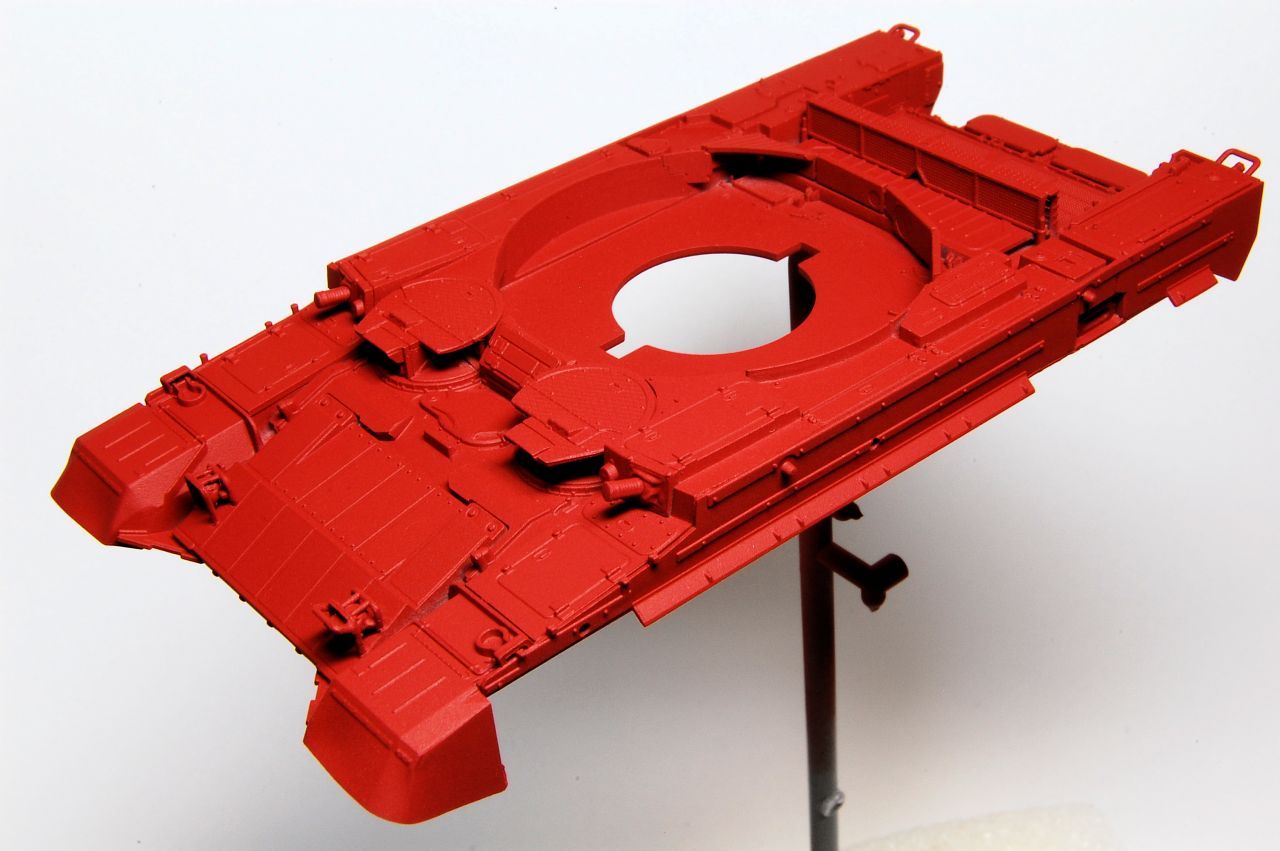
 I must confess though, that when I saw the entire suspension assembled and coated with the primer it caused an involuntary shudder to run down my spine. The process of assembling and painting a tank/armoured vehicle suspension has always been a laborious affair to me. I have experimented with what seems like countless techniques and have yet to find one I like. And yes, I have known individuals who assemble and paint these small scale creations after an overall base coat with 5 X 0 script brush detailing but the idea of that boggles my mind.
 ...
Jan, did you make it to your nearest but now not so near paint supplier?
Since then a couple of other shops have started to carry limited modelling supplies like glues, hobby knife blades and/or a few tools as well as have certain kits available by personal order. Not as concise as our old super shop but at least a good working minimal. 


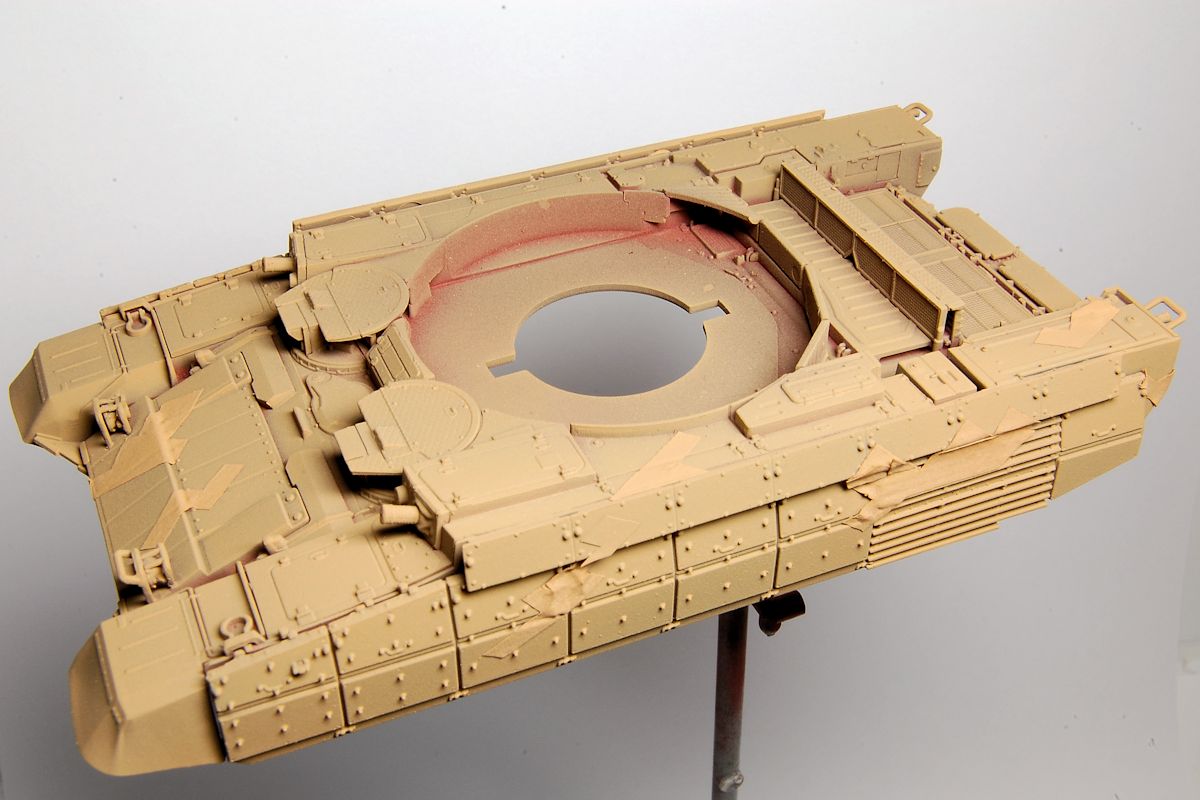
 I must say that for some reason I have never thought of using "Deck Tan" as a member of a "modern" camouflage scheme but your example of using it has awakened a dormant idea or two.
 I applaud your ingenuity and taking the initiative to use more "commonly" available and perhaps less costly paints for this project.
I must say that for some reason I have never thought of using "Deck Tan" as a member of a "modern" camouflage scheme

 |


