_GOTOBOTTOM
Armor/AFV: Modern - USA
Modern Armor, AFVs, and Support vehicles.
Hosted by Darren Baker
Black Label T54E1 Build Log
Scipio2010
#401
Visit this Community
Washington, United States
Joined: December 08, 2013
KitMaker: 323 posts
Armorama: 221 posts
Posted: Tuesday, July 25, 2017 - 04:28 AM UTC
I recently volunteered to do a build log of the 1/35 Black Label T54E1 provided to the website by Dragon. Ultimately I will consolidate this into a build review. Up to this point I have avoided the Black Label series kits due to the bad reviews and publicity, however, I find the T54E1 a truly interesting subject.

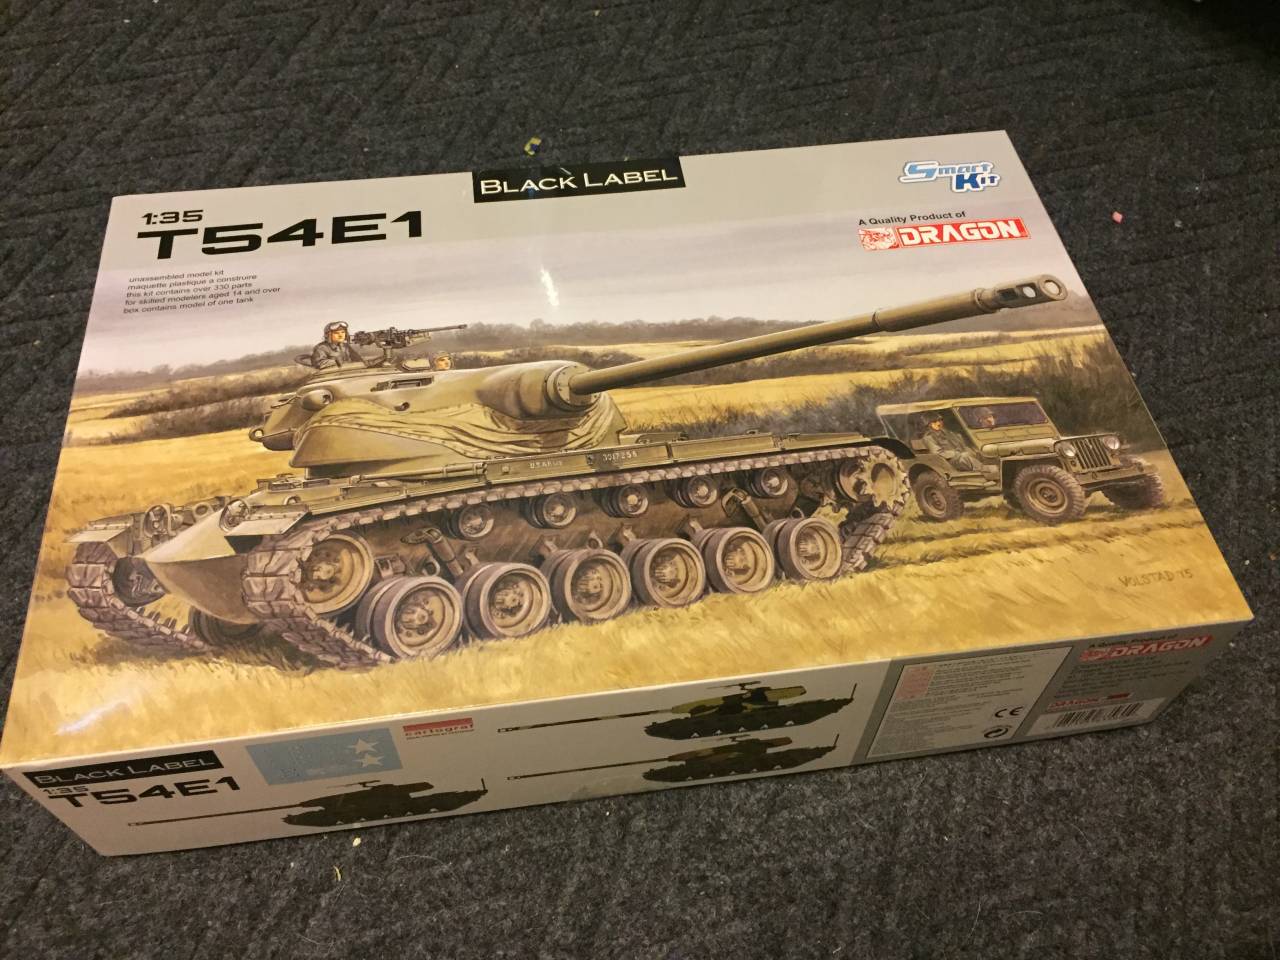
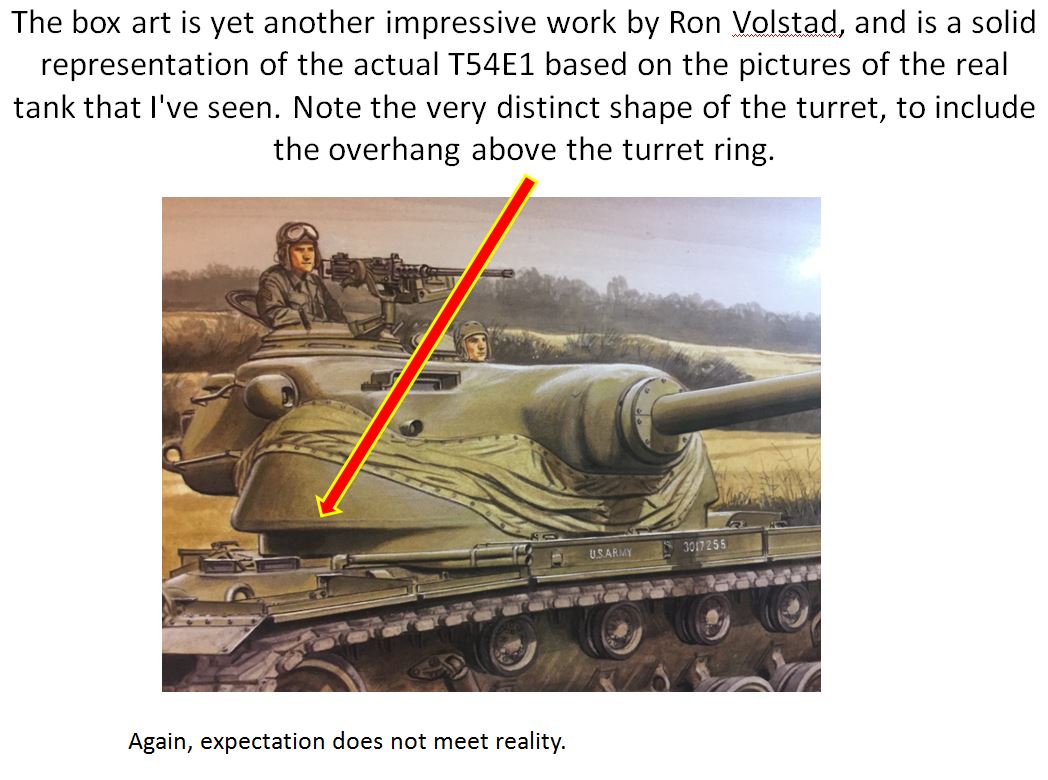
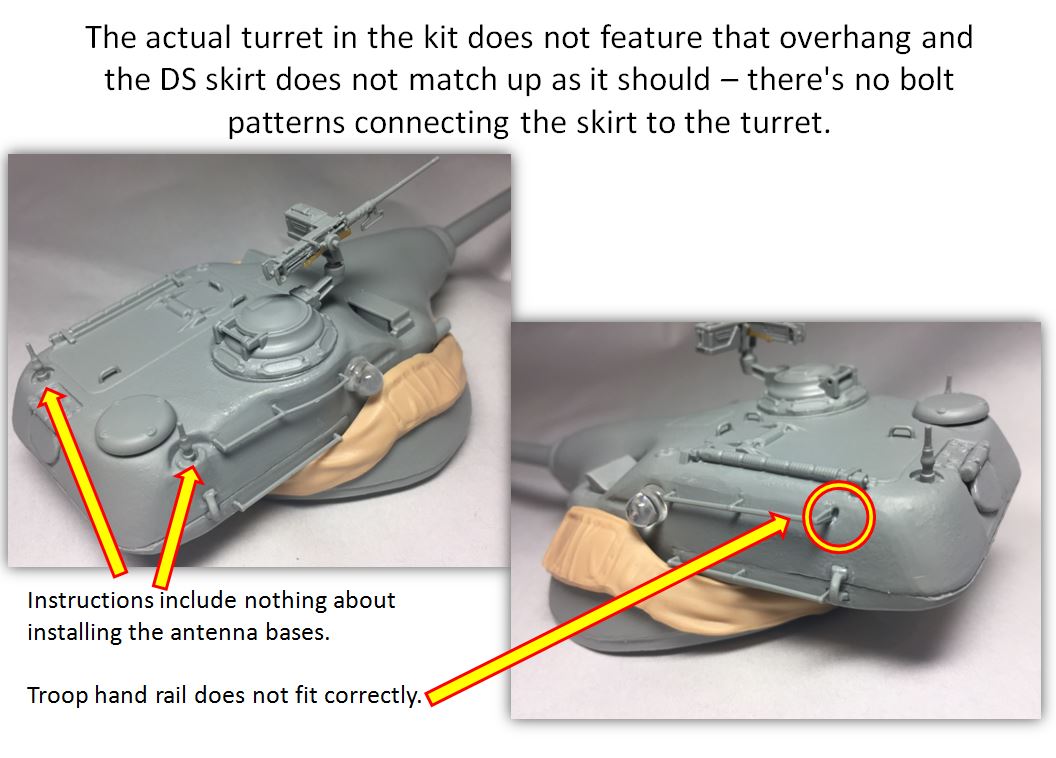
The Black Label series was introduced by Dragon in 2014 to be an independent line of models that provided maximum value for its price. The series has included several obscure modern/cold war era AFV's like the M6, M103, KpZ 70, and now the T54E1. There have been plenty of reviews of these kits that highlight the inaccuracies and dimensional issues, and from what I have seen there is a negative stigma towards the Black Label series.

Despite the negative press, I am looking to provide a purely objective review of the kit itself and provide insight into any issues with the construction. I am in no way an expert on the Cold War Era American AFV's, nor will I attempt to debunk the kit for any dimensional inaccuracies. I have built numerous WWII era AFV's by Dragon, Trumpeter, and Tamiya, however, this will be my first foray into the post war time period.

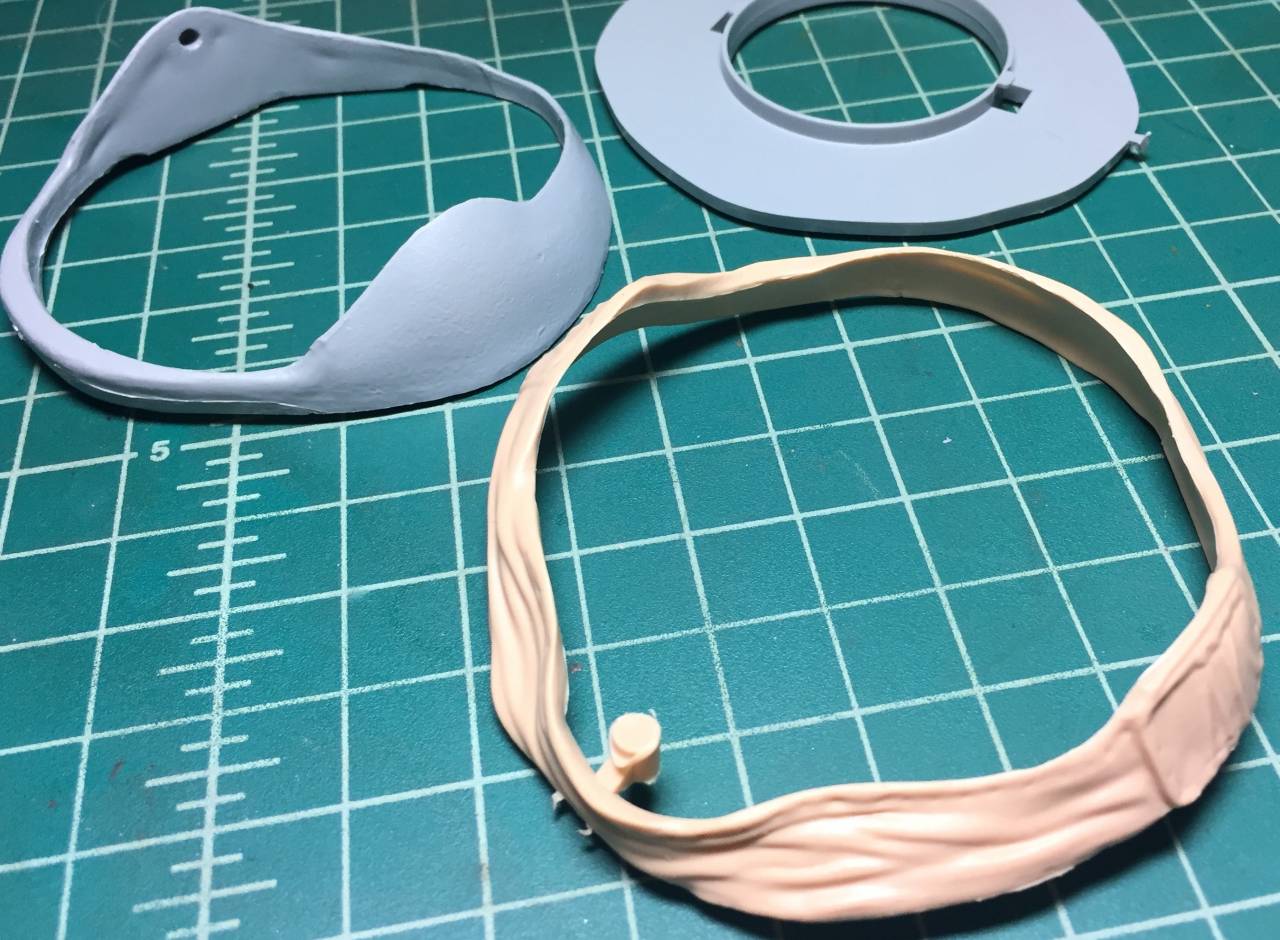
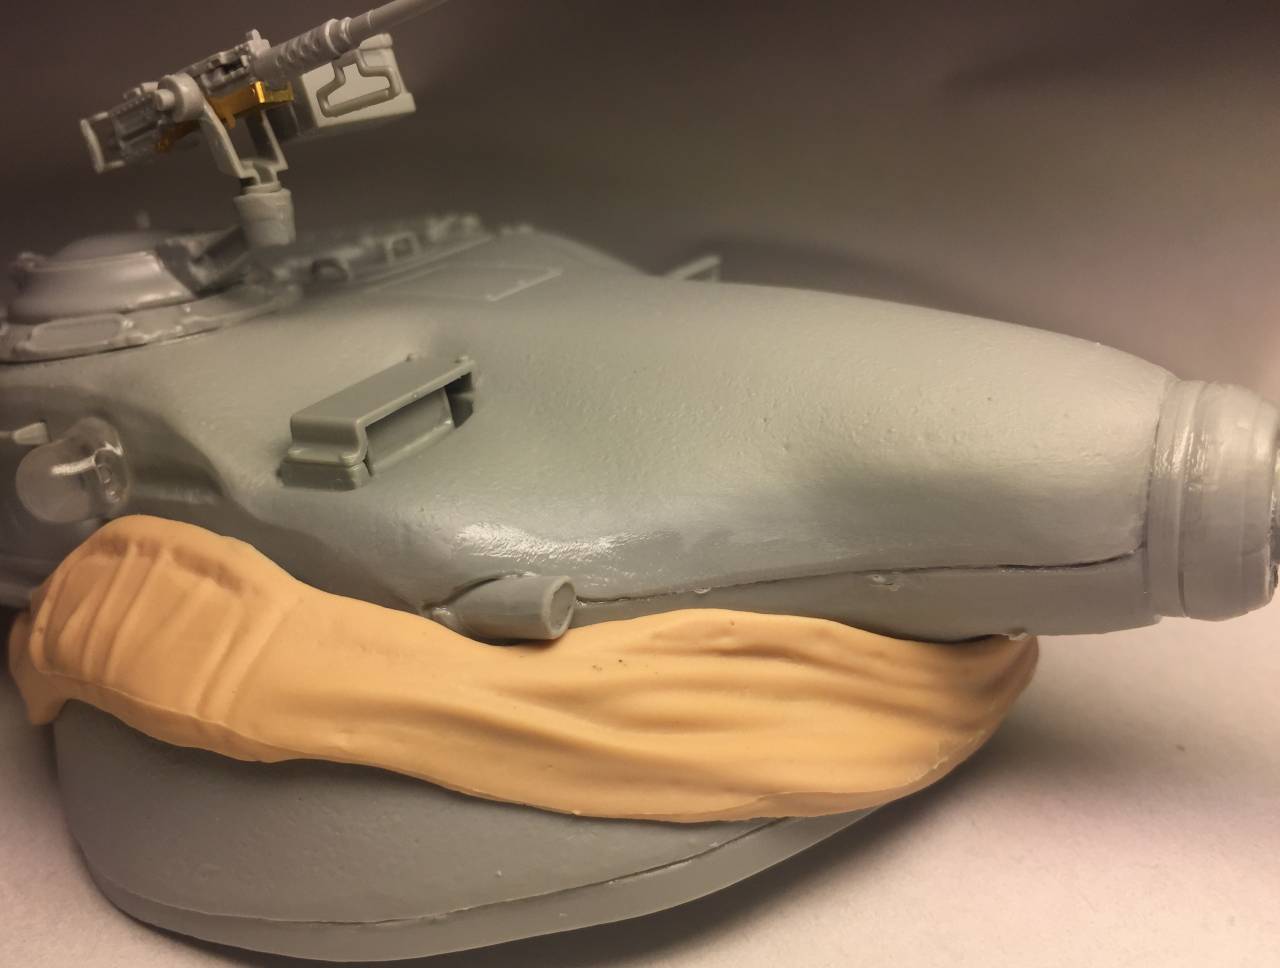
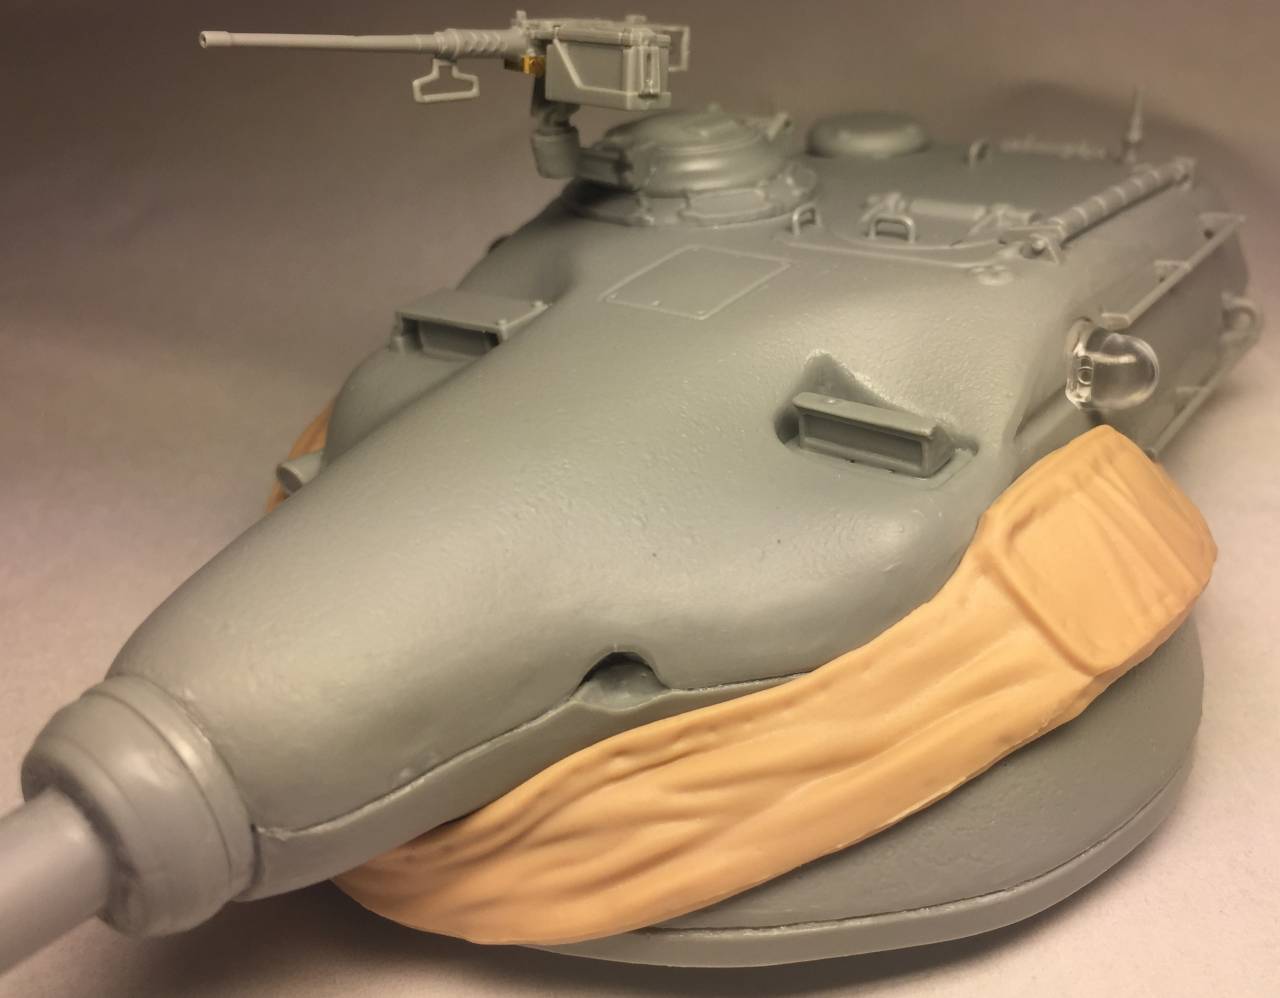
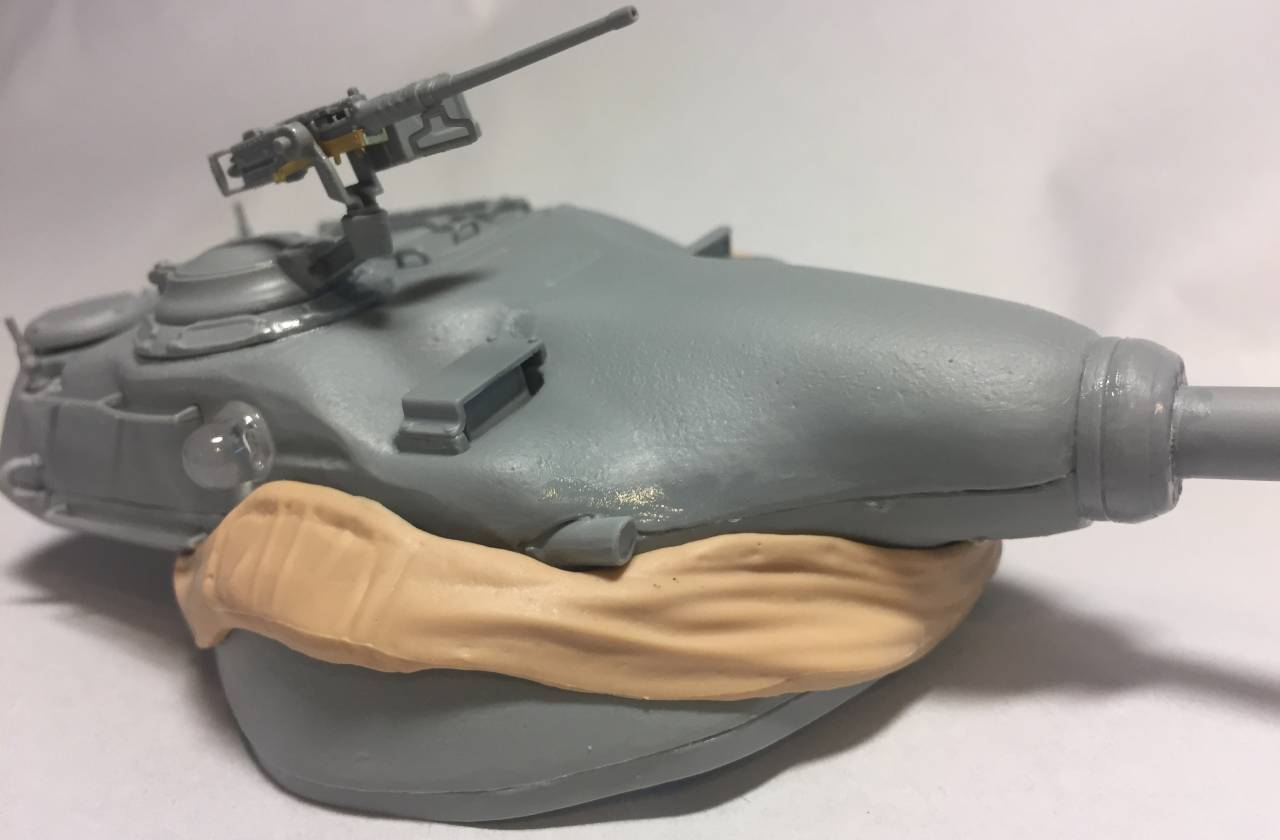
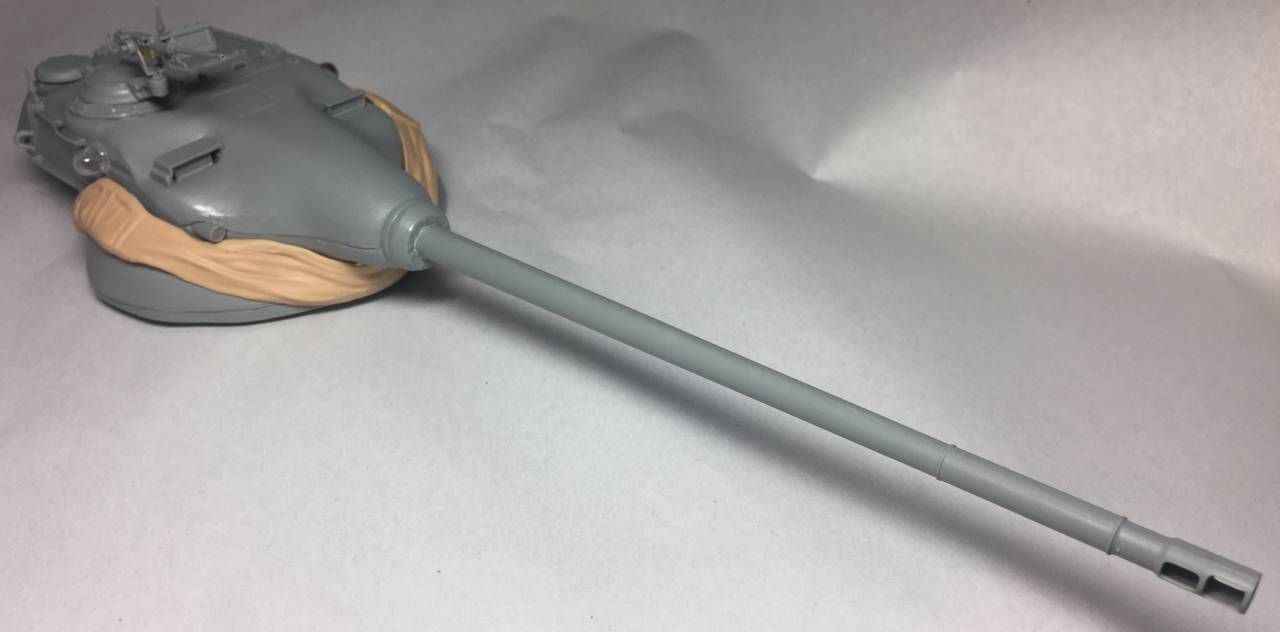
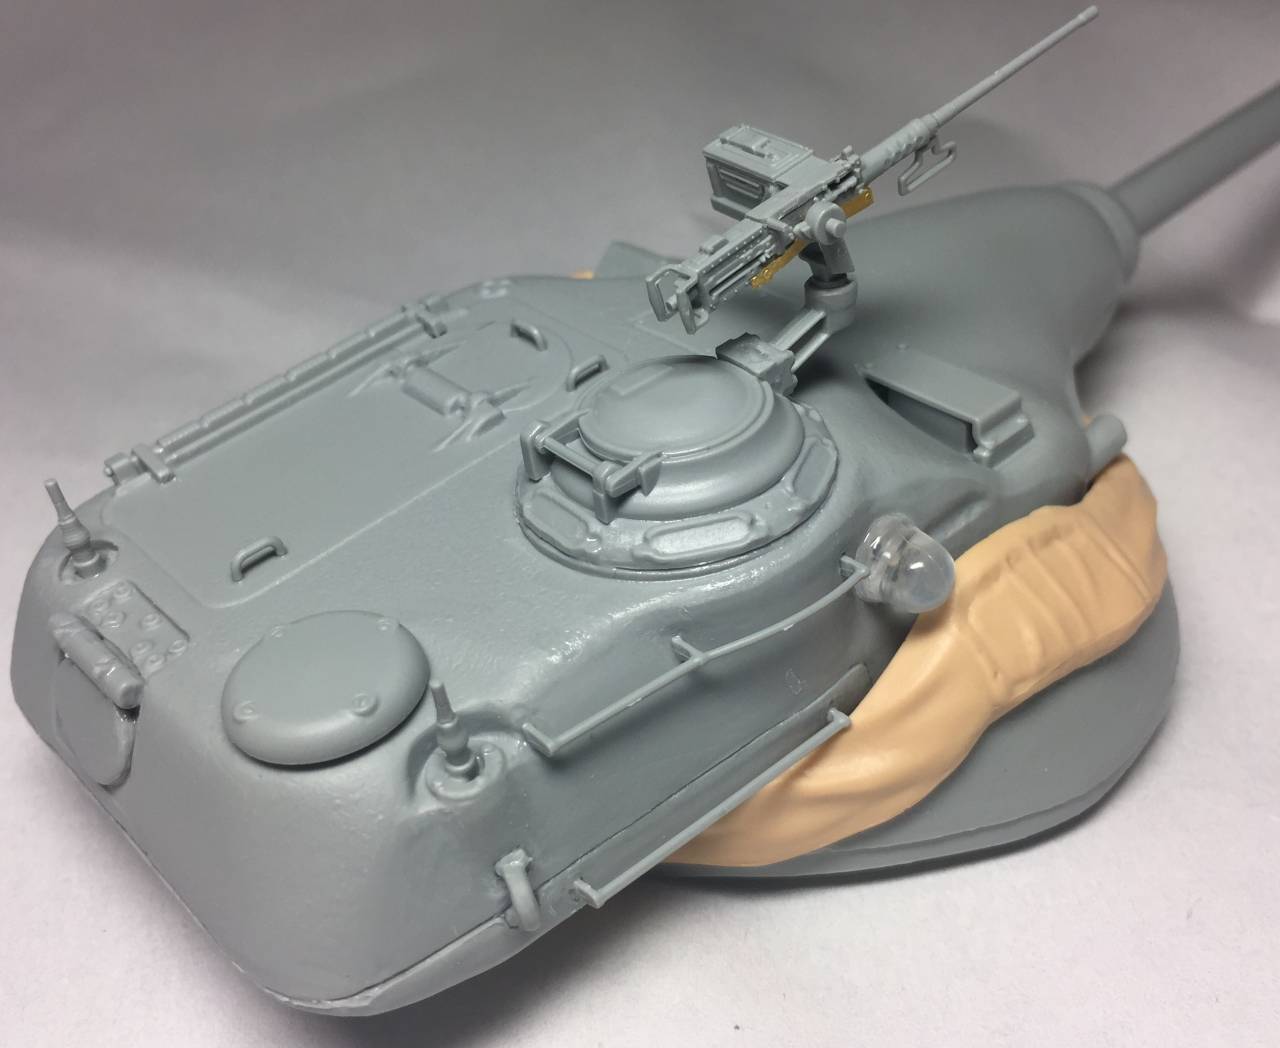
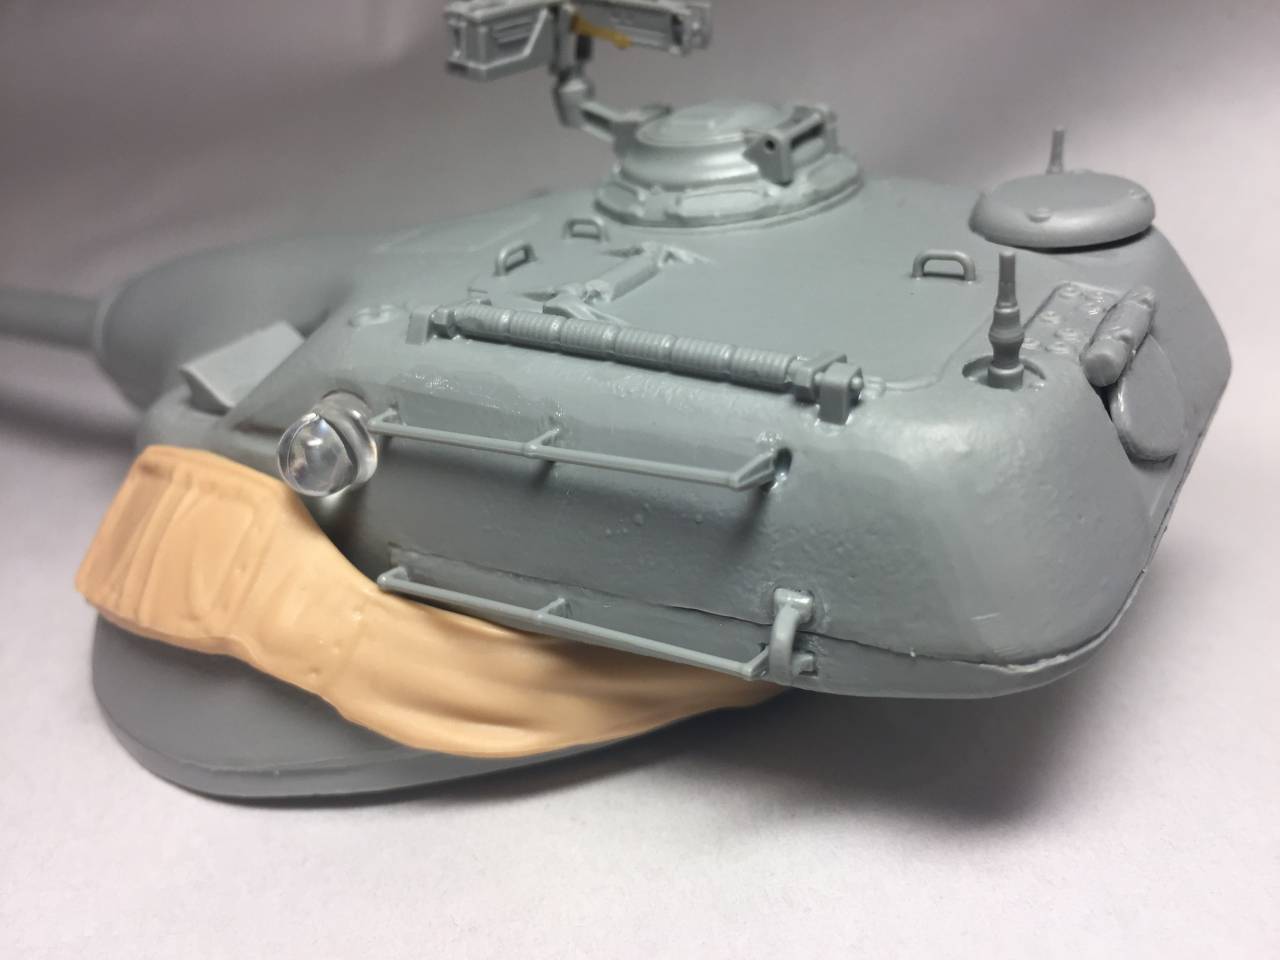
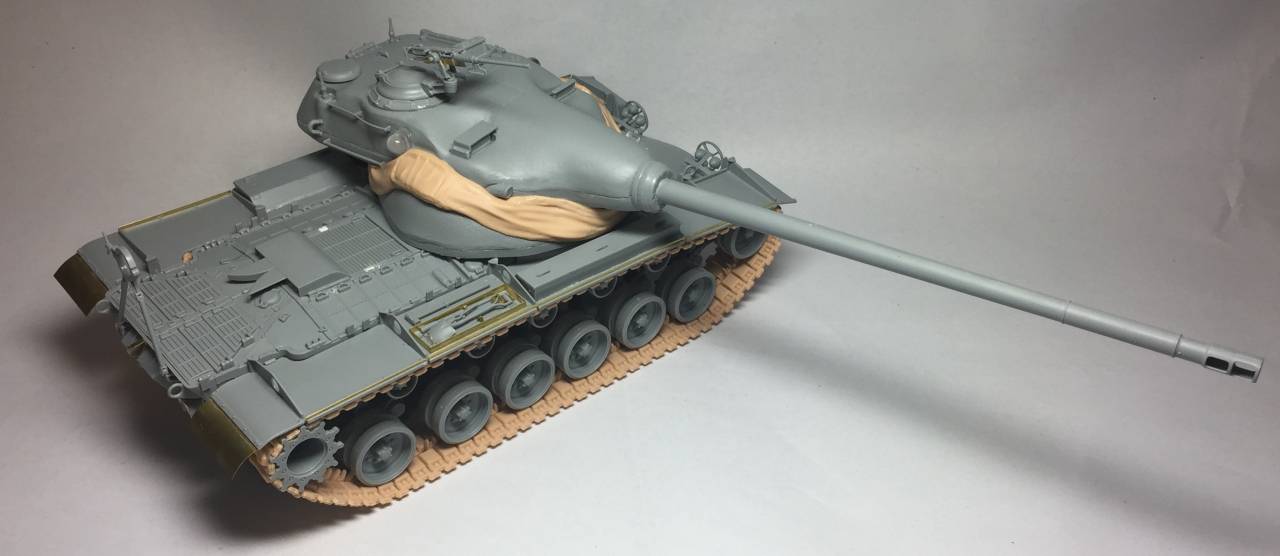
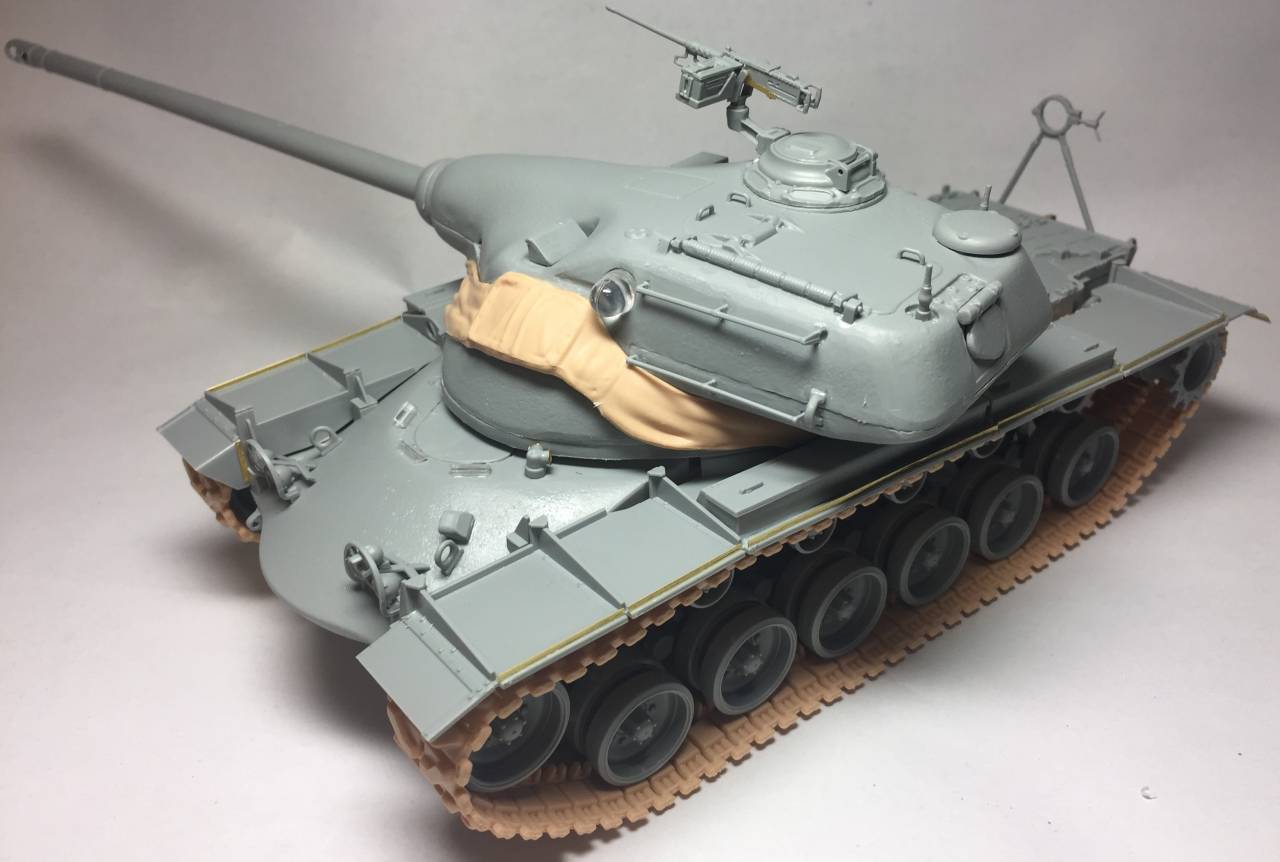
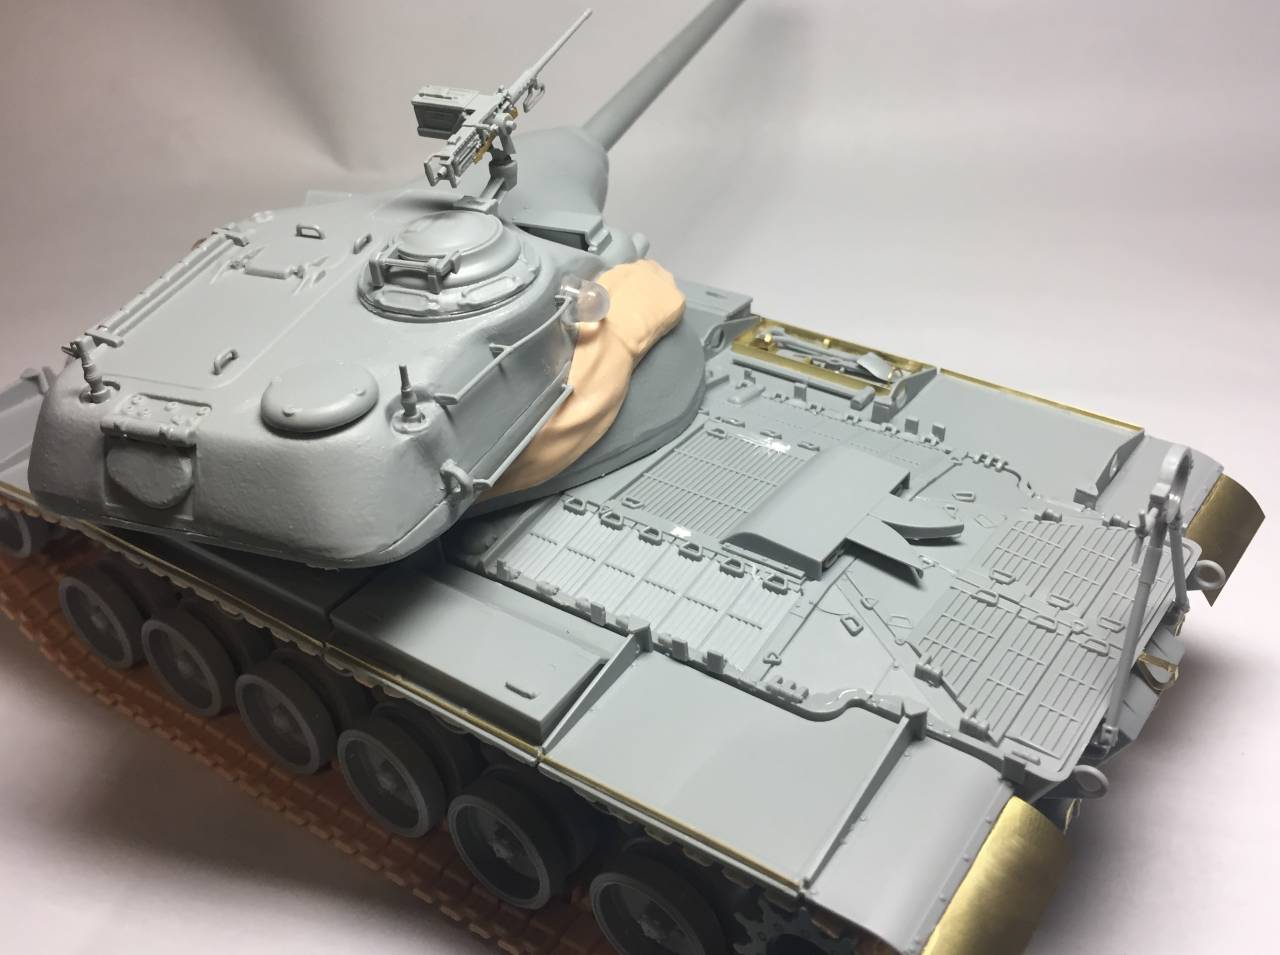
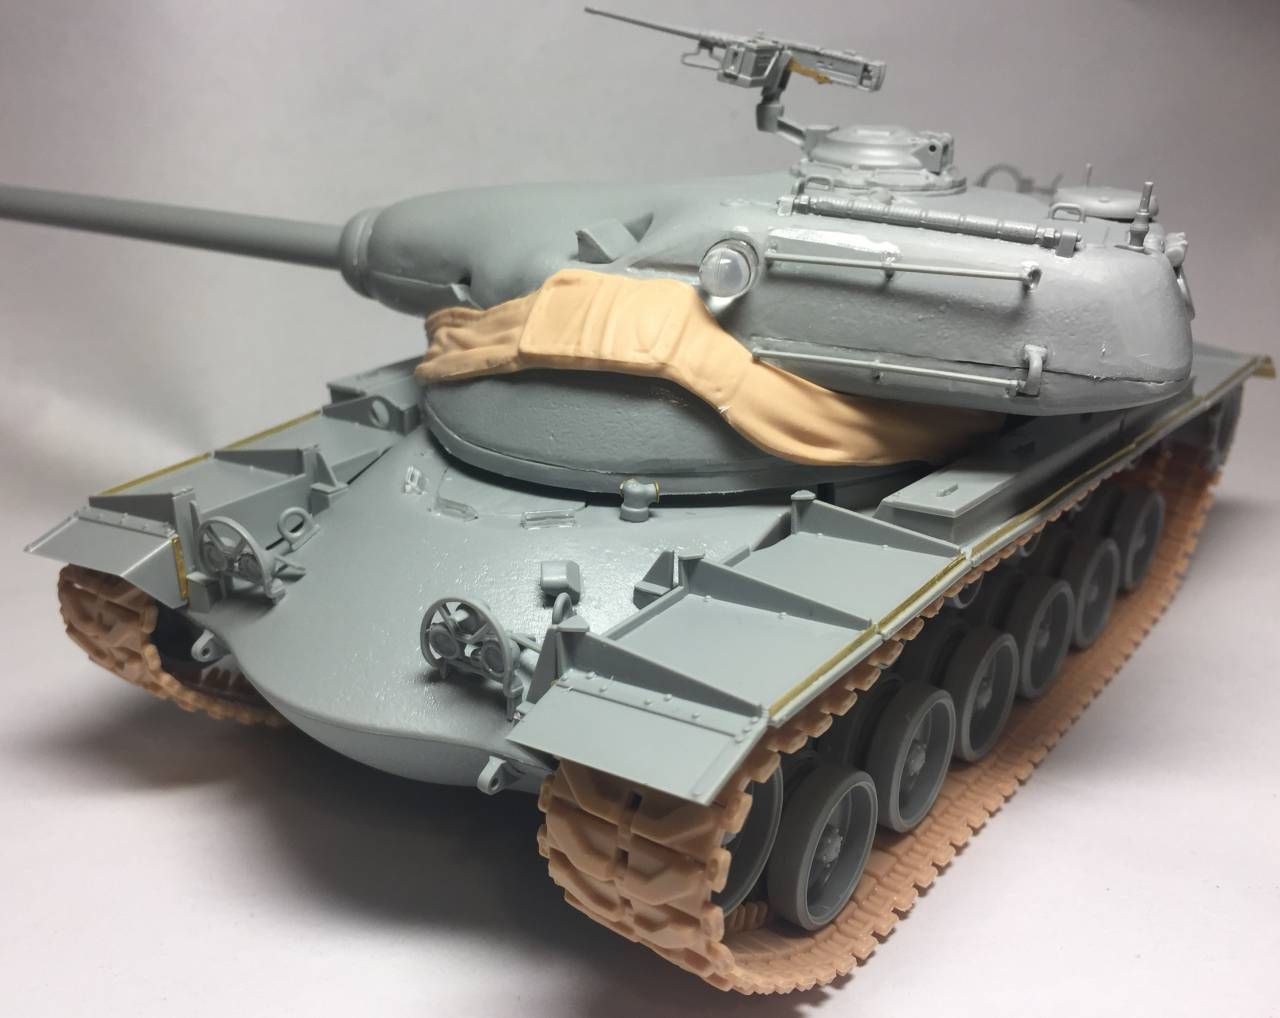
The T54E1 represents one of three experimental tanks in the T54 series built in the 1950's by the US to explore the possibility of using autoloaders and larger caliber guns on future tanks. The T54E1 features an oscillating turret which allows the AFV to accommodate a much larger caliber gun than the turret ring would otherwise allow - I'm no expert on this but that's what I gleaned from my research. There is a link provided to the Wikipedia page for the T54 series.

https://en.wikipedia.org/wiki/T54_(American_tank)

No matter what, I think this T54E1 is an interesting design and will stick out among the builds on the shelf. I look forward to any comments or feedback from people as I go along.


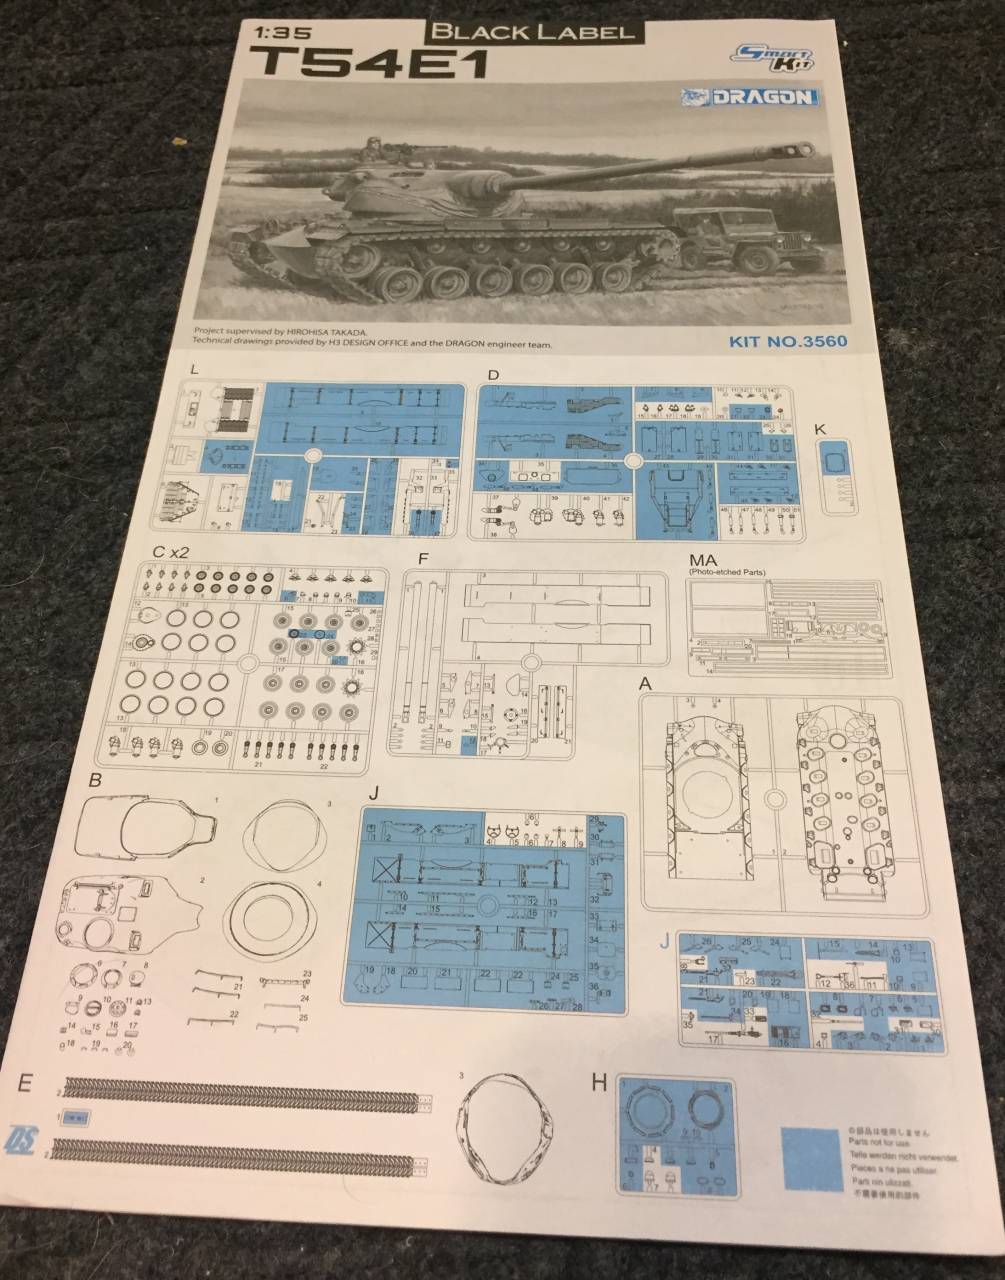
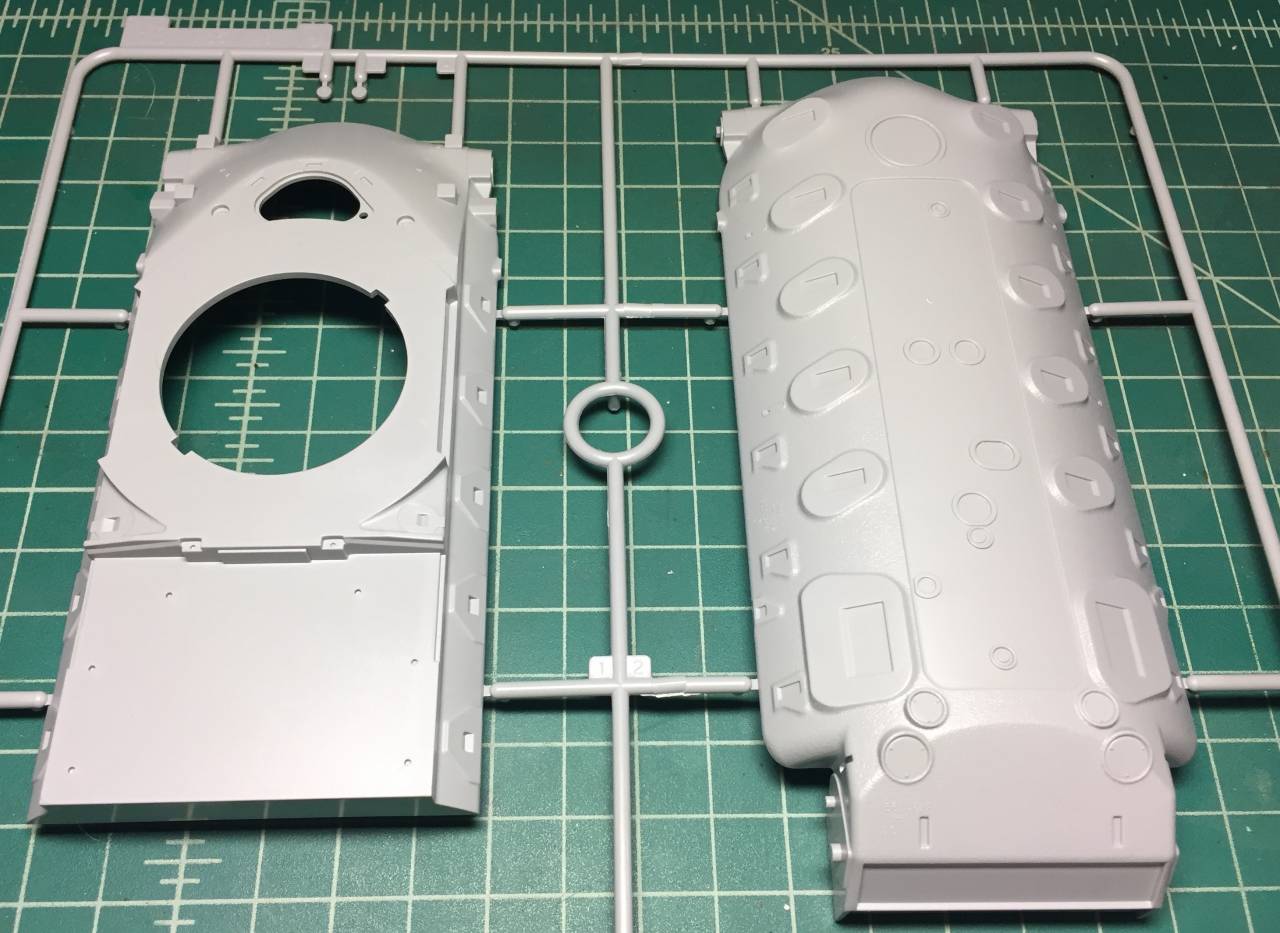
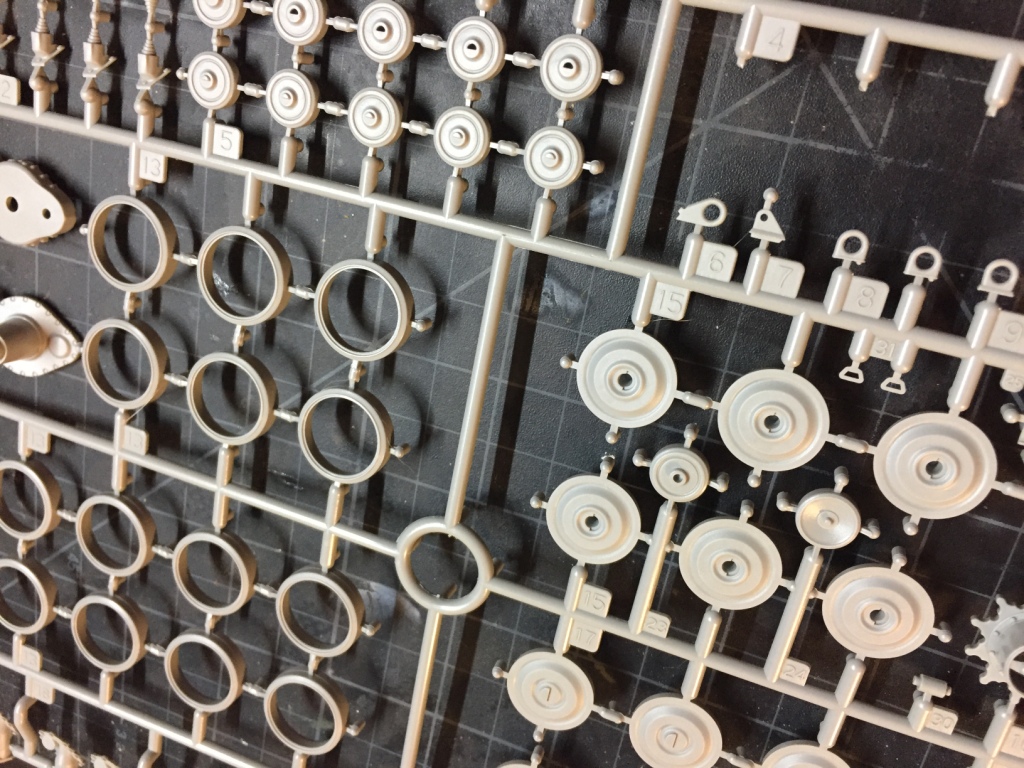
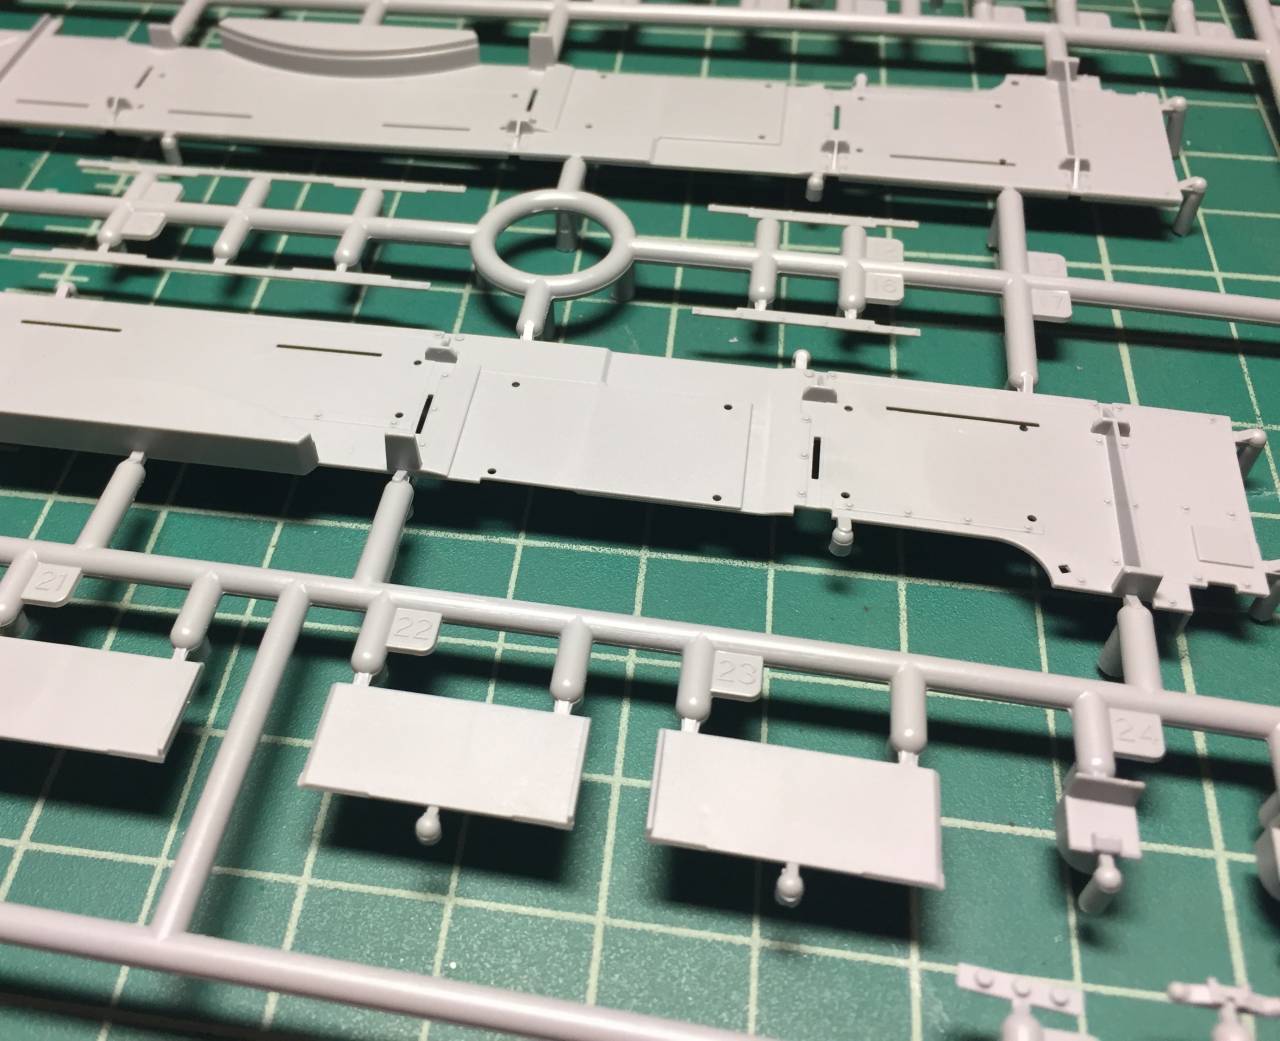
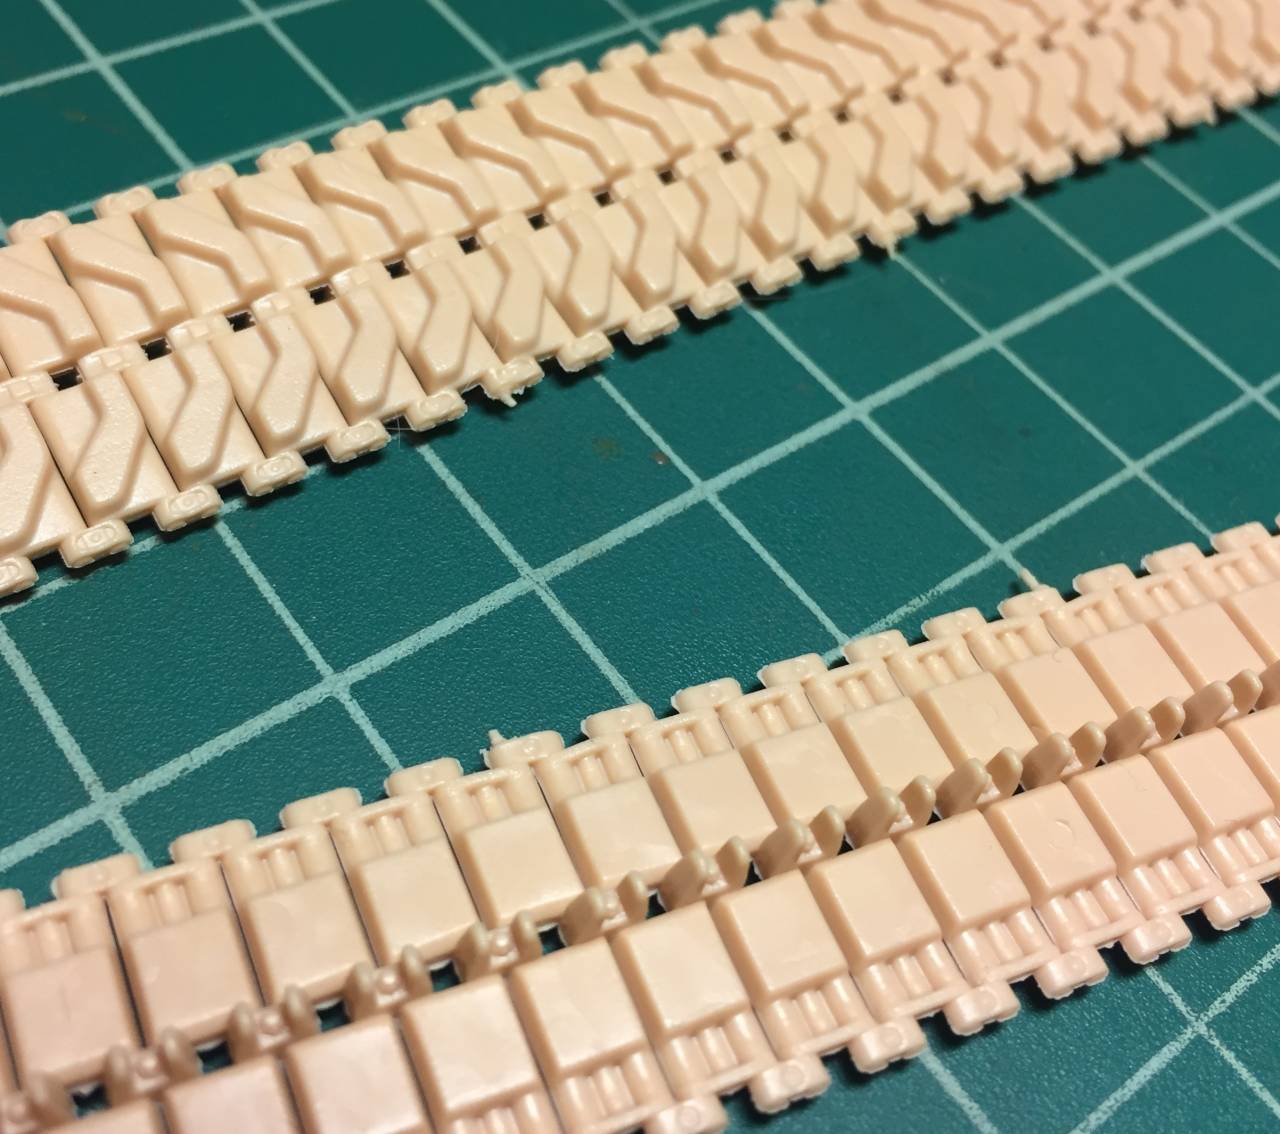
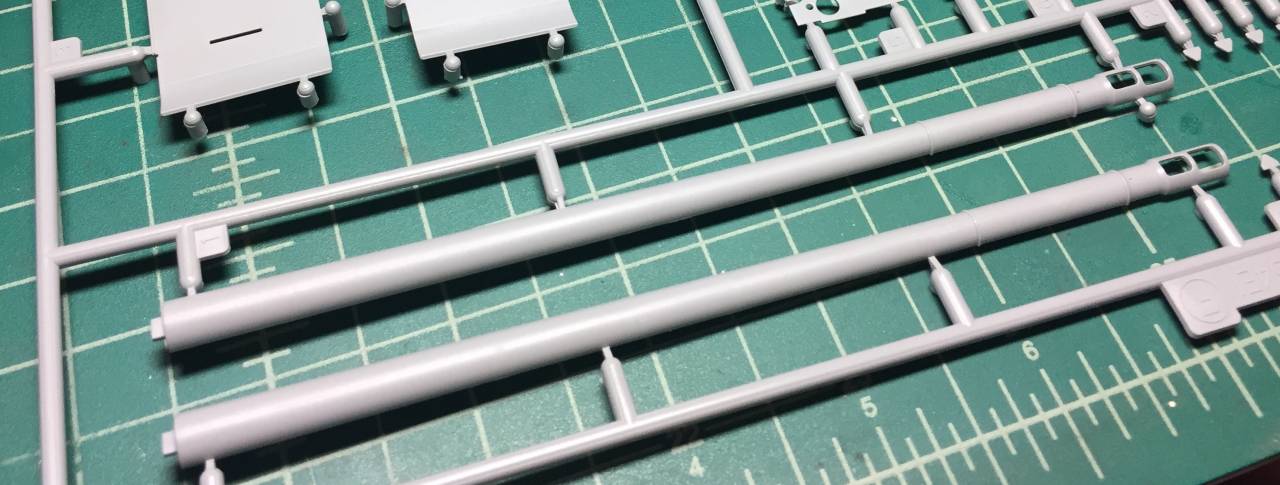
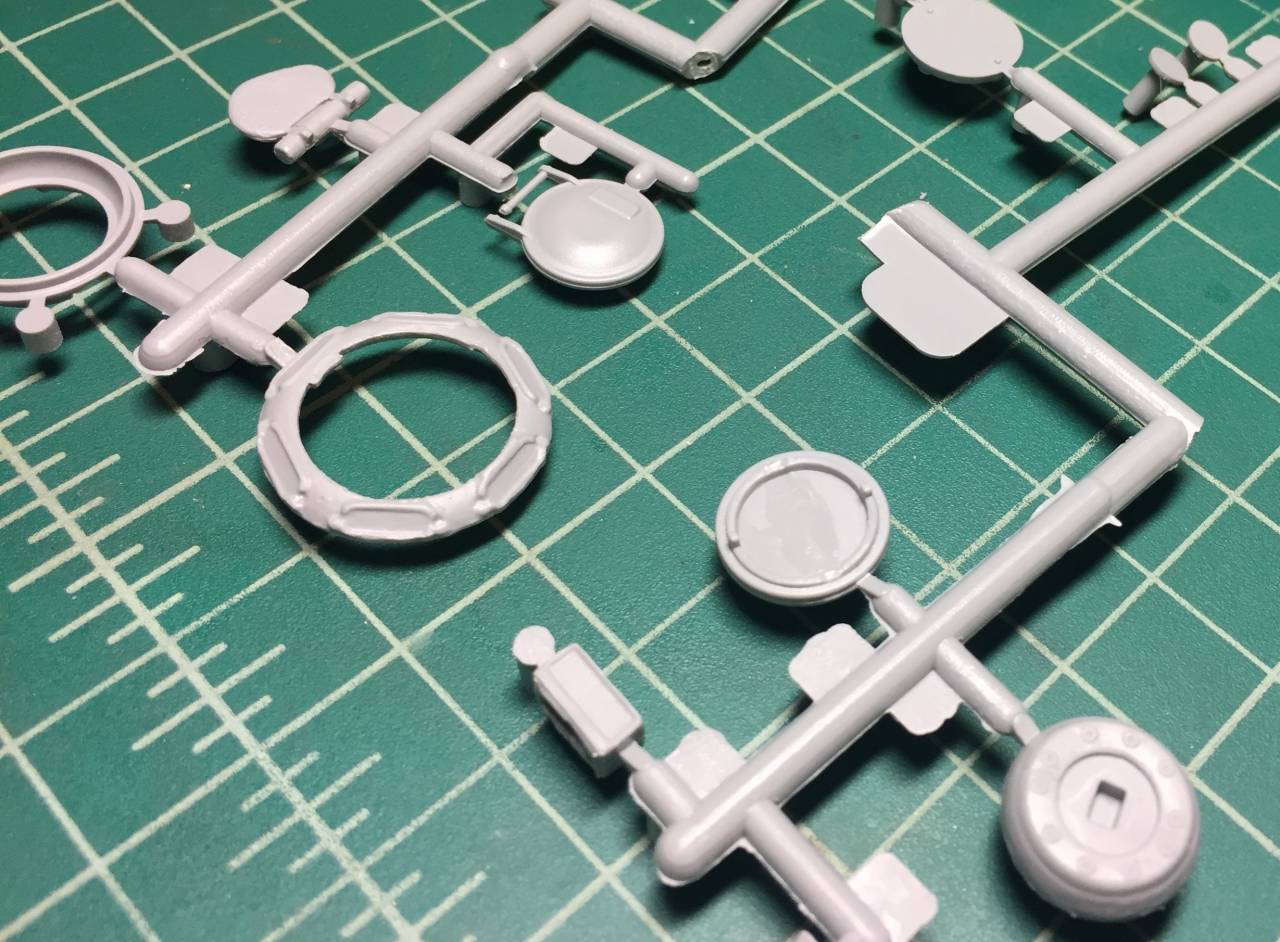
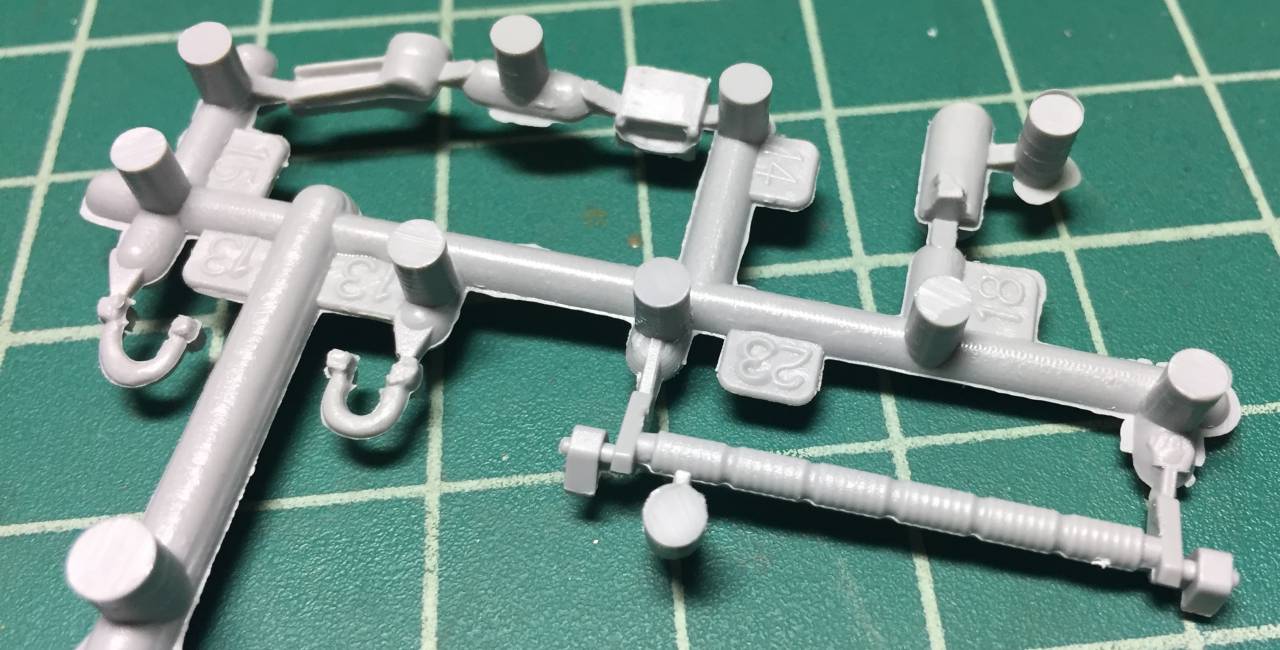
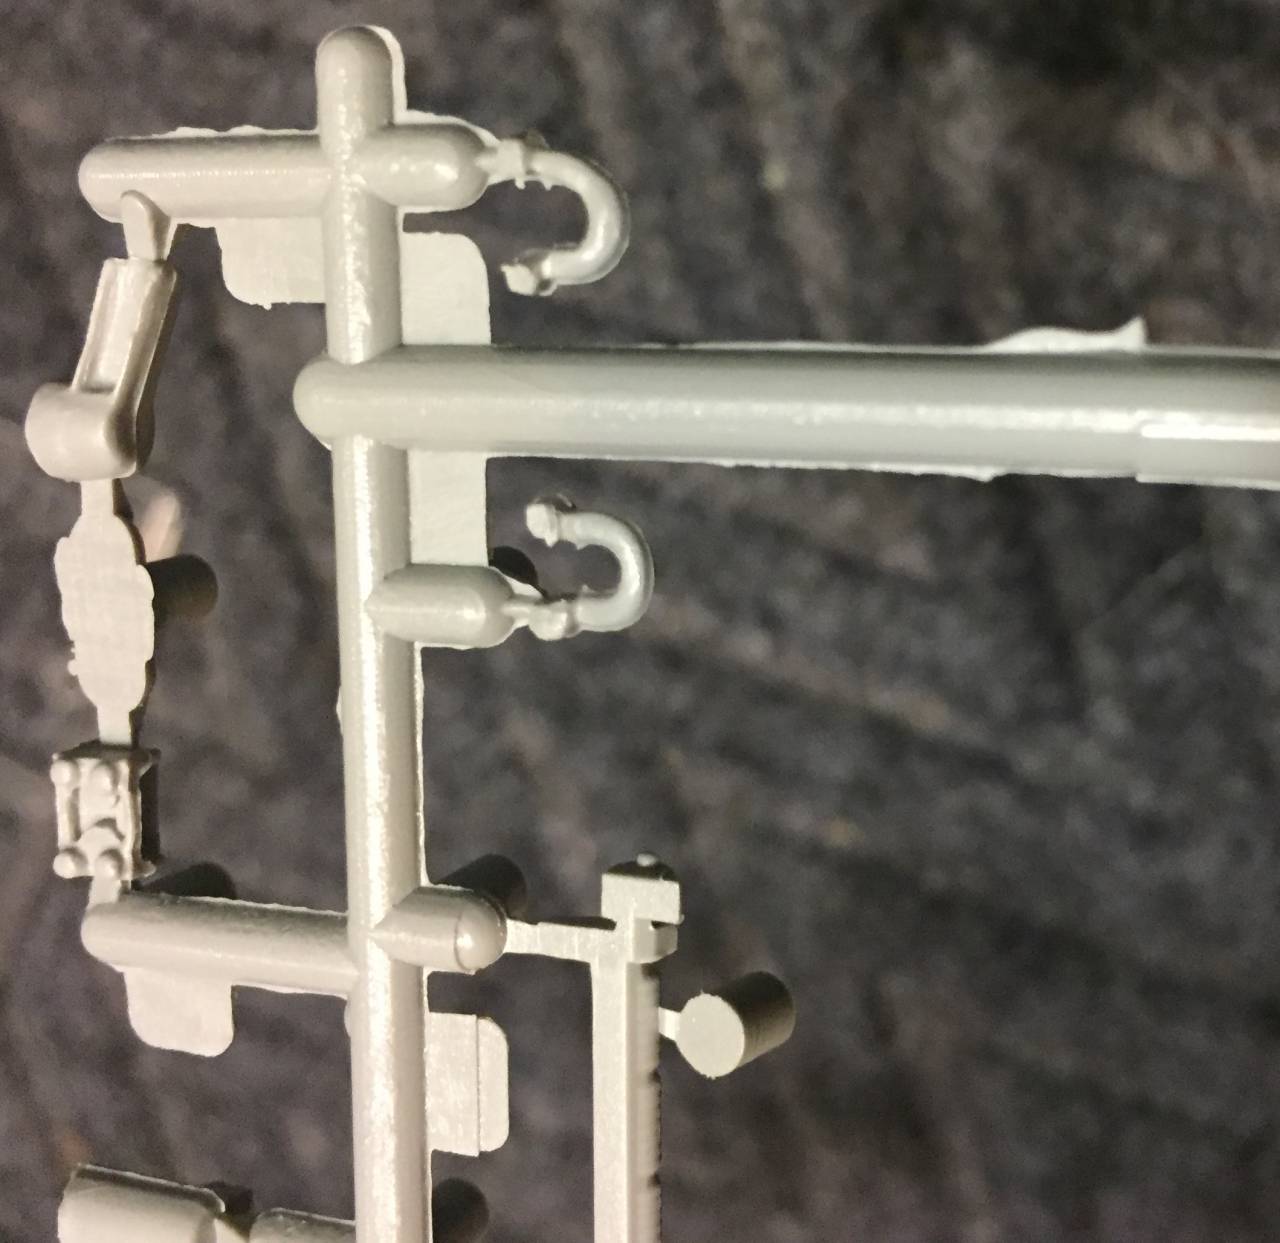
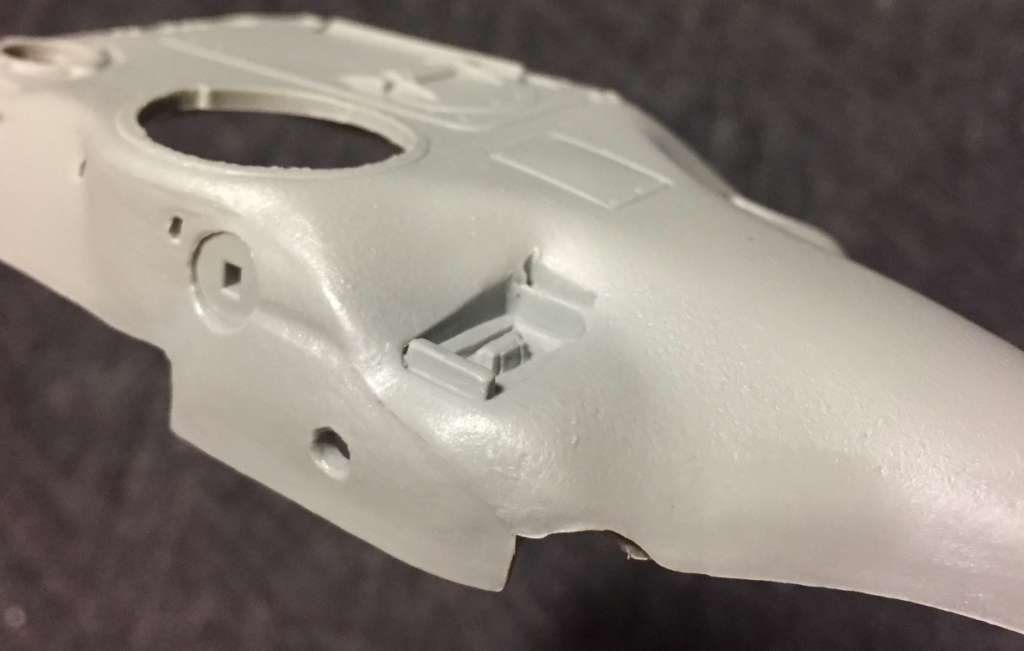
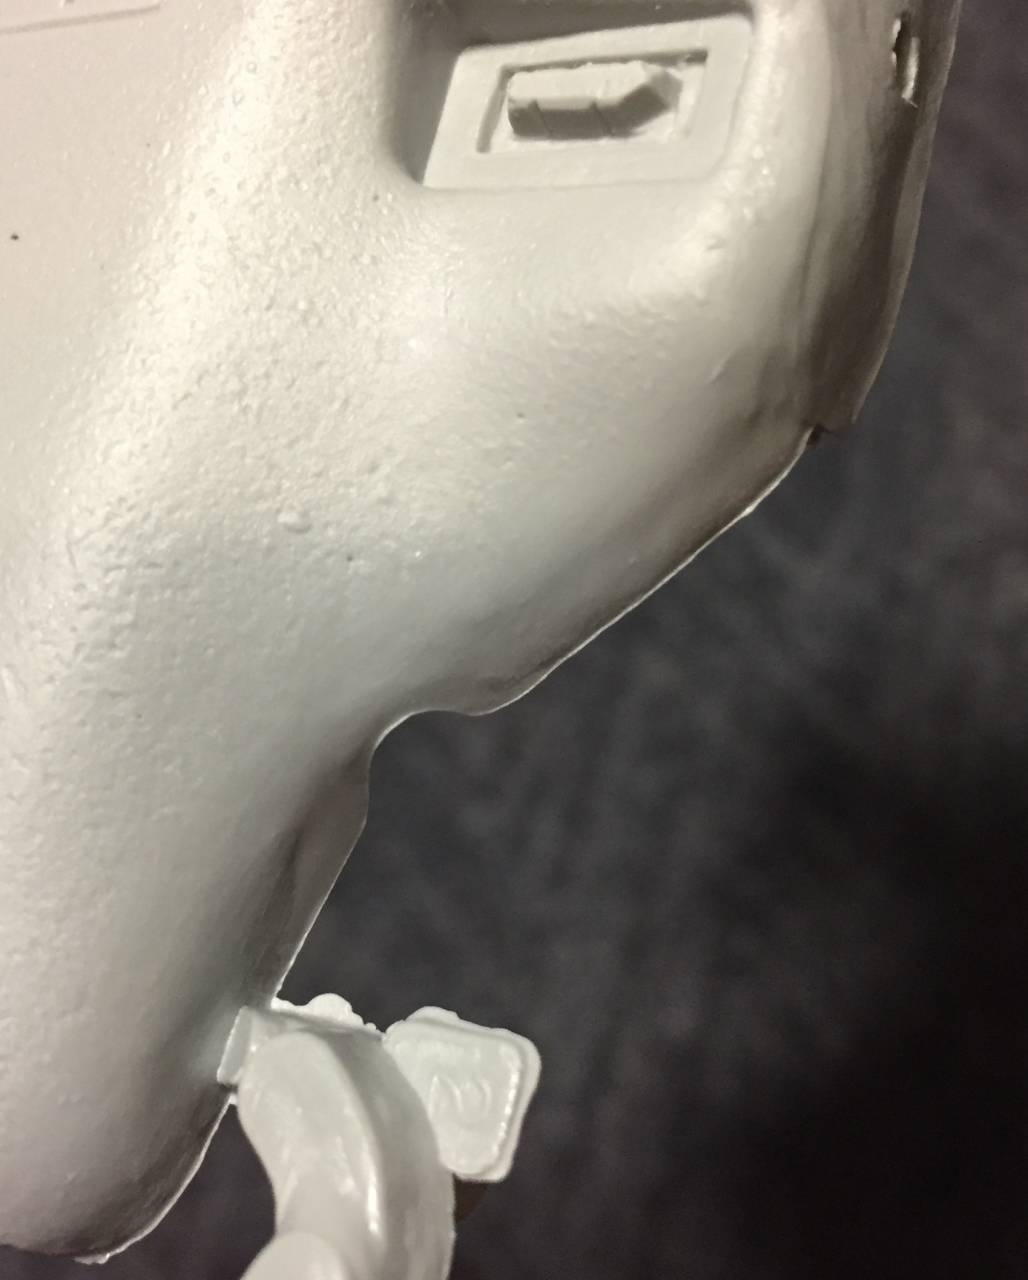
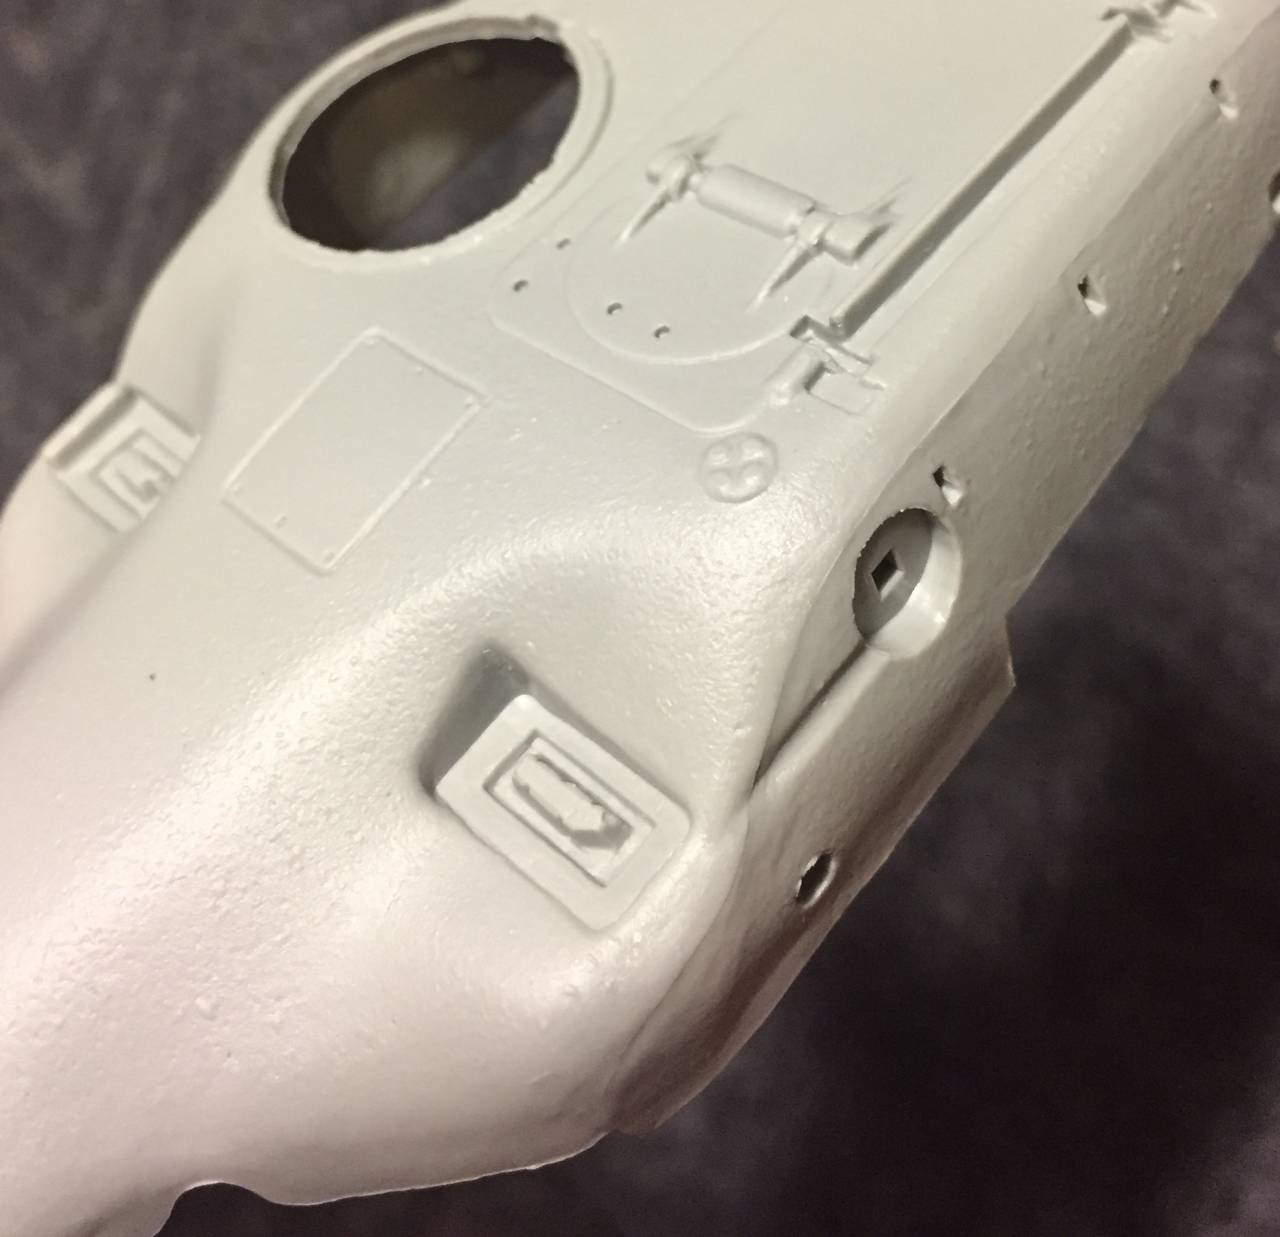
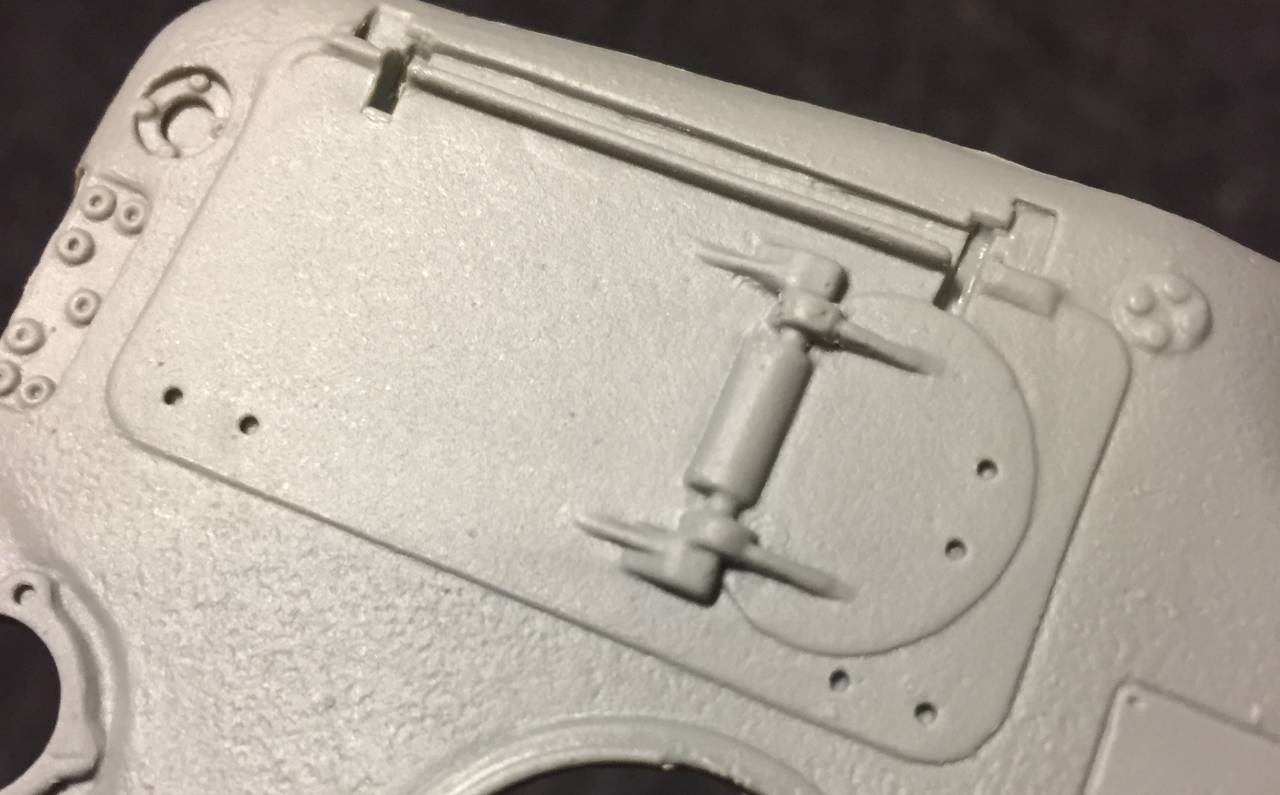
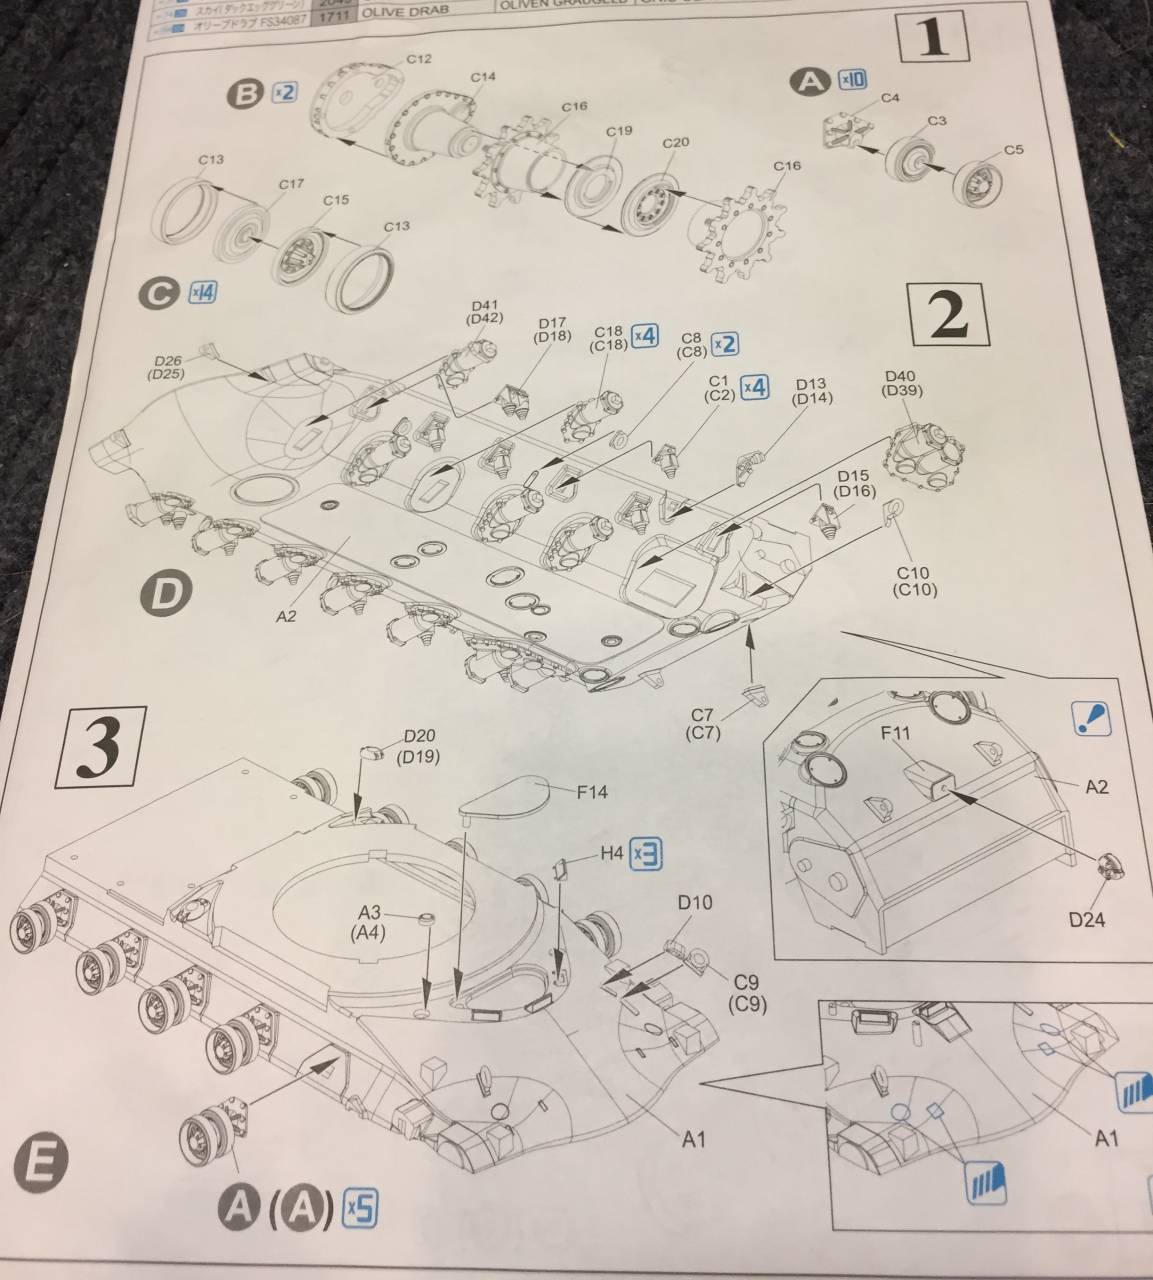
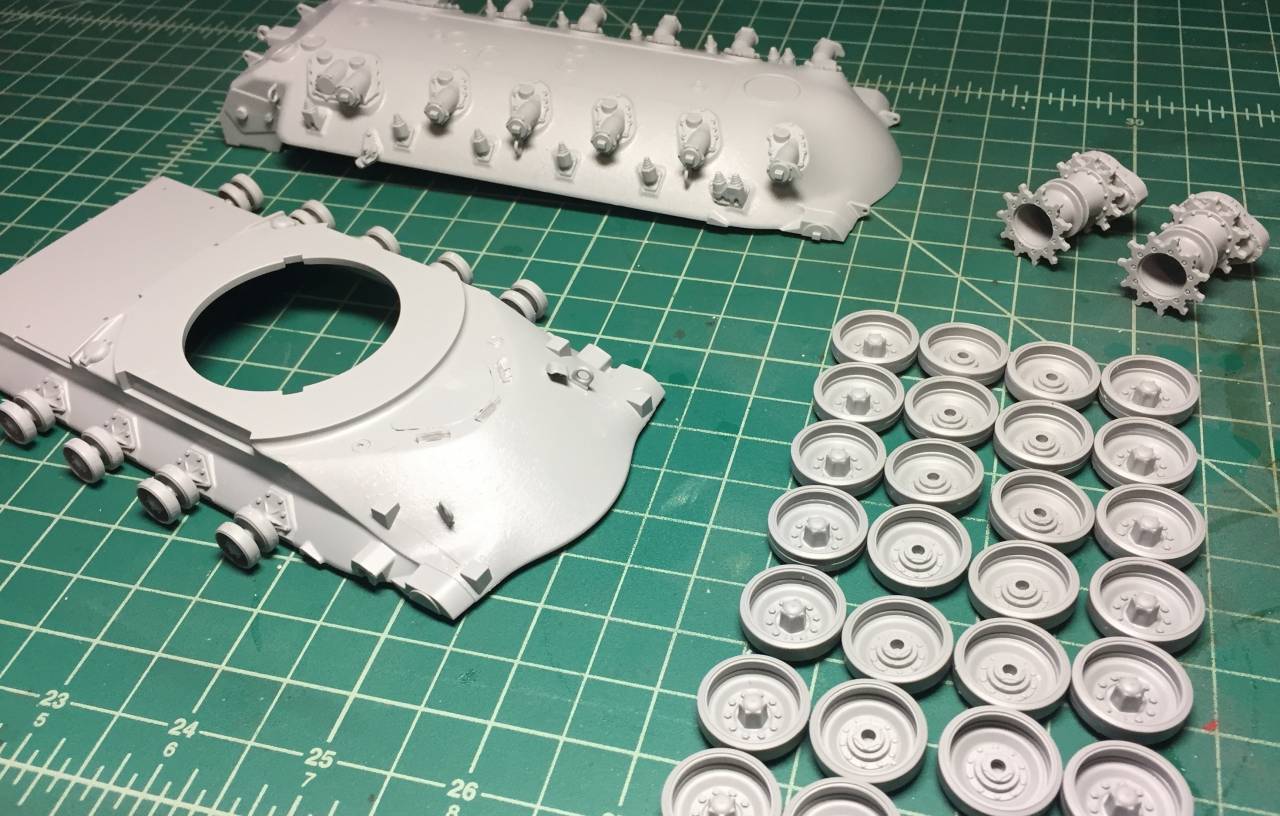
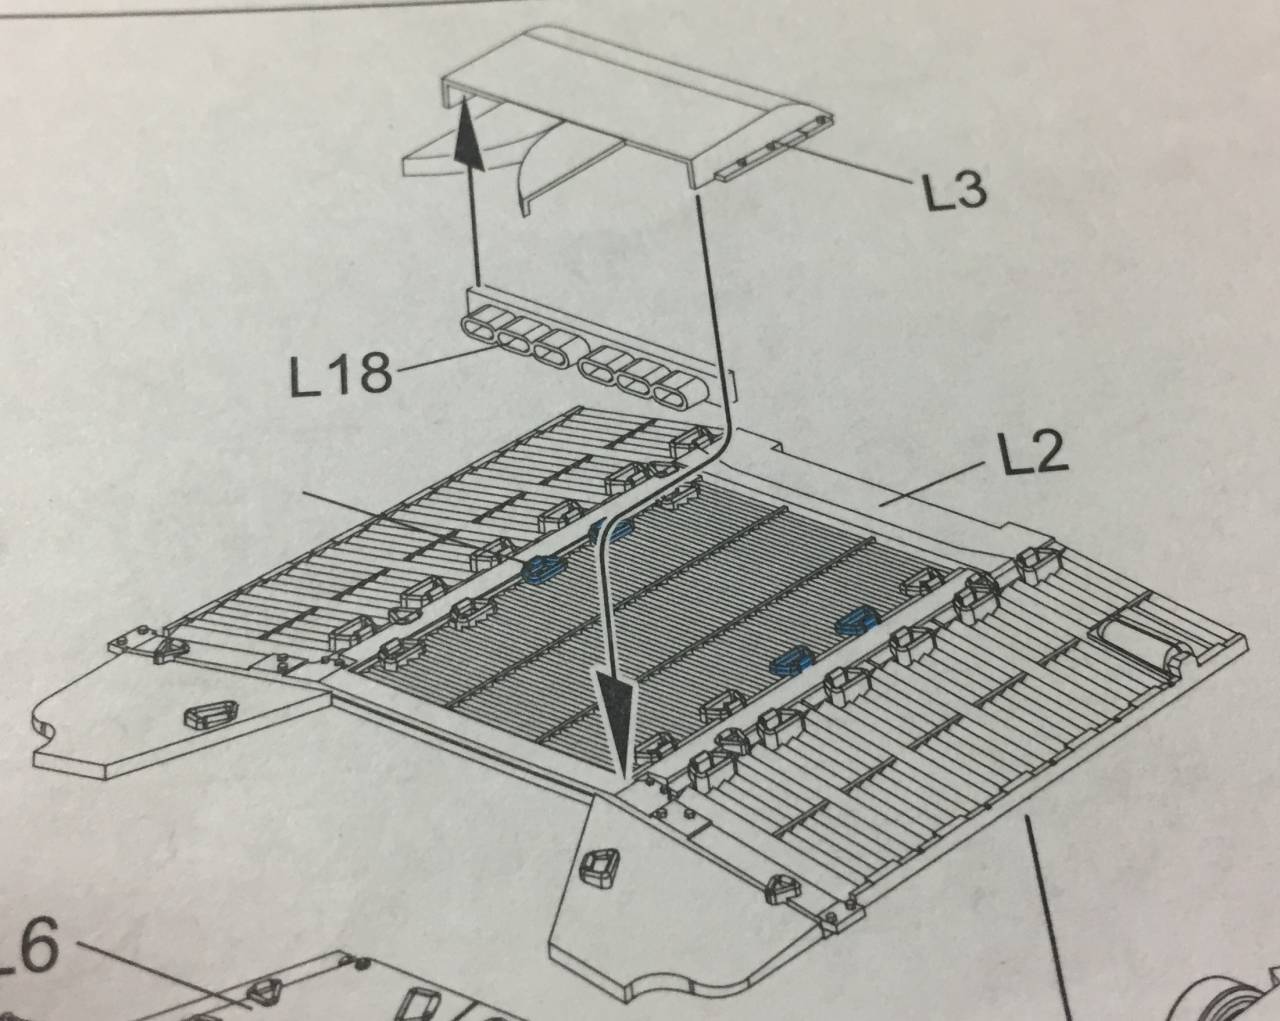
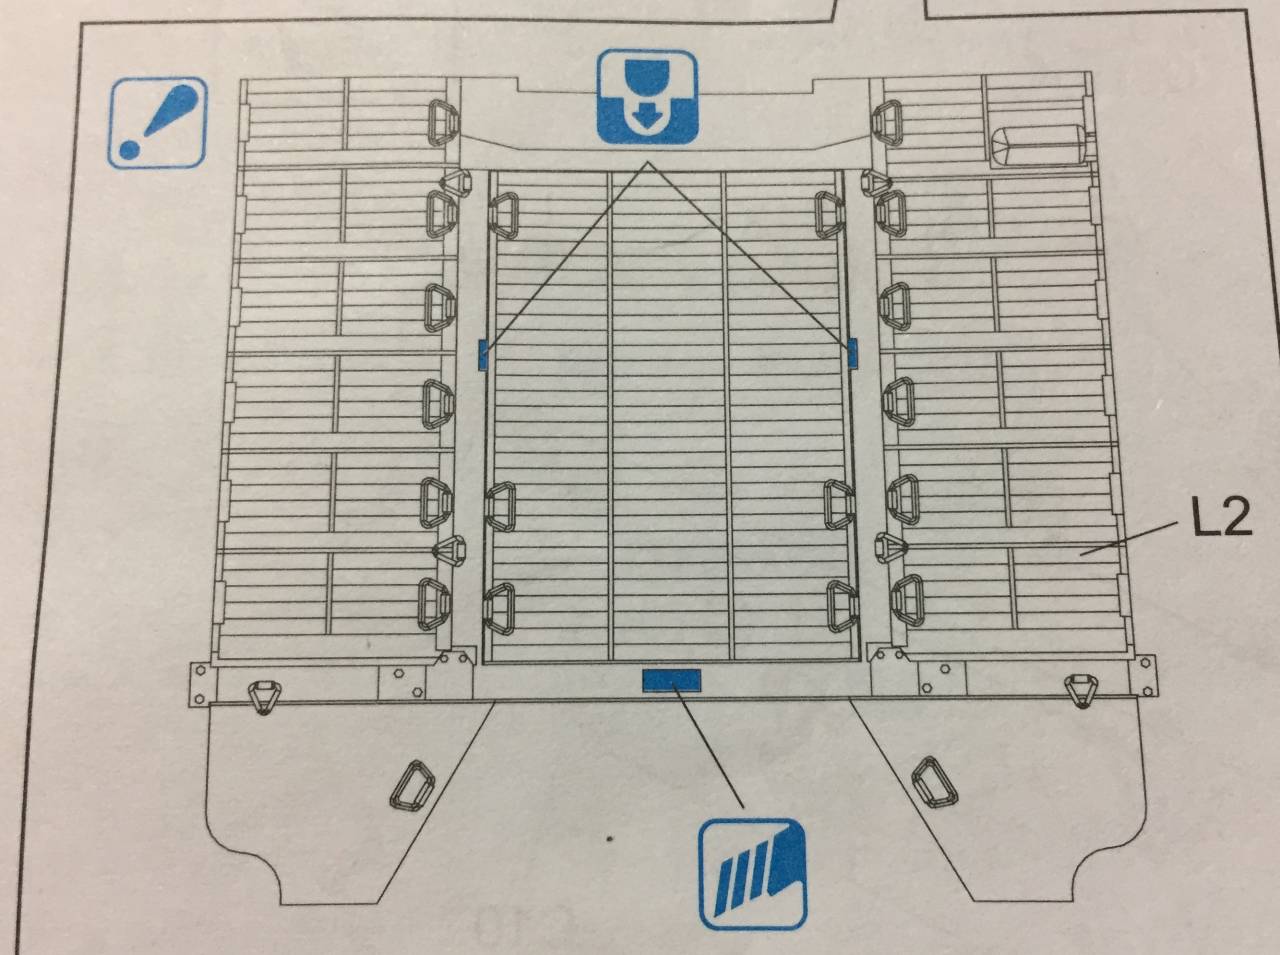
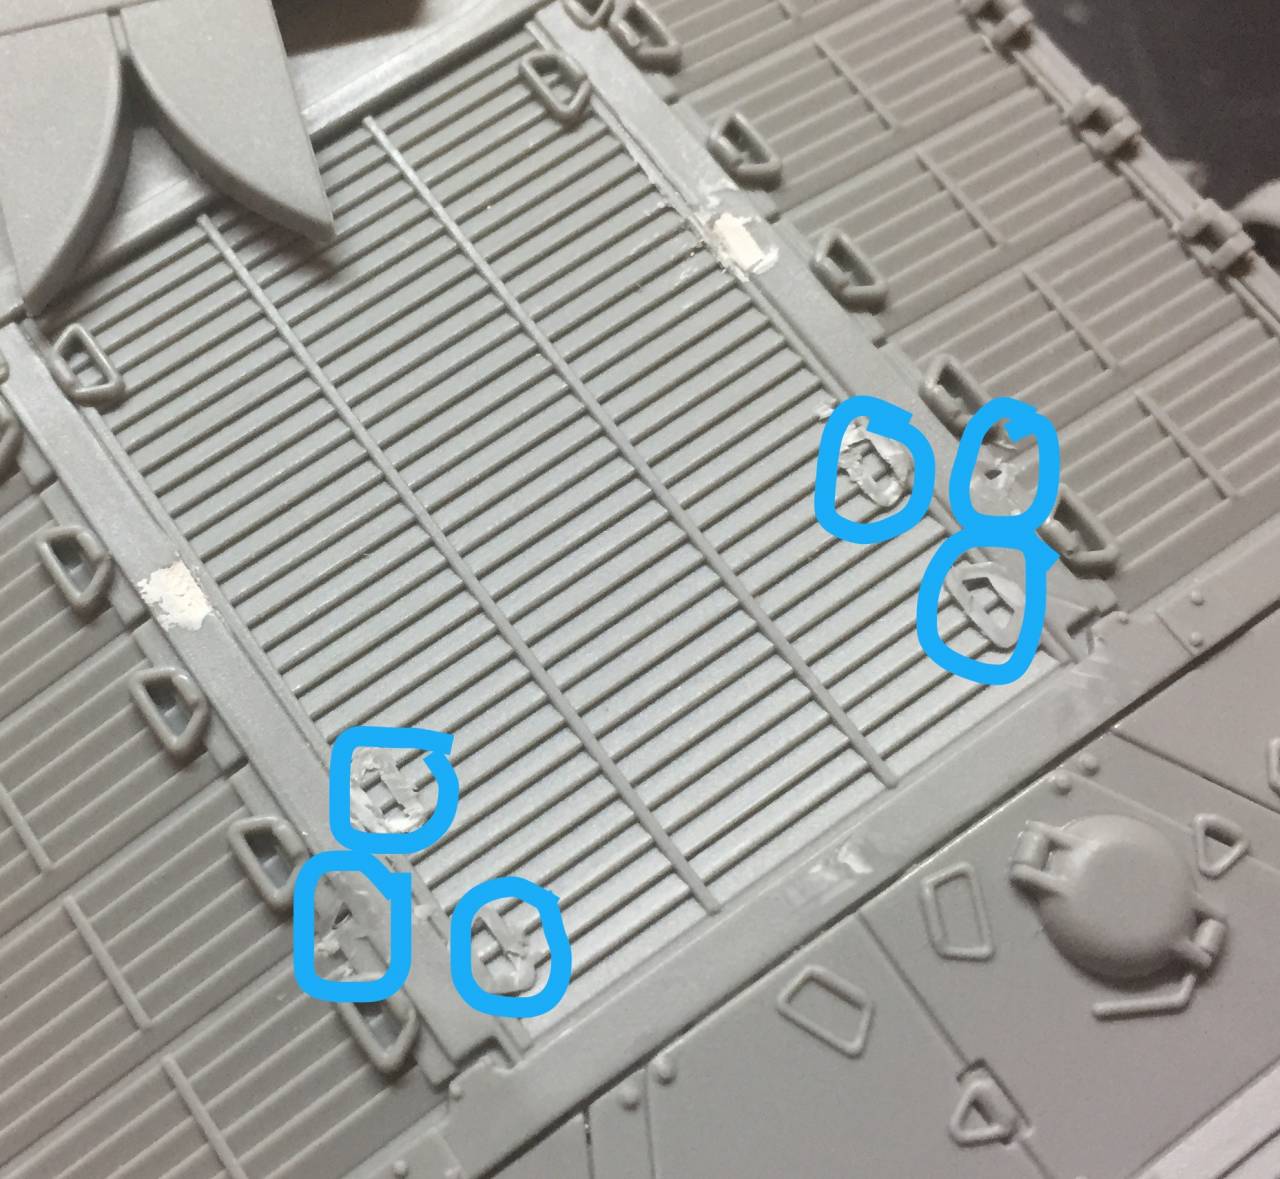
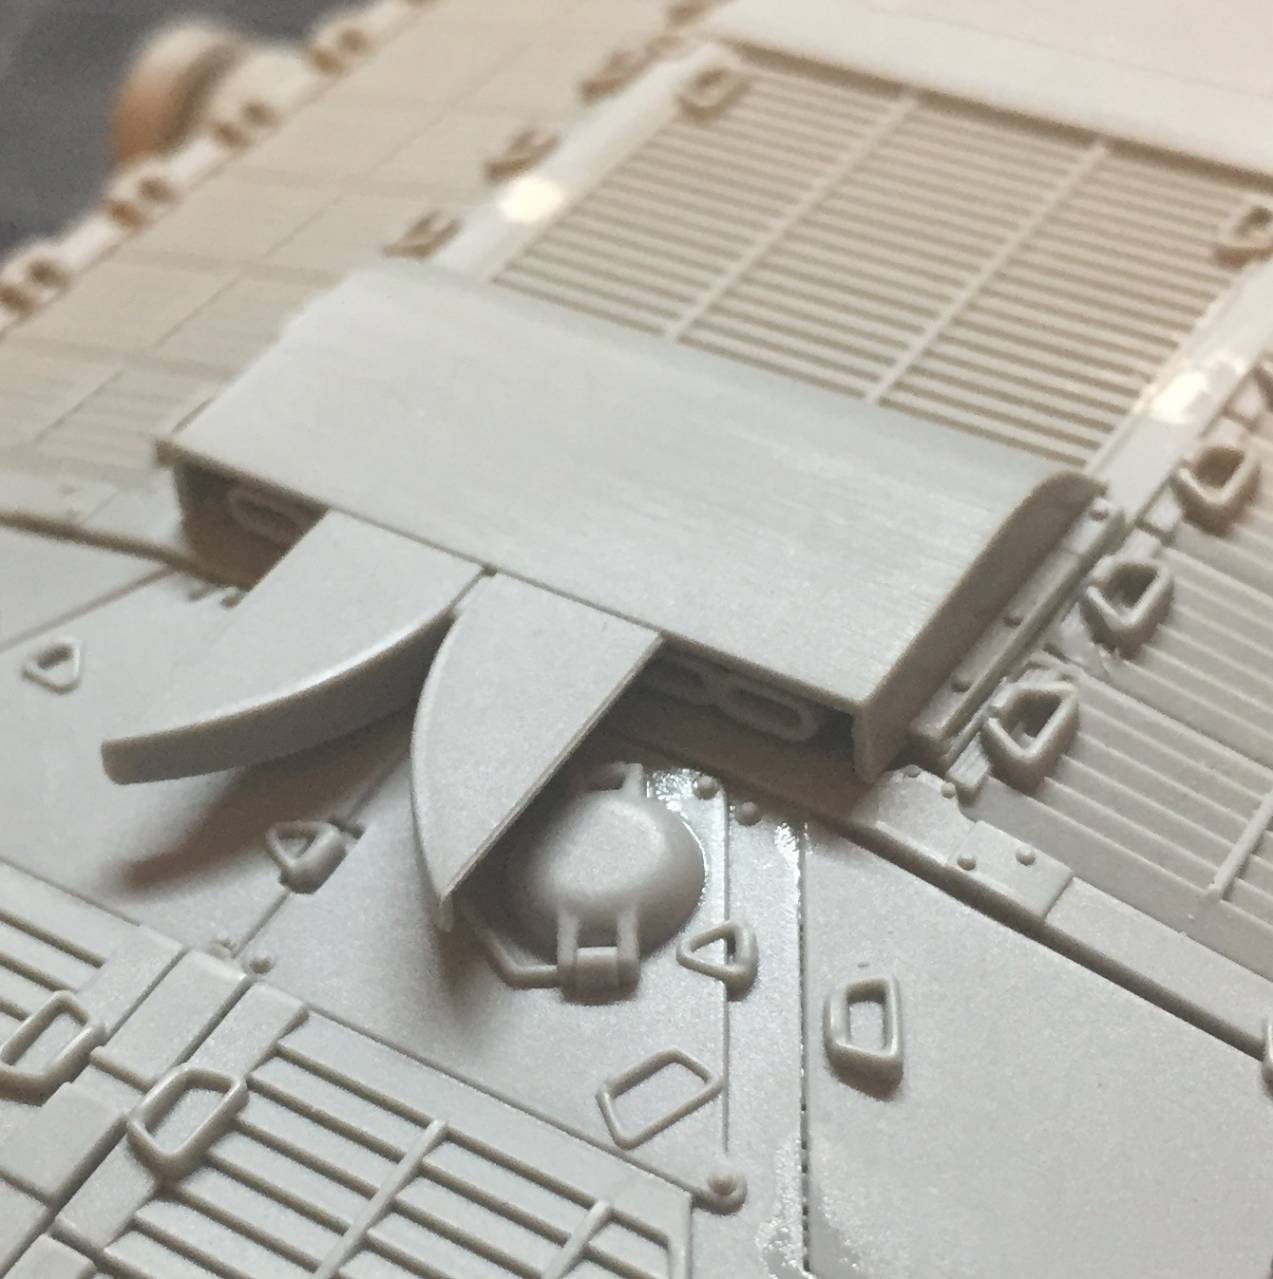
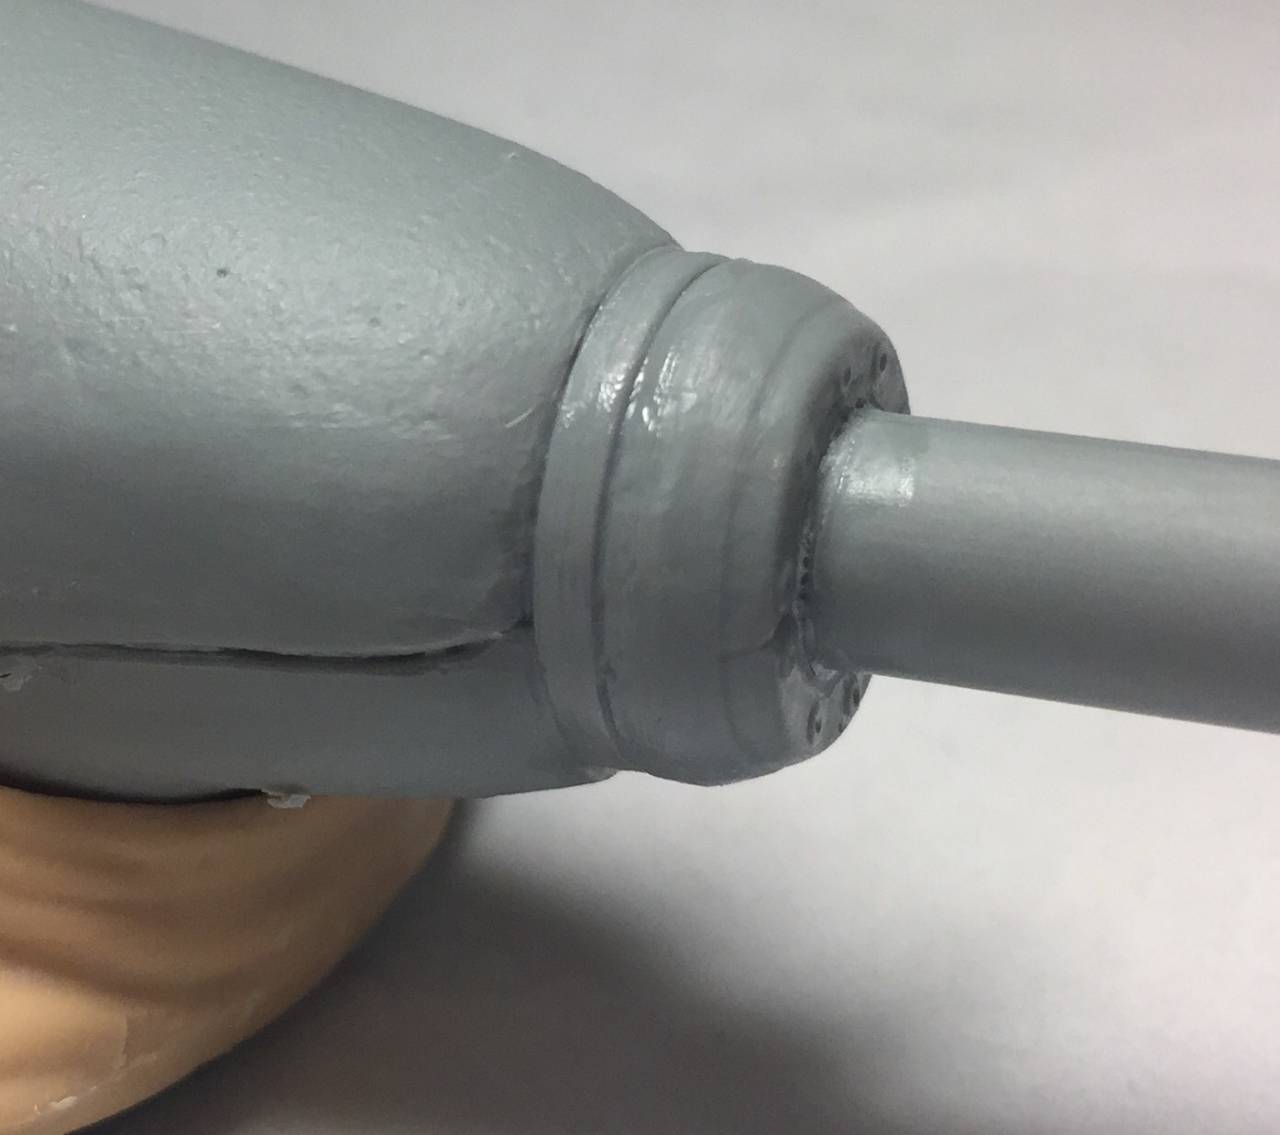
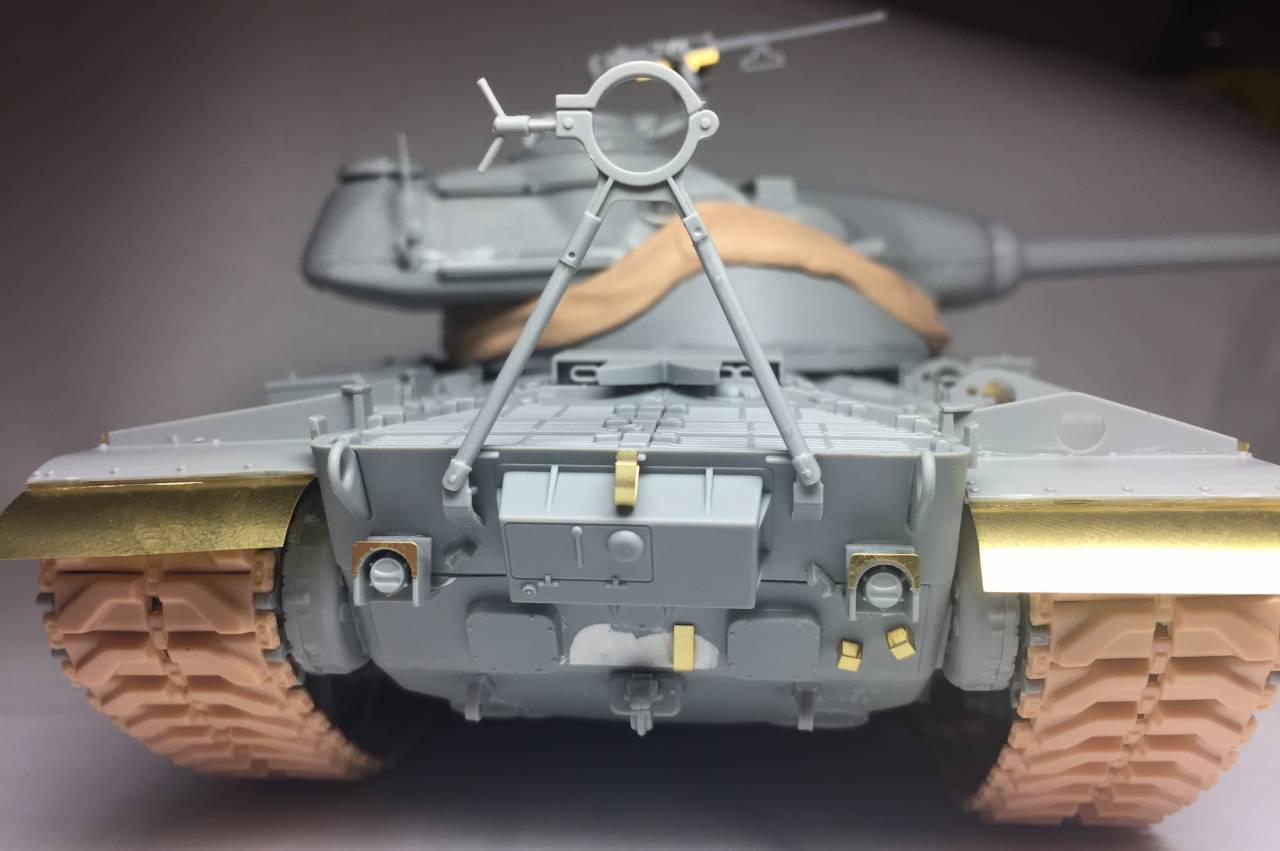
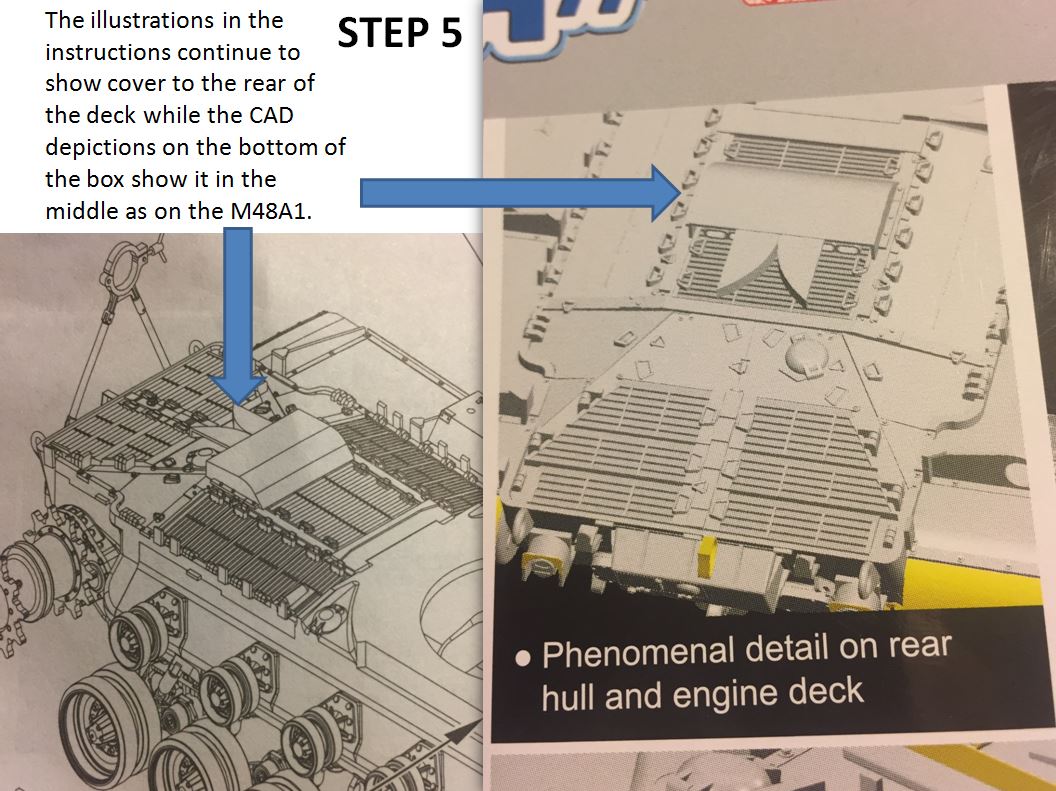
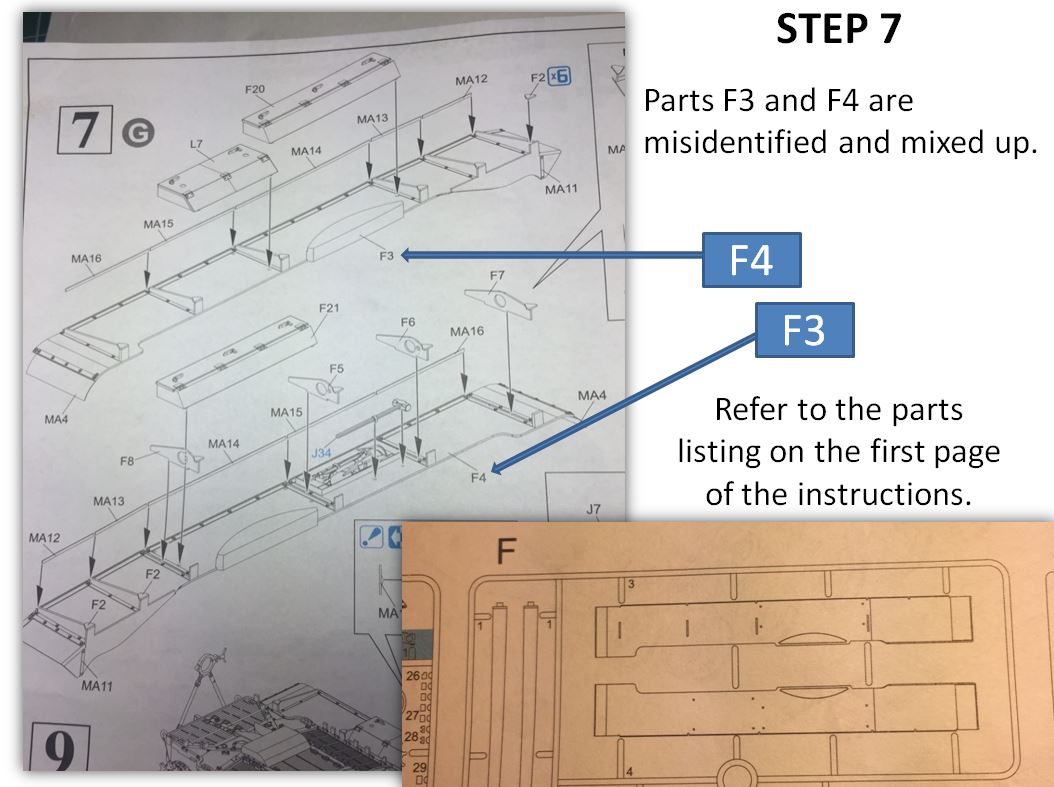
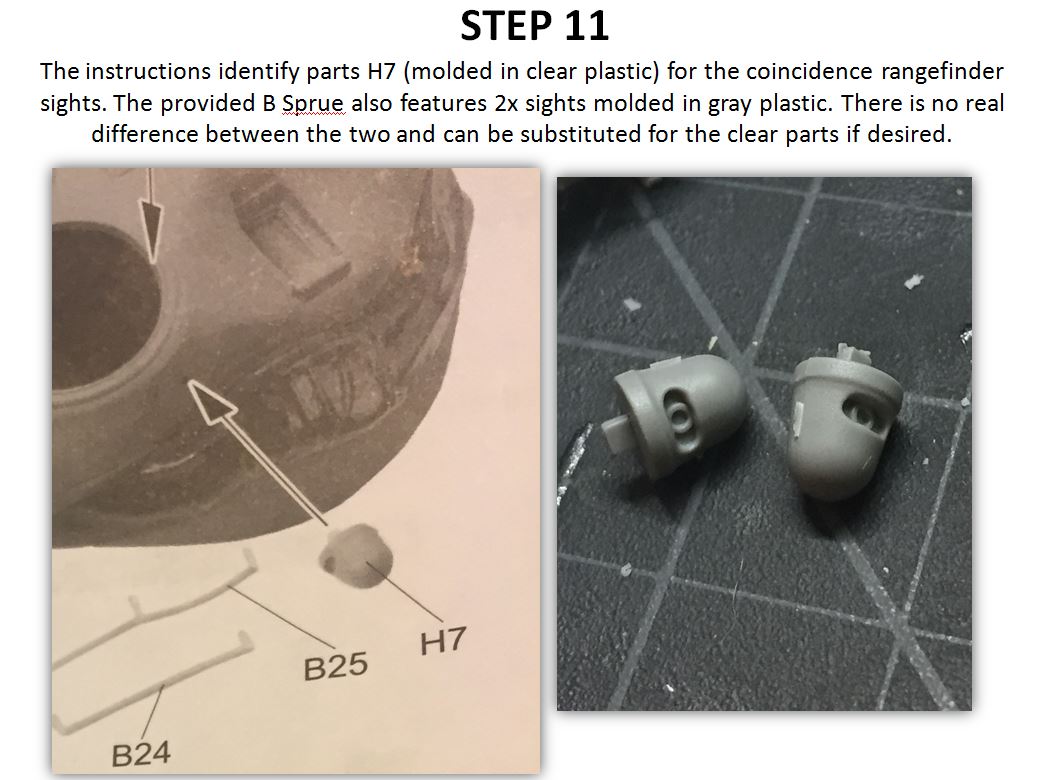
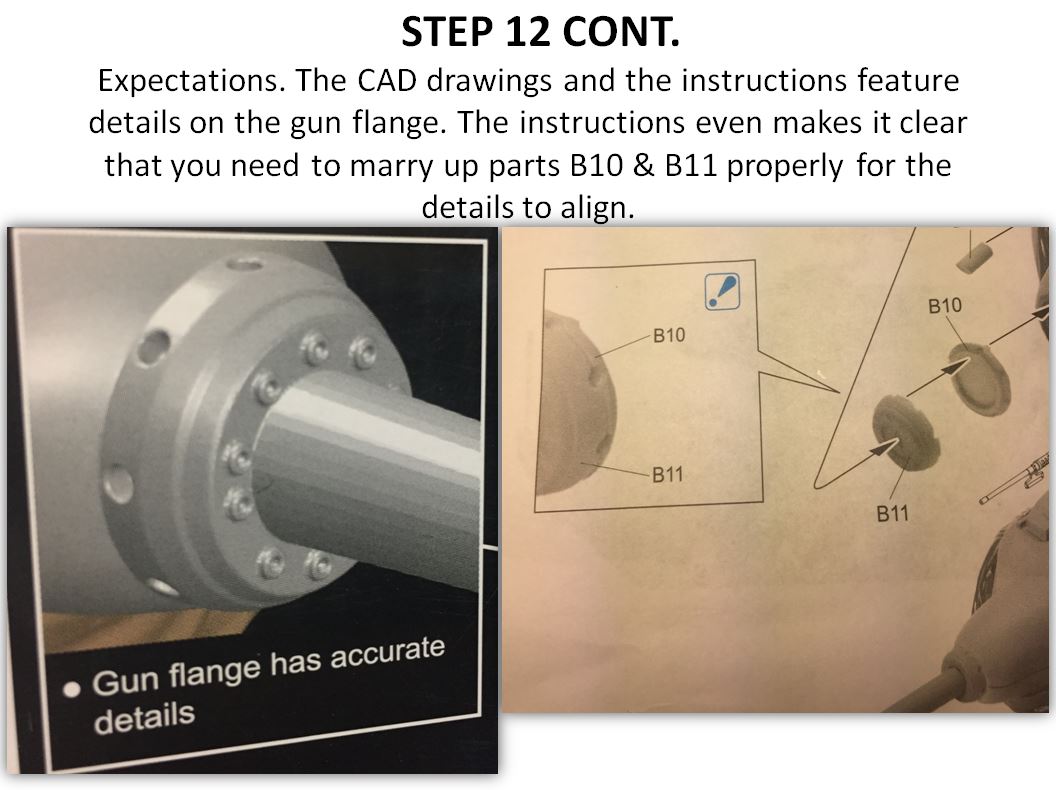
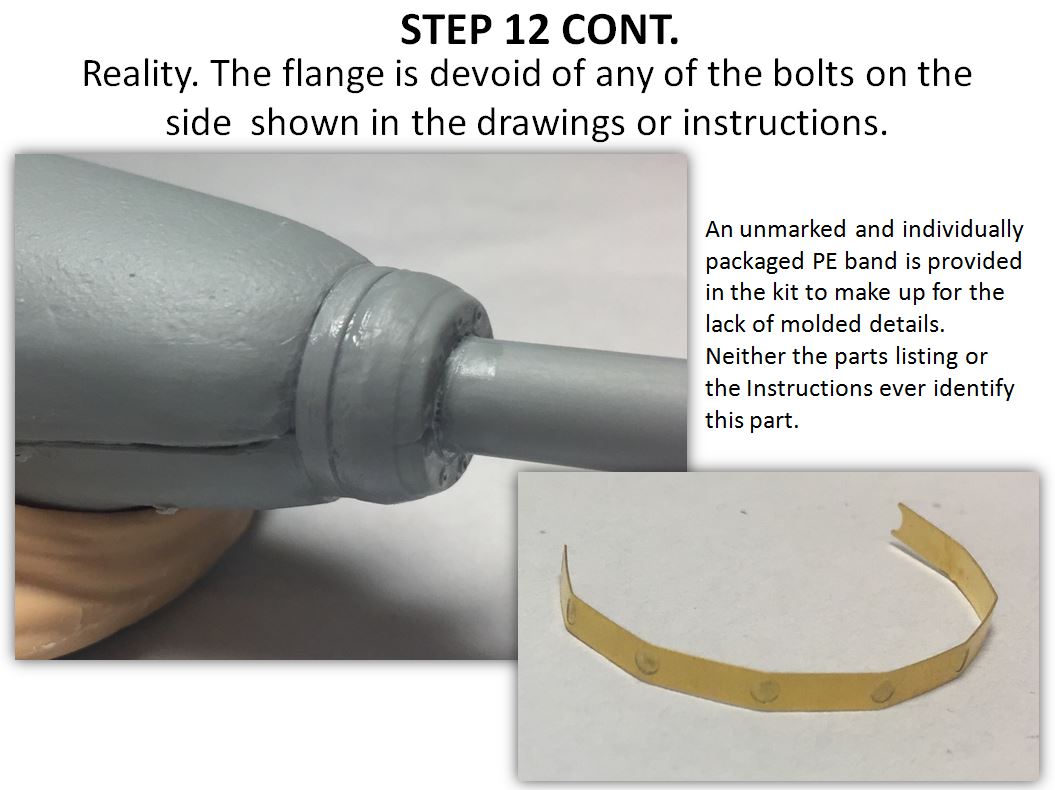
Unboxing the kit: The kit contains 330 parts on 9 plastic sprues, one PE fret, DS tracks, and a bag of components specific to the T54E1. In typical Dragon fashion, the majority of the sprues are recycled from other kits in the M48 family. The instructions include 12 steps, and the decals provided are very simplistic US registration markings.


JSSVIII
Visit this Community
Massachusetts, United States
Joined: March 28, 2007
KitMaker: 1,169 posts
Armorama: 1,067 posts
Posted: Tuesday, July 25, 2017 - 04:57 AM UTC
I am looking forward to your build Shawn, I know there are some real issues with the turret, but it will be very interesting to see how you tackle the construction.
GTDeath13
Visit this Community
Attica, Greece / Ελλάδα
Joined: June 12, 2015
KitMaker: 921 posts
Armorama: 919 posts
Posted: Tuesday, July 25, 2017 - 03:08 PM UTC
I will be watching this with interest. I am planning on building this kit myself too, but keep postponing it due to the bad reviews and problems.
Scipio2010
#401
Visit this Community
Washington, United States
Joined: December 08, 2013
KitMaker: 323 posts
Armorama: 221 posts
Posted: Tuesday, July 25, 2017 - 06:23 PM UTC
Unboxing

As I previously mentioned, this kit utilizes several sprues from the other M48 series kits offered by Dragon. I have the Dragon M48A1 Smart Kit (#3559) in my stash, and will be using that instruction sheet as a cross reference during the build. Based on the parts listing on the front page of the instructions the two kits contain most of the same components, which makes sense since the T54E1 was built on an M48A1 or A2 chassis. Since most of the sprues are from other Dragon kits, I wont spend much time on them as they have the expected high detail and crisp molding:


The kit does include the DS tracks which makes me cringe. DS tracks are always the first things I replace when buying a Dragon kit, however, I will be using them on this build.


The sprues specific to the T54E1 deserve a little more attention, as I was underwhelmed at their quality. Sprue F is the largest tree specific to the T54, additionally, the kit included loose parts for the oscillating turret and a bag full of small parts on short sprues. Sprue F is molded like the other sprues, and includes the two piece barrel. A search for metal barrels for this kit yielded no results, so as of now the kit provided two piece barrel is the only option. Should be fun, I haven't built a kit with a two piece barrel in a long time.


The oscillating turret components include the canvas skirt (Part E3) made from DS, and the turret base made from plastic (Parts B3 & B4).


The small bag of short sprues really surprised me. The parts all have soft detail with quite a bit of flash - which is more reminiscent of an AMT ERTL kit from the 1980's rather than a newly released kit from one of the major manufacturers. I hope the pictures get the point across.


The turret on the T54E1 is very unique, and its design is a big departure from the other American turret designs from that time period. The turret is a pretty complex design and is made from two halves (Parts B1 & B2). The first thing I noticed was the large rectangular loader hatch to the left of the cupola. The larger hatch has a smaller access hatch molded onto it, which has incredibly soft detail. There is a bit of flash on the turret parts as you can see in the pictures below. I'm not sure why they chose to mold the loaders hatch instead of having those as separate parts on a sprue. I don't know how difficult it is to mold such a turret shape, so I will refrain from being too critical of the manufacturers abilities.


Vodnik
Visit this Community
Warszawa, Poland
Joined: March 26, 2003
KitMaker: 4,342 posts
Armorama: 3,938 posts
Posted: Tuesday, July 25, 2017 - 06:40 PM UTC
Just to make sure: it is going to be 100% out of the box build, right? No accuracy corrections whatsoever?

Those new parts look indeed horrible... I've never seen so badly molded Dragon kit before
Scipio2010
#401
Visit this Community
Washington, United States
Joined: December 08, 2013
KitMaker: 323 posts
Armorama: 221 posts
Posted: Tuesday, July 25, 2017 - 10:48 PM UTC

Quoted Text

Just to make sure: it is going to be 100% out of the box build, right? No accuracy corrections whatsoever?

Those new parts look indeed horrible... I've never seen so badly molded Dragon kit before


Pawel, you are correct, this is purely an out of the box build. I am not an expert on this vehicle, and I think it would take a lot more research to determine the actual inaccuracies. I am interested in hearing about any discrepancies or issues between the kit and the real deal if you or anyone else knows more.
Cantstopbuyingkits
Visit this Community
European Union
Joined: January 28, 2015
KitMaker: 2,099 posts
Armorama: 1,920 posts
Posted: Tuesday, July 25, 2017 - 11:28 PM UTC
Are you kidding? WHIW Ronstad's artwork is an accurate representation of the real vehicle. You can't even see how the mouldings differ from the kits own boxart?
Tojo72
Visit this Community
North Carolina, United States
Joined: June 06, 2006
KitMaker: 4,691 posts
Armorama: 3,509 posts
Posted: Tuesday, July 25, 2017 - 11:36 PM UTC
I wanted to direct your attention to a very detailed build log by Karl Logan over on FSM,he did a superb job,but alas,it fell victim to the Photbucket fiasco,no pics anymore
Scipio2010
#401
Visit this Community
Washington, United States
Joined: December 08, 2013
KitMaker: 323 posts
Armorama: 221 posts
Posted: Wednesday, July 26, 2017 - 12:18 AM UTC
Tim,

I definitely noticed a difference between the box art and the moldings, but wasn't going to bring it up until I got more of the kit assembled.

Scipio2010
#401
Visit this Community
Washington, United States
Joined: December 08, 2013
KitMaker: 323 posts
Armorama: 221 posts
Posted: Wednesday, July 26, 2017 - 12:36 AM UTC
Starting the Build.

Steps 1-3 Assembly of road wheels, drive sprockets, return rollers, some of the suspension on the lower hull, and details on the upper hull. There were no issues with the fit, and the instructions were accurate.


After completion of Steps 1-3


Step 4 has you affix the lower hull to the upper hull. Step 5 is where the engine deck and louvers are installed, and the first issues with the instructions surfaced.


In the picture above you can see four of the handles highlighted blue with a line trailing away from the part without any symbol or instructions. I referenced the M48A1 instructions since it uses the same engine deck, and its not on that instruction sheet. Additionally, that illustration doesn't even match the actual L2 part. The picture below has the correct features of the part. Not a big issue but it was clearly an oversight when they put the instructions together.


The real issue came when you attempt to affix L3/L18 on the designated spot at the rear of the deck.


The cover does not sit flush with the deck due to several of the handles (circled below)So I removed them and the cover was able to seat properly. I know the M48A1 had this cover a little far forward than the T54, which might explain the improper fit since they reused the same parts.


Vodnik
Visit this Community
Warszawa, Poland
Joined: March 26, 2003
KitMaker: 4,342 posts
Armorama: 3,938 posts
Posted: Wednesday, July 26, 2017 - 01:14 AM UTC
I don't know where the exhaust should be on T54E1, but that spot on engine deck where you originally removed details from is where it was on M48A1. If the exaust was indeed relocated to the rear in T54E1 then you unnecessarily removed those details...
Scipio2010
#401
Visit this Community
Washington, United States
Joined: December 08, 2013
KitMaker: 323 posts
Armorama: 221 posts
Posted: Wednesday, July 26, 2017 - 02:02 AM UTC
Pawel,

I only removed details at the rear of the deck, which seems to have been the right thing. The putty you see in the previous pictures was to fill in the holes where the cover would normally have gone for the M48A1. The instructions are compared below.


And to add further confusion:


Scipio2010
#401
Visit this Community
Washington, United States
Joined: December 08, 2013
KitMaker: 323 posts
Armorama: 221 posts
Posted: Thursday, July 27, 2017 - 05:41 AM UTC
I have pretty much completed the T54E1,and I wanted to provide some detailed pictures of the turret to highlight the fitting issues. Frankly Im disappointed in a kit from Dragon.

First off, as mr. Pawel mentioned the other day, the turret in the kit does not match up to the box art or the real vehicle. I have not done any sanding, filing, or filling with putty yet, but clearly from the pictures I will be spending some time doctoring up the turret.

The chassis has come along without any real issues - aside from the DS tracks being difficult to clean.

Im working on compiling notes from the build to provide some corrections to the instructions if anyone else wishes to tackle this kit.


Bravo1102
Visit this Community
New Jersey, United States
Joined: December 08, 2003
KitMaker: 2,864 posts
Armorama: 2,497 posts
Posted: Thursday, July 27, 2017 - 07:31 AM UTC
The molding on the new parts looks awful. And that turret? Why no slide molds? They turned a somewhat lupine head into an aardvark.

The exhaust was moved back because of the rear overhang and long snout of the T54 turret.
retiredyank
Visit this Community
Arkansas, United States
Joined: June 29, 2009
KitMaker: 11,610 posts
Armorama: 7,843 posts
Posted: Thursday, July 27, 2017 - 08:02 AM UTC
This just reinforces the bad press the Black Label line is getting. I'm glad to see new German armor coming out of Dragon[even if it is capitalizing on rare version and interiors(I do like interiors)]. I'm not sure that I would consider this kit buildable.
avenue
Visit this Community
Philippines
Joined: May 25, 2013
KitMaker: 544 posts
Armorama: 542 posts
Posted: Thursday, July 27, 2017 - 08:16 AM UTC
it look to me that dragon trying to cut cost,by skipping some detail.example like the hatch.
urumomo
Visit this Community
Texas, United States
Joined: August 22, 2013
KitMaker: 675 posts
Armorama: 667 posts
Posted: Thursday, July 27, 2017 - 08:49 AM UTC
WOW -- look like plastic from when there was still leaded gasoline at the pump ...
Bravo1102
Visit this Community
New Jersey, United States
Joined: December 08, 2003
KitMaker: 2,864 posts
Armorama: 2,497 posts
Posted: Thursday, July 27, 2017 - 09:58 AM UTC

Quoted Text

it look to me that dragon trying to cut cost,by skipping some detail.example like the hatch.


All the Black Label kits have some molded on hatches. Which is weird for 1/35.
Scipio2010
#401
Visit this Community
Washington, United States
Joined: December 08, 2013
KitMaker: 323 posts
Armorama: 221 posts
Posted: Friday, July 28, 2017 - 01:08 AM UTC
I finished up the T54E1 last night. Thanks to some paid time off I was able to get this built in under a week. As I previously stated, I am working on compiling my notes on the errors in the instructions so I can share them for anyone else willing to give this kit a try.

I wanted to give Black Label a decent shot, and I must admit that I'm rather disappointed. The finished product is not a match to the real vehicle, and the fitting issues on the turret will require some extensive work to make it look like a decent product. I did enjoy building the M48 hull, and I think the other M48 releases by Dragon might be worthwhile kits.

The Black Label T54E1 normally retails around $49.00, which is much lower than the typical Dragon releases. I have seen the kit as low as $25.00 on a Dragon Daily Deal, which might be the best time to buy it if you are really interested.

If you are hunting for a kit featuring an oscillating turret, I would recommend finding one of the numerous AMX offerings that have hit the market.

The completed T54E1 (I have yet to do any putty work or sanding):


JSSVIII
Visit this Community
Massachusetts, United States
Joined: March 28, 2007
KitMaker: 1,169 posts
Armorama: 1,067 posts
Posted: Friday, July 28, 2017 - 04:13 AM UTC
Glad to see you pushed through Shawn, I'm afraid I'm not going to be able to live with the turret as is though, I'm very interested in your notes, anything to help the build go smoother. Looking forward to seeing it finished!
Scipio2010
#401
Visit this Community
Washington, United States
Joined: December 08, 2013
KitMaker: 323 posts
Armorama: 221 posts
Posted: Friday, July 28, 2017 - 07:32 AM UTC
Ok here are my final notes. I have only pointed out the discrepancies between the CAD drawings, instructions, and the actual kit itself. I will post pictures once I finish painting and weathering.

Hope these help.


Bravo1102
Visit this Community
New Jersey, United States
Joined: December 08, 2003
KitMaker: 2,864 posts
Armorama: 2,497 posts
Posted: Friday, July 28, 2017 - 07:39 AM UTC
That turret looks so sad. And it looks like the turret infantry rails and lifting eye don't fit right either. You sure there wasn't a mix up with Dragon copying parts from an ancient ITC T92 kit or something? I have not seen gaps like that on an armor kit turret since the 1970s.
JSSVIII
Visit this Community
Massachusetts, United States
Joined: March 28, 2007
KitMaker: 1,169 posts
Armorama: 1,067 posts
Posted: Friday, July 28, 2017 - 03:30 PM UTC
That turret makes my old AER T-18 kit look almost decent, way to take a giant leap backwards Dragon!
Invincible
Visit this Community
United Kingdom
Joined: May 03, 2017
KitMaker: 148 posts
Armorama: 122 posts
Posted: Saturday, July 29, 2017 - 03:33 AM UTC
Looking at the quality of the turret, I noticed something amusing; the box says 'a quality product from dragon'
brekinapez
Visit this Community
Georgia, United States
Joined: July 26, 2013
KitMaker: 2,272 posts
Armorama: 1,860 posts
Posted: Saturday, July 29, 2017 - 03:46 AM UTC

Quoted Text

Looking at the quality of the turret, I noticed something amusing; the box says 'a quality product from dragon'


Ah, but they didn't say what level of quality!
 _GOTOTOP