_GOTOBOTTOM
Яusso-Soviэt Forum: Cold War Soviet Armor
For discussions related to cold war era Russo-Soviet armor.
Meng T-90 w/TBS-86 Tank Dozer
ColinEdm
Staff MemberAssociate Editor
ARMORAMA
Visit this Community
Alberta, Canada
Joined: October 15, 2013
KitMaker: 1,355 posts
Armorama: 1,229 posts
Posted: Saturday, October 21, 2017 - 04:20 AM UTC
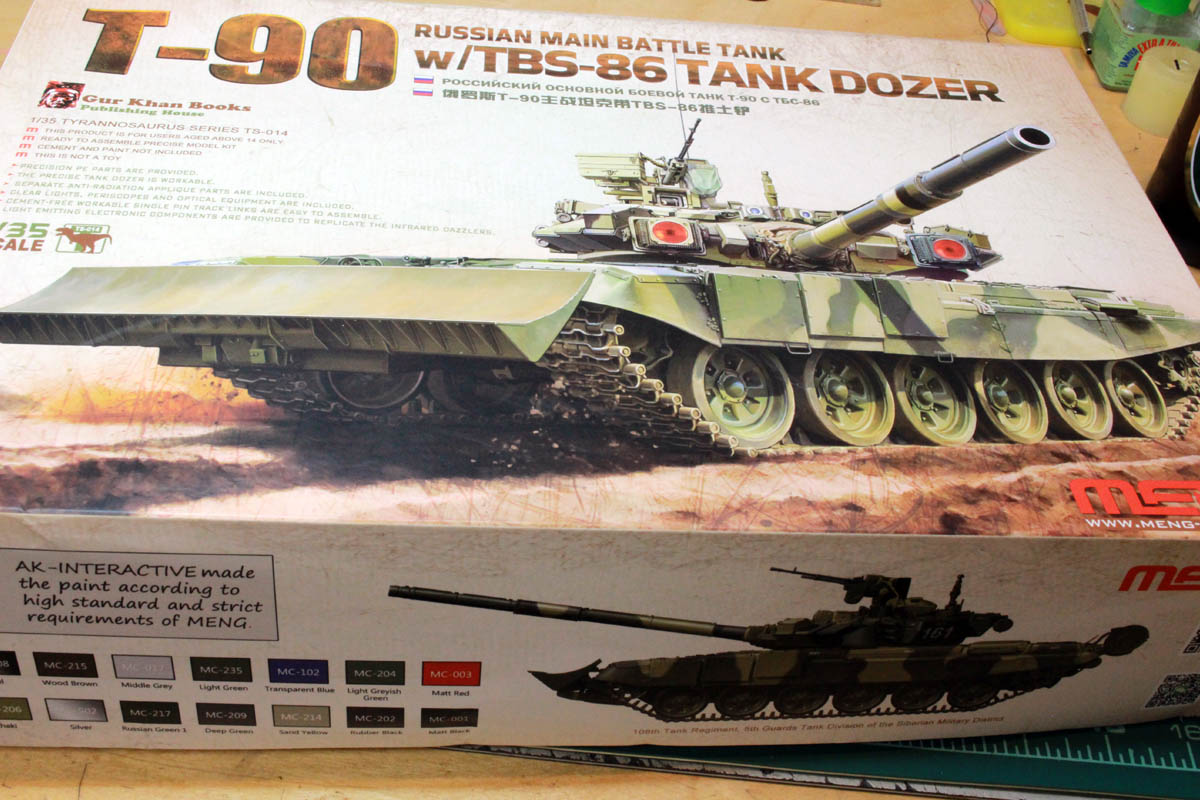
Hi all, I have decided to do a build blog on the Meng TS-014 kit of Russia's T-90 MBT with TS-86 Tank Dozer.

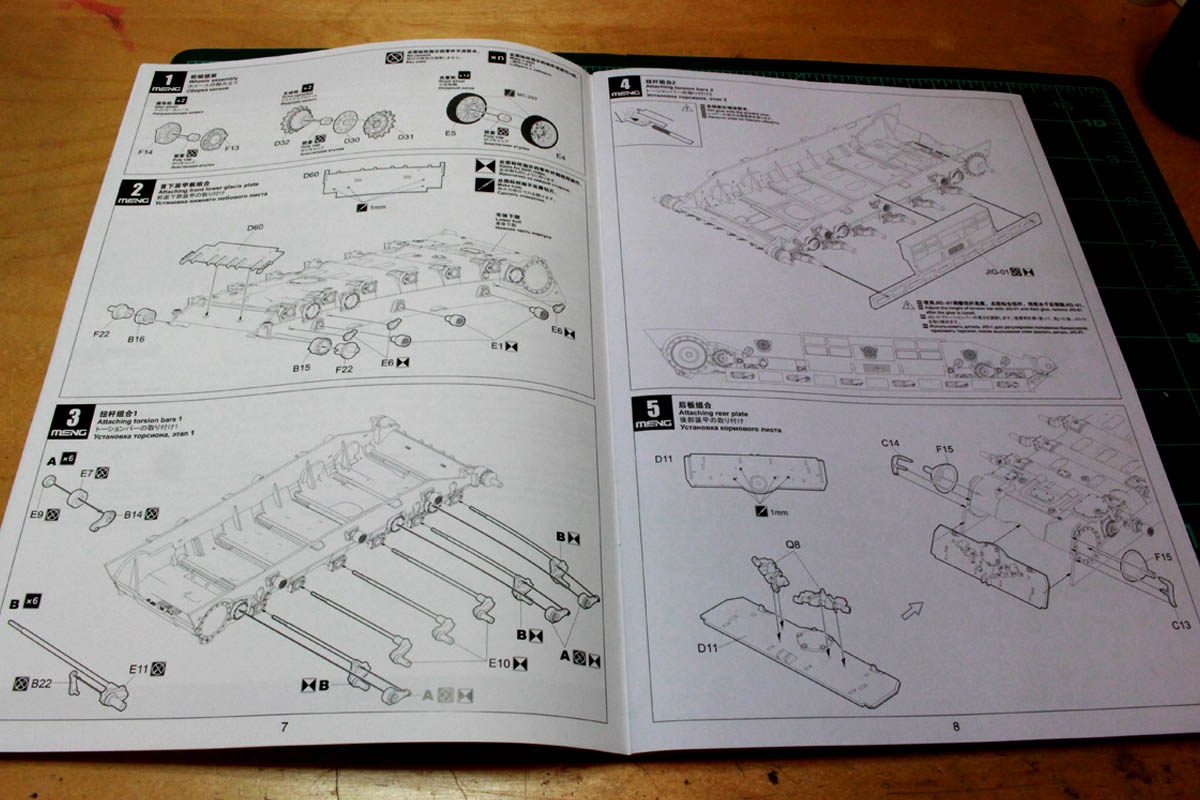
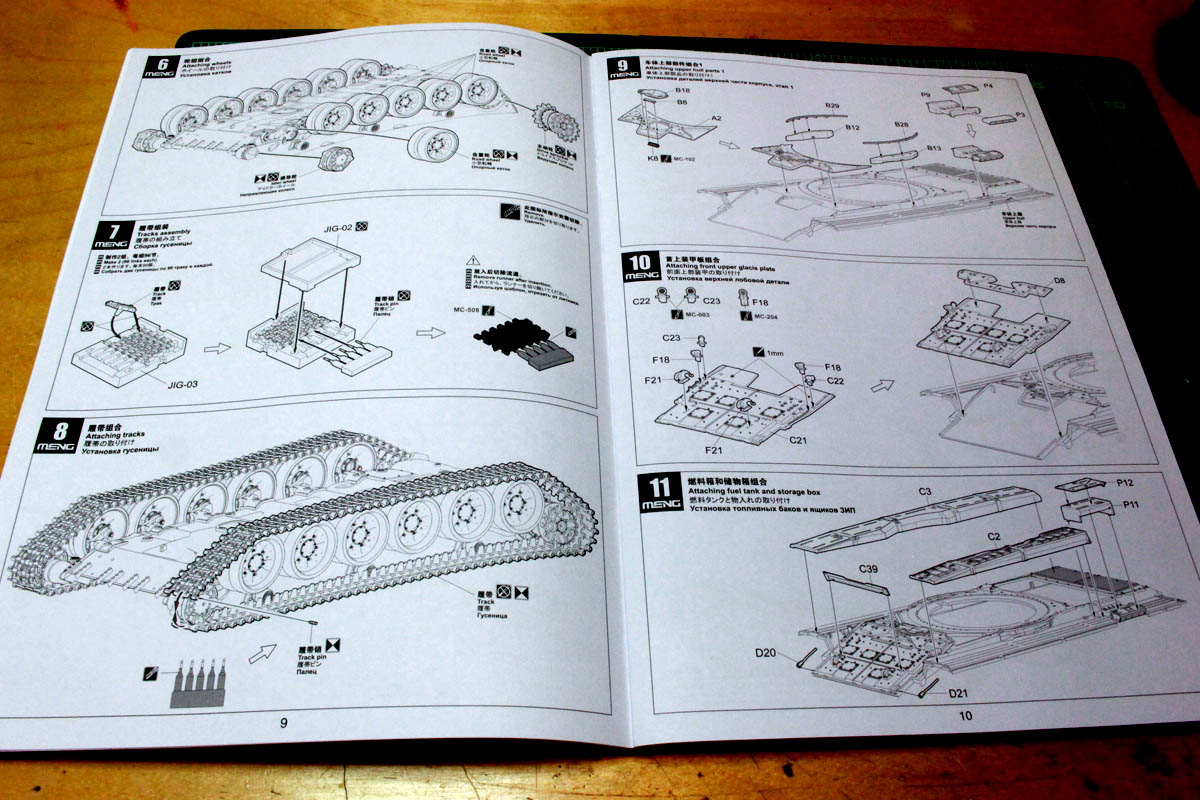
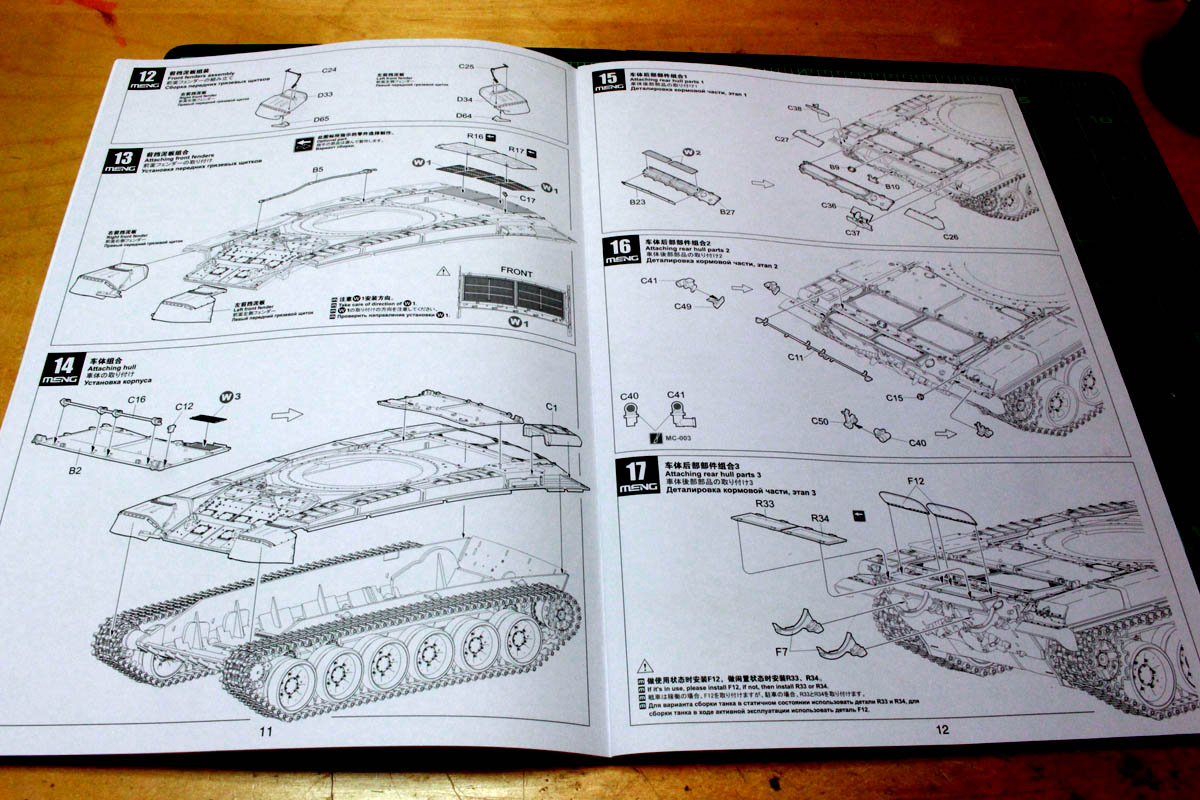
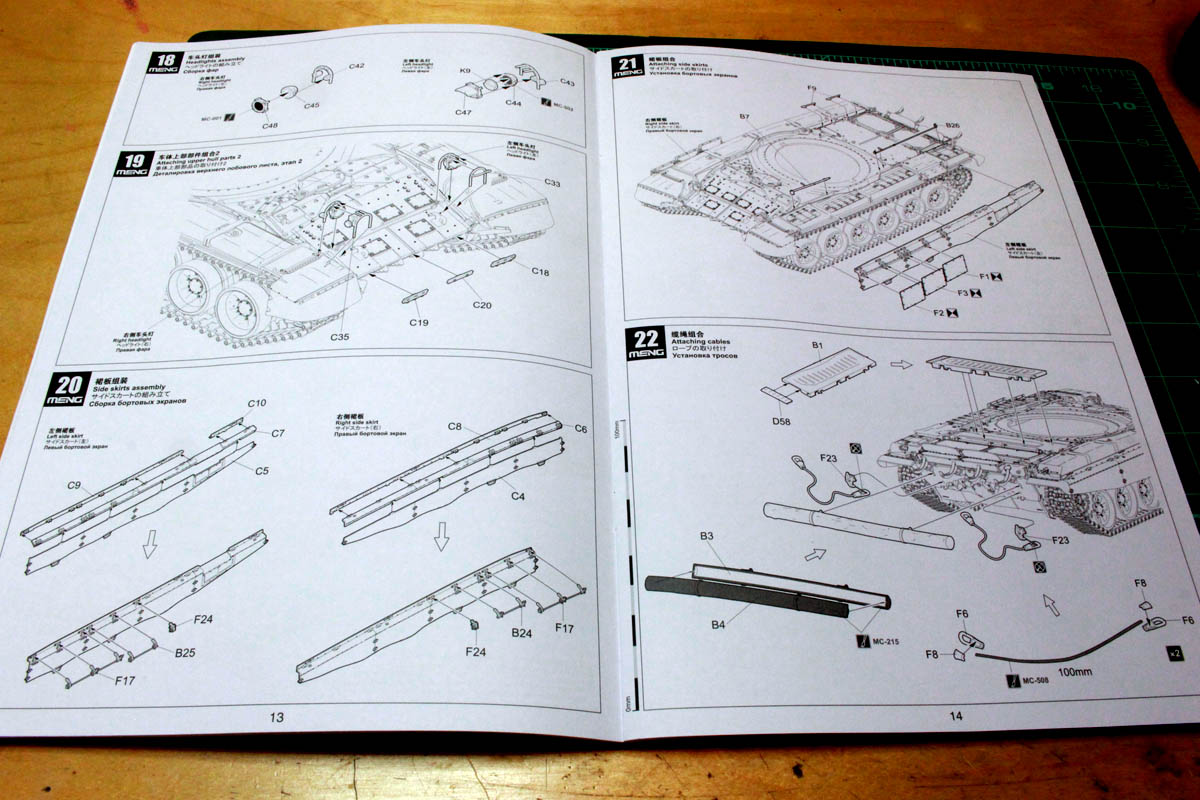
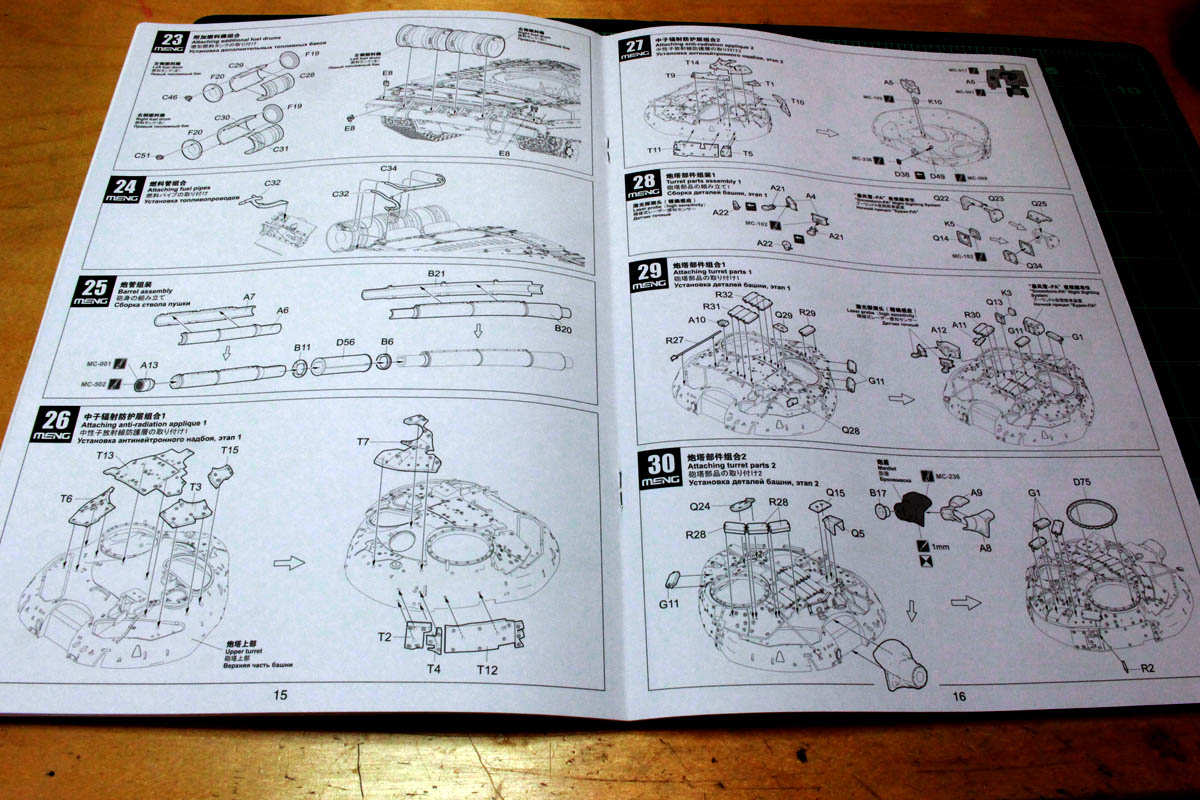
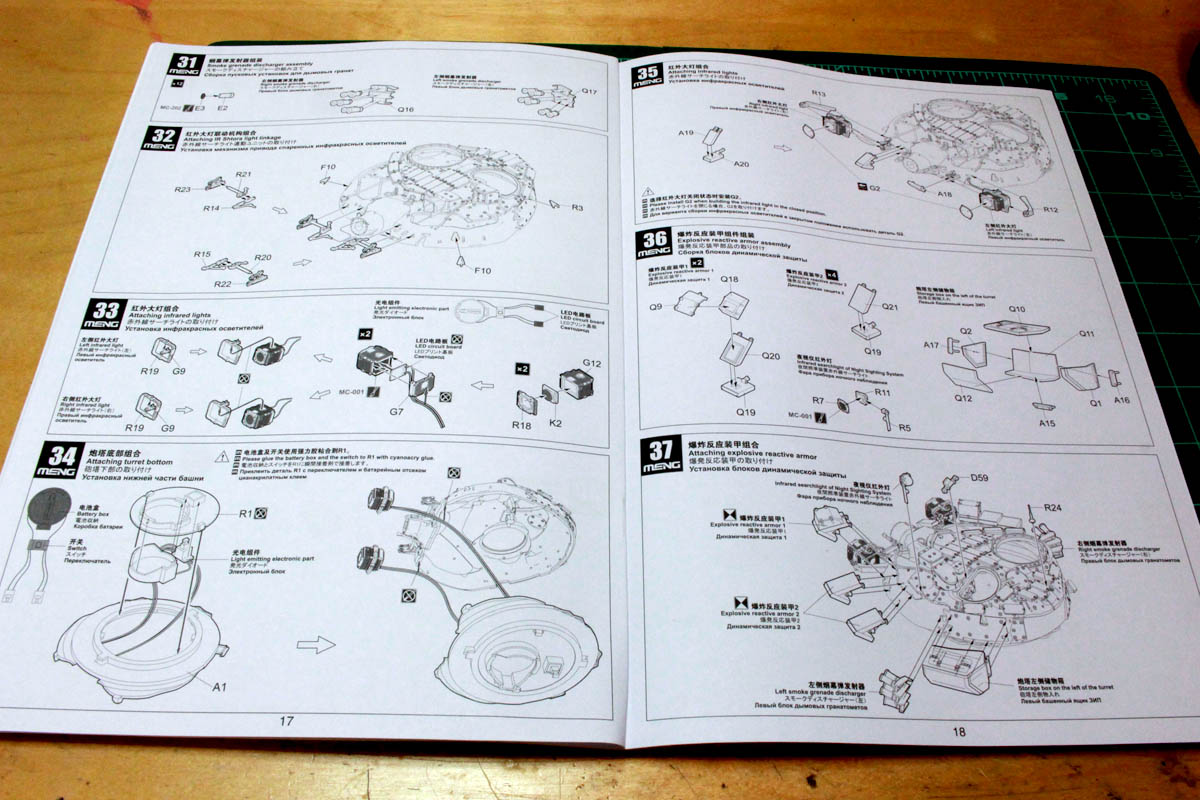
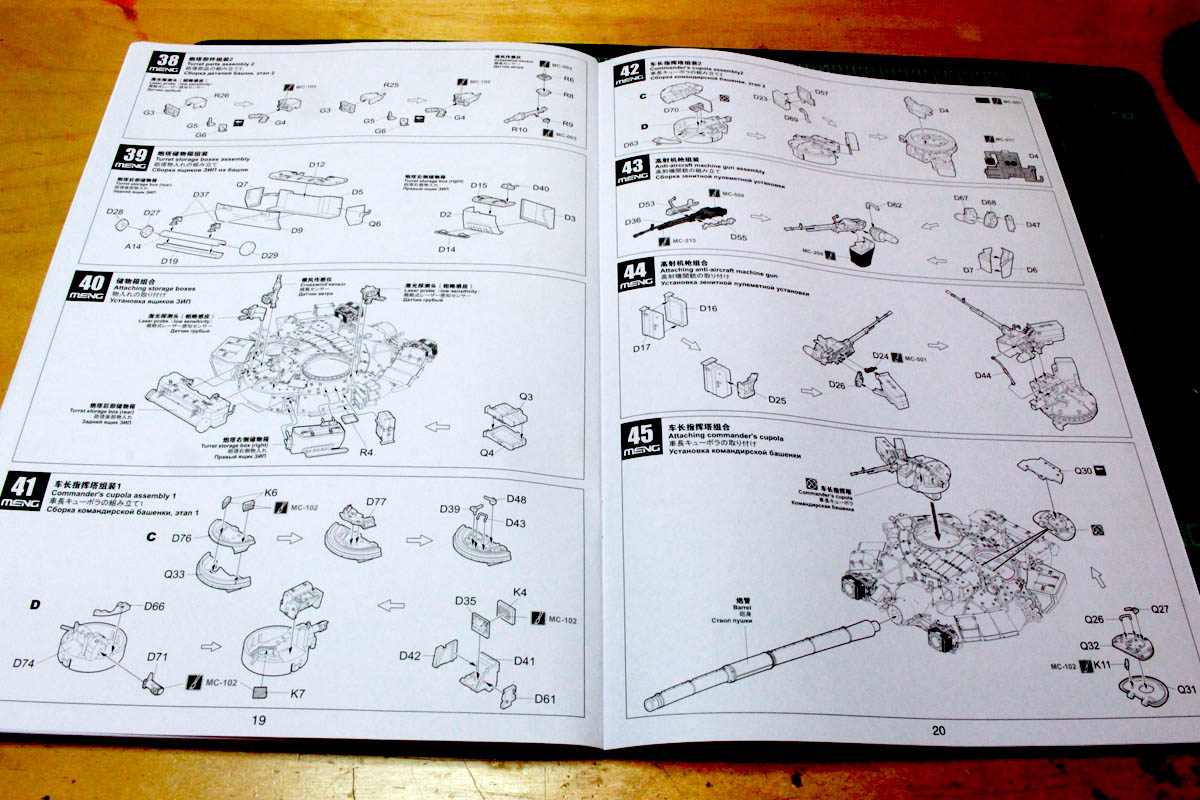
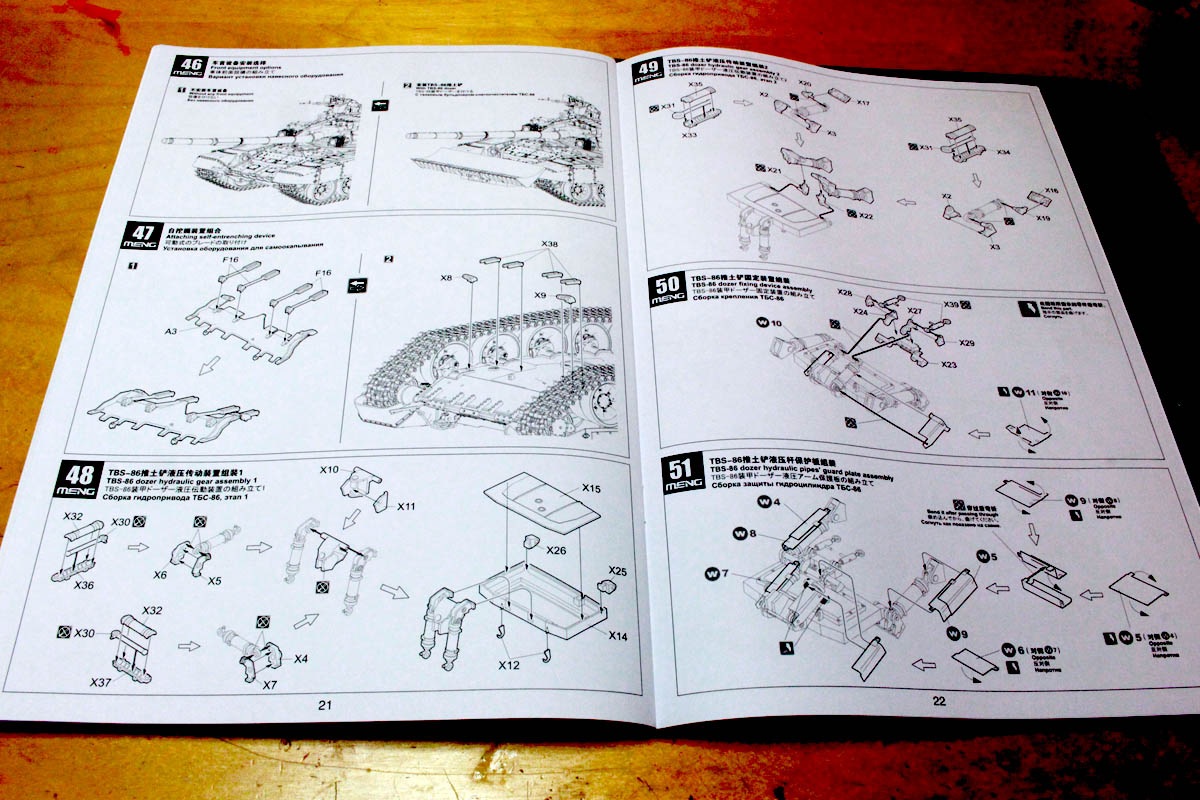
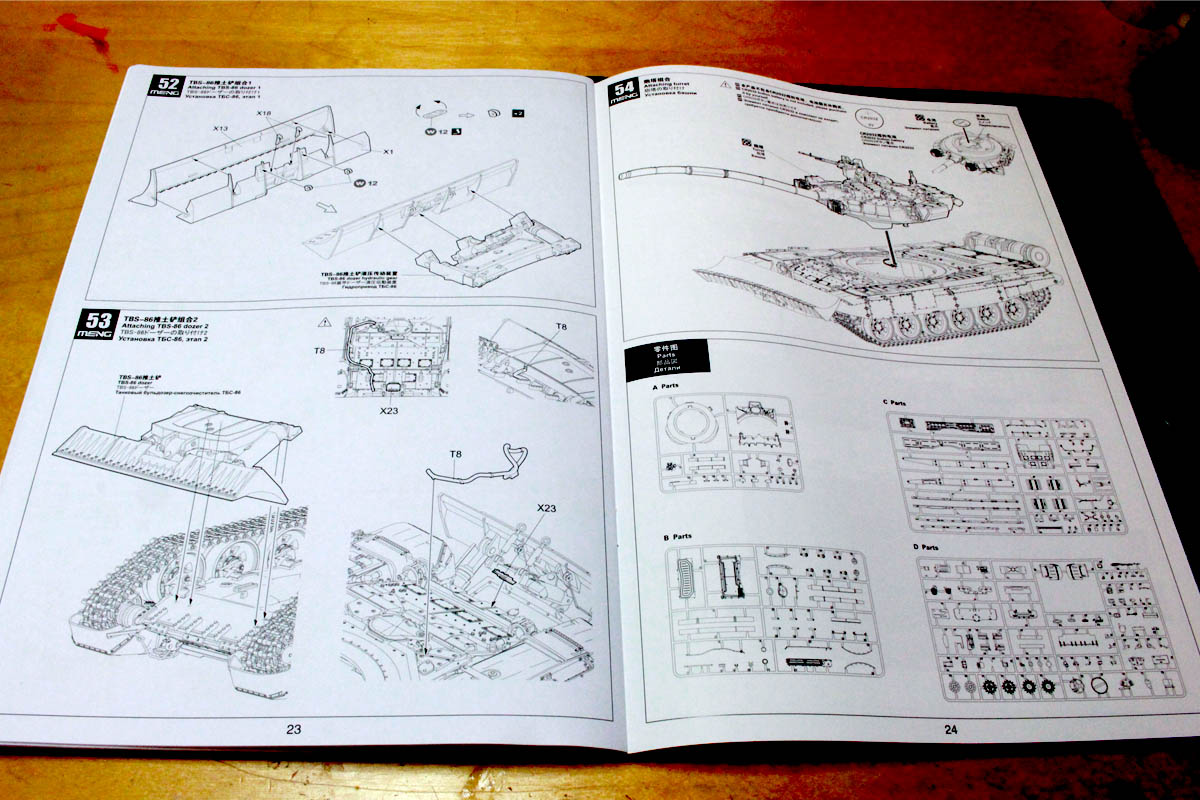
The kit comes in a large size box that is absolutely packed with sprues. The instructions come in booklet form and cover 54 separate steps in a well laid out fashion. One thing that I like is that for different sub-assemblies Meng describes what you are actually building, eg the low-intensity laser sensors, wind sensor, etc.


It is actually quite an intimidating kitbut I am looking forward to the challenge. Stay tuned!
gharker
Visit this Community
British Columbia, Canada
Joined: May 21, 2014
KitMaker: 109 posts
Armorama: 109 posts
Posted: Saturday, October 21, 2017 - 04:47 AM UTC
I have this kit, I keep looking at it but I am not ready to start it yet. I am looking forward to seeing what you do with this.
pgb3476
Visit this Community
Texas, United States
Joined: March 11, 2007
KitMaker: 977 posts
Armorama: 976 posts
Posted: Saturday, October 21, 2017 - 08:29 PM UTC
I built the Meng Terminator and am working on the BMR-3M Boar right now, Meng did a great job on these T-90 based tanks, I'll be following.
Hederstierna
#247
Visit this Community
Nordjylland, Denmark
Joined: January 03, 2008
KitMaker: 1,102 posts
Armorama: 1,018 posts
Posted: Saturday, October 21, 2017 - 09:46 PM UTC
I've built this one, actually my first Meng kit, and I was thrilled by it. Especially the turret is extremely detailed.
Hope you have fun with it.
Jacob
Bigred69
Visit this Community
Armed Forces Europe, United States
Joined: December 27, 2015
KitMaker: 290 posts
Armorama: 249 posts
Posted: Sunday, October 22, 2017 - 02:47 AM UTC
Any tank with a Dozer blade looks good.
phantom8747
Visit this Community
Alabama, United States
Joined: March 09, 2015
KitMaker: 281 posts
Armorama: 273 posts
Posted: Sunday, October 22, 2017 - 06:16 PM UTC
I have that kit also.Have not started it yet. But tried to assemble the tracks.They are impossible having a single pin on one side and nothing to hold the other side together. So they keep coming apart.I'll have to find replacements. The only drawback I can see.
pgb3476
Visit this Community
Texas, United States
Joined: March 11, 2007
KitMaker: 977 posts
Armorama: 976 posts
Posted: Sunday, October 22, 2017 - 06:30 PM UTC
Bob, are you using the kit supplied jig? They worked for me just fine.
ColinEdm
Staff MemberAssociate Editor
ARMORAMA
Visit this Community
Alberta, Canada
Joined: October 15, 2013
KitMaker: 1,355 posts
Armorama: 1,229 posts
Posted: Sunday, October 22, 2017 - 06:33 PM UTC
I have heard conflicting reports on the tracks, some say they go together fine and some say they have issues such as yours Bob. I guess we'll see when I get to them!
Hederstierna
#247
Visit this Community
Nordjylland, Denmark
Joined: January 03, 2008
KitMaker: 1,102 posts
Armorama: 1,018 posts
Posted: Sunday, October 22, 2017 - 07:27 PM UTC
The tiny track pin needs a small drop of glue on the outside to keep the tracks from breaking.
Jacob
ColinEdm
Staff MemberAssociate Editor
ARMORAMA
Visit this Community
Alberta, Canada
Joined: October 15, 2013
KitMaker: 1,355 posts
Armorama: 1,229 posts
Posted: Sunday, October 29, 2017 - 09:15 AM UTC
Digging into the packed box, which is absolutely stuffed, first impressions are a tad bit intimidating – there is a LOT to this kit, and there are a lot of very small, delicate parts. Sorting things out we have the following:
• Upper and lower hull, molded in dark green plastic
• Upper half of turret, molded in dark green plastic
• 13 various parts sprues molded in dark green plastic
• 1 sprue of soft nylon for the anti-radiation panels for the turret
• 1 soft nylon gun mantlet
• A sprue of soft poly caps for the road wheels, drive sprockets and idlers
• Suspension and track jigs in clear plastic
• 2 clear plastic sprues for vision blocks, headlights and IR emitters
• One bag of 200 track links
• 20 small sprues of track pins
• 1 sheet of photo-etch
• String for the tow cables (looks a bit fuzzy, I’ll make my own)
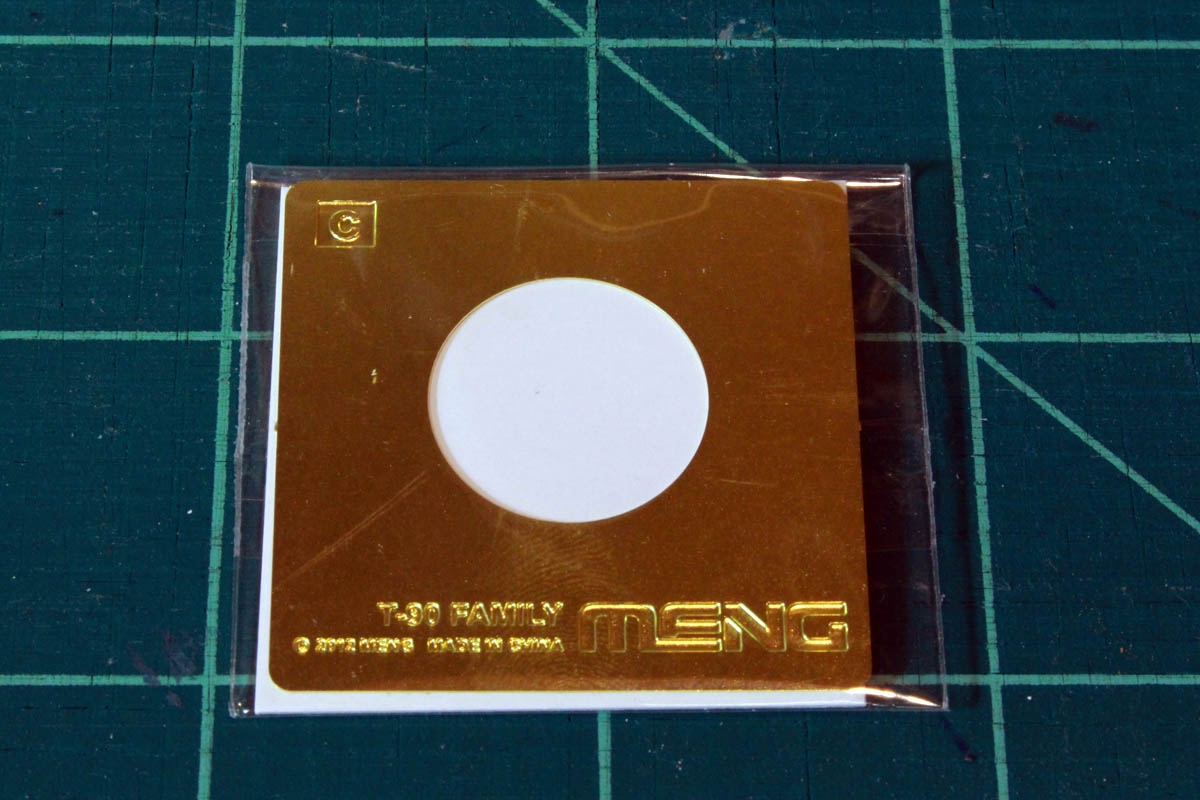
• 1 wheel painting template
• 1 small box containing the electronics and wire for the IR dazzler lights
• 1 decal sheet
You will need to supply your own battery, it is a standard 3 volt watch battery, model CR2032.
While everything was packaged up well, and every sprue was separate except where there were identical sprues, there were a few damaged parts. On the lower hull tube one of the molded on fender supports was broken and needed to be glued back on, and the delicate locating pins on several of the road wheels were broken off. I can also see some stress marks on some of the many delicate pieces and will have to be very careful removing them from the sprues.
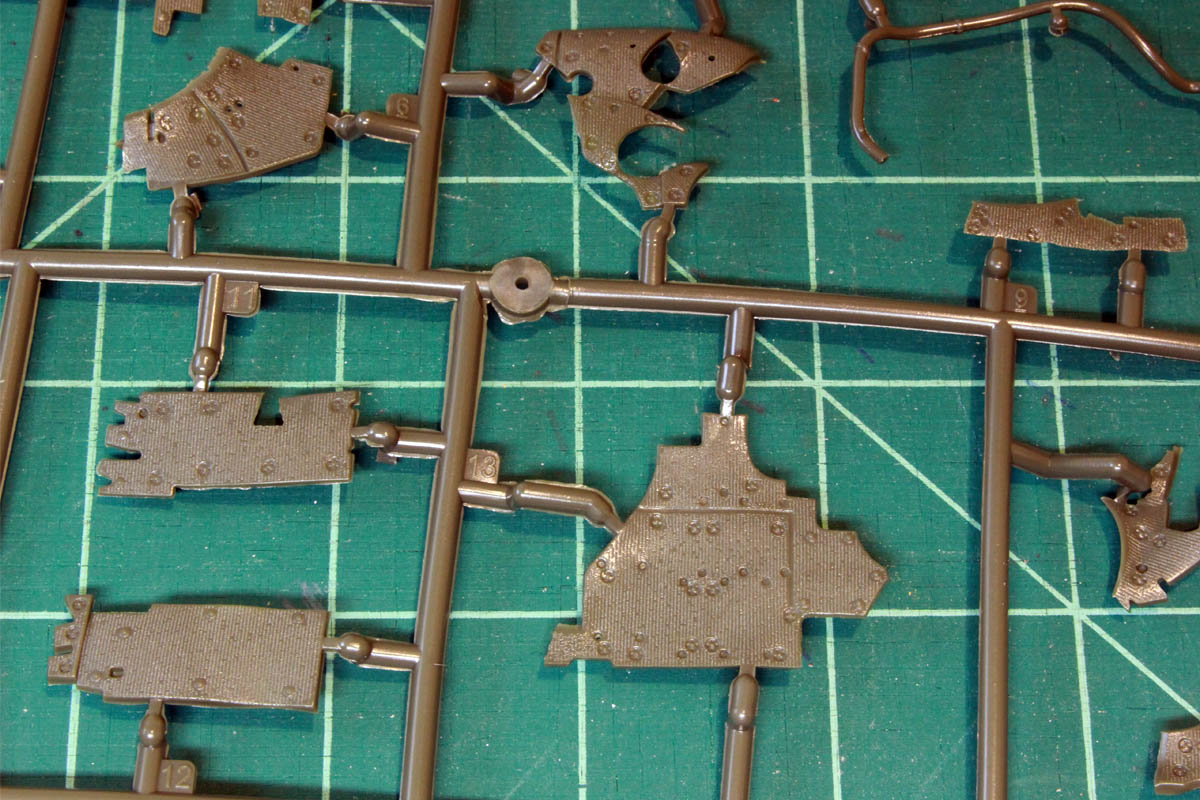
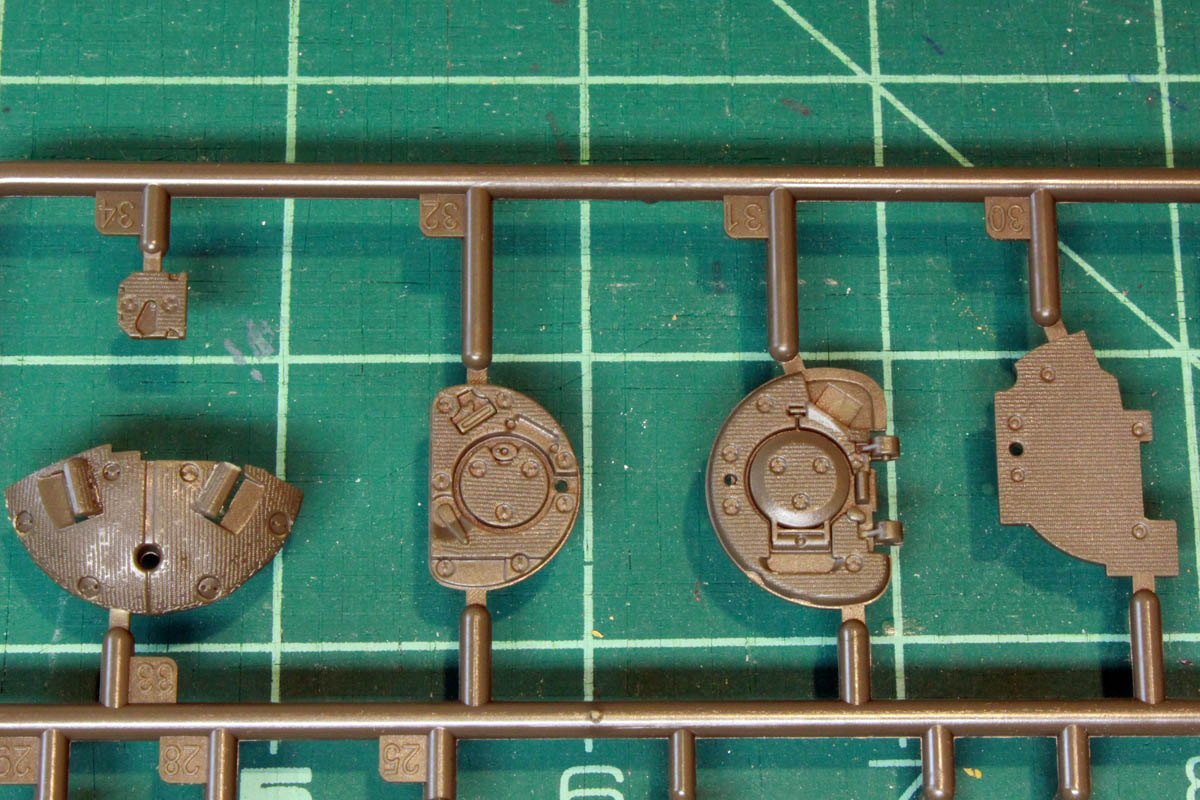
Detail on the nylon parts is impressive:
The PE wheel painting template is a nice touch:
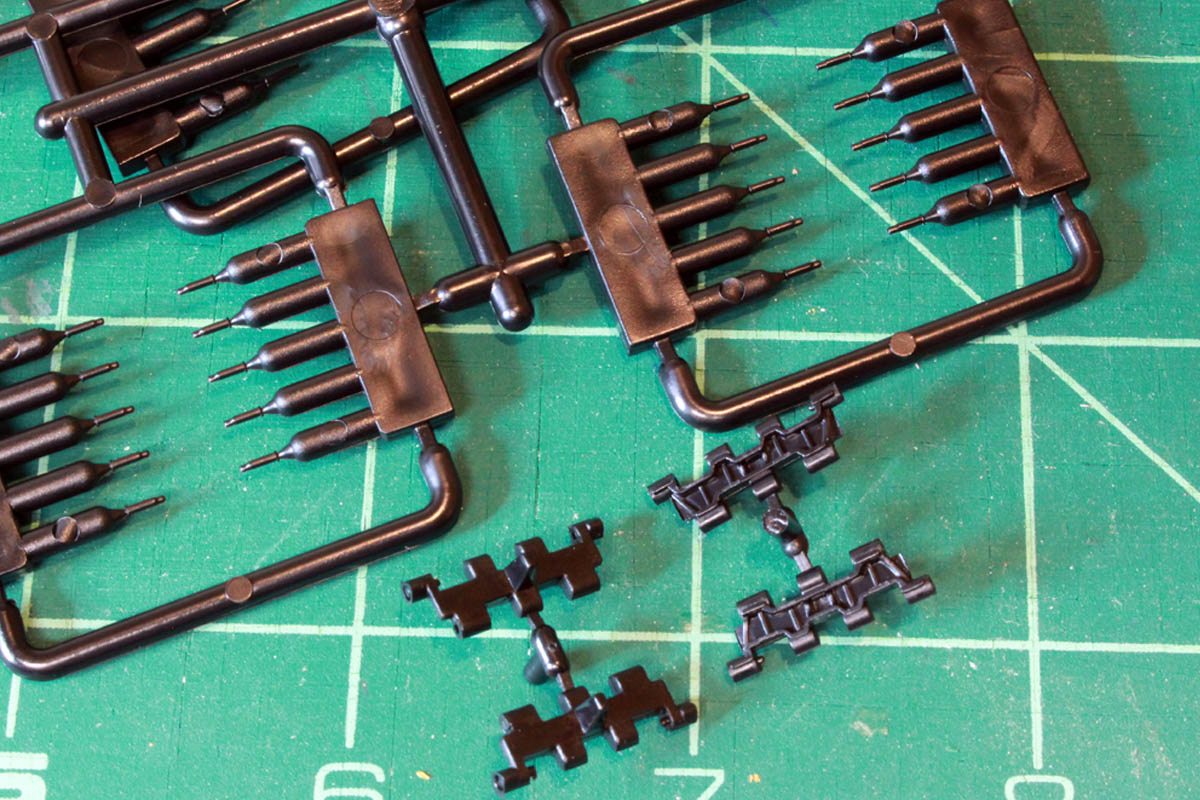
Track and suspension jigs:
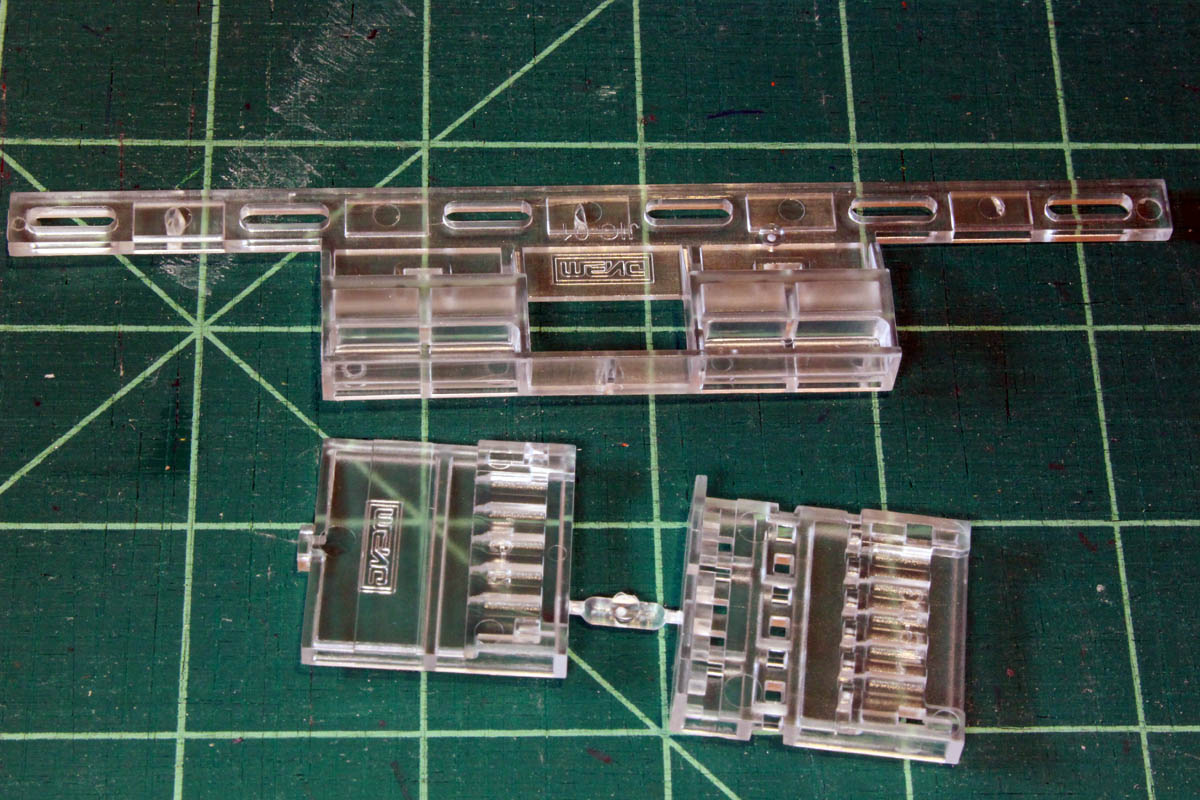
Overall, the detail present on the mouldings is very impressive, but I will have to be careful not to accidentally clean off the more delicate extrusions on some of the pieces as they are so small.
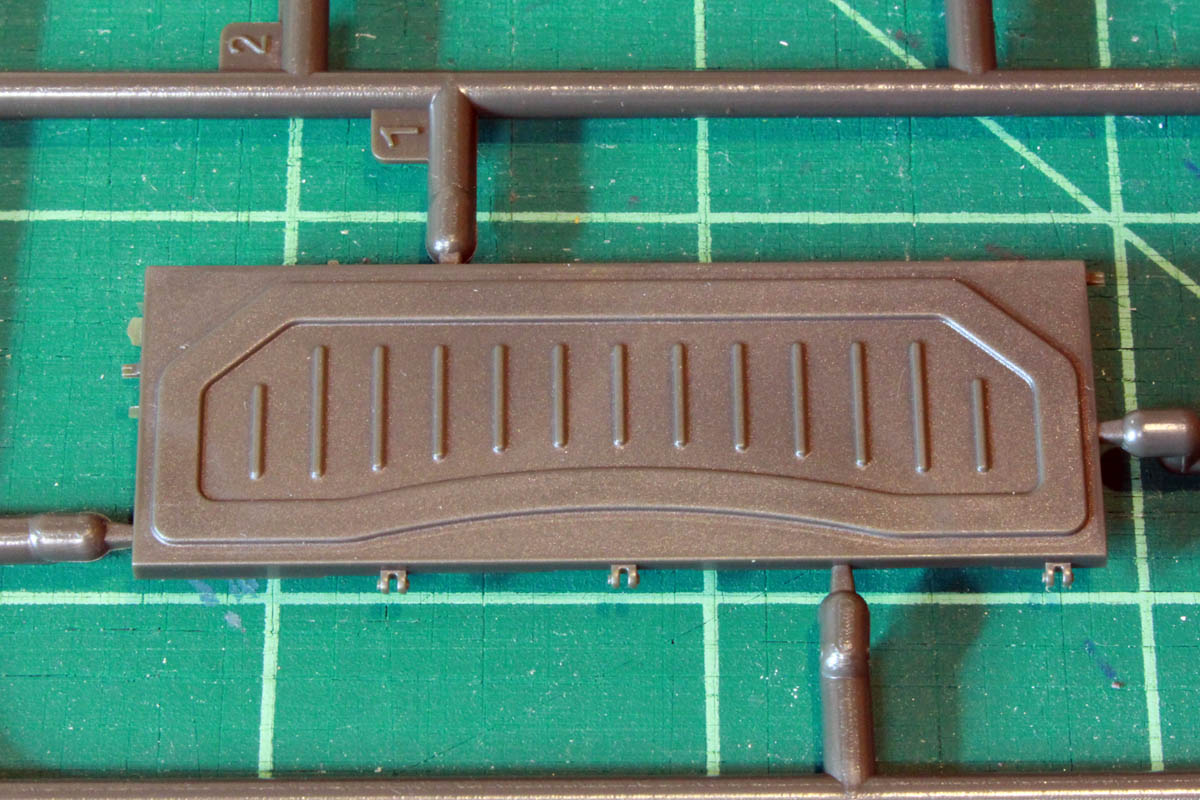
There is a bit more flash present than I had hoped so cleanup will be required, and some pieces have significant seams as well.
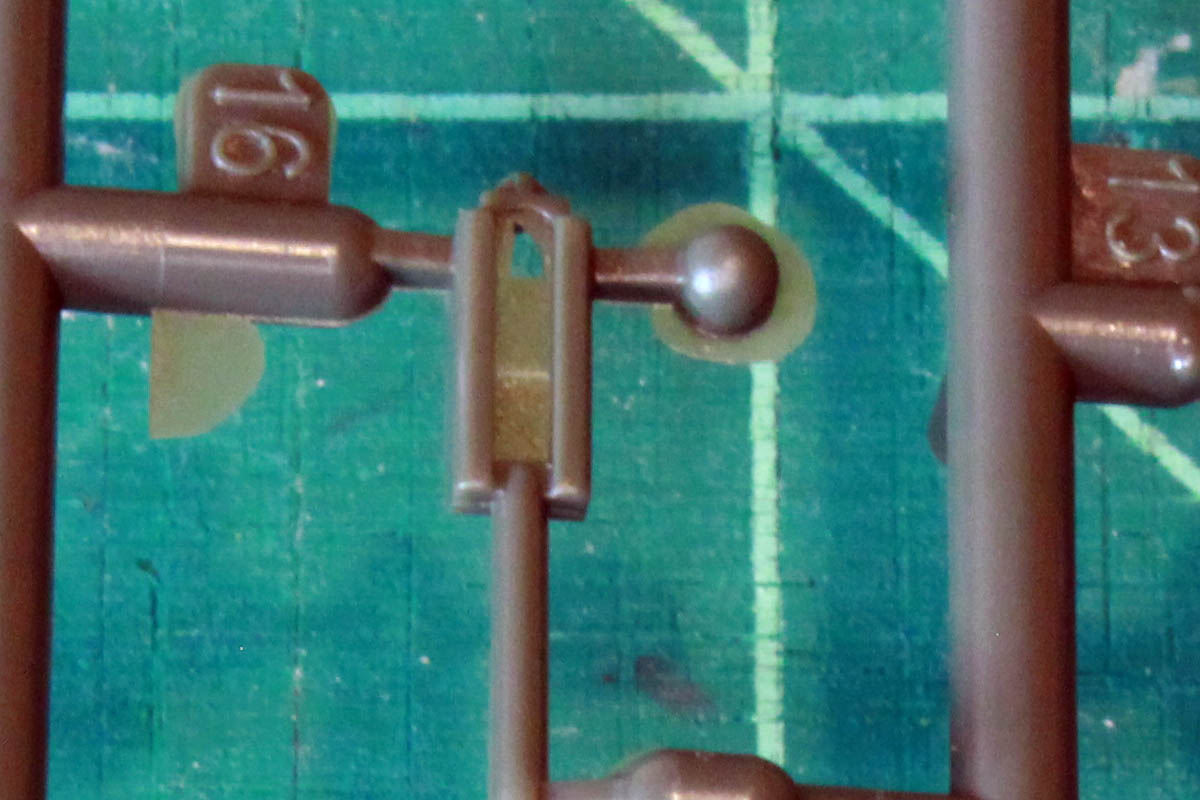
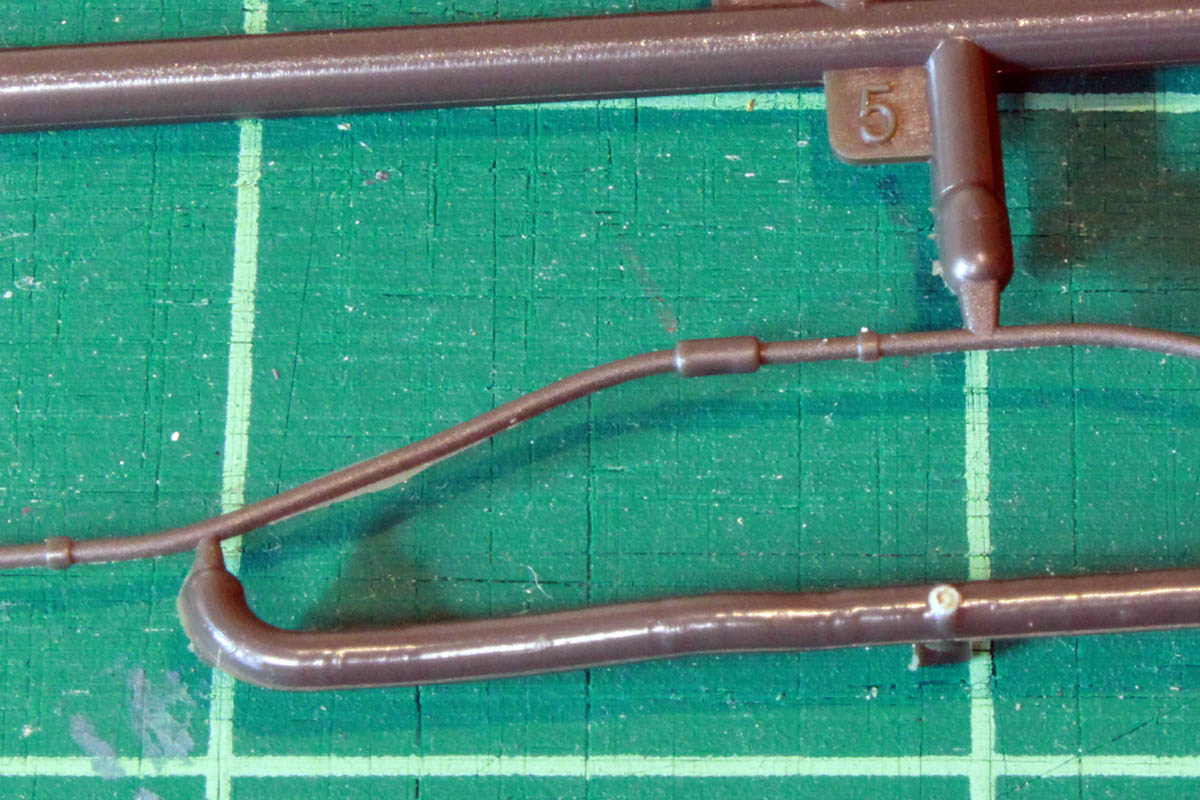
There are also a fair number of pour tabs that will have to be removed to ensure pieces fit together well.

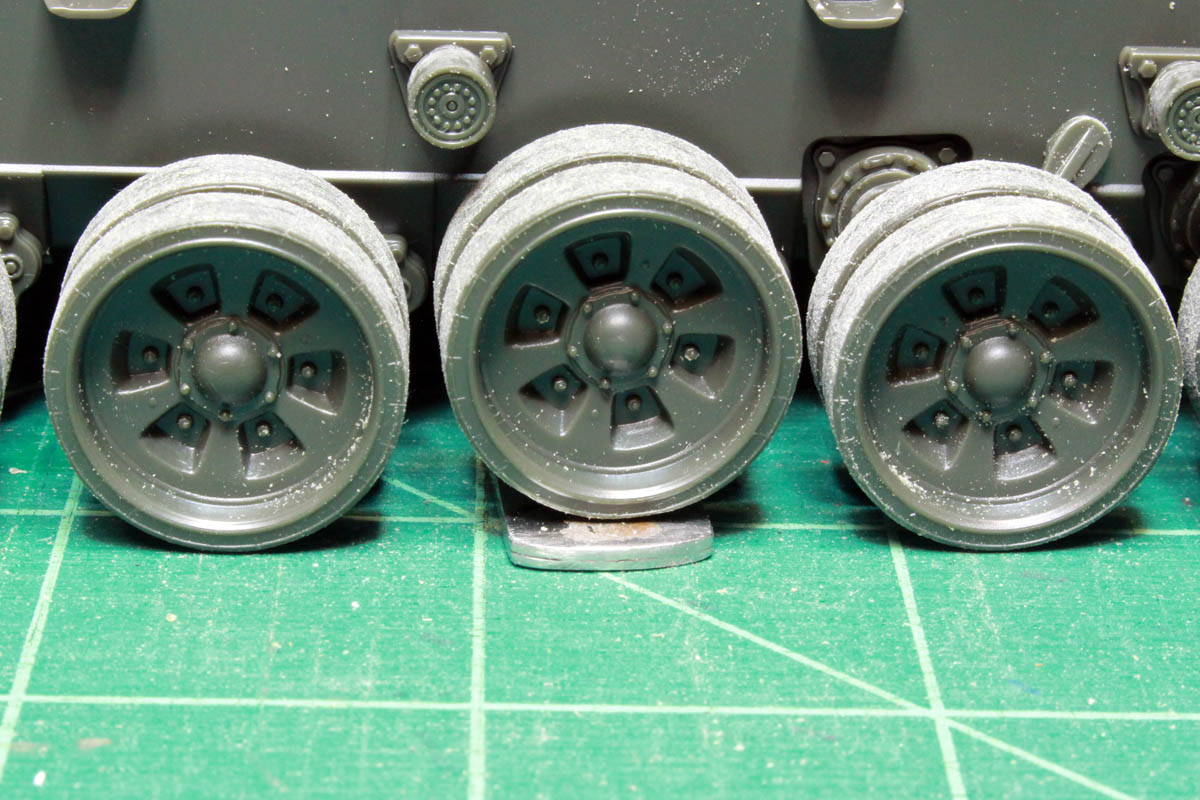
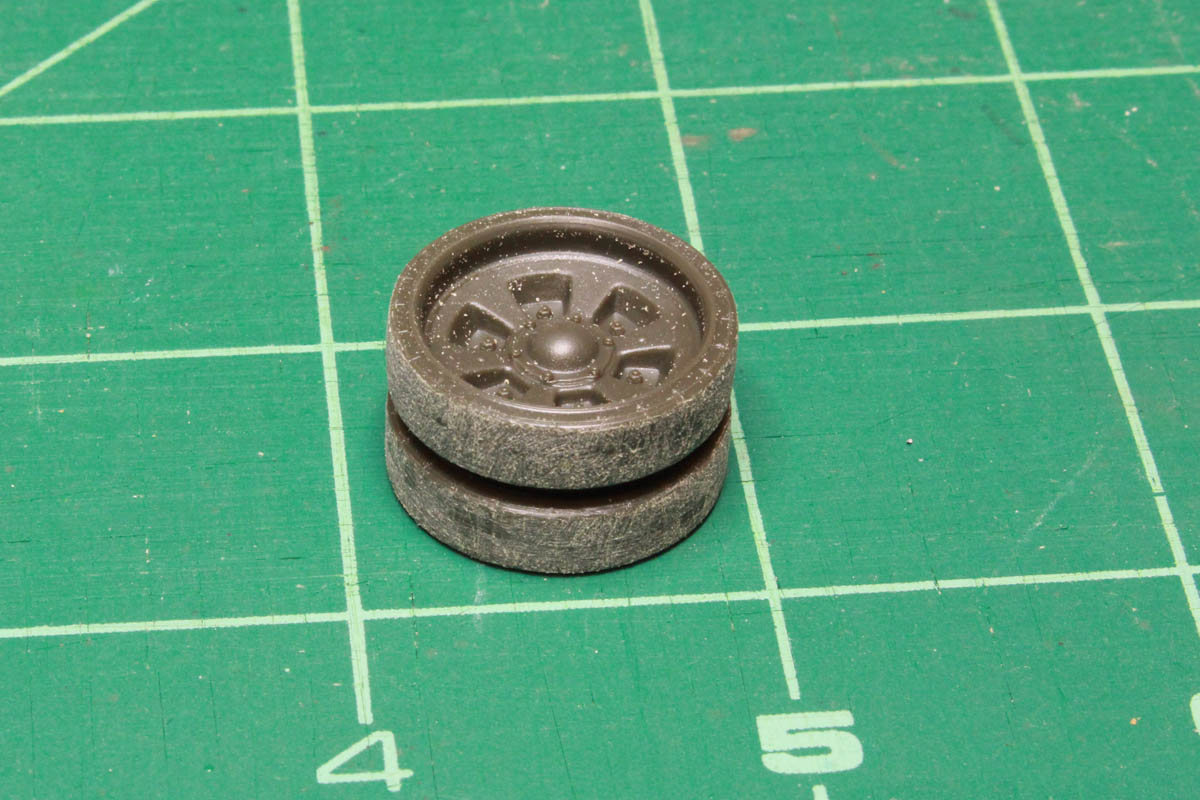
The instructions start with the usual lower hull, suspension and running gear assembly. Road wheels are first. The rubber has nice seam detail, but since this gets worn away quite quickly in real life, off it comes with some sandpaper.
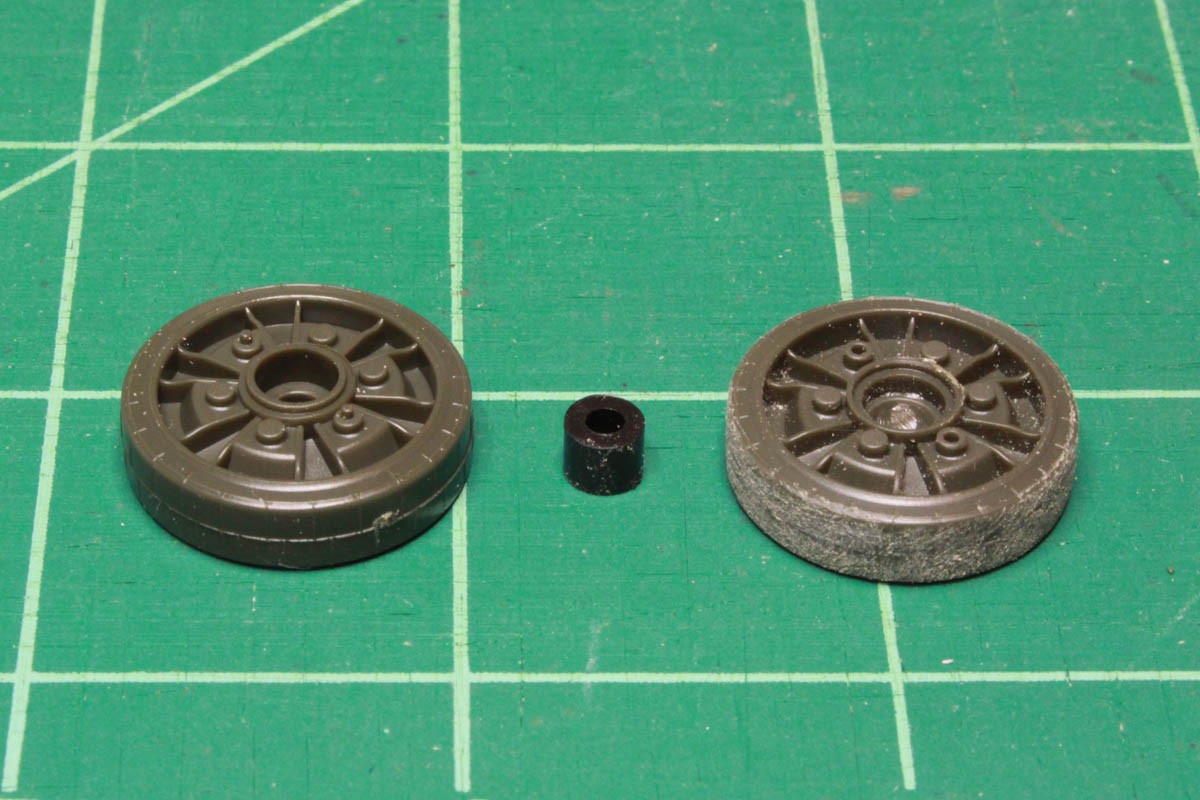
The wheels fit together nicely with a poly cap between, this allows you to put the wheels on and take them off as required for painting.
ColinEdm
Staff MemberAssociate Editor
ARMORAMA
Visit this Community
Alberta, Canada
Joined: October 15, 2013
KitMaker: 1,355 posts
Armorama: 1,229 posts
Posted: Saturday, November 04, 2017 - 09:31 AM UTC
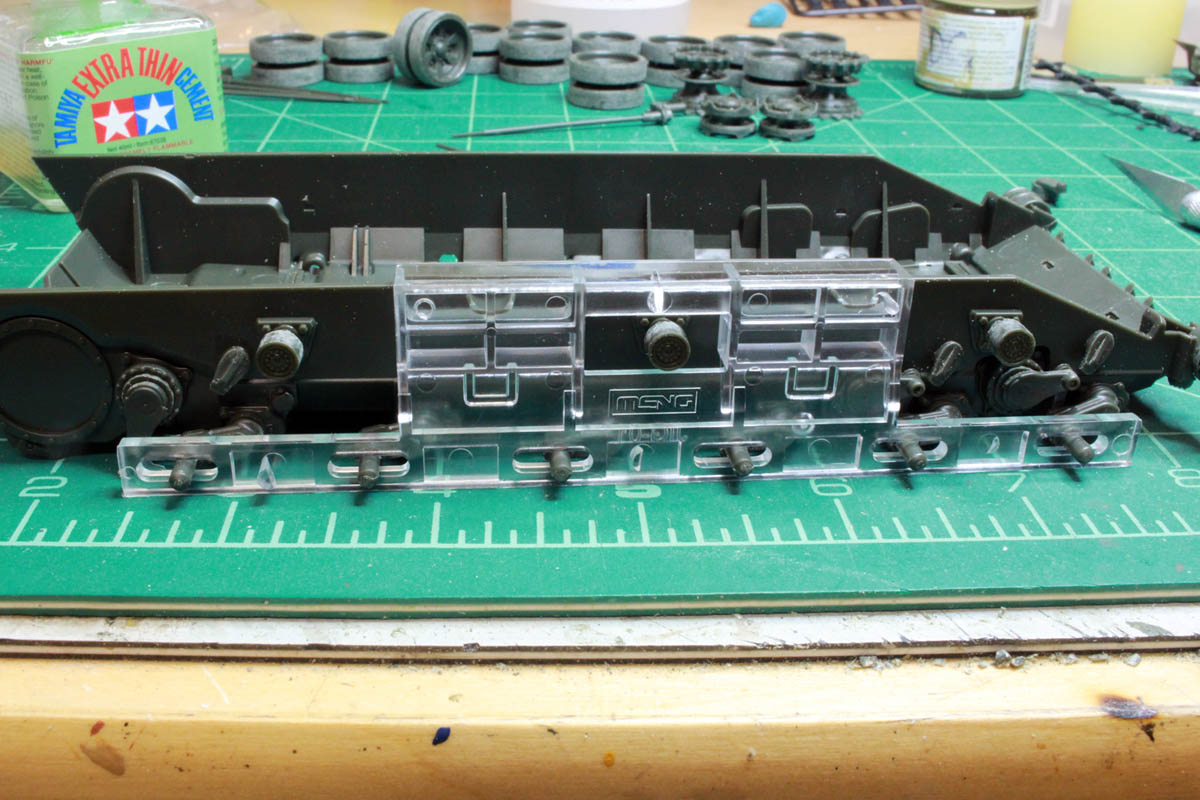
With all the road wheels done it is on to the suspension. Meng has set up a neat working suspension setup. Torsion arms 3-5 are just glued at the far end, allowing the arm to flex and twist, while the front two and rearmost also have a slick little pivot system:

Fully compressed:

Fully extended:

The supplied suspension jig ensures all of the torsion bars are properly aligned before being glued.

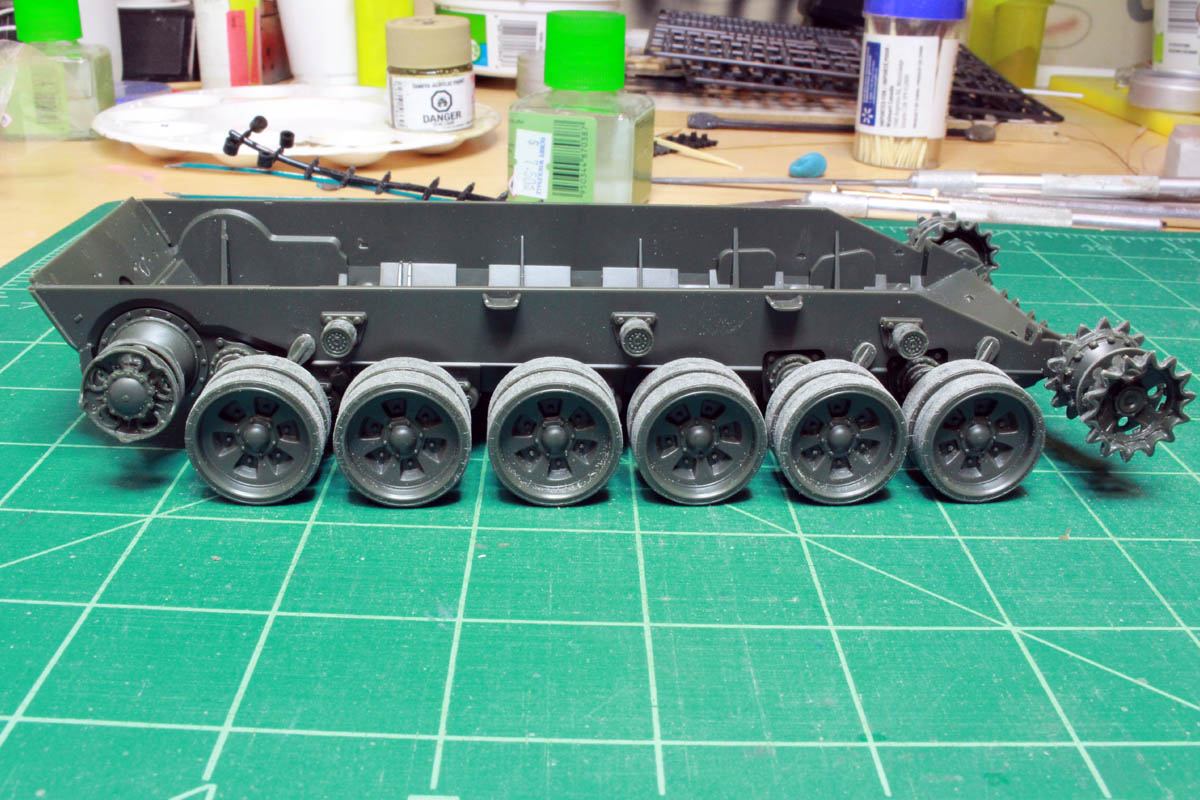
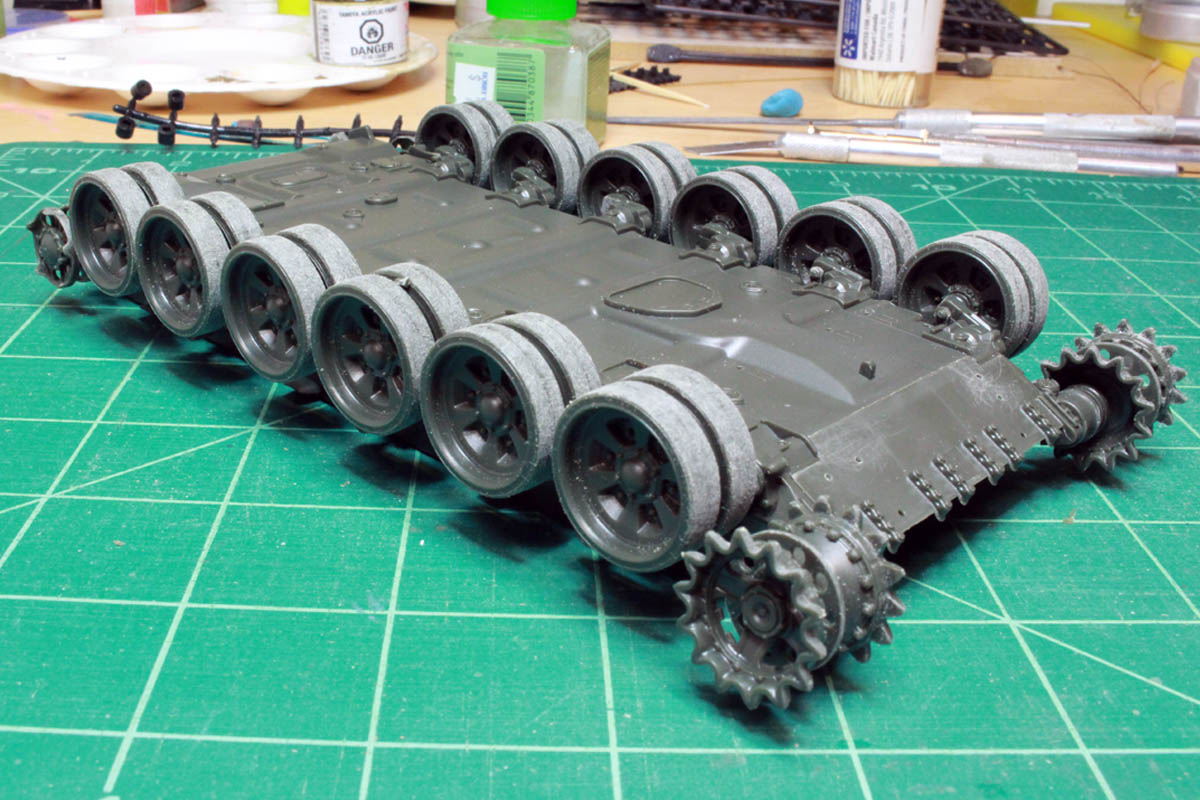
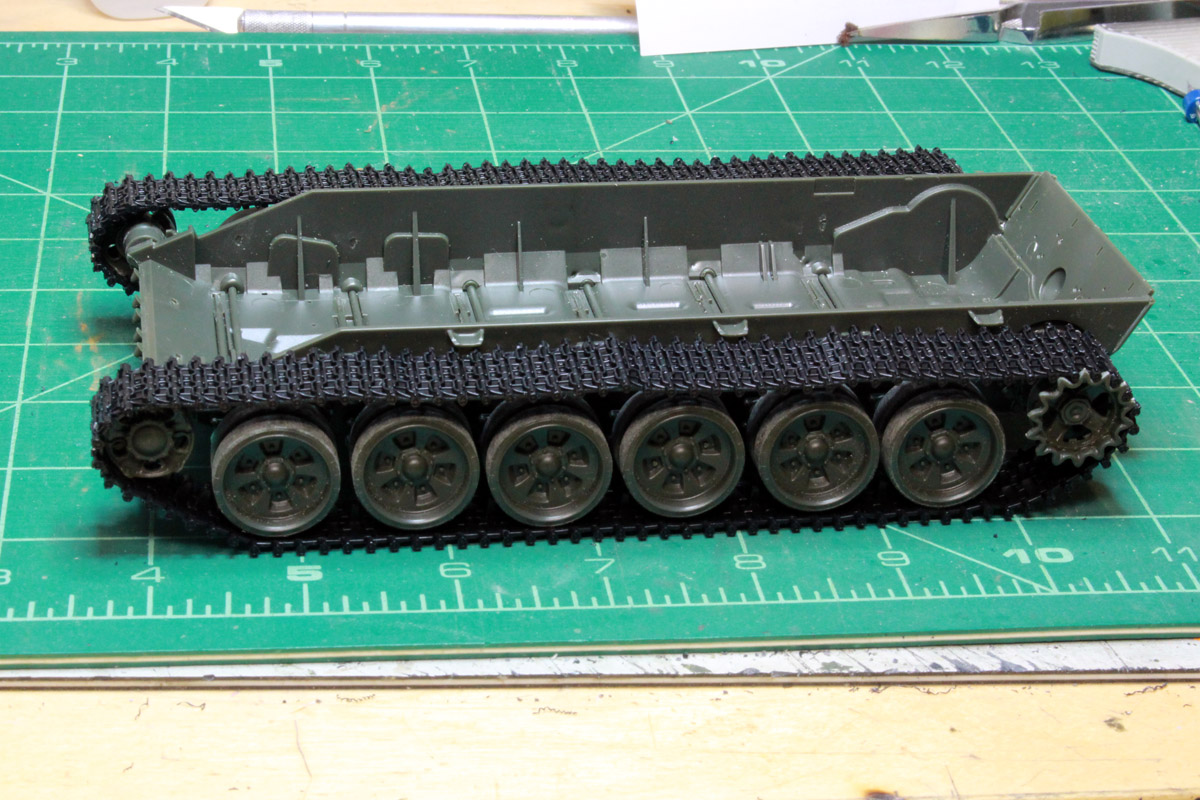
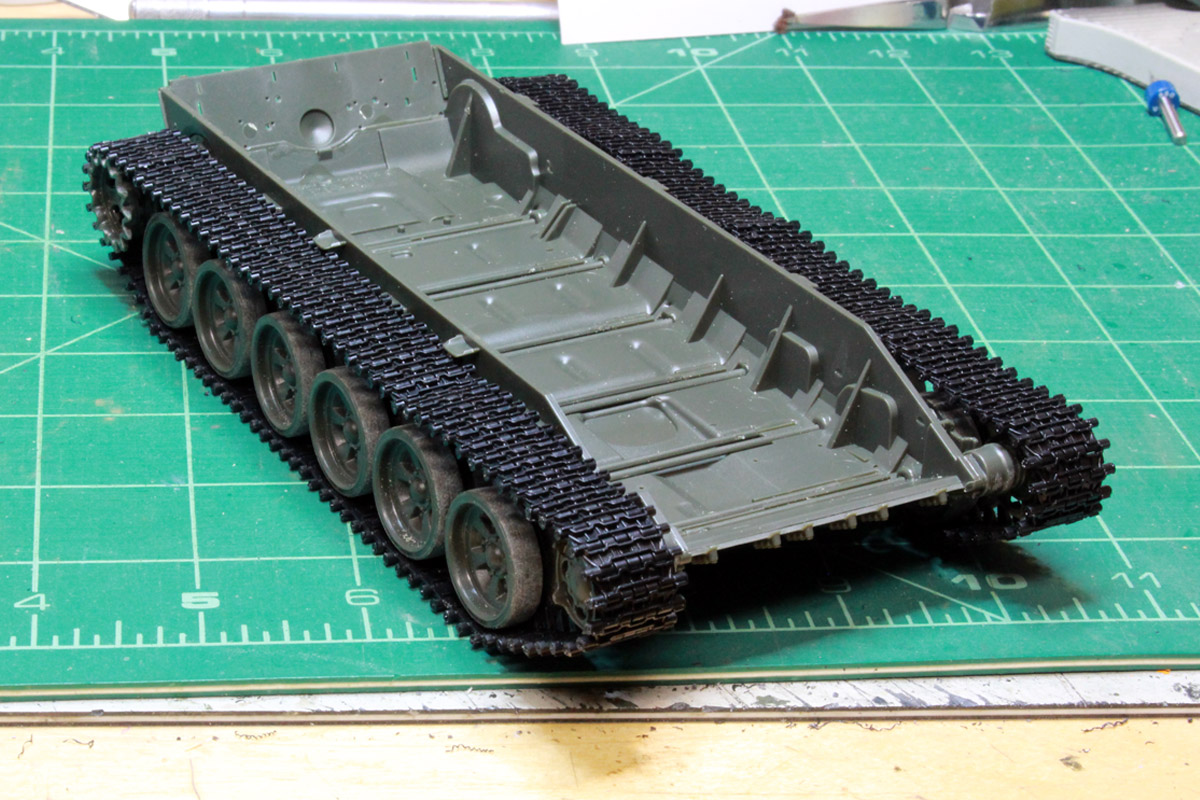
All road wheels, drive sprockets and idlers attached. With the poly caps they can be easily removed for painting, but also have a bit of slop it the fitment so I will have to be careful to ensure final alignment is correct as it is easy to have them a bit cockeyed.


The suspension is fully workable but there is a lot of spring in it (just like the real thing!) so if you want to pose the tank on rough terrain you will have to glue the various arms in different positions.
AgentG
Visit this Community
Nevada, United States
Joined: December 21, 2008
KitMaker: 1,109 posts
Armorama: 1,095 posts
Posted: Saturday, November 04, 2017 - 10:19 AM UTC
Good thing for the poly caps. In the mock up you have the drive sprockets on the front and the idlers on the rear.

This looks like a nice kit. Keep it up, we're watching intently.

G
ColinEdm
Staff MemberAssociate Editor
ARMORAMA
Visit this Community
Alberta, Canada
Joined: October 15, 2013
KitMaker: 1,355 posts
Armorama: 1,229 posts
Posted: Saturday, November 04, 2017 - 06:57 PM UTC

Whoops! Rushing to see how everything fit lol!


Quoted Text

Good thing for the poly caps. In the mock up you have the drive sprockets on the front and the idlers on the rear.

This looks like a nice kit. Keep it up, we're watching intently.

G

phantom8747
Visit this Community
Alabama, United States
Joined: March 09, 2015
KitMaker: 281 posts
Armorama: 273 posts
Posted: Sunday, November 05, 2017 - 02:53 AM UTC
Yes I used the jib but there is no way to hold the unpinned side together when you remove tracks from the jig.Pins only go on one side of track
phantom8747
Visit this Community
Alabama, United States
Joined: March 09, 2015
KitMaker: 281 posts
Armorama: 273 posts
Posted: Sunday, November 05, 2017 - 02:55 AM UTC

Quoted Text

The tiny track pin needs a small drop of glue on the outside to keep the tracks from breaking.
Jacob


maybe but then they won't be flexible on that side
AgentG
Visit this Community
Nevada, United States
Joined: December 21, 2008
KitMaker: 1,109 posts
Armorama: 1,095 posts
Posted: Sunday, November 05, 2017 - 08:38 AM UTC
If you are careful, they will be just fine.

On the RFM Tiger I tracks I used Tamiya Plastic Cement from the hexagonal jar. It's thick enough to prevent capillary action from pulling it into the hinge.

G
ColinEdm
Staff MemberAssociate Editor
ARMORAMA
Visit this Community
Alberta, Canada
Joined: October 15, 2013
KitMaker: 1,355 posts
Armorama: 1,229 posts
Posted: Friday, November 10, 2017 - 10:44 AM UTC
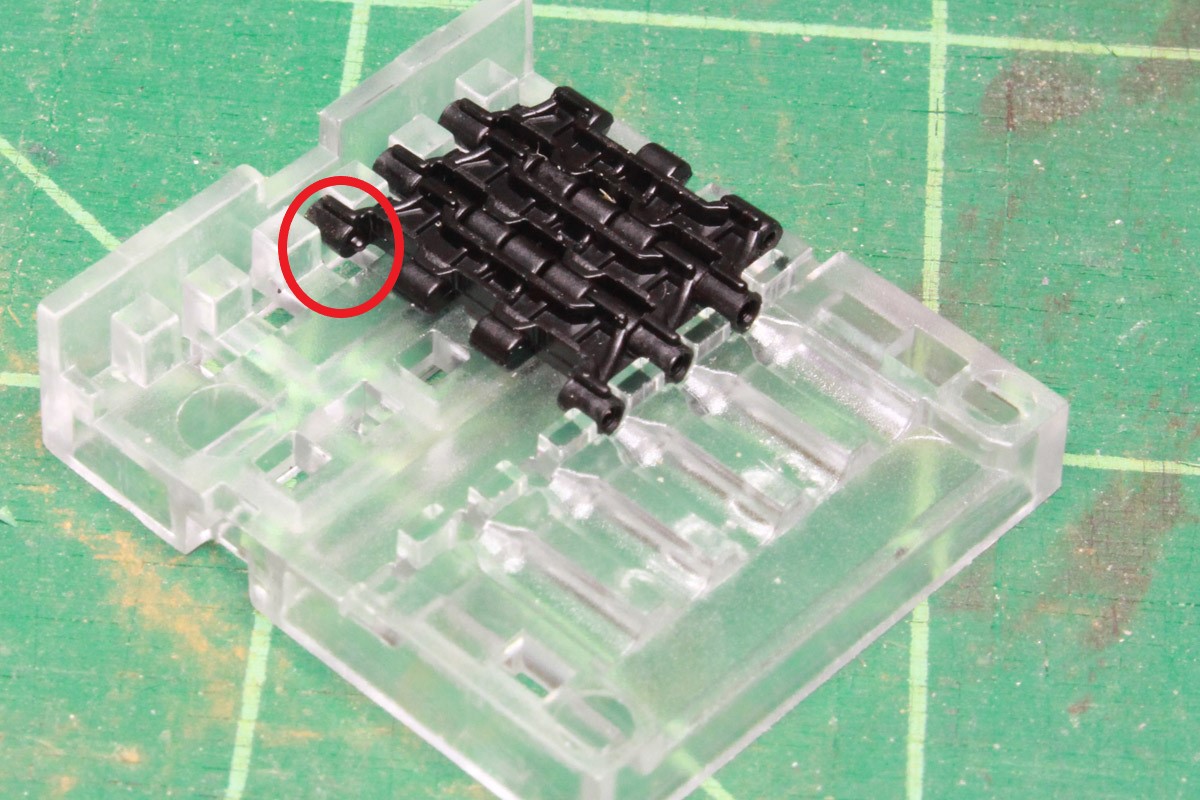
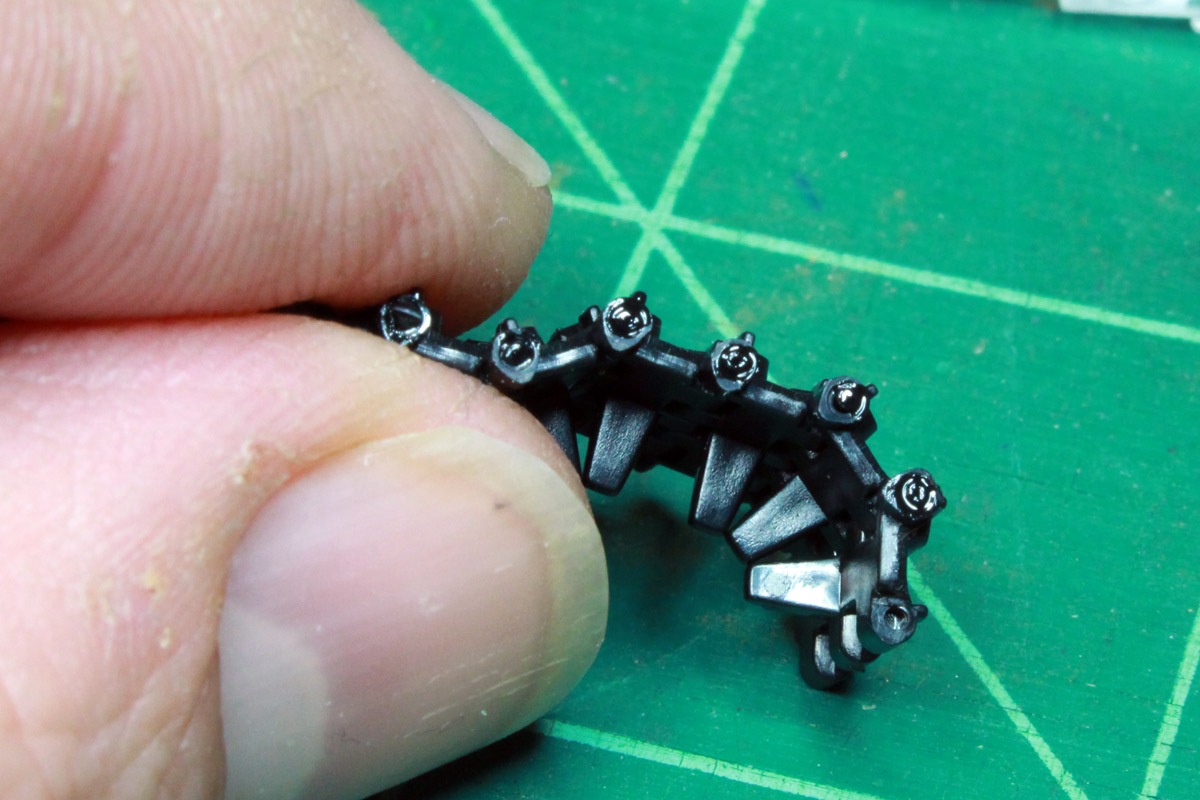
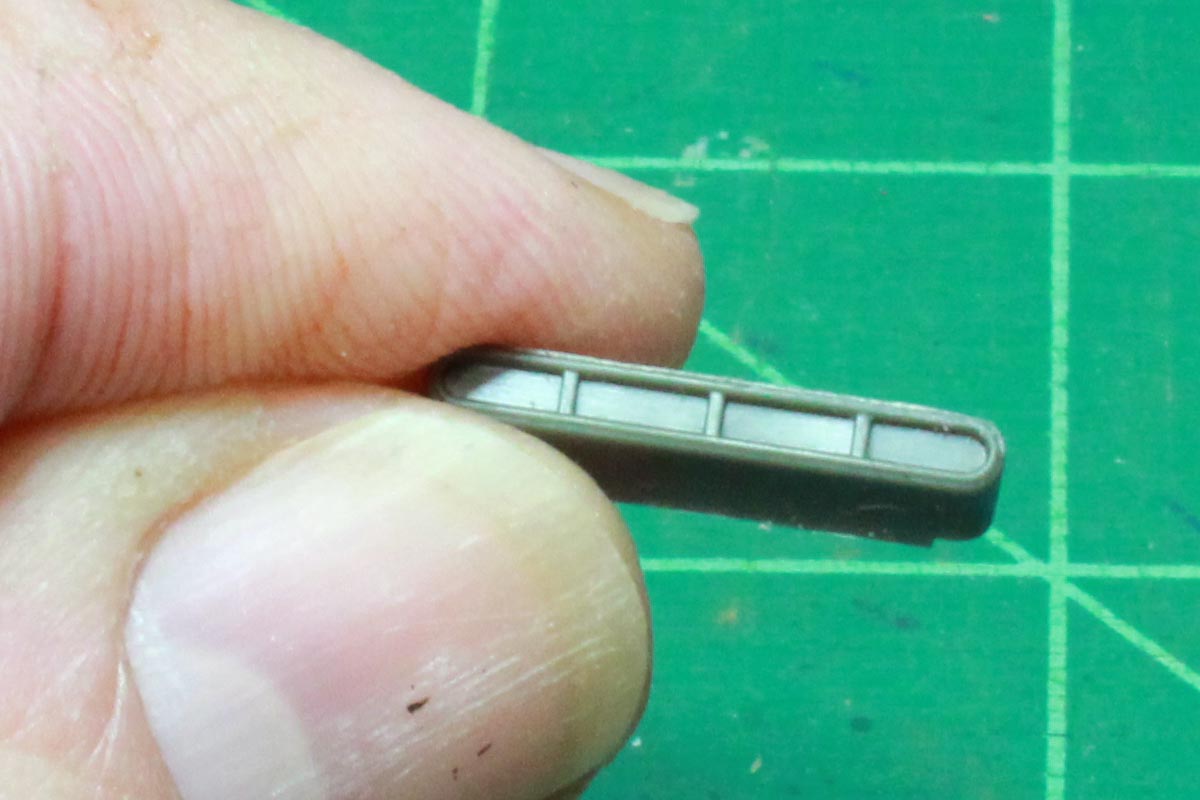
Started on the tracks using the supplied jig. The tracks do have a small molded in pin on one side:

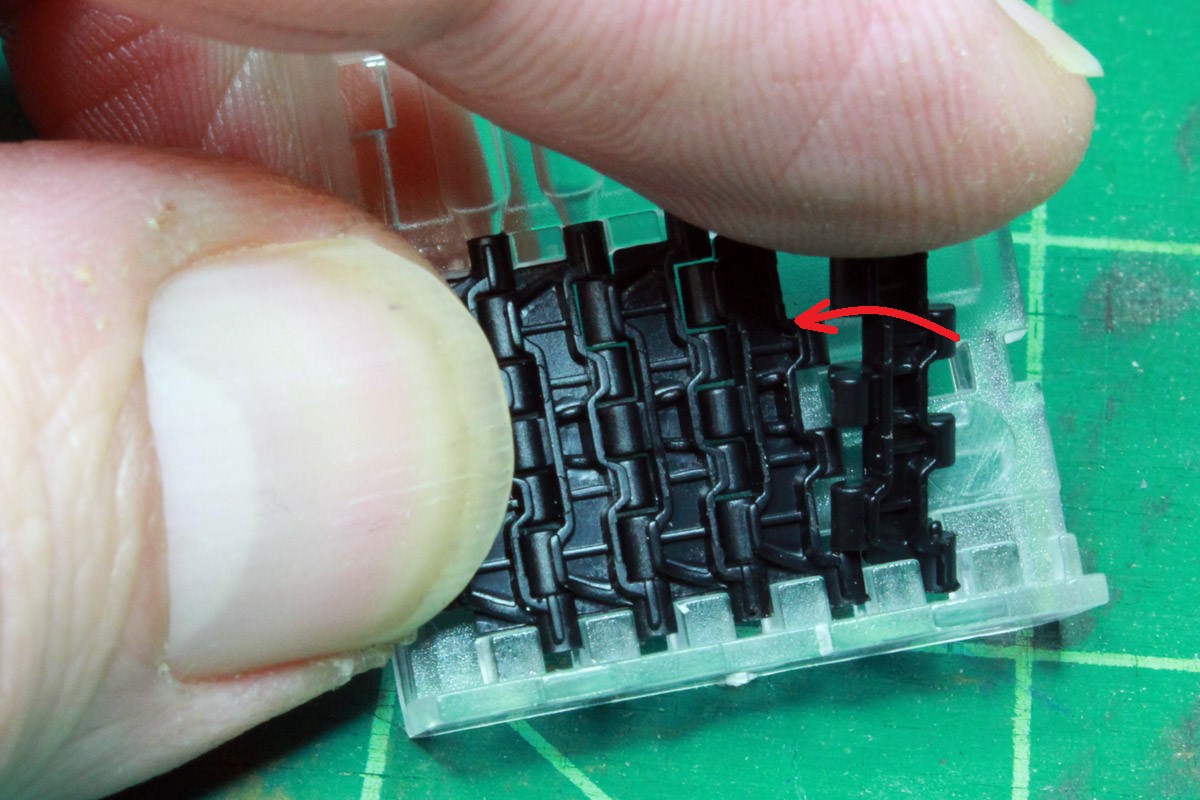
The track links do have to be inserted a certain way for the jig to work, and the first set of 5 links is completely glued together (non-workable) because I broke some of those little pins. After the first set, I had figured out the trick to inserting the links without breaking the pin, you have to angle them in:

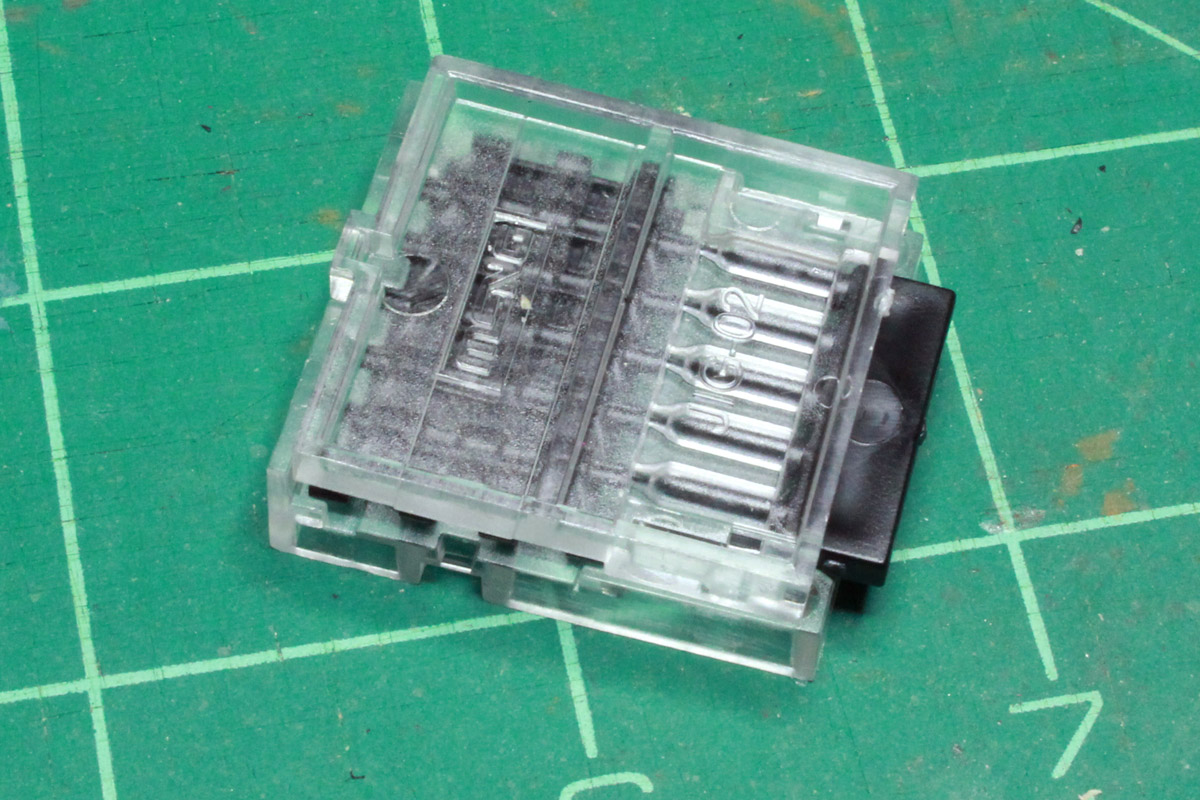
Do that, and they fit in quite nicely. Once you get 5 links in, place the upper part of the jig to sandwich the links in place and insert the pins:


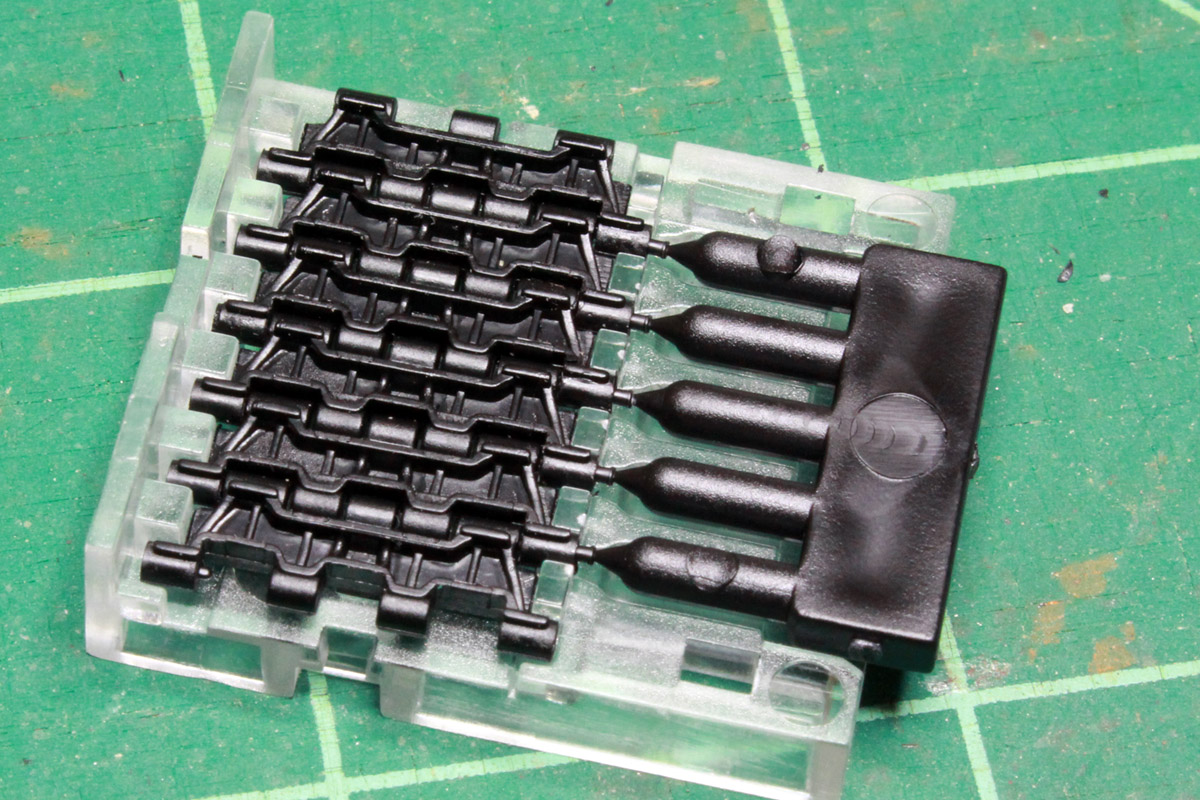
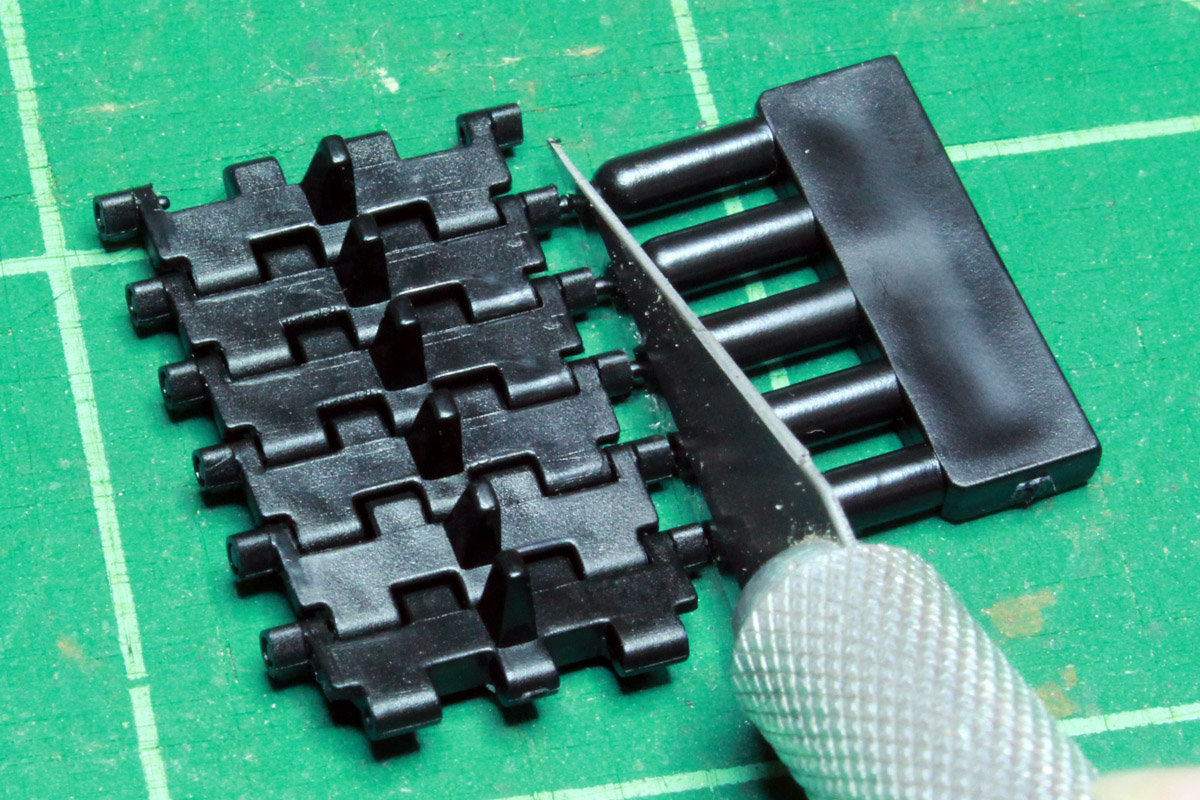
Flip the jig over to release the section of tracks and then cut off the carrier for the pins:

Then a drop of glue on each of the pins to hold them in place (thanks Jacob and Wayne - the Tamiya cement with the orange cap works well, thick enough that there is no capillary action):

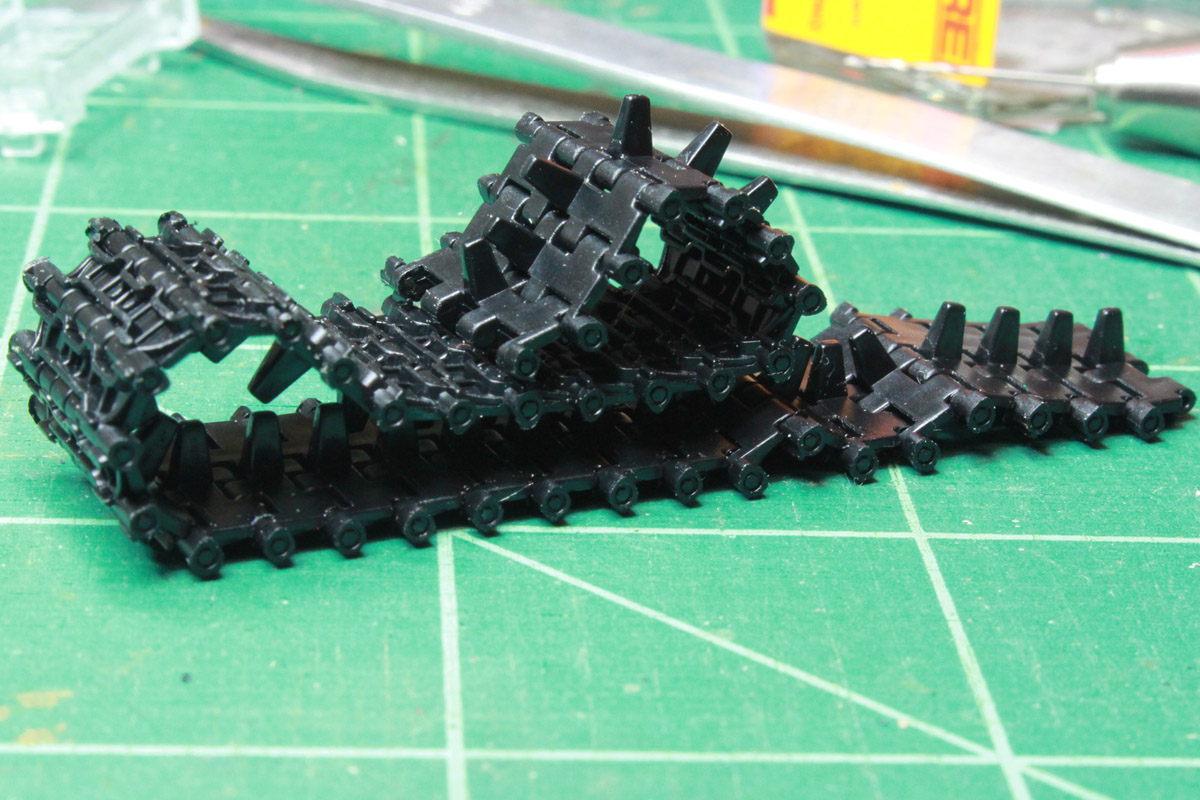
Turns into nice workable tracks!

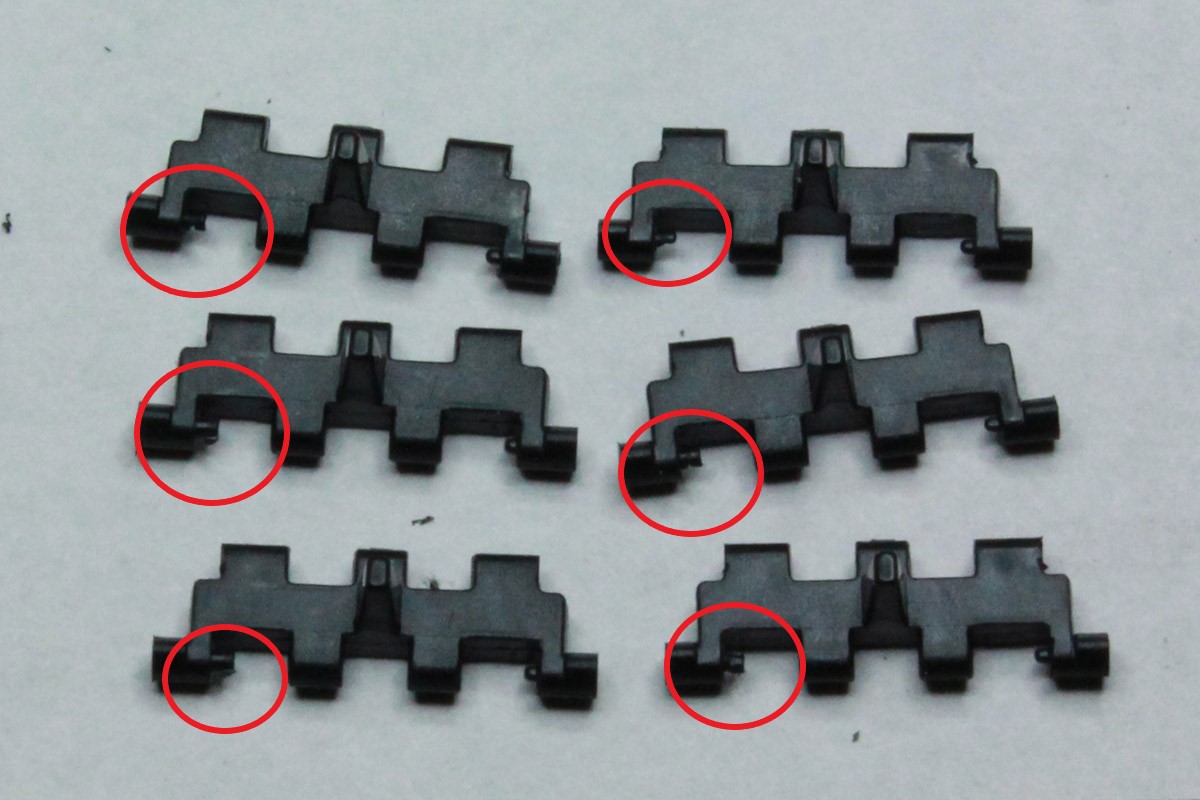
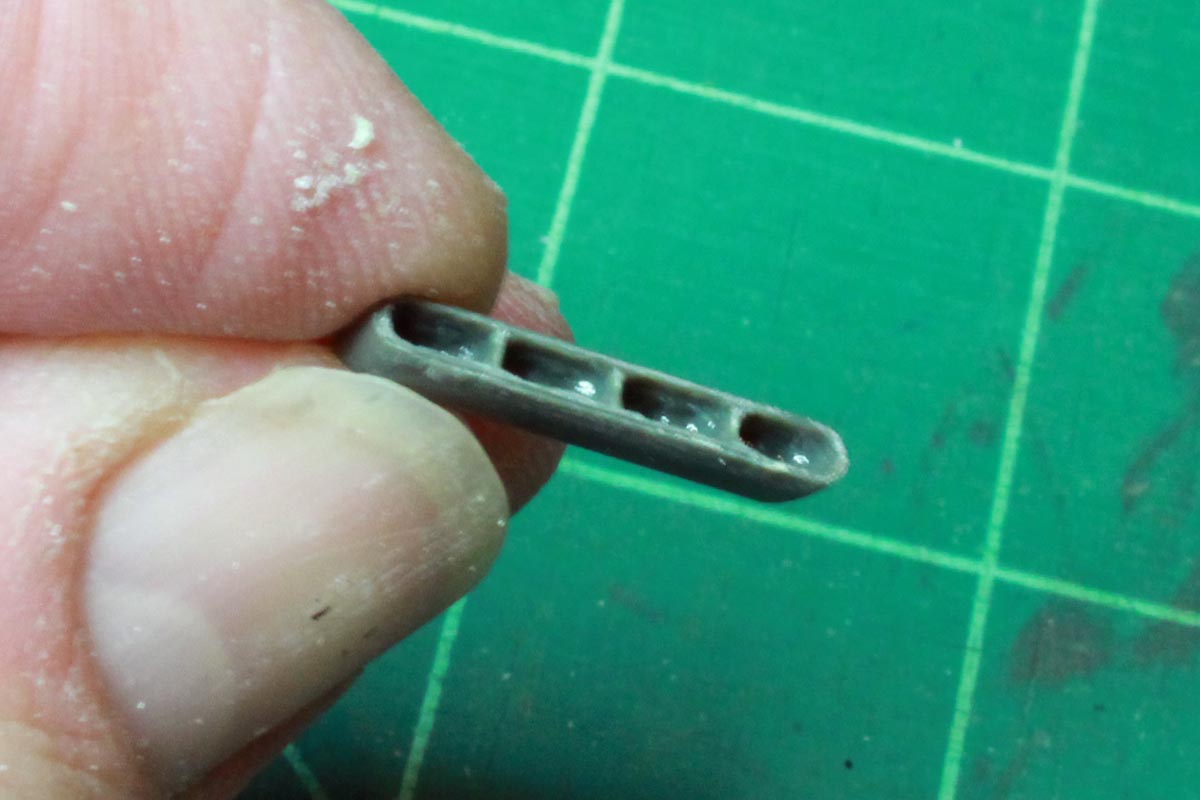
Once you get the technique down, it goes pretty quick, but there are a few issues. A lot of the links do have flash around the end the pin is inserted into and at least 20% have the holes completely filled with an extra pin that has to be drilled out:

A bit disappointing because otherwise the links are beautifully cast with no ejector pin marks or seams.
JSSVIII
Visit this Community
Massachusetts, United States
Joined: March 28, 2007
KitMaker: 1,169 posts
Armorama: 1,067 posts
Posted: Friday, November 10, 2017 - 06:42 PM UTC
Thanks for showing that Colin, as they say a picture is worth a thousand words, and you nailed it!
ColinEdm
Staff MemberAssociate Editor
ARMORAMA
Visit this Community
Alberta, Canada
Joined: October 15, 2013
KitMaker: 1,355 posts
Armorama: 1,229 posts
Posted: Sunday, November 12, 2017 - 05:16 AM UTC
Cheers John. Tracks are done, I think Meng has some rework to do on these. Without glue the pins will not stay in and did have a rather maddening tendency to fly away when moving the tracks after cutting away the carrier.

KoSprueOne
Visit this Community
Myanmar
Joined: March 05, 2004
KitMaker: 4,011 posts
Armorama: 1,498 posts
Posted: Sunday, November 12, 2017 - 08:25 AM UTC
Excellent detailed BLog. Thanks for sharing and I'm watching.


strongarden
Visit this Community
Florida, United States
Joined: May 14, 2012
KitMaker: 730 posts
Armorama: 624 posts
Posted: Sunday, November 12, 2017 - 09:08 AM UTC
Fascinating stuff Colin, great start!
You got me in too, waiting for more.

Regards Dave
ColinEdm
Staff MemberAssociate Editor
ARMORAMA
Visit this Community
Alberta, Canada
Joined: October 15, 2013
KitMaker: 1,355 posts
Armorama: 1,229 posts
Posted: Saturday, November 18, 2017 - 09:29 PM UTC
Thanks guys. One thing I forgot to mention about the tracks is that the instructions call for 96 links per side but I found I needed 98.

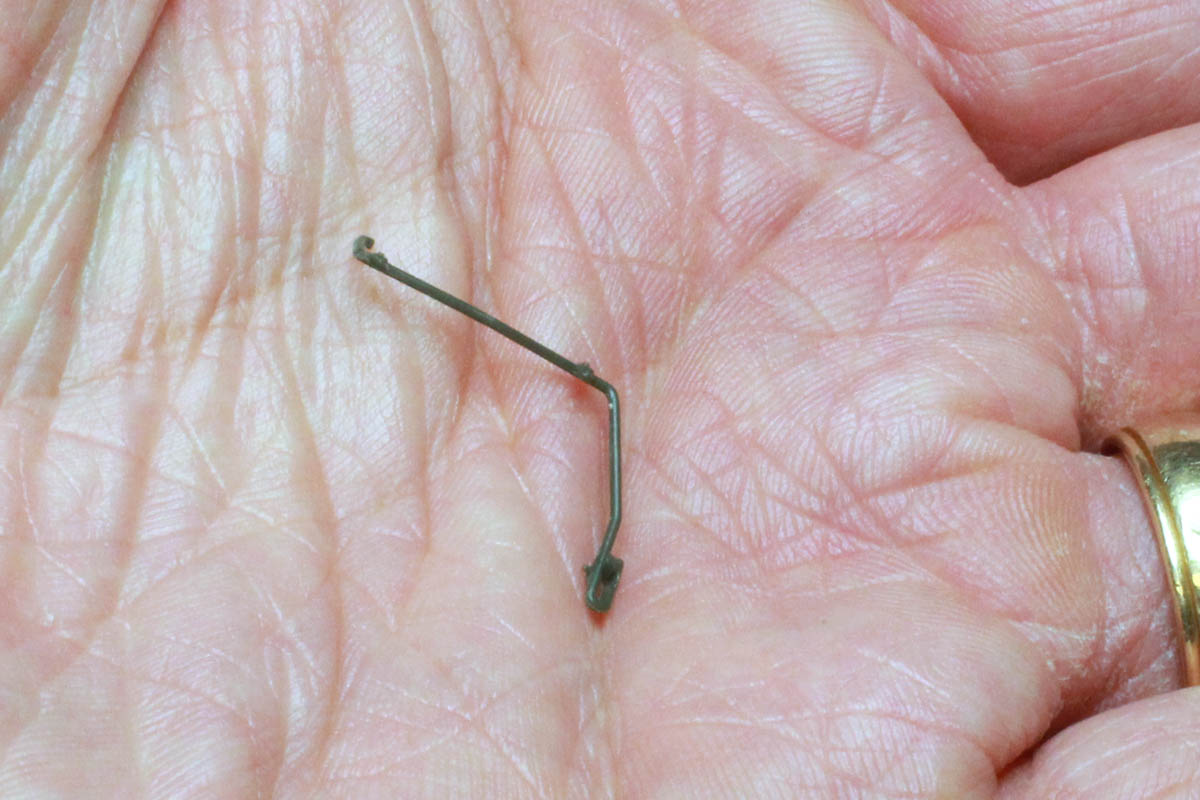
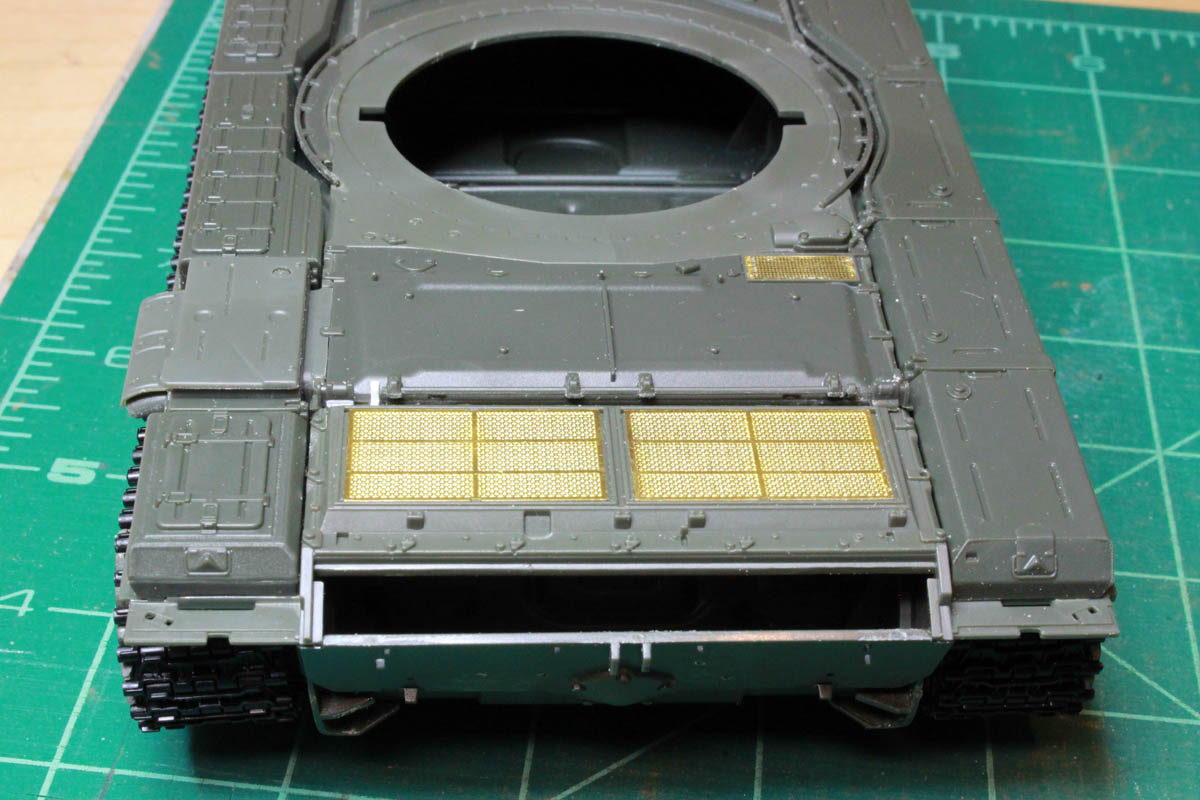
With the lower hull pretty much done and tracks on, time to move onto the upper hull. Steps 9-11 focus on the front upper glacis and fender storage boxes, pretty straightforward for the most part but there are a few things to note. Parts B28 & B29 that go around the turret ring are quite delicate (they almost look like grab handles, not sure what they are) and have 4 thick attachment points each. One was already broken before I cut it off the sprue, and a lot of care must be taken in removing and cleaning them up. They are also a bit fiddly to align properly. Next, the exhaust outlet is molded as a solid piece, with only very shallow depressions for the exhaust, not acceptable:

A little bit of drilling and scraping later and it looks much better:

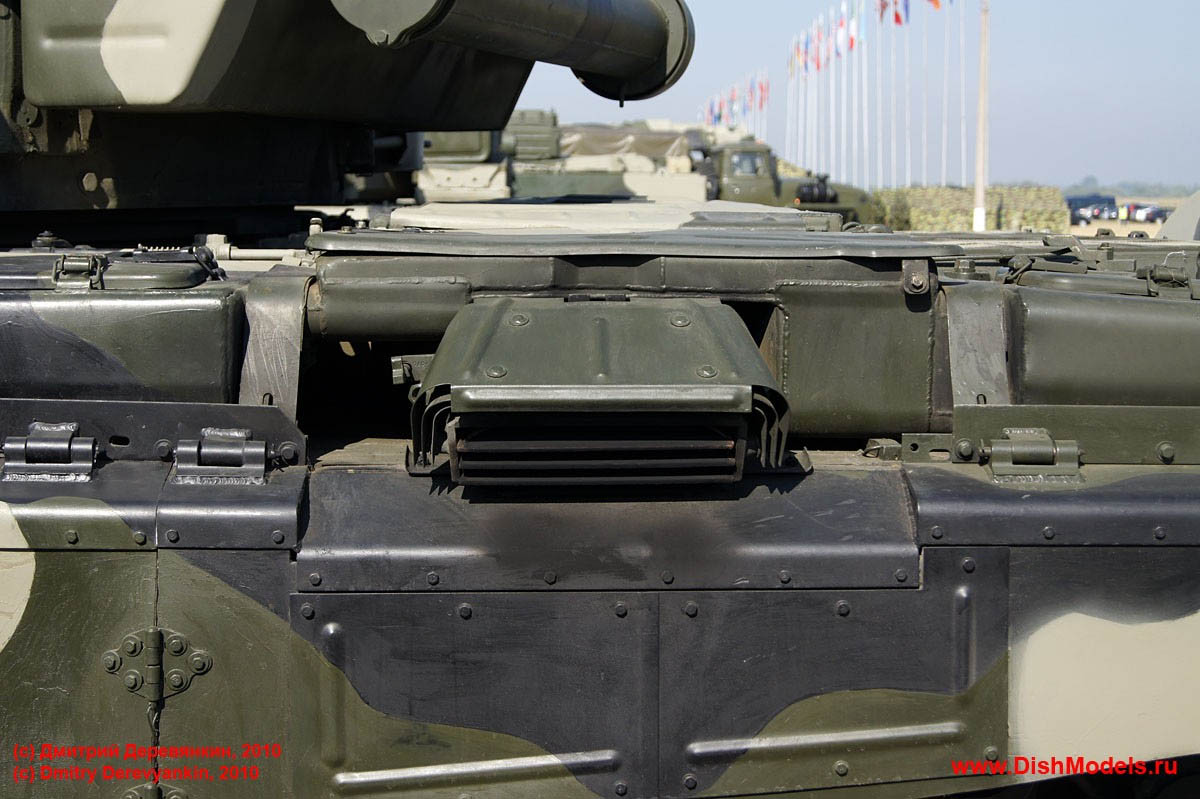
I feel Meng could have done a better job on this quite easily, and I also noticed on some on-line walkarounds that there are different styles:

(image courtesy Dmitry Derevyankin from Dishmodels.ru)
I am not sure if this is just on some, or a later mod than the one I am doing, maybe someone can chime in.
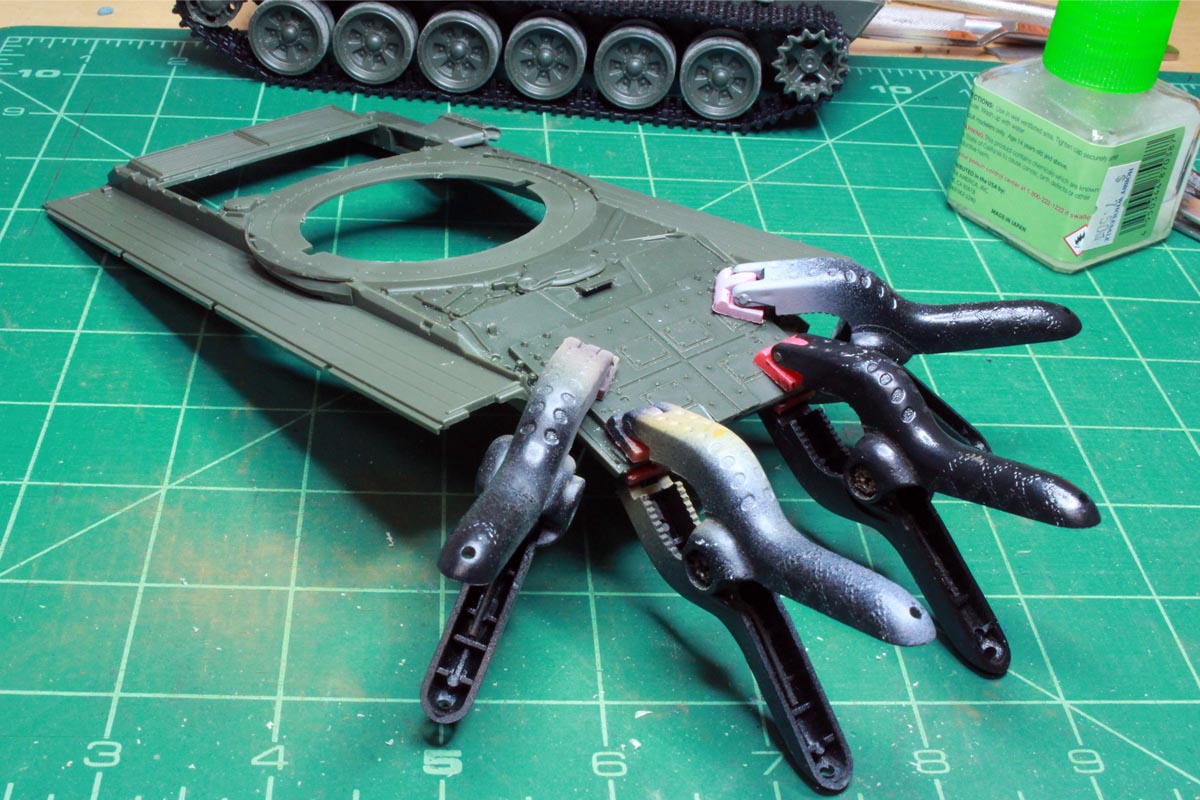
On to the divers hatch and upper glacis. The main glacis plate with reactive armour is a very snug fit, pretty much snap-in. I had to trim it down a bit to make sure everything would fit properly and even then there was a bit of flex/warpage, so everything needed to get clamped down well.

Don't forget (like I did!) to drill a couple of holes as indicated in the instructions for locating pins on the armour that goes around the drivers hatch. No big deal as the fit is very good and the pins aren't absolutely necessary, I just cut them off. On the front plates as well as the fender storage bins you do have to remove numerous casting plugs and make sure they are well sanded down to ensure that the pieces sit properly. This is something I notices with the Leo 2A7 from Meng as well.
ColinEdm
Staff MemberAssociate Editor
ARMORAMA
Visit this Community
Alberta, Canada
Joined: October 15, 2013
KitMaker: 1,355 posts
Armorama: 1,229 posts
Posted: Sunday, November 26, 2017 - 04:36 AM UTC
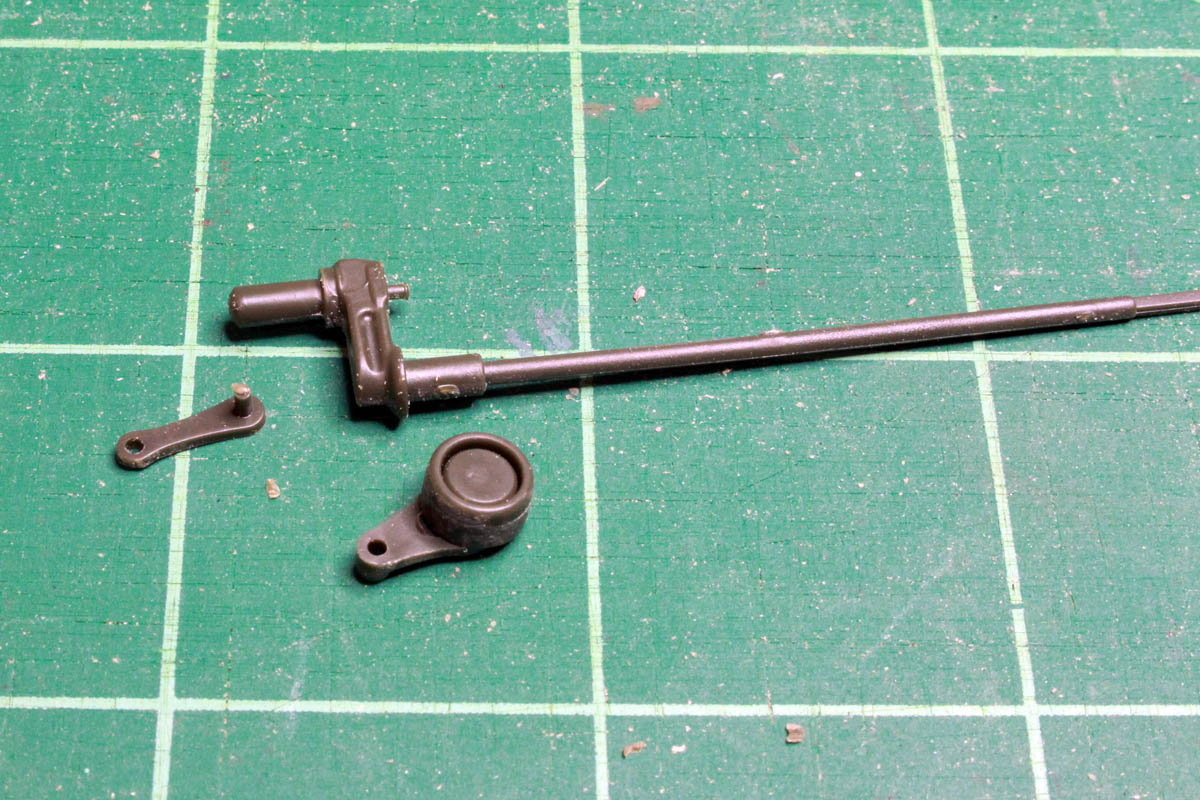
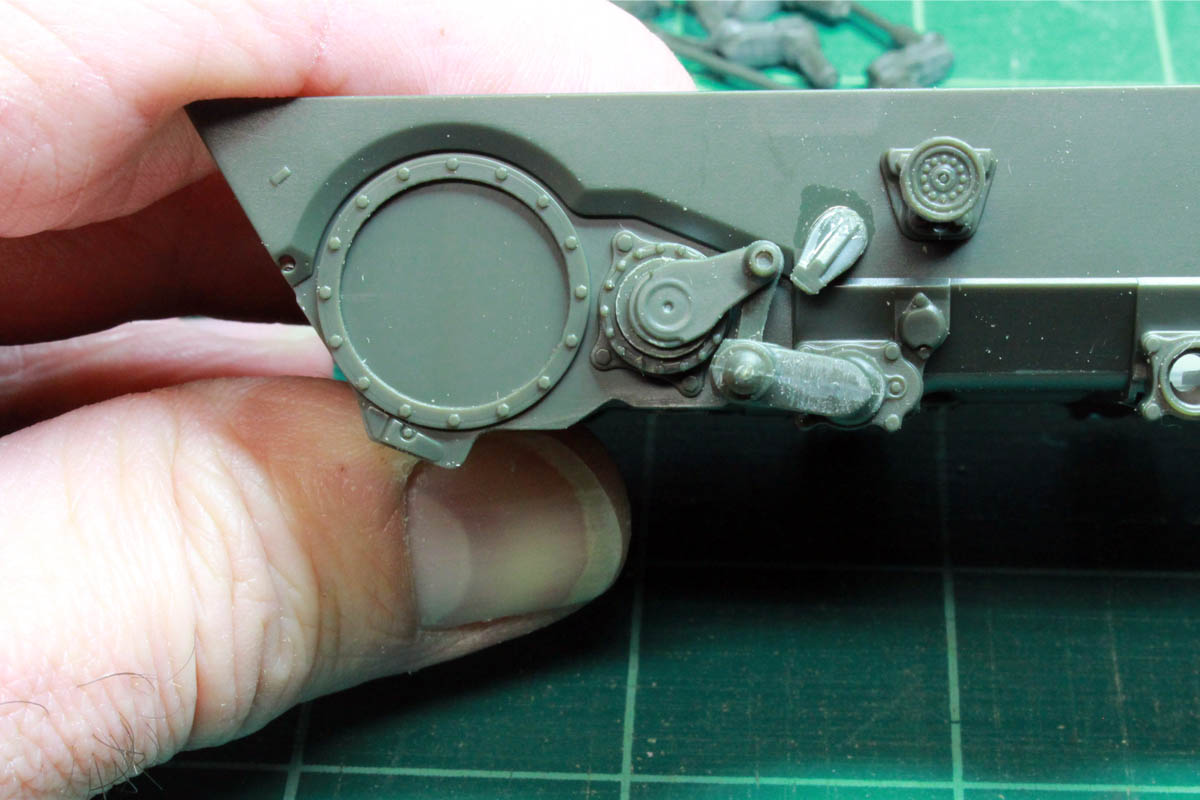
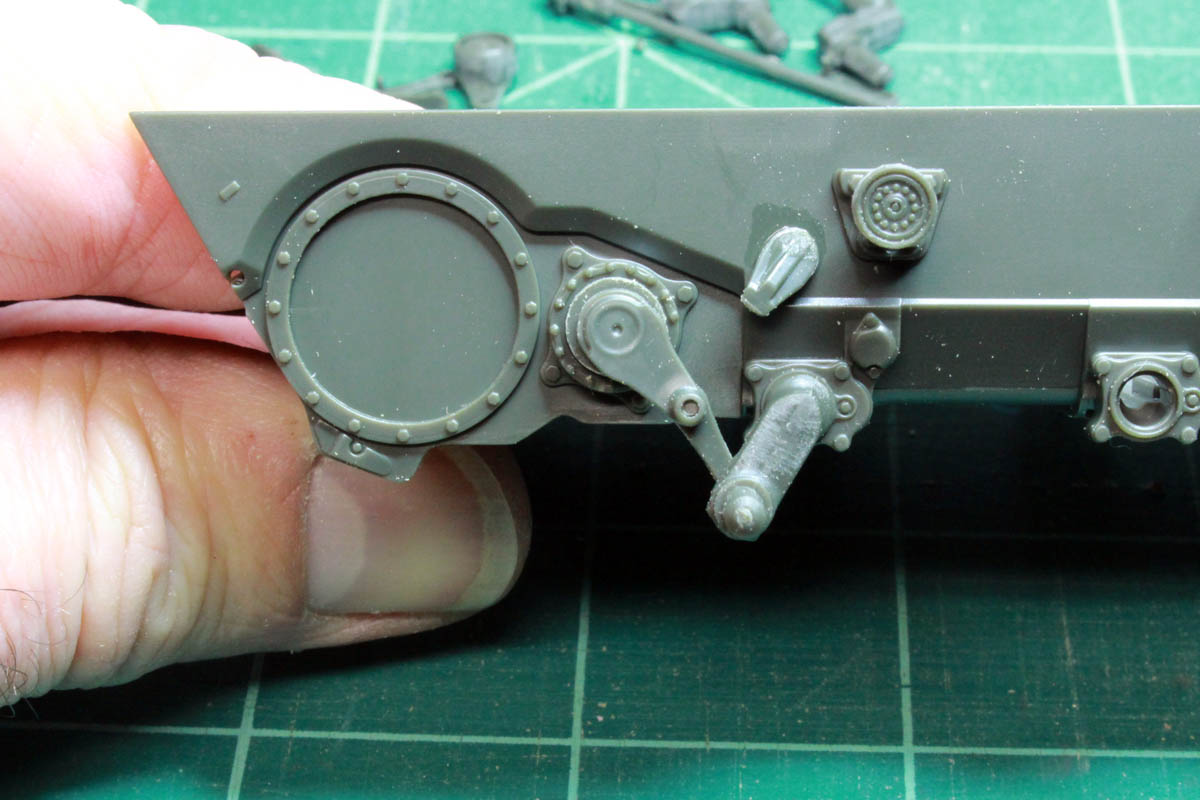
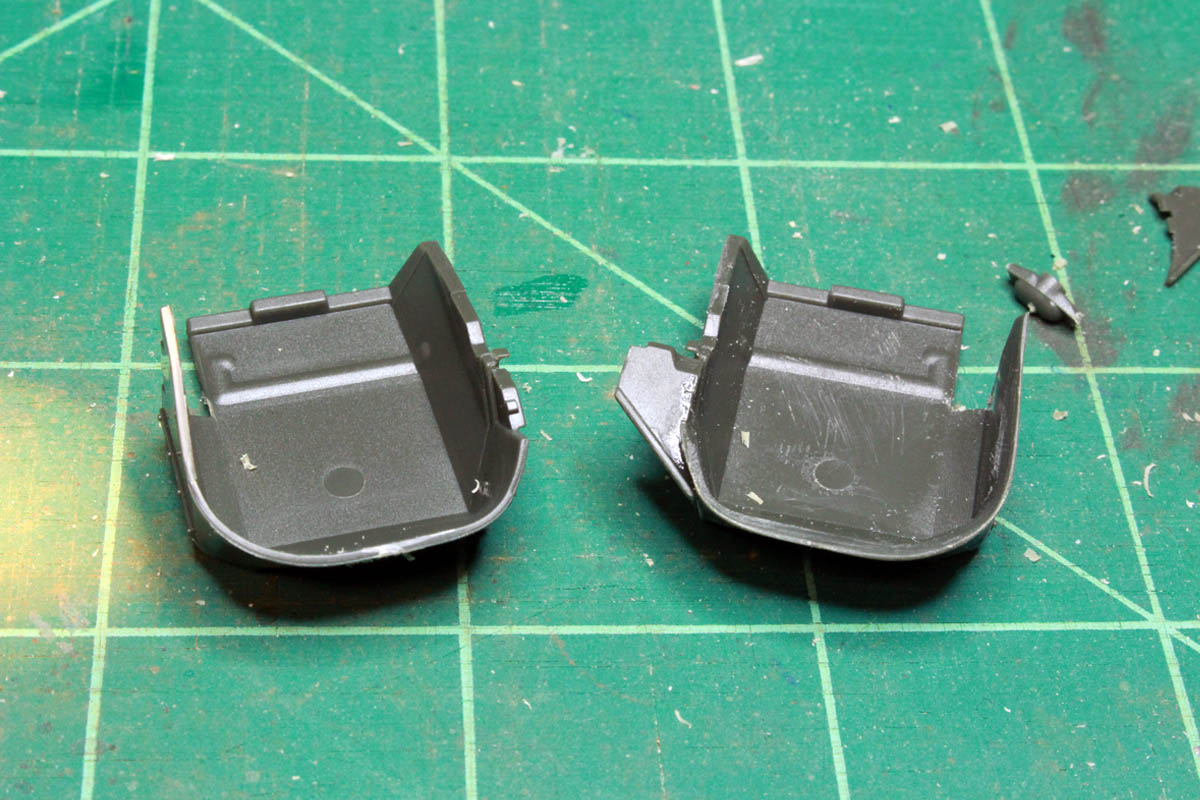
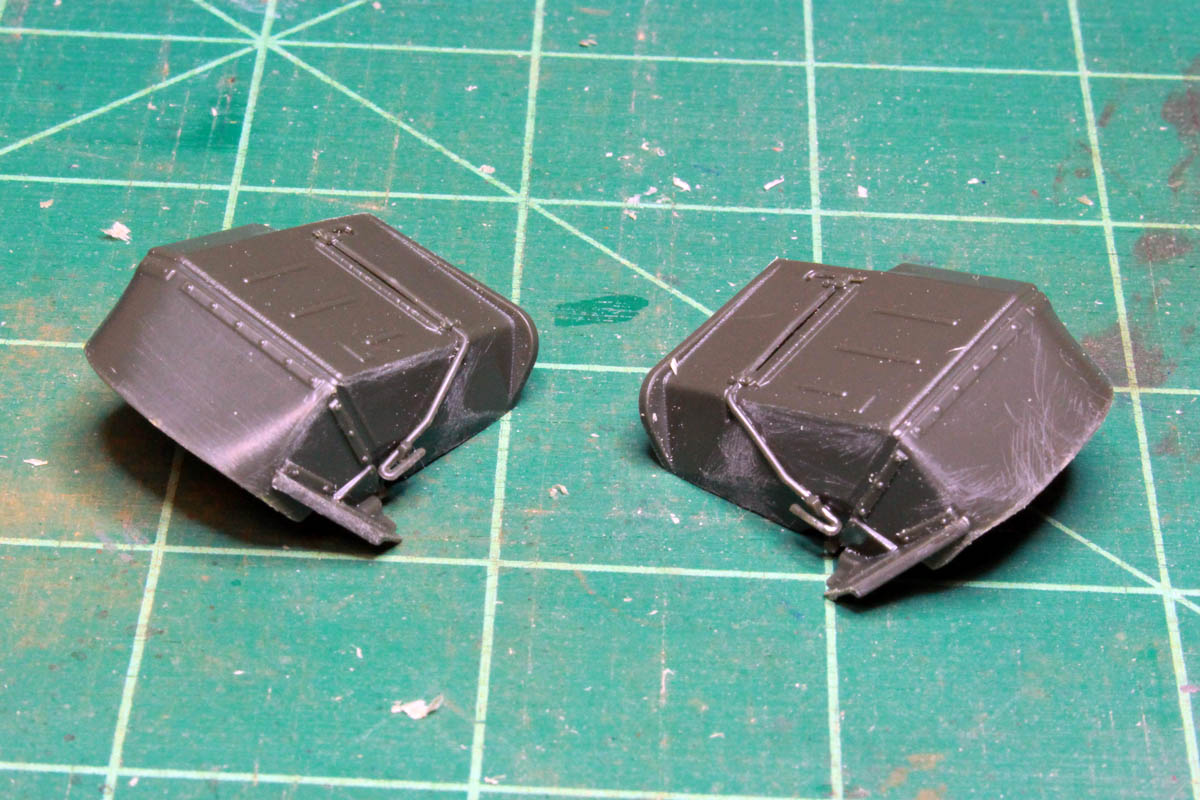
Continuing with the upper hull, the front fenders are next. they have some very delicate parts that require great care when removing from the sprue and cleaning up:

The fenders themselves are molded quite thick and the rubber portions need to be scraped down to a more in-scale thickness (stock piece on the left):

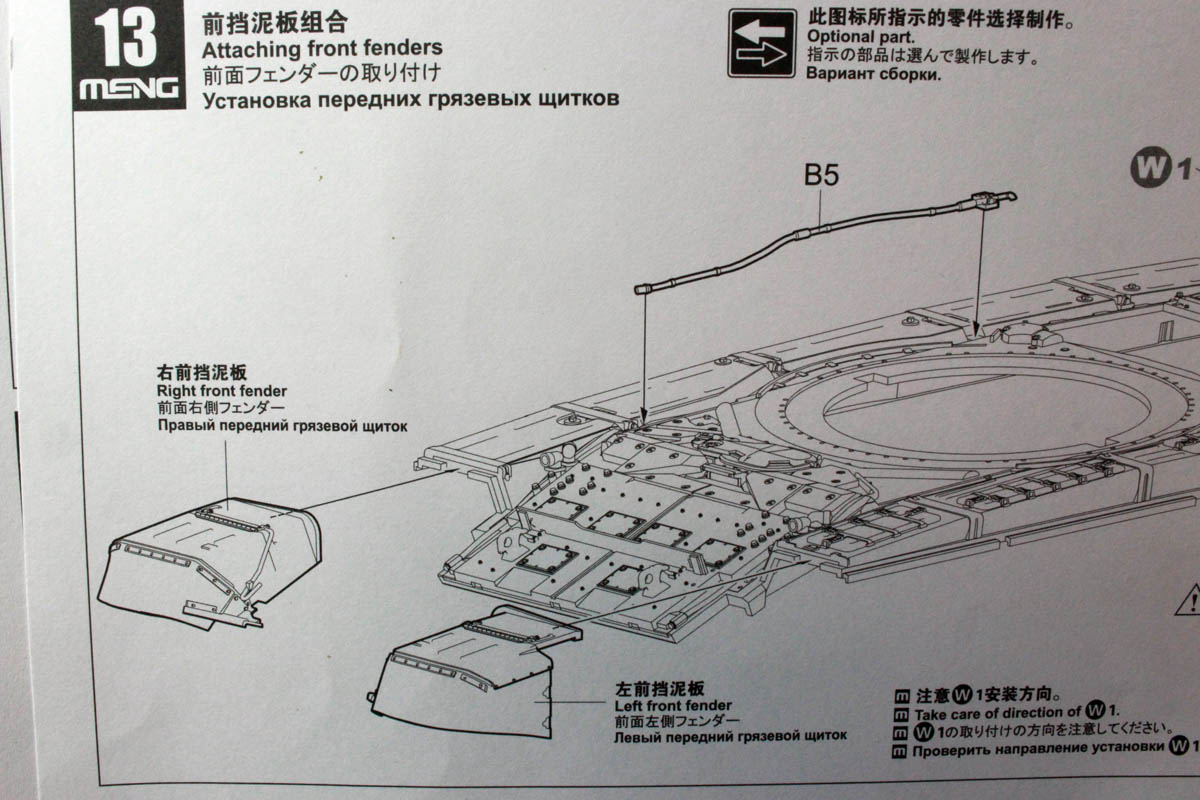
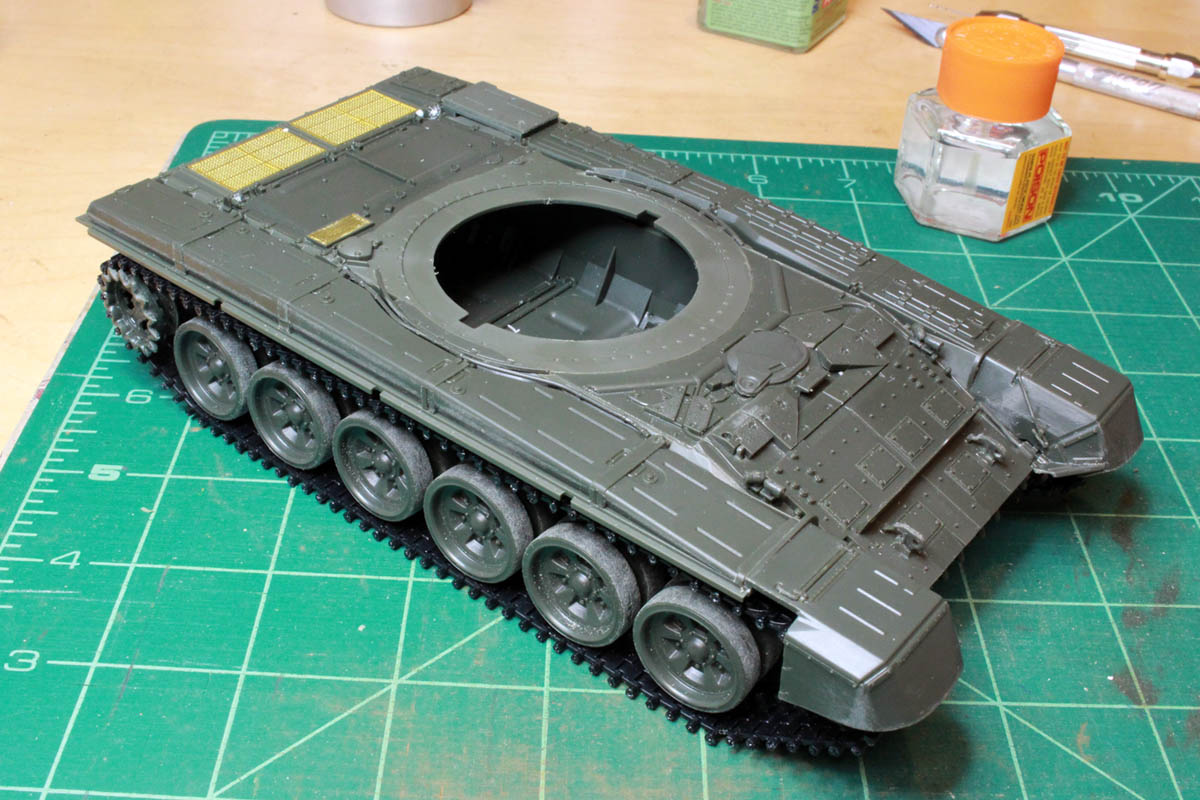
They build up nice, and the instructions call out installing them on the upper hull before attaching the upper hull to the lower hull:


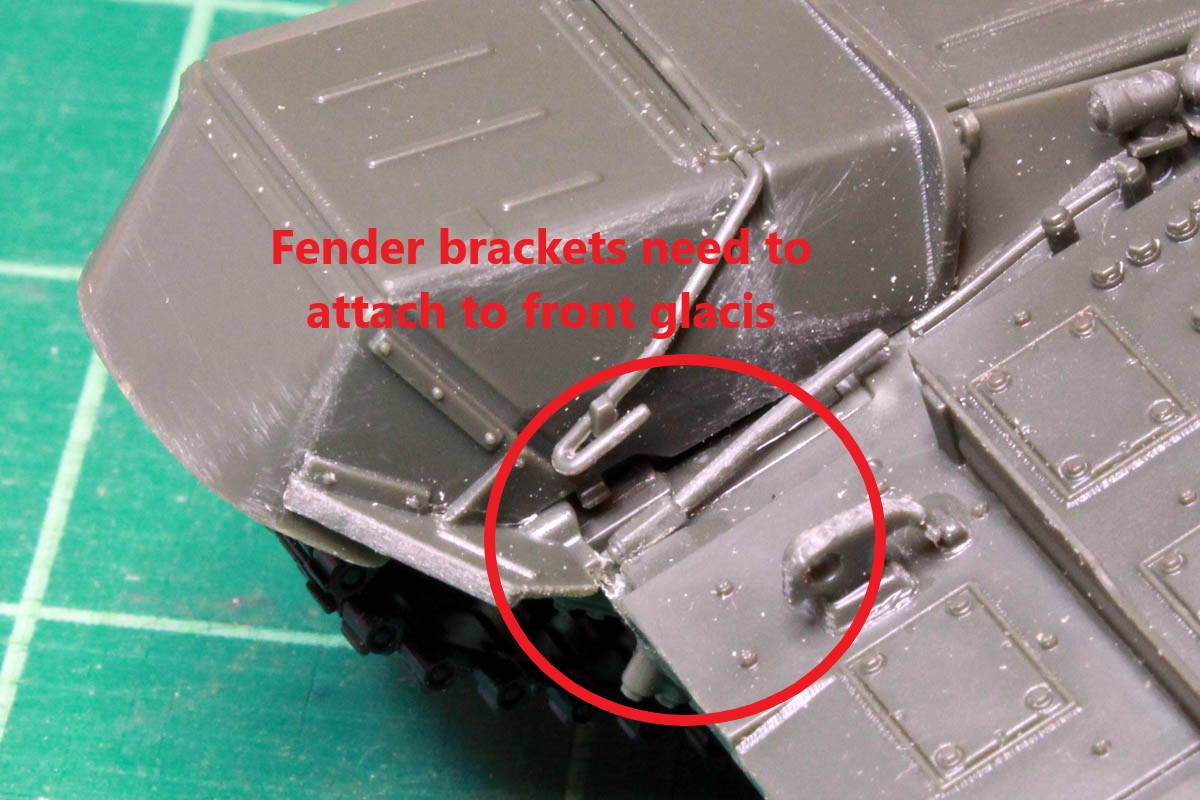
But doing it this way I ran into an issue with the fenders not attaching properly to the front glacis:

I had to pry them off, trim and reposition to get the brackets to attach properly. I would suggest leaving the front fenders off until you attach the upper hull to the lower hull and then make sure of the fit. I also had to clamp the joint between the upper and lower hulls on the front glacis as it was a bit warped (bowed out from the tight fit of the front armour plate?). Other than that fit between the upper and lower hulls was excellent.

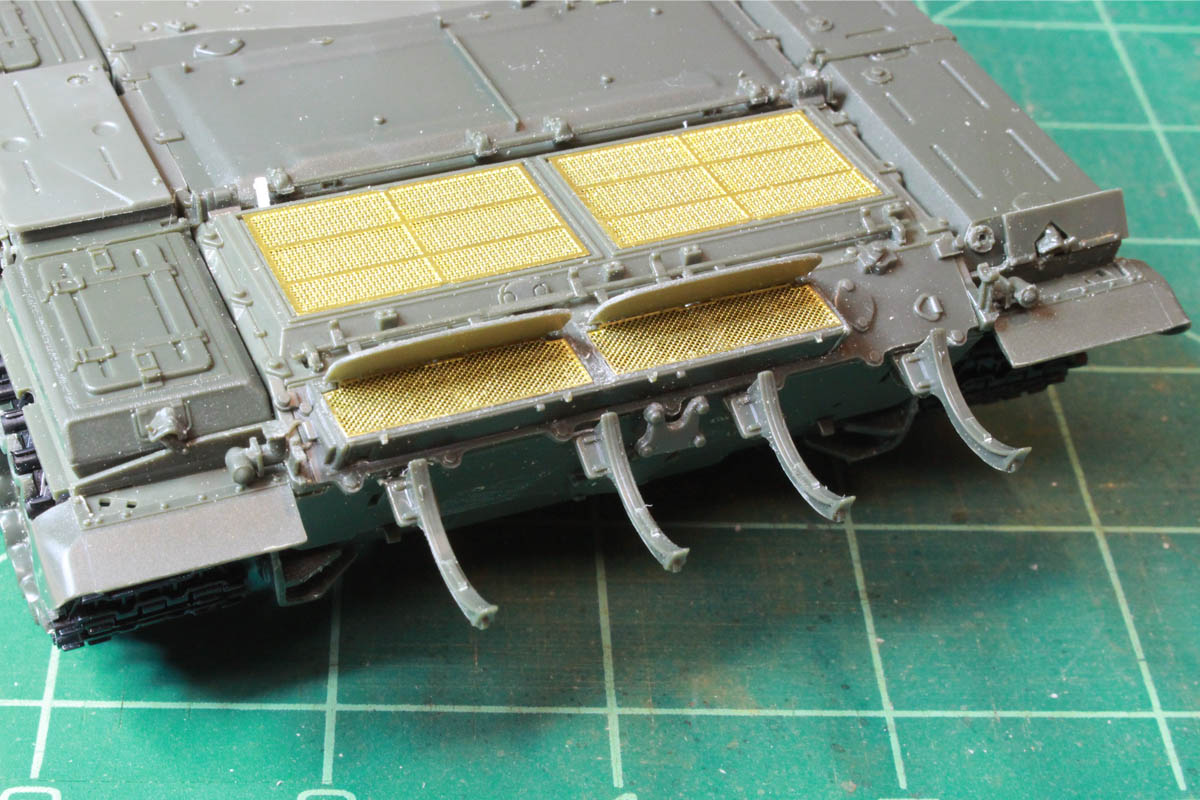
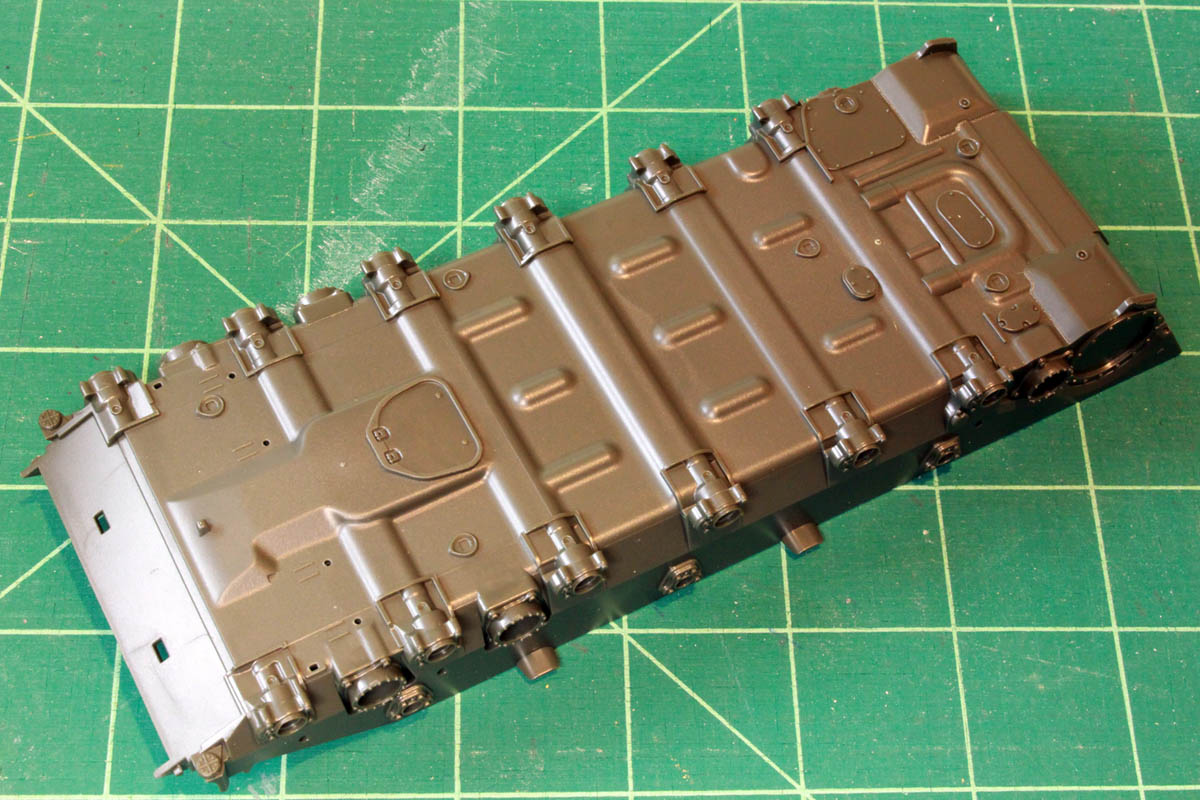
Next step is attaching the rear fenders and avrious other sundry grilles, brackets and such,including the brackets for the spare fuel drums.

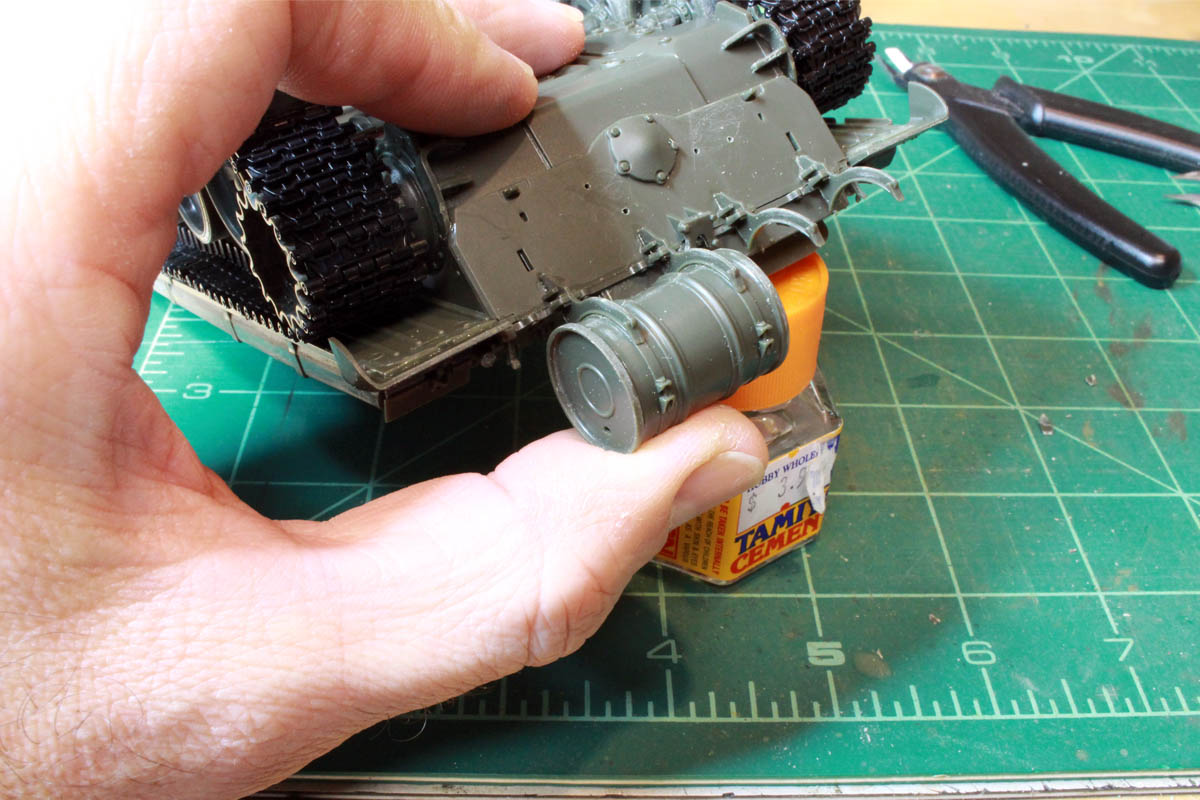
The fuel drums themselves are not built until a few steps later but I recommend building one before attaching the fuel drum brackets to make sure they line up properly:

There are tabs on the brackets that are meant to fit into slots on the assembled fuel drums but I found them to be too big so they needed to be trimmed down a tad. The drums themselves need some filling and sanding to clean up the seams from teh two halves of the barrels.
Stickframe
#362
Visit this Community
California, United States
Joined: December 01, 2013
KitMaker: 1,661 posts
Armorama: 1,202 posts
Posted: Sunday, November 26, 2017 - 05:02 AM UTC
Hi Colin - thanks for the detailed posts! Interesting build. I've received a few emails from shops offering this kit on sale - this build is making me think about picking one up!

Cheers
Nick
ColinEdm
Staff MemberAssociate Editor
ARMORAMA
Visit this Community
Alberta, Canada
Joined: October 15, 2013
KitMaker: 1,355 posts
Armorama: 1,229 posts
Posted: Sunday, November 26, 2017 - 06:37 PM UTC
Cheers Nick!
 _GOTOTOP