Campaigns
Where Armorama group builds can be discussed, organized, and updates posted.
APC / AFV Mk.II
GulfWarrior
Staff MemberCampaigns Administrator
ARMORAMA
Visit this Community
Texas, United States
Joined: January 05, 2010
KitMaker: 1,051 posts
Armorama: 1,029 posts
Posted: Friday, November 22, 2019 - 03:10 AM UTC
Gotta either becoming a payin' customer on Photobucket or move somewhere else. I use https://imgur.com/


petbat
Visit this Community
Queensland, Australia
Joined: August 06, 2005
KitMaker: 3,353 posts
Armorama: 3,121 posts
Posted: Friday, November 22, 2019 - 07:55 AM UTC
Yes Photobucket joined the blackmail/ransom brigade a while back. Unless you are a fully paid up member with them, you only get a blurry watermarked image to share.

Most of us here now use Imgur to host photos, as per Richard's post above.
Florre
Visit this Community
West-Vlaaderen, Belgium
Joined: February 11, 2003
KitMaker: 980 posts
Armorama: 158 posts
Posted: Friday, November 22, 2019 - 08:48 AM UTC
Sigh, is a shame... I'll check out you guys' suggestion, thx!
Mrclark7
Visit this Community
Texas, United States
Joined: June 04, 2017
KitMaker: 503 posts
Armorama: 477 posts
Posted: Friday, November 22, 2019 - 06:40 PM UTC
Hans weirdly when I view your images from my tablets there is no PB logo and are in full clarity, but when I view from my desktop I get full PB logo.

An option I use from a recommendation on here is. https://postimages.org/
Florre
Visit this Community
West-Vlaaderen, Belgium
Joined: February 11, 2003
KitMaker: 980 posts
Armorama: 158 posts
Posted: Friday, November 22, 2019 - 09:09 PM UTC
Well have you ever, i can see them perfectly on my phone as well!! I'll check out that postimages, looks promising. Thanks!!
Klaus-Adler
Staff MemberCampaigns Administrator
MODELGEEK
Visit this Community
Scotland, United Kingdom
Joined: June 08, 2015
KitMaker: 1,505 posts
Armorama: 840 posts
Posted: Tuesday, November 26, 2019 - 03:16 AM UTC
well it's primer time and i have used white car primer paint to coat the apc

Removed by original poster on 11/27/19 - 11:08:02 (GMT).
Removed by original poster on 11/27/19 - 11:10:18 (GMT).
Removed by original poster on 11/27/19 - 11:13:03 (GMT).
Removed by original poster on 11/27/19 - 11:14:27 (GMT).
PanzerKiel
Visit this Community
California, United States
Joined: August 20, 2004
KitMaker: 16 posts
Armorama: 14 posts
Posted: Tuesday, November 26, 2019 - 11:15 PM UTC
Ok How do you Upload Full Size Pics Here ?
PanzerKiel
Visit this Community
California, United States
Joined: August 20, 2004
KitMaker: 16 posts
Armorama: 14 posts
Posted: Wednesday, November 27, 2019 - 07:04 PM UTC
Ok Start Pic

PanzerKiel
Visit this Community
California, United States
Joined: August 20, 2004
KitMaker: 16 posts
Armorama: 14 posts
Posted: Wednesday, November 27, 2019 - 07:06 PM UTC
Started Months Ago

and This
Florre
Visit this Community
West-Vlaaderen, Belgium
Joined: February 11, 2003
KitMaker: 980 posts
Armorama: 158 posts
Posted: Wednesday, November 27, 2019 - 07:47 PM UTC
Wow, very nice camo! Looks like a perfect base to work from, well done. Is the paint Matt just like that or you added a clear Matt Cote?
petbat
Visit this Community
Queensland, Australia
Joined: August 06, 2005
KitMaker: 3,353 posts
Armorama: 3,121 posts
Posted: Thursday, November 28, 2019 - 07:37 AM UTC
Jose

I have added spaces in some of the text here so you will be able to read this, but using your start pic example, to show full size remove this first bit from your text:

[ u r l=https://gallery.kitmaker.net/showphoto.php/photo/474609]

so your start is from the [ I m g ] :

[ I m g ]https://gallery.kitmaker.net/data/500/thumbs/IMG_78282.JPG[/ I m g] [/ ur l]

...then remove the [/ u rl] at the end, after the [ / I m g ]


Then with the section you are left with, remove the part
/thumbs

so you will then have the link text to the full size pic being:
[ I m g ]https://gallery.kitmaker.net/data/500/IMG_78282.JPG[/ I m g]

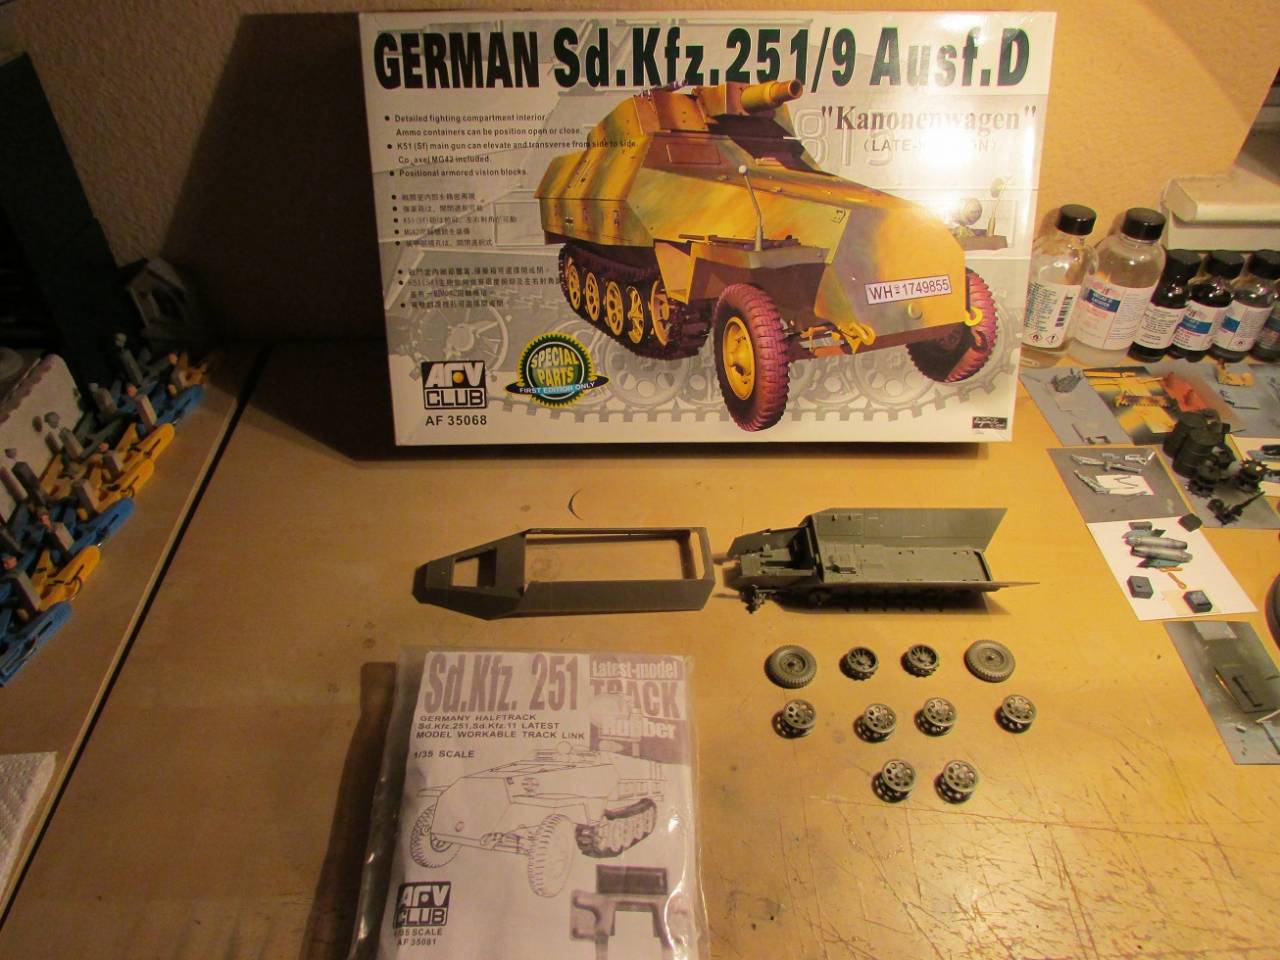
and without the blanks in the img tags I put in, your full size pic will show like this:
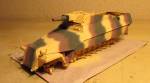

Klaus-Adler
Staff MemberCampaigns Administrator
MODELGEEK
Visit this Community
Scotland, United Kingdom
Joined: June 08, 2015
KitMaker: 1,505 posts
Armorama: 840 posts
Posted: Monday, December 02, 2019 - 01:40 AM UTC
Well our Wedding may have slowed me down (might need an extension here) but i have been painting the kit and some of the accessories, namely the rucksacks and kit bags. i have used various shades of green to reduce the monochromatic appearance on the backpacks.


petbat
Visit this Community
Queensland, Australia
Joined: August 06, 2005
KitMaker: 3,353 posts
Armorama: 3,121 posts
Posted: Wednesday, December 04, 2019 - 07:49 AM UTC
Looking great David.
GulfWarrior
Staff MemberCampaigns Administrator
ARMORAMA
Visit this Community
Texas, United States
Joined: January 05, 2010
KitMaker: 1,051 posts
Armorama: 1,029 posts
Posted: Wednesday, December 04, 2019 - 08:56 AM UTC
Stowage has always been my weakness.

Very nicely done, David.


zontar
Visit this Community
Hawaii, United States
Joined: August 27, 2006
KitMaker: 1,646 posts
Armorama: 1,557 posts
Posted: Friday, December 06, 2019 - 06:57 AM UTC
Jose: NIce work on the camo.

David: the stowage looks great. I like the varied shades.

Happy Modeling,
zon
Klaus-Adler
Staff MemberCampaigns Administrator
MODELGEEK
Visit this Community
Scotland, United Kingdom
Joined: June 08, 2015
KitMaker: 1,505 posts
Armorama: 840 posts
Posted: Saturday, December 07, 2019 - 10:56 PM UTC
well the US Army M113A2 is starting to shape, now its a case of adding all the fiddly bits and bobs. As you can see the tracks and wheels are on so it's coming along nicely.

petbat
Visit this Community
Queensland, Australia
Joined: August 06, 2005
KitMaker: 3,353 posts
Armorama: 3,121 posts
Posted: Sunday, December 08, 2019 - 07:22 AM UTC
Yes it is looking very nice David.
petbat
Visit this Community
Queensland, Australia
Joined: August 06, 2005
KitMaker: 3,353 posts
Armorama: 3,121 posts
Posted: Sunday, December 08, 2019 - 07:37 AM UTC
Started the FV 432 Bulldog on the weekend. Quite impressed with the fit on this and the well engineered bar armour.


The other bibs and Bobs cleaned up plus the neat track template for the link and length tracks that Takom supply.


One tip if you have one of these kits - you need to add one extra link into the idler end assembly than the instructions show. The section between the bottom run and the run running up to the idler needs 2 links not one.

Also, follow the track assembly sequence and DO NOT complete the full run completely around the template. Takom shows to add the bottom run off the template after the top section has dried and that is EXACTLY what you should do. Other wise, using the full template will result in you adding too many links and it will be too big.
Klaus-Adler
Staff MemberCampaigns Administrator
MODELGEEK
Visit this Community
Scotland, United Kingdom
Joined: June 08, 2015
KitMaker: 1,505 posts
Armorama: 840 posts
Posted: Sunday, December 15, 2019 - 11:15 PM UTC
just a quick update as my dad has just been admitted into hospital:

decals added and matt coated, i have also added the weathering but that was done after this picture was taken.

Florre
Visit this Community
West-Vlaaderen, Belgium
Joined: February 11, 2003
KitMaker: 980 posts
Armorama: 158 posts
Posted: Monday, December 16, 2019 - 12:40 AM UTC
Hi there everyone!

I'm happy - I finished this Bradley! It didn't always go as smoothly as I was hoping, but I got there in the end... Of course, as always, lots of room for improvement, but hey, I had fun and learned quite a bit

(Oh, and thanks to the people who suggested postimage.org for hosting pictures - such a breeze to use!!!!!)

The inspiration was this picture :


And this is the final result :


eMan
#298
Visit this Community
Hong Kong S.A.R. / 繁體
Joined: August 08, 2002
KitMaker: 1,182 posts
Armorama: 665 posts
Posted: Monday, December 16, 2019 - 06:21 PM UTC
BTR-70 progress update.