

1⁄35SiG 33B
7
Comments


About the Author


FROM: NEW YORK, UNITED STATES
I am a professional musician, and have been a featured author in Finescale Modeler magazine, in Jan 08, Nov 08, Dec 08, and Jan 09. I am also featured in a special issue called "Essential Techniques for the Model Builder". I have won several IPMS "Best of Show" awards, and "Best of the Master Mod...
Comments

Very nice work - I am building one of these now and I can only hope mine comes out as well as yours.
Your wash looks terrific - how do you do it?
SEP 26, 2007 - 03:18 PM
Good job on that one, Karl. I especially like the faded/dusty camouflage job.
Thanks for sharing
SEP 26, 2007 - 06:15 PM

Karl, great build there. I am curious about the white "V" shaped markings you have on it. As pictures of this beast are fairly rare I'm wondering where you got the marking info. Like Danny, I'm also building one of these. I guess I'm not the only one who was inspired by Bill Plunk's recent build of this kit to try to do one. Hat's off to you Bill!
SEP 28, 2007 - 07:14 AM
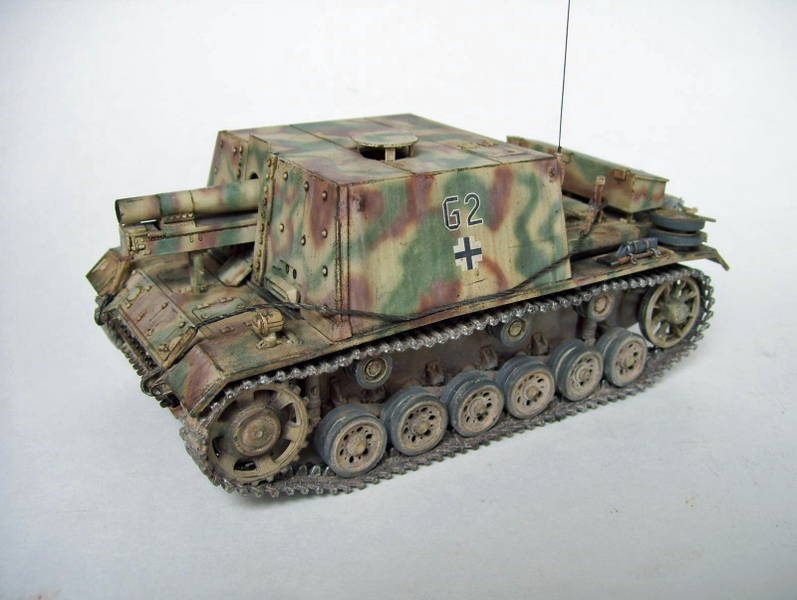
Hey Guy, I got the reference for that weird call sign from "Achtung Panzer #5--StuG III, StuG IV and SiG 33".
It has a pic of it and says it was the divisional sign of the Pz Reg.201, 23rd Pz Div. in after April 1943. You can see it here!
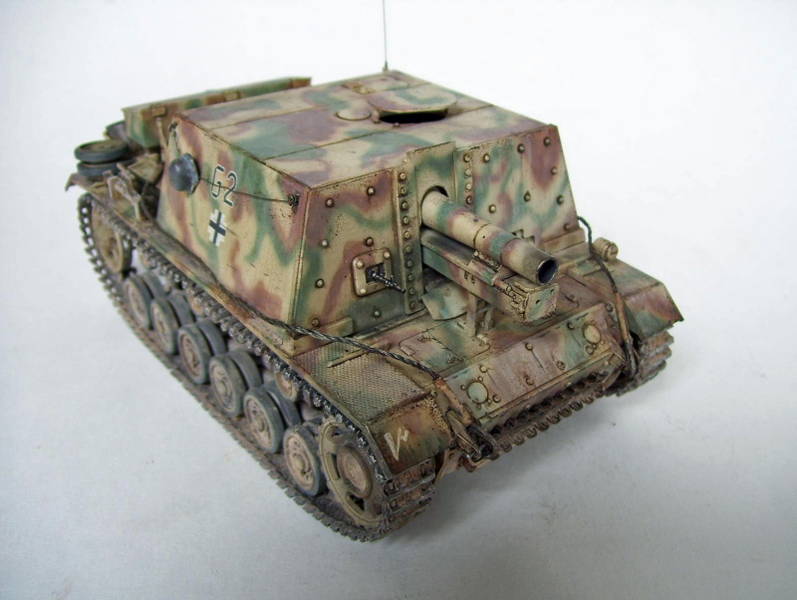
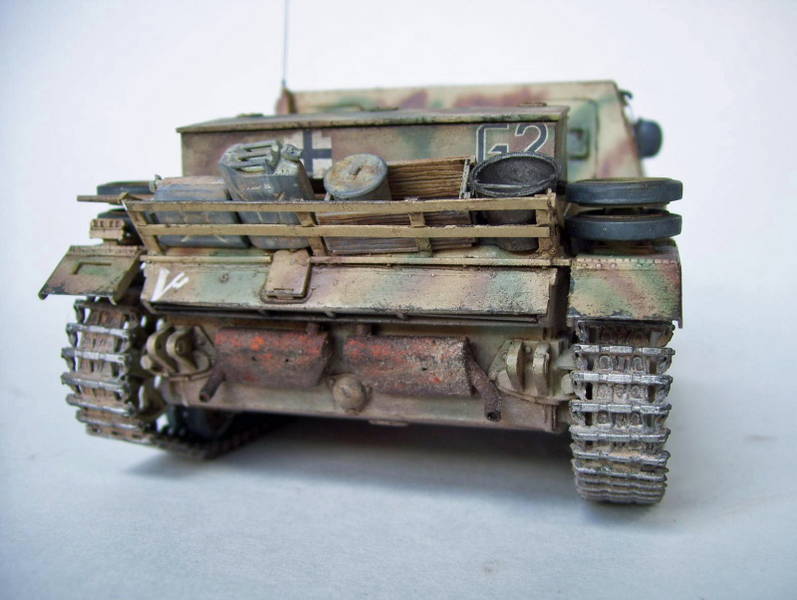
 I just realized that I forgot to add the second tool box that goes right behind the first one n the engine deck. The second photo here of "G2" I found on the net, and I'm sorry that I can't remember the site! But you can see the rack here on the back, as well s that missing 2nd box!
 Hey, thanks to all who've taken the time to comment; I really do appreciate the feedback and the compliments!!!
I just realized that I forgot to add the second tool box that goes right behind the first one n the engine deck. The second photo here of "G2" I found on the net, and I'm sorry that I can't remember the site! But you can see the rack here on the back, as well s that missing 2nd box!
Hey, thanks to all who've taken the time to comment; I really do appreciate the feedback and the compliments!!! SEP 28, 2007 - 11:10 AM
Hey Danny, thanks for the compliment!
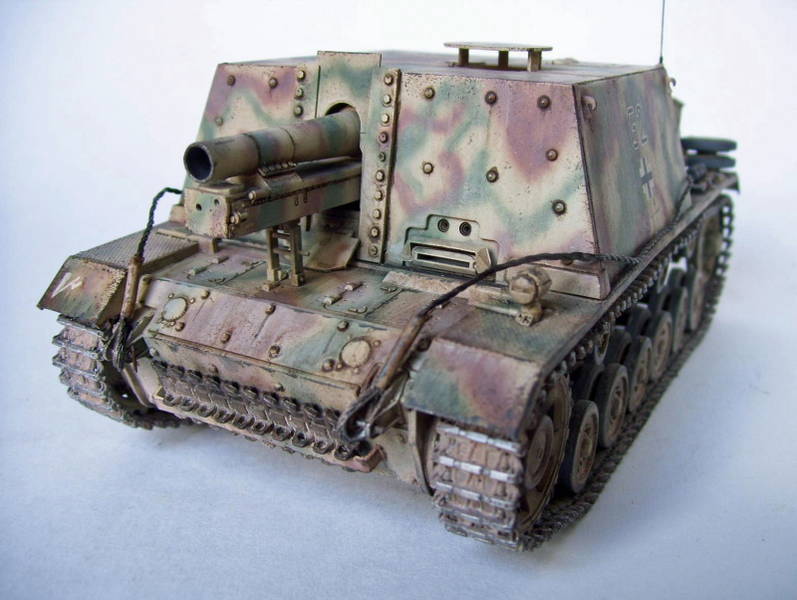
To get this look, I used oil washes--I first used an overall wash of raw umber. Then I let that well-dry, and hit it with another wash of a light tan--rwa umber+white+a TOUCH of yellow; this is a nice dust shade. I apply the wash all over the model in a rather thicker application than you might for normal, and just about 10 seconds later I take a crumpled-up piece of soft facial tissue and dab it off. DO NOT WIPE! Only dab--this will leave a lot of it behing. Then take a thinner-wetted brush and immediately start wiping it down, getting the streaks you see here.
The rest of the model then gets a thorough pin wash (a concentrated bunch of little detailing washes) with raw umber and/or rusted shades of burnt sienna, applied around all the details with a fine tipped brush. This gives you nice details jumping out at you!
You can also do additional streaks with the tan mix, or with raw umber/burnt sienna. The key is to work patiently and think "layers"! Too many guys just rus through the weathering process and don't get the depth that a little bit of patience can achieve!
Hope this helps you! Thank you for your comment! KARL the doog
SEP 28, 2007 - 11:20 AM

Karl, great pictures! Thanks for posting them. Pictures of this beast are relatively scarce so more are always appreciated. Congrats again on a very nice build!
OCT 02, 2007 - 04:05 AM
Copyright ©2021 by Karl Logan. Images and/or videos also by copyright holder unless otherwise noted. The views and opinions expressed herein are solely the views and opinions of the authors and/or contributors to this Web site and do not necessarily represent the views and/or opinions of Armorama, KitMaker Network, or Silver Star Enterrpises. All rights reserved. Originally published on: 2007-09-27 00:00:00. Unique Reads: 12373

WEB HOSTING BY


Copyright ©2021 Armorama and Kitmaker Network, a subsidiary of Silver Star Enterprises
All Rights Reserved. Please read our Conditions of Use and Privacy Policy.
All Rights Reserved. Please read our Conditions of Use and Privacy Policy.