

1⁄35E 10
5
Comments
Building Trumpeters Entwicklungsfahrzeug E 10 by Ron Goins.
introduction
The E-10 was designed by Klockner-Humboldt-Deutz Magirus AG in Ulm and was developed as a replacement of the Panzer 38(t) and the designs based on it. The designs based on this new chassis would all be in the 10 to 25 ton weight class. The intention for this version was to replace the Jagdpanzer 38(t). There were no prototypes ever produced so it only existed on paper hence the title "paper panzer". For a full in-box review by Bill Plunk please look here.The build
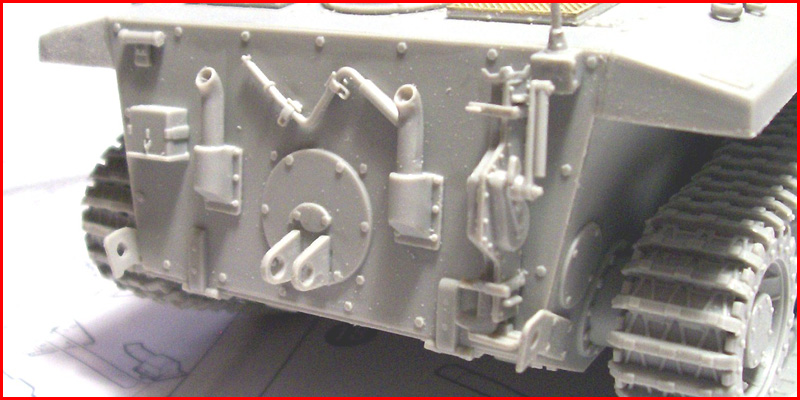
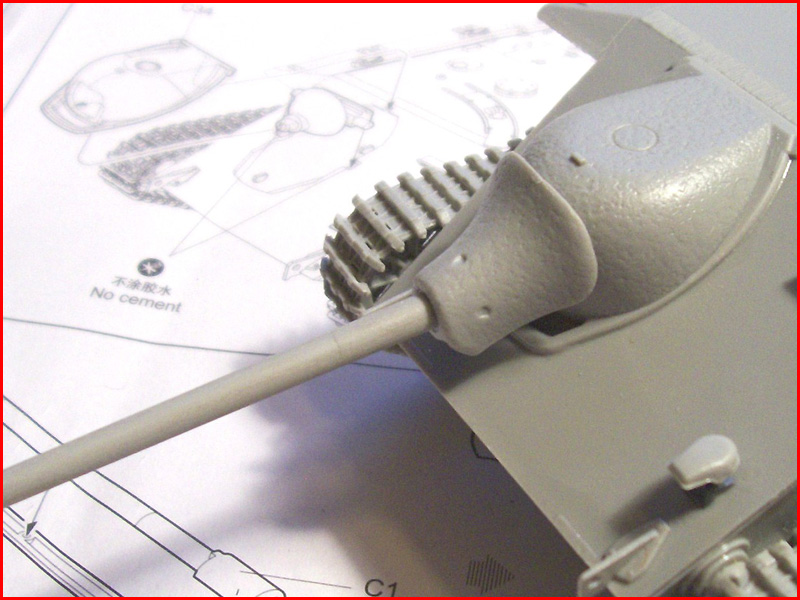
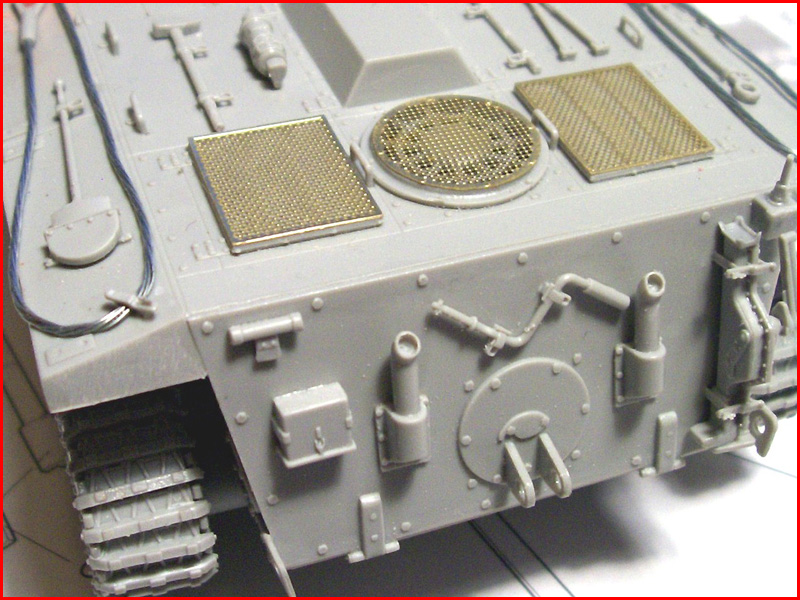
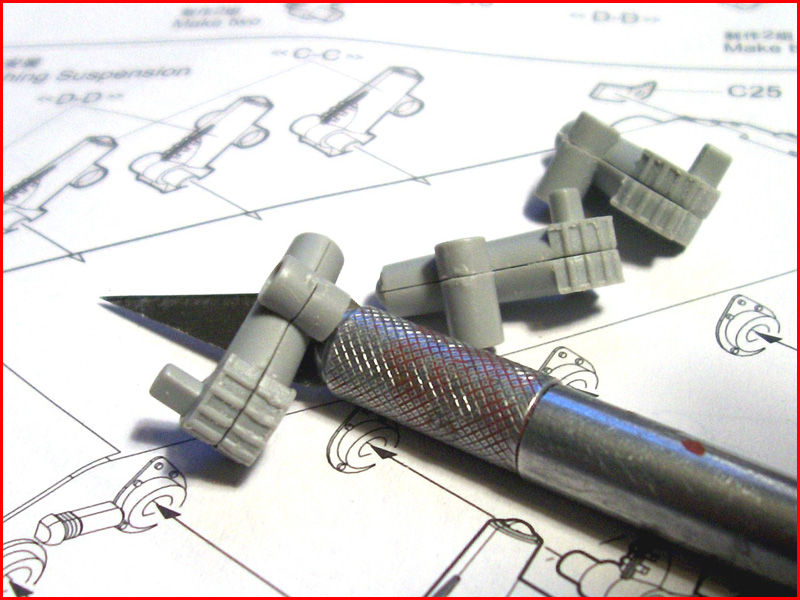
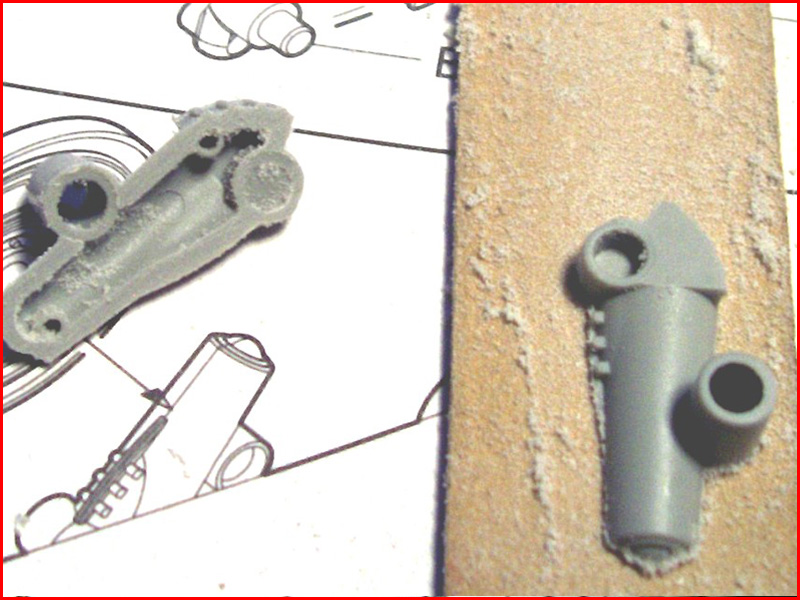
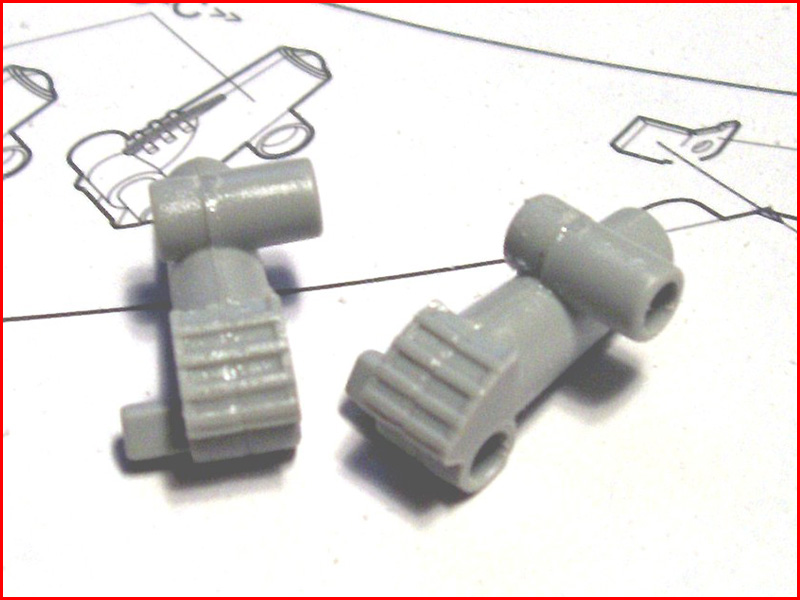
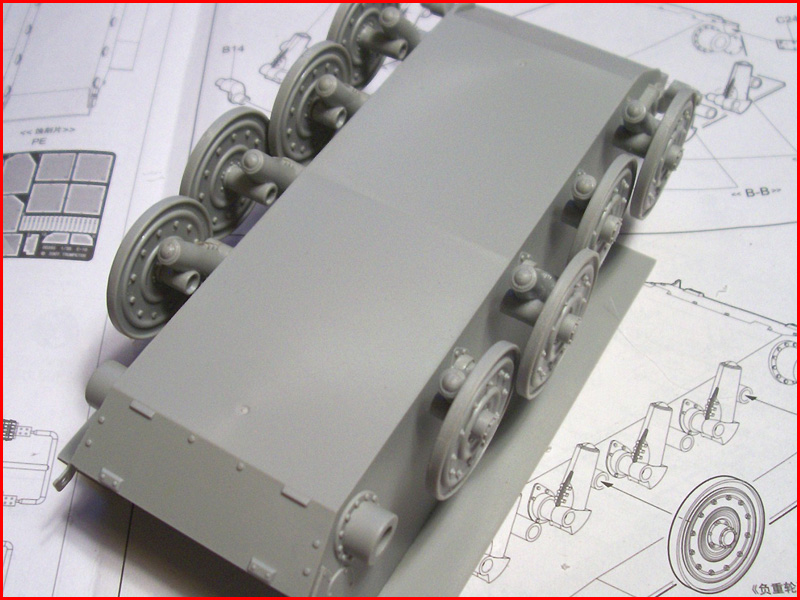
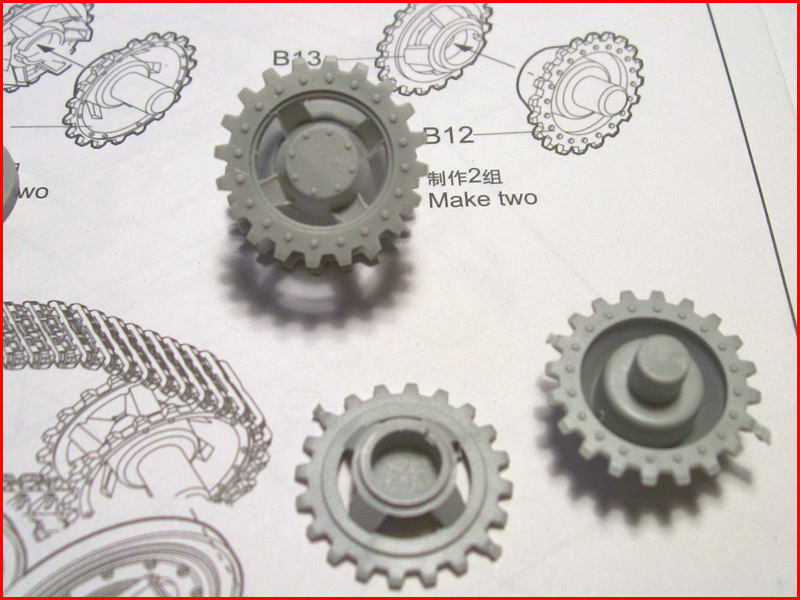
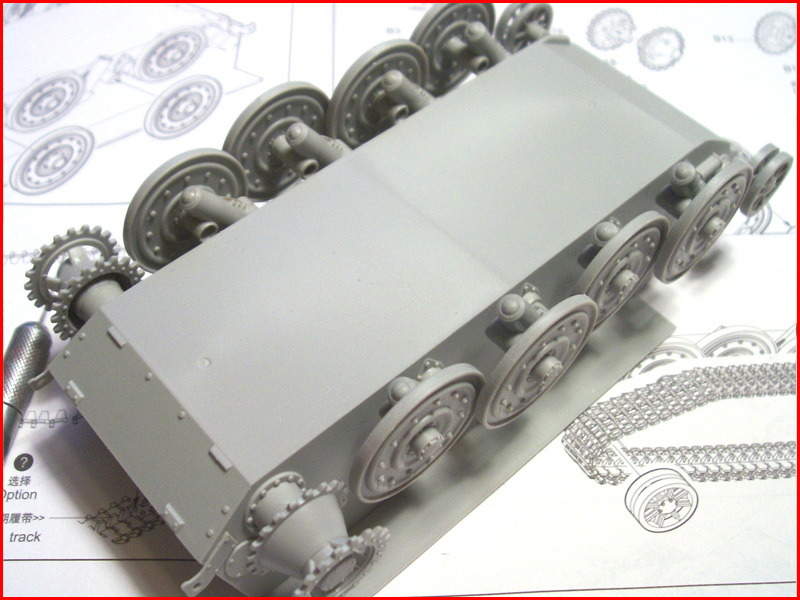
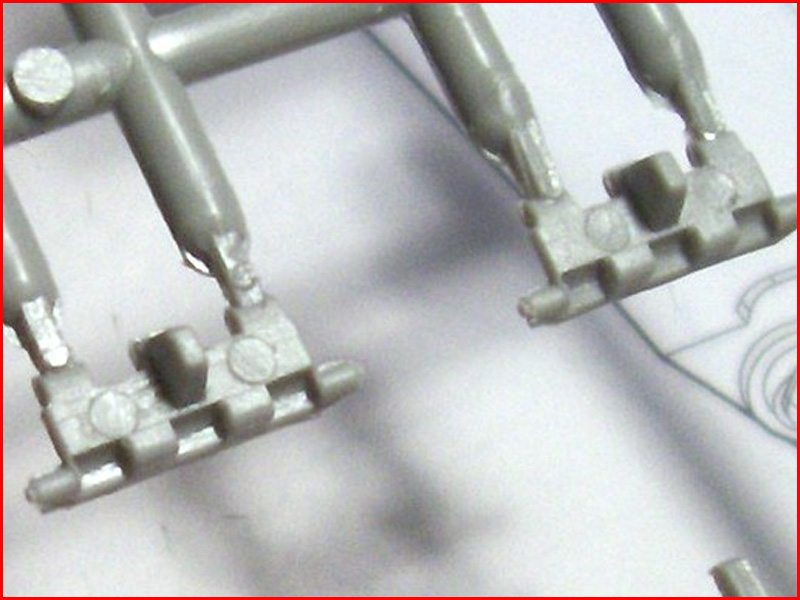
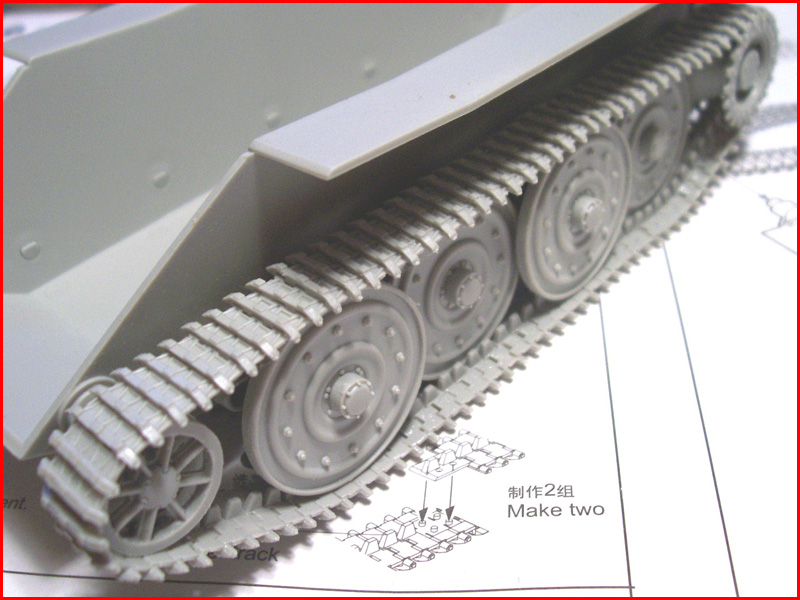
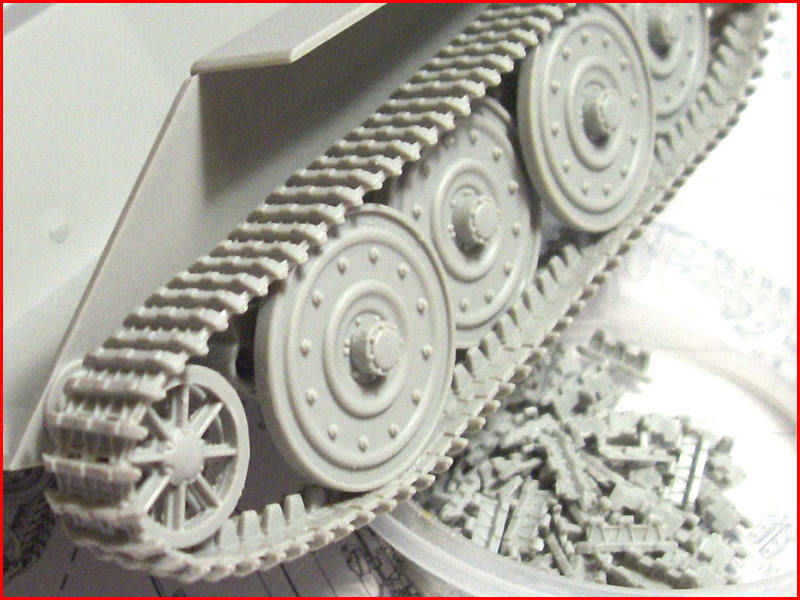
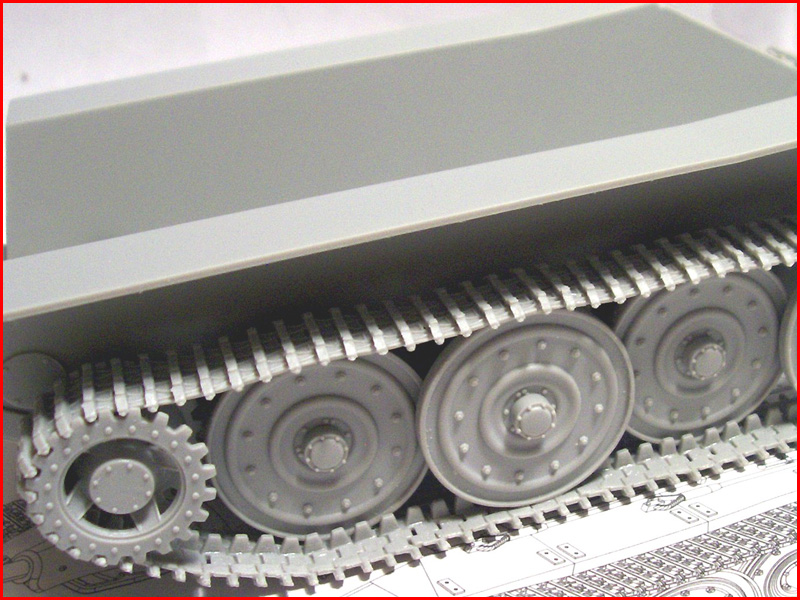
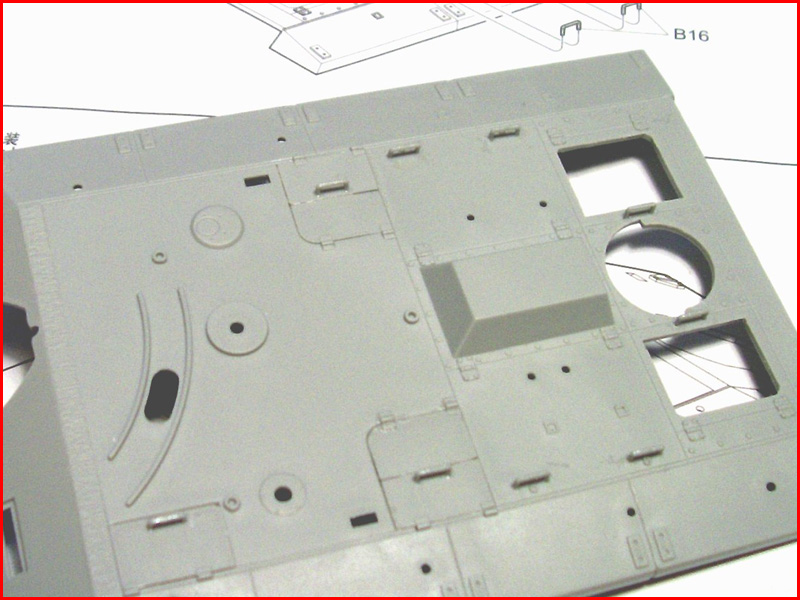
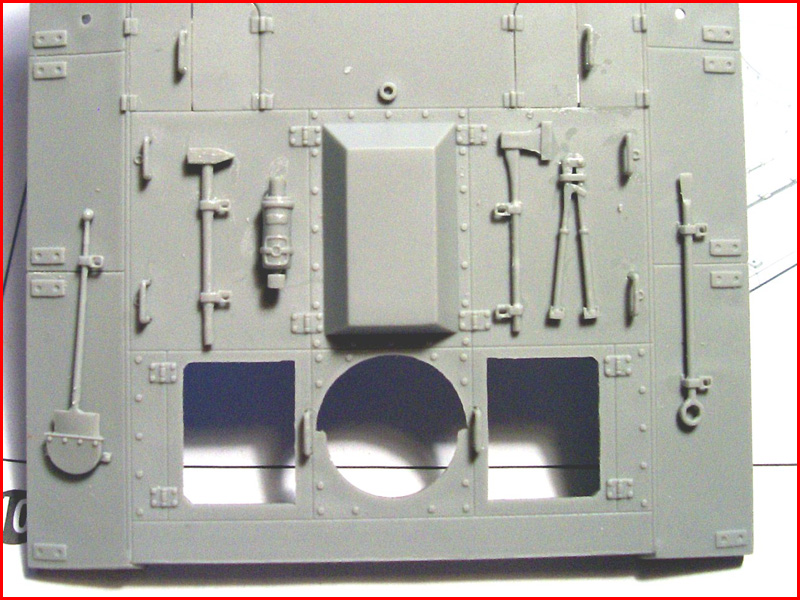
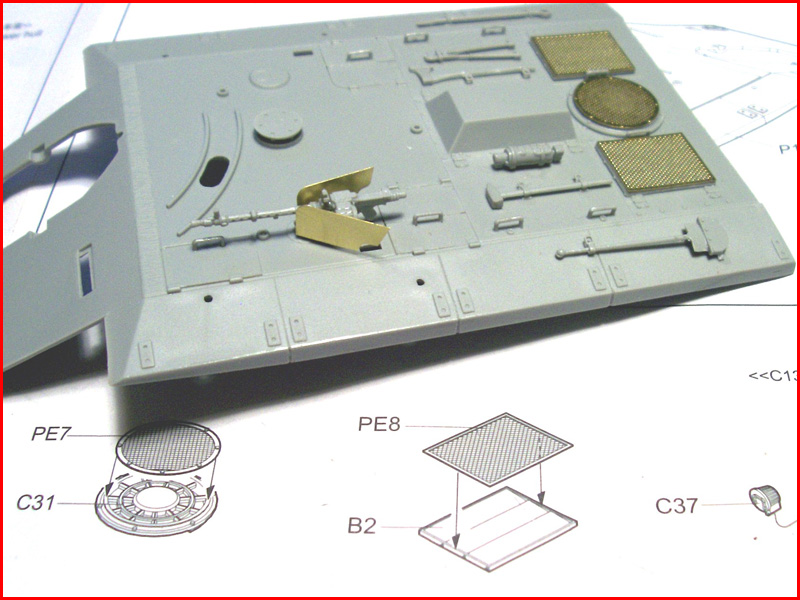
The Suspension The build begins with the suspension which consists of 4 sets of 2 arms and right at the start a small problem arises, when mating up the two halves of the suspension arms. There are some gaps that will need taking care of, but will be difficult to fill using putty, so instead I decided to remove the locating pins and using a flat sanding board I gently sanded each side flat until they mated together smoothly. The vehicle was designed to have two positions for the wheels, raised for when the vehicle is in the attack (hull down) position and lowered for when the vehicle is on the move, the kit is designed for lowered position so when attaching the suspension arms to the hull the location points are set for a vehicle on the move; but if you wanted to set the wheels in the raised position then you would need to drill out new location holes in the hull and reset the suspension accordingly, I built mine as the kit suggests in the lowered position. The wheels, drive sprocket and idlers clean up quickly and easily and fit very well, the only thing to note is on the inside of the idler wheels where there are 4 knock-out marks that will need some attention, I again chose to sand them rather than fill them. The kit offers a choice of early or late tracks and drive sprockets. I opted for the "late". Also offered is a choice of one piece rubber band style tracks, or individual link tracks. I opted for the individual links, although the one piece tracks looked and fitted fine when I test fitted a set, I just prefer individual links. The links take some extra cleaning up because of two knock-out marks per link but they do fit together without much fuss and are worth the extra effort when done. The Hull With the running gear finished it was time to move on to the upper hull. First order of business was a quick test fit of the upper and lower hulls to find it was a perfect fit. Before beginning the details I had two long sink marks down the outside edges of the upper hull to take care of and once again I sanded them down rather than filling them and then re-scribed the short panel lines with my X-acto knife. The detail work begins with the hatches and handles, the hatches are a good fit without any adjustments and I used the kit supplied plastic handles, which cleaned up easily and looked perfectly fine. Moving on to the tools; I was quite surprised at the detail which is as good as any I have yet seen in plastic, there was the normal bit of cleanup required which was easily done with a quick scrape with my X-acto knife. The rear deck vents were fitted next and I had to enlarge the openings a little for them as they were tight, then the kit supplied PE covers were added and although they were tough to cut (my knife wouldnt work I had to use scissors) they did look the part and are a nice addition to the kit. There are also PE shields for the remote MG, the only thing to remember if you use them is to remove the tabs which the plastic shields mount to so the PE ones will sit flush against the mount. The MG itself is nicely detailed and fits well; all that was needed was to drill the end of the barrel out. At this point I added the optics some of which had to be mounted from the inside before I joined the upper and lower hulls and as I mentioned earlier they fit perfectly. I then added the last of the upper hull details, the only thing worth noting here was instead of using the kit supplied plastic tow cables I used the four spare cable ends that are supplied in the kit to make my own using some picture hanging wire and clamps from the spares box. Moving on to the rear plate; once more before adding anything to the rear plate I dry fitted it to check for problems and found it to be a little tight so I lightly sanded the inside of the upper hull all along its length until the plate fit nicely, once again no filler was required. I then moved on to the rear plate details, the only problem I encountered here was the small plate that fits on the top end of the jack was badly deformed with flash and a large knockout mark right in the centre rendering it useless, so I used a replacement from the spares box and other than drilling out the exhausts everything else was by the book. The last stage of this build is the gun mount and mantle assembly, the movable part consists of three pieces and is very simple, the whole things goes together flawlessly with the only downside being the barrel, it is in two halves and the biggest problem is the two grooves in the barrel dont match correctly, it can be used but takes a little work to fix. As a final touch I added some casting numbers to the cast parts of the mantle.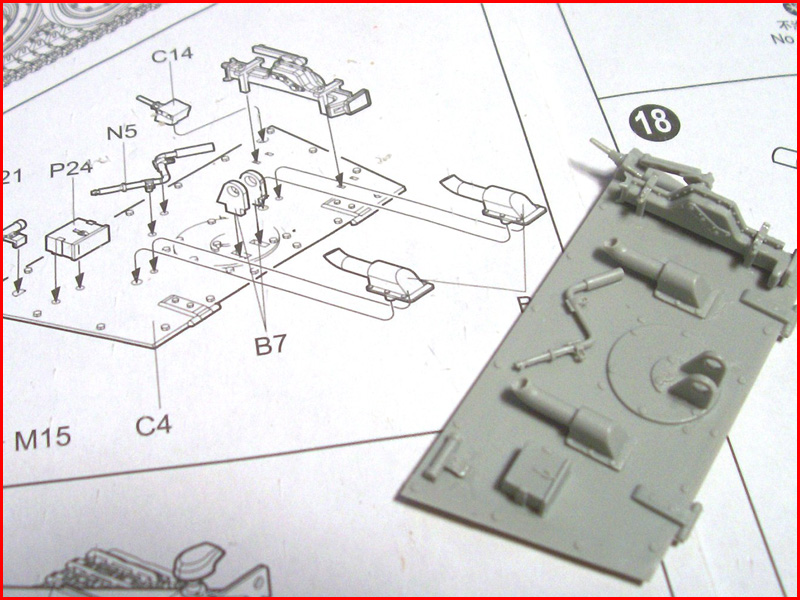


About the Author


FROM: TENNESSEE, UNITED STATES
My name is Ron and i began modeling in january of 2005 while off work with knee surgery i have always been interested in the military and 1/35 scale vehicles and armour are my main subjects, i will build just about any brand of kit there is as long as it interests me and i build for my own collectio...
Comments
Great article, Ron. I just build this kit as well for the WWII experimentals campaign and I share your evaluation of the kit. Really great and very modeller friendly.
I have the Trumpeter E25 in my stash and hope it is of the same high quality.
Thanks for your time and effort with the article
FEB 08, 2008 - 11:50 AM
Another top-notch paint job, Ron. I really like it. A handy build report too.
- Steve
FEB 08, 2008 - 02:05 PM

Hi Jesper and Steve, Jesper Steve is just about finished with his E25 and could probably give some good pointers he has it posted in the constructive feedback forum sporting a super paintjob and well worth checking out, thanks for posting guys.
Darren, great job putting this together i appreciate your time and effort very much.
Ron.
FEB 08, 2008 - 08:37 PM

Very cool build Ron--I just got one of these and am wracking my brain trying to think of something "different" to do for a camo scheme!
Another fine looking tank destroyer! Great write up--'ll be referencing it for my build!
FEB 12, 2008 - 02:36 AM
Copyright ©2021 by Ron Goins. Images and/or videos also by copyright holder unless otherwise noted. The views and opinions expressed herein are solely the views and opinions of the authors and/or contributors to this Web site and do not necessarily represent the views and/or opinions of Armorama, KitMaker Network, or Silver Star Enterrpises. All rights reserved. Originally published on: 2008-02-09 00:00:00. Unique Reads: 20776

WEB HOSTING BY


Copyright ©2021 Armorama and Kitmaker Network, a subsidiary of Silver Star Enterprises
All Rights Reserved. Please read our Conditions of Use and Privacy Policy.
All Rights Reserved. Please read our Conditions of Use and Privacy Policy.