

1⁄35A Walk in the Woods
6
Comments
Introduction
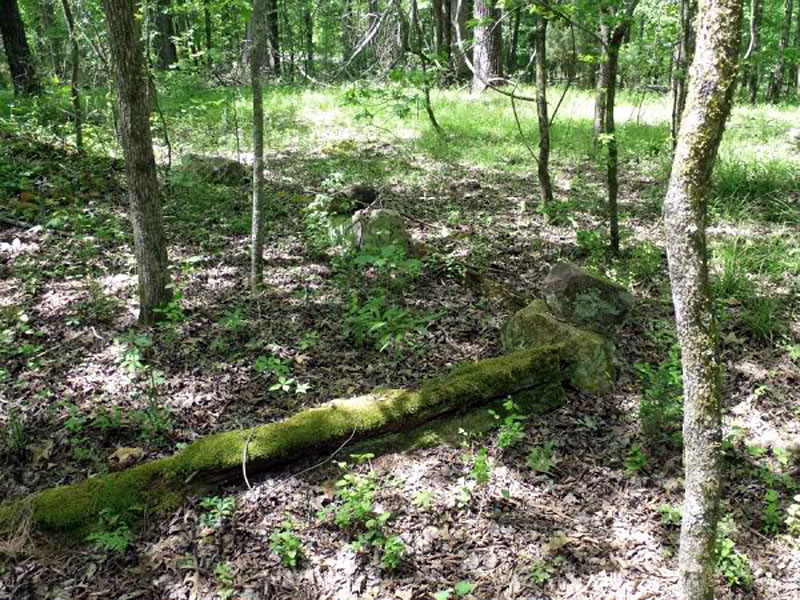
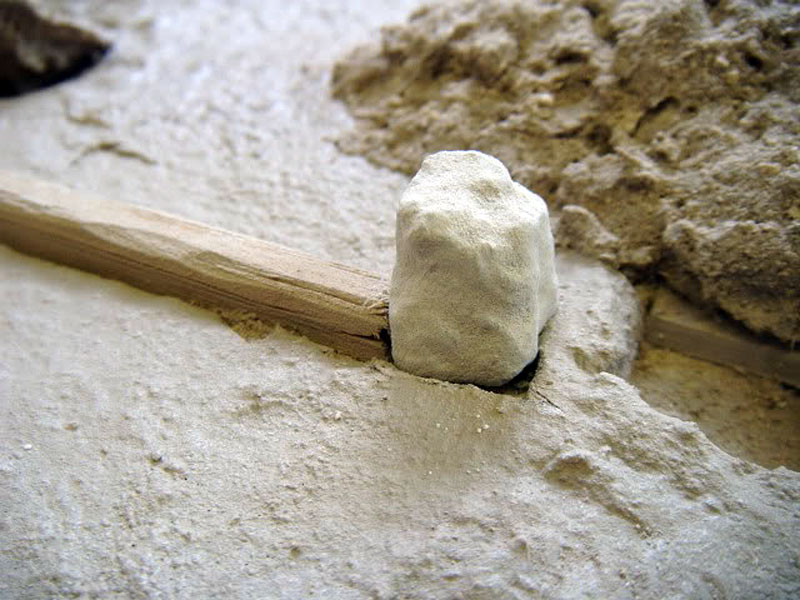
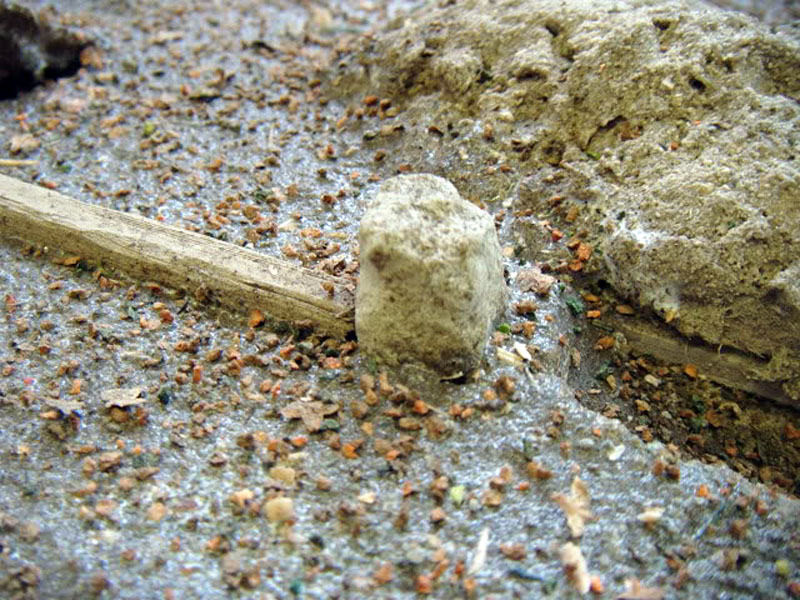
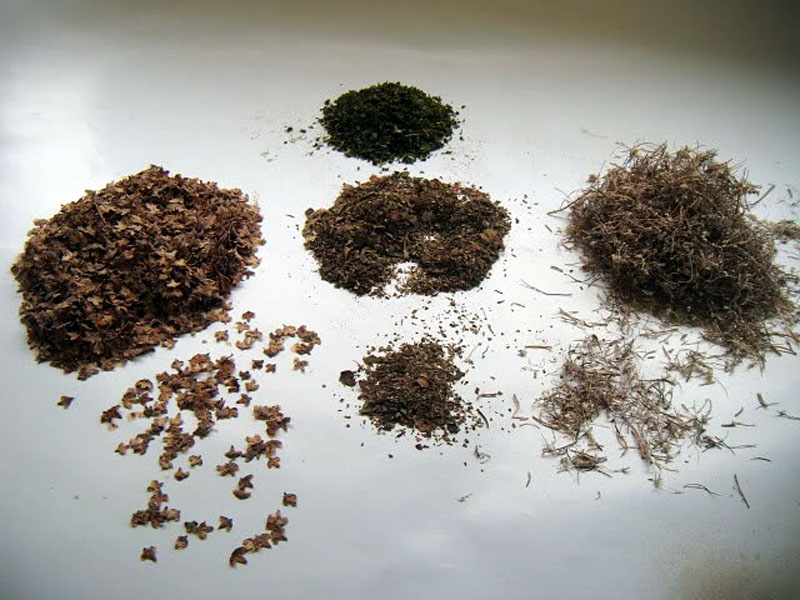
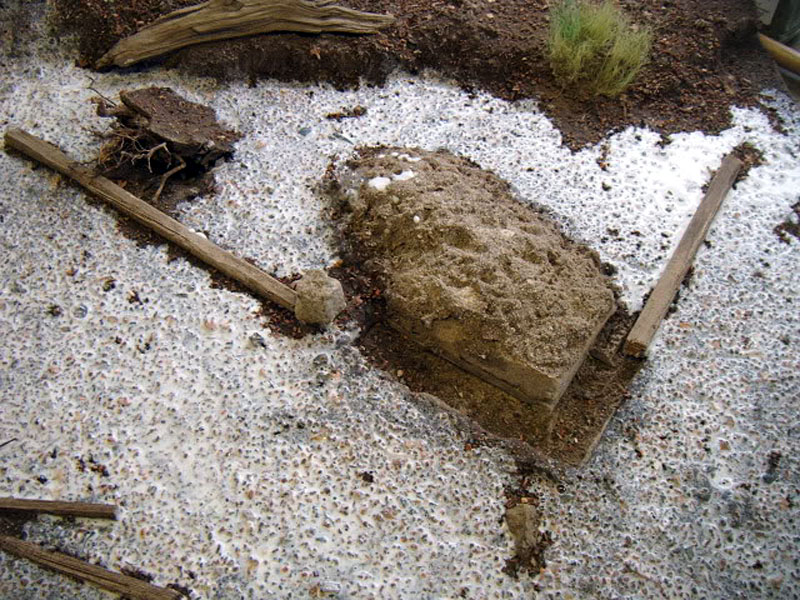
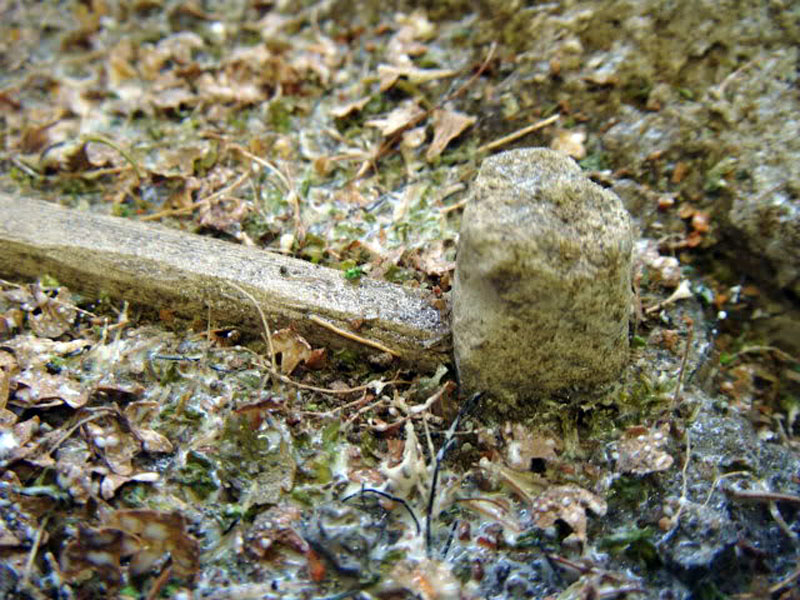
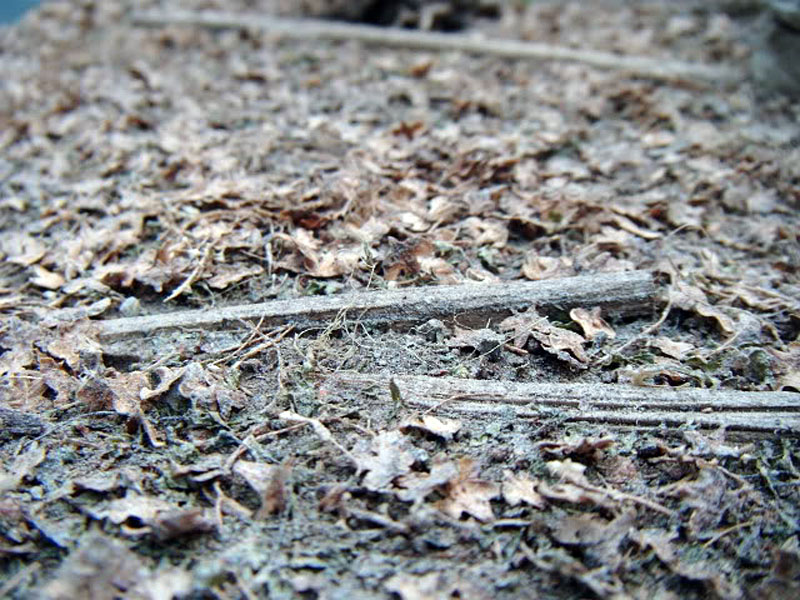
I am always amazed at the quality of models and modelling skills on show at the various shows I attend. One thing I do notice though is that many models are not displayed on scenic bases. The following step by step shows how easily convincing scenic bases can be to create. All the materials used in this project are from the TREEMENDUS range of scenic modelling materials. This 1:35 scale diorama is a work in progress and the main feature of it will be part of a ruined stone and brick built building with a large pile of rubble behind the remaining corner of the wall. The groundwork is mainly complete but will have ivy etc added to it once the wall is in place. Trees will also be added at a later date PHOTO NO: 1 The original photo shows a forest floor covered with fallen leaves and twigs. There is new growth emerging from underneath the decaying leaves and the huge wooden beams which were once part of the structure are evident. Over the years the beams have acquired a thick growth of moss. Also evident are some of the original stones, which Im told were once part of the doorway. Grass grows in the background and there are numerous tufts of grass around the site. PHOTO NO: 2 The first step of this build is to add some texture to the base. I am using a ceiling tile as a base for this as it is lightweight and easy to carve. I broke some of the tile into tiny pieces and made a thick paste by mixing it with a dilute mixture of water and PVA glue, this was then painted onto the base using a large paintbrush. I also positioned the beams and stones at this stage. Cutting a shallow groove for the beams to sit in will create the illusion they are firmly stuck into the ground, this will become more evident as the layers of groundwork build up. I am also going to add a windfall tree with its root ball exposed. PHOTO NO: 3 Once all the beams etc are in place take some diluted PVA glue (3-4 water/1 PVA) and paint the complete base with the glue, taking care not to get any on the beams. Sprinkle the whole base with TREEMENDUS Earth Powder which will soon start to soak up the glue. It is also useful to give the whole base a spray of hairspray as this helps the Earth Powder soak up the glue and set into a very strong surface. Leave the base to dry for a day or so until you have a surface which you can paint glue onto again without disturbing the Earth Powder. PHOTO NO: 4 When the Earth Powder has dried paint another dilute mix of water/PVA onto it and add a liberal scattering of TREEMENDUS Forest Floor scatter. This material contains all the elements you would find on a forest floor and is very useful for all groundwork applications. Note how the gap around the stone has been filled with Earth Powder. Again finish off this step with a coat of hairspray and allow it to dry. PHOTO NO: 5 The next step is to add the top layer of the decomposing debris on the floor. For this I am using TREEMENDUS Natural Leaves, Forest floor, Pine Scatter and some finely chopped rubberised horsehair. PHOTO NO: 6 Another coat of water/PVA is applied to allow the materials in photo no 5 to be added to the base. Keep the beams free from glue at this stage as they are dealt with later. Note that some roots from the Forest Floor product have been added to the fallen trees root ball. PHOTO NO: 7 The Natural Leaves, Forest floor, Pine Scatter and rubberised horsehair have been added in this photo. They are best applied in a random fashion to give a very natural looking base. The whole base is then sprayed with TREEMENDUS Scenefix glue and another spray of hairspray which will set the whole surface very securely. Once again set the base aside to dry. PHOTO NO: 8 Now the base has dried you can see how this groundwork already looks more like the groundwork in the first photo. I gave the whole base a very light spray with a tan coloured paint to gel it all together a little more. The wooden beams now look like they are part of the floor as opposed to just sitting on it. The beams for this project are simply 6mm x 6mm lengths of pine that have been carved a little to give the impression of well worn rotten beams. The moss still needs adding to the beams at this stage.

About the Author


Comments


Definitely a two month project. I'd be burning the midnight and insanely, early, morning oil for sure.
AUG 25, 2011 - 11:39 AM

I definitely need to hang out more in the Diorama section. VERY helpful and interesting stuff.
AUG 29, 2011 - 04:05 AM
Copyright ©2021 by Anthony Reeves. Images and/or videos also by copyright holder unless otherwise noted. The views and opinions expressed herein are solely the views and opinions of the authors and/or contributors to this Web site and do not necessarily represent the views and/or opinions of Armorama, KitMaker Network, or Silver Star Enterrpises. All rights reserved. Originally published on: 2011-08-25 00:00:00. Unique Reads: 23143

WEB HOSTING BY


Copyright ©2021 Armorama and Kitmaker Network, a subsidiary of Silver Star Enterprises
All Rights Reserved. Please read our Conditions of Use and Privacy Policy.
All Rights Reserved. Please read our Conditions of Use and Privacy Policy.