

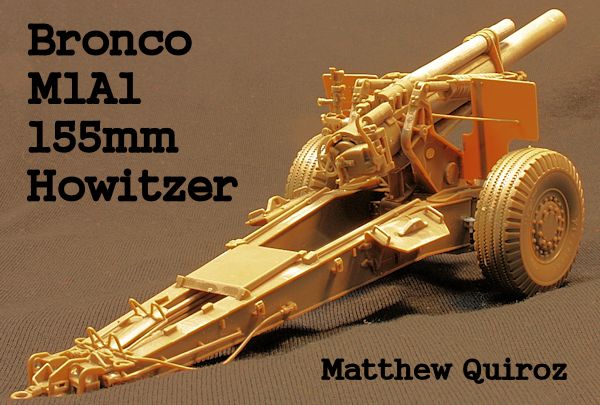
1⁄35Bronco's M1A1 155mm Howitzer built
5
Comments
Let me preface this by saying I know nothing about artillery, other than how to call for it to bring a bad day to the enemy. So, that being said, if I identify the nomenclature of a part incorrectly, I apologize.
overview
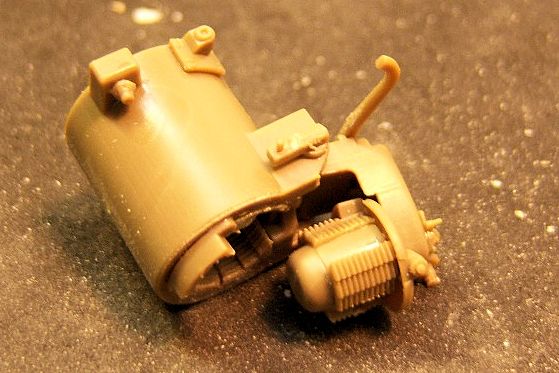
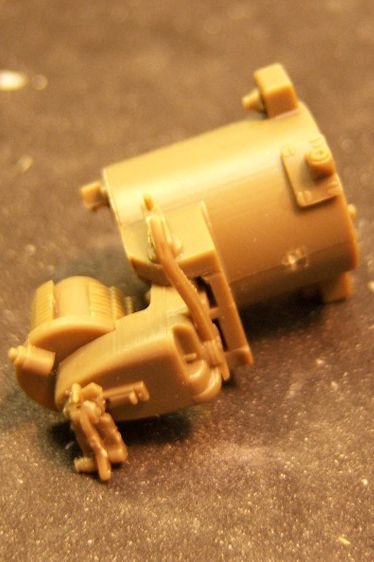
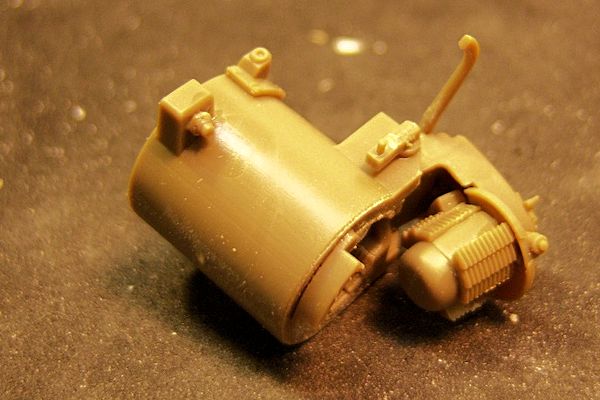
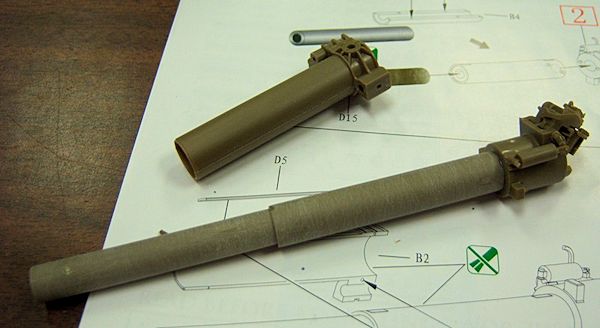
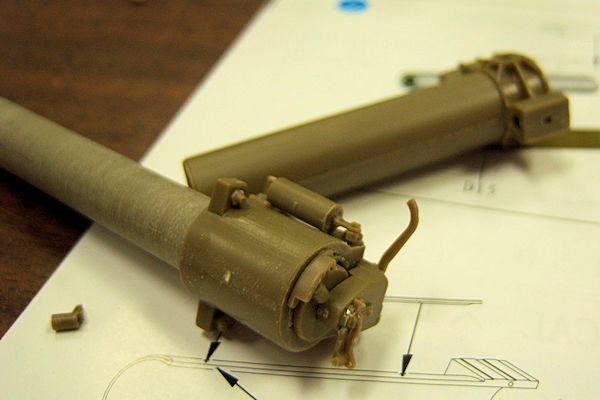
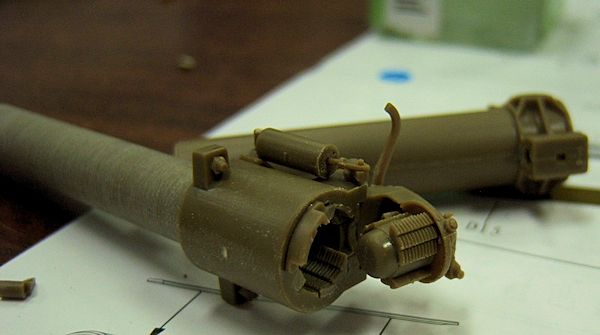
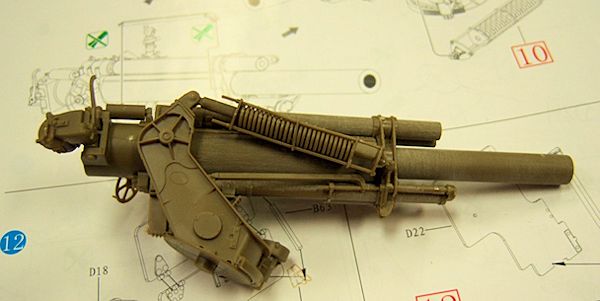
Now, Im not a big fan of towed artillery kits, but this is one exceptional model regardless of the subject. There are several features that can be made to actually operate to some degree. The breech and breech block assemblies work, with the exception of the opening lever, but the breech block rotates into the breech and can be made to lock just as on the real thing. The recoil mechanism functions, the elevation gears rotate and the trails can be displayed either open or closed. The spades used when firing can be installed and removed from the trails. Due to some errant glue, a couple of parts of my build dont operate, but would have done if I hadnt got glue in the key areas.the build
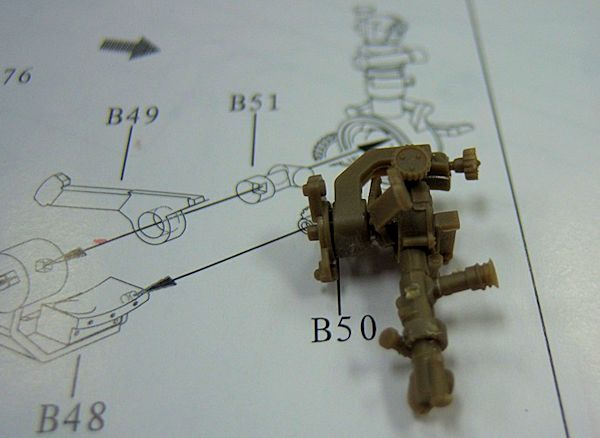
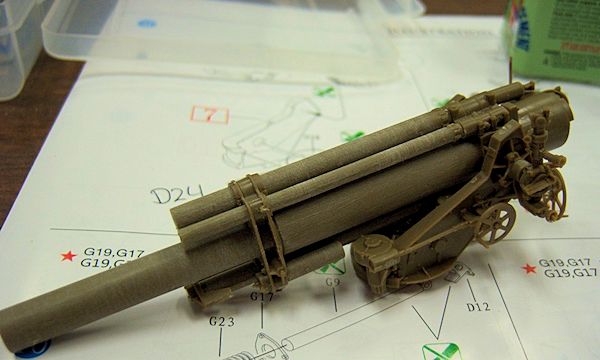
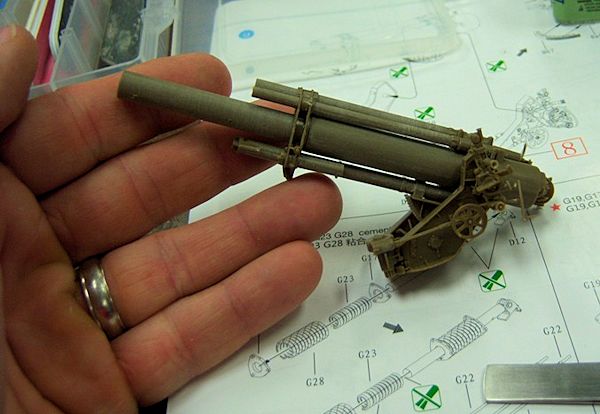
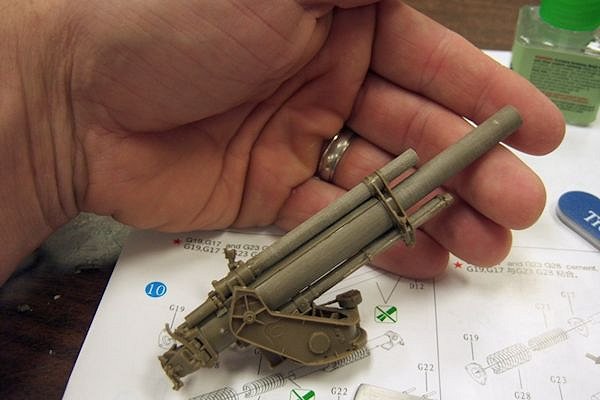
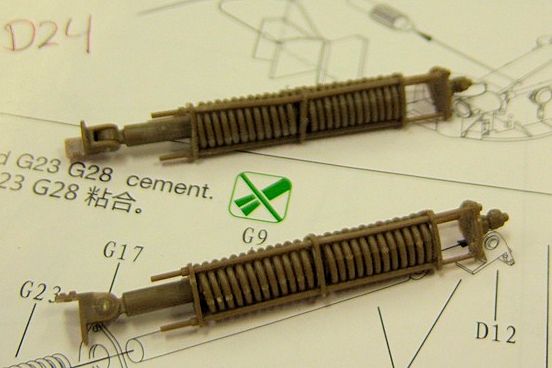
As nice as this kit is, I still ran into a few snags along the way. The first occurred in step 5 while installing part B27. There are two photo etch pieces that are installed with this. I opted to leave mine off and install them later once the build was complete to avoid damage. Well, once everything is together, it is near impossible to access where the PE goes and it is in such a non-visible place you wouldnt see it anyway. Suffice to say, mine is missing. The sight assembly in step 7 is one of the more complex builds of the model. There is a lot of clean up of attachment points and minor seam lines, but patience pays off with an superbly detailed sight. Again, more PE is attached here, but I added it after completion to avoid damage during the remainder of the build. Step 10 deals with the assembly of the recoil springs (Im guessing thats what they are) and these are tedious. I have never seen injection molded springs like this and they are about the coolest thing ever. The attachment points and seam lines made for a difficult clean up, but they look OK. The guide rods for the springs are another matter. They are very delicate and bent easily during their removal from the sprues. A better option might be to replace them with styrene rod of the same diameter. The build then progressed well until step 15.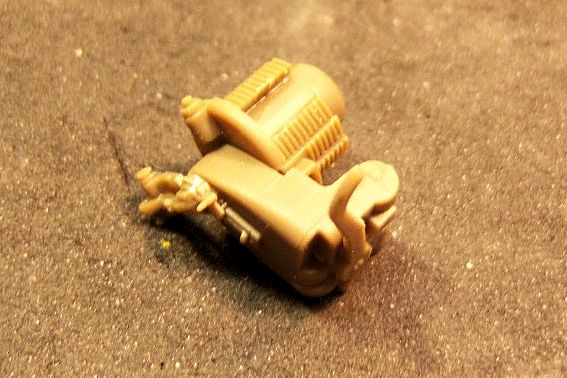


About the Author


FROM: CALIFORNIA, UNITED STATES
After a several year break from the hobby I have happily returned to it. Slowly, but surely getting my mojo back.
Comments
Thanks for that review, Matthew!
It was enough to make me order my issue!
I can't wait to be able to start it! IUt's definitely going to jump the cue!
Cheers,
Guido
JAN 17, 2012 - 05:57 AM
No problem Guido. It is a really nice kit. Just be sure to look over the instructions carefully in those few spots I stumbled on. "Q"
JAN 17, 2012 - 01:02 PM


This is a very nice build review Matthew. I feel much more comfortable handling the small kit parts after reading through this.
Cheers
JAN 31, 2012 - 04:36 AM
Copyright ©2021 by Matthew Quiroz. Images and/or videos also by copyright holder unless otherwise noted. The views and opinions expressed herein are solely the views and opinions of the authors and/or contributors to this Web site and do not necessarily represent the views and/or opinions of Armorama, KitMaker Network, or Silver Star Enterrpises. All rights reserved. Originally published on: 2012-01-15 00:00:00. Unique Reads: 19913

WEB HOSTING BY


Copyright ©2021 Armorama and Kitmaker Network, a subsidiary of Silver Star Enterprises
All Rights Reserved. Please read our Conditions of Use and Privacy Policy.
All Rights Reserved. Please read our Conditions of Use and Privacy Policy.