

1⁄35Just My Way of Painting
18
Comments
Introduction
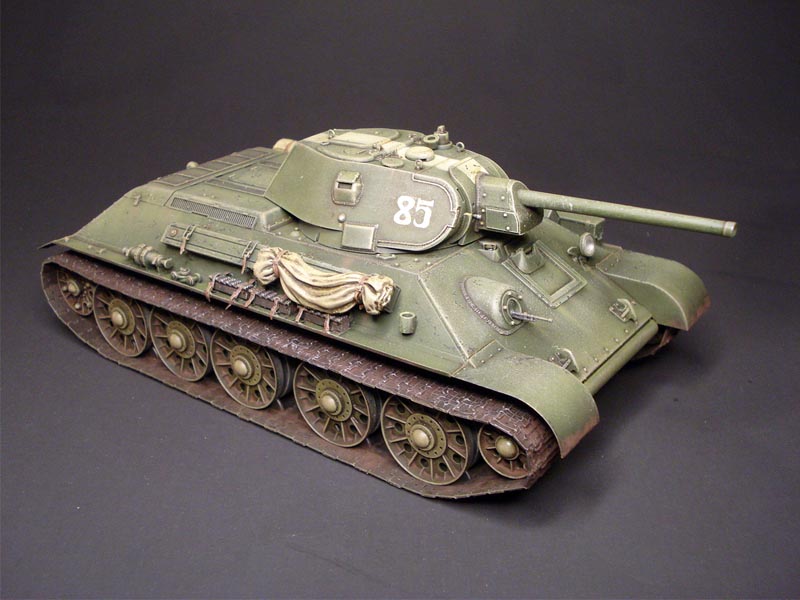
After doing a photo feature of my Leopard VK16.02 I was asked if I might consider doing an article on my painting methods. Well here goes. First off I dont have some radical new way of painting. Everything I do has been done before. If I do anything different it may be that Im not fixed on any one style of painting. To me all the techniques I have seen are just tools to be used to get the effects I want. For this article I will be using my recently completed build which is a STZ T-34 Mod. 1941 from Dragon with Voyager photo etch.STEP ONE
I have been highly influenced by color shading/modulation. My first step will be to apply a dark shade of the base color; in this case Russian Green from Vallejo. The color I will use in this step is Tamiya Black Green. I prefer to work from the shadow to the highlight while others will add the shadow effect to the base color. Whatever way you approach it the idea is to simulate the effect of natural light on the model.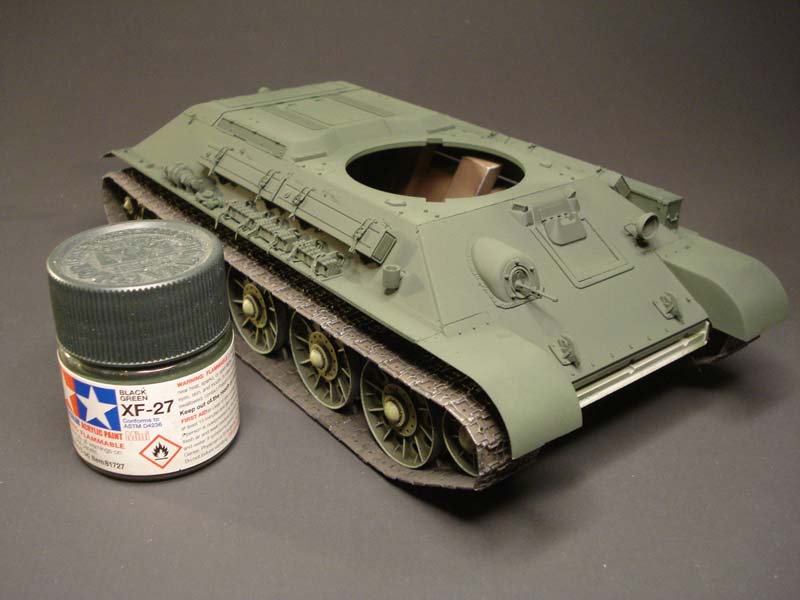
STEP TWO
In this step I will add the base color of Russian Green from Vallejo. The shading begins here by spraying the color perpendicular to the upper hull which will leave some darker areas on the model. The effect is subtle, but it is supposed to be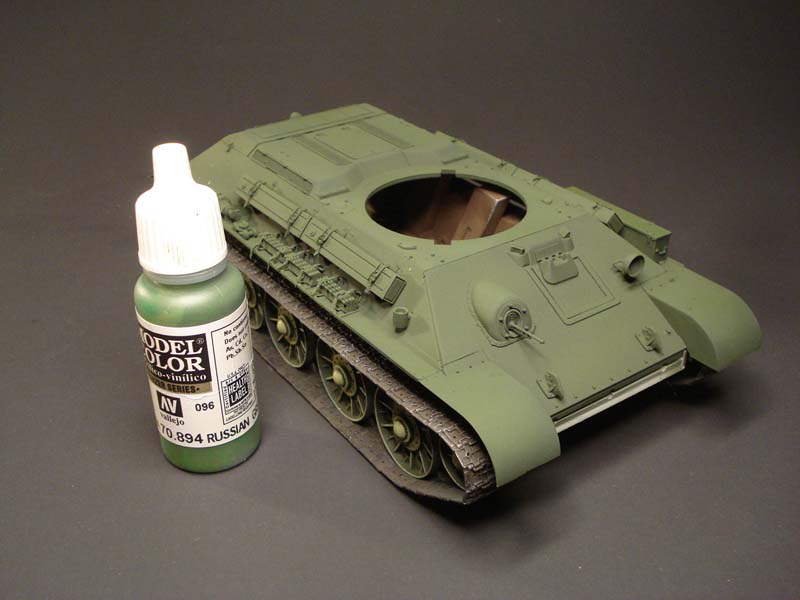
STEP THREE
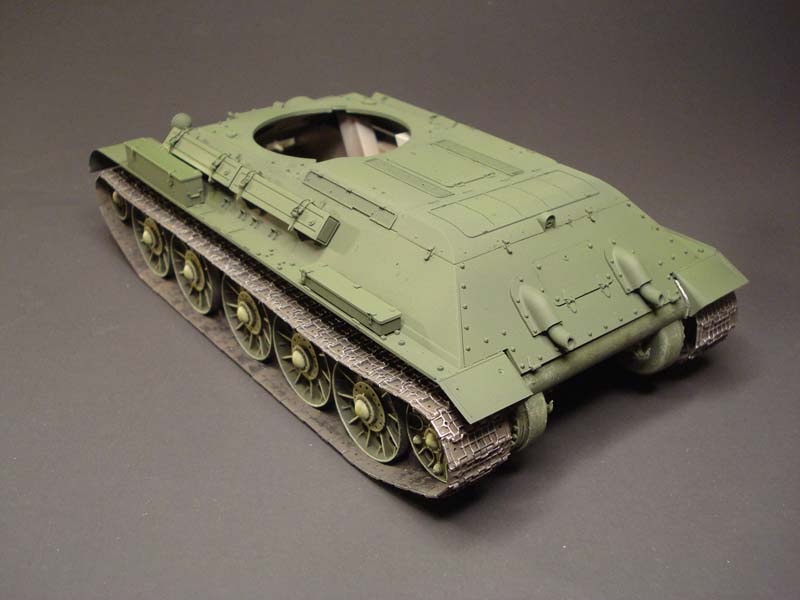
Next I will be shading panels with Tamiya Olive Green in preparation for the some modulation next. This lightens the the darker Vallejo Russian Green. I will pay particular attention to the upper surfaces that will reflect light.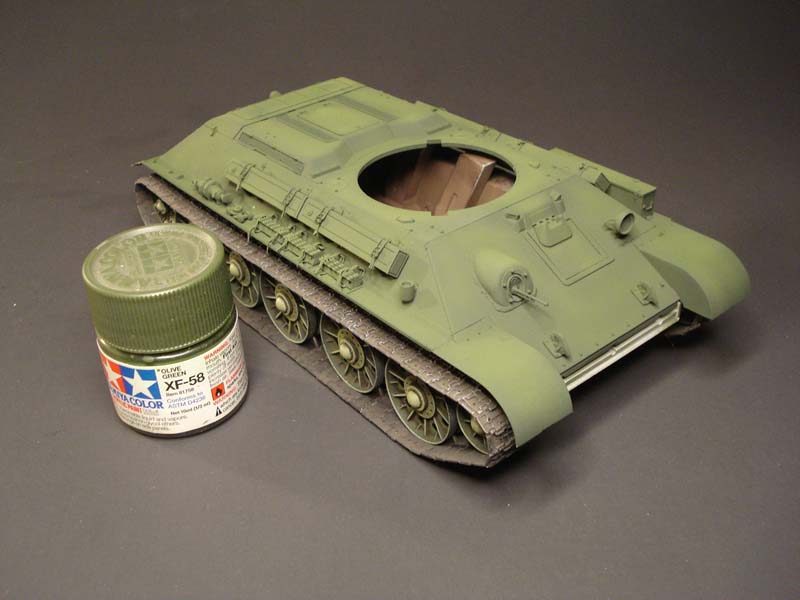
STEP FOUR
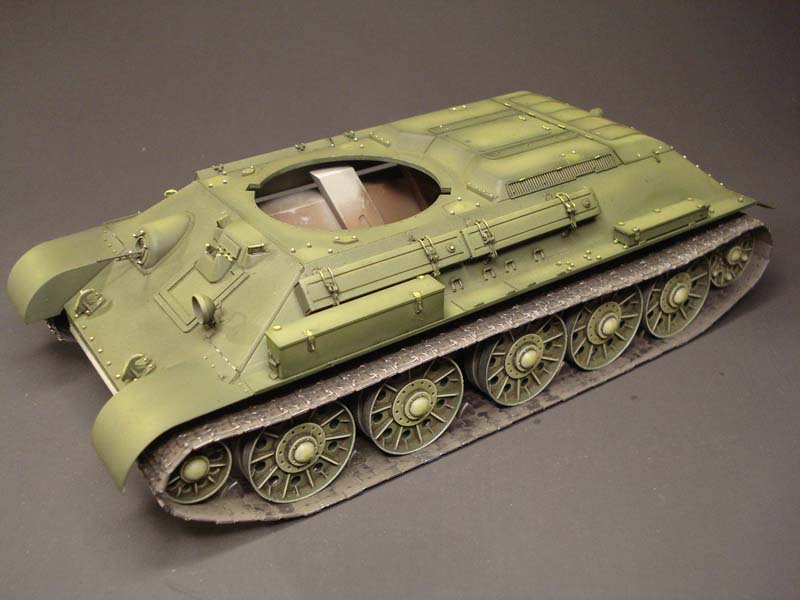
Next comes the shading/modulation. Using the olive green I add a few drops of Tamiya Yellow Green to make progessively lighter shades to creat the effect of light reflection. This step is repeated several times until I'm satisfied.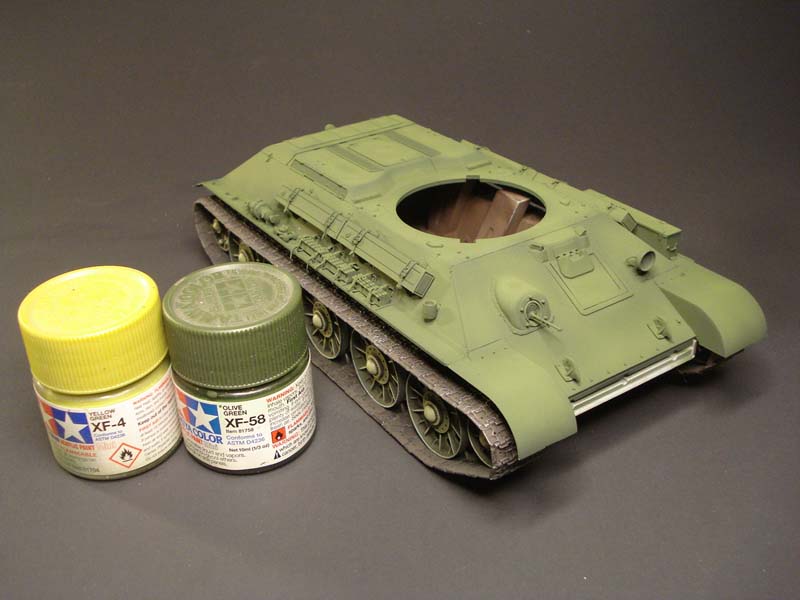
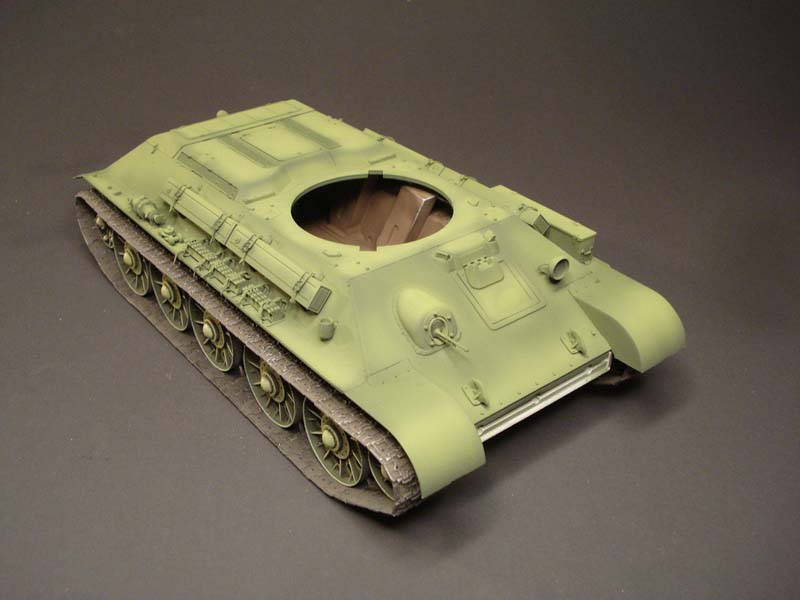


STEP FIVE
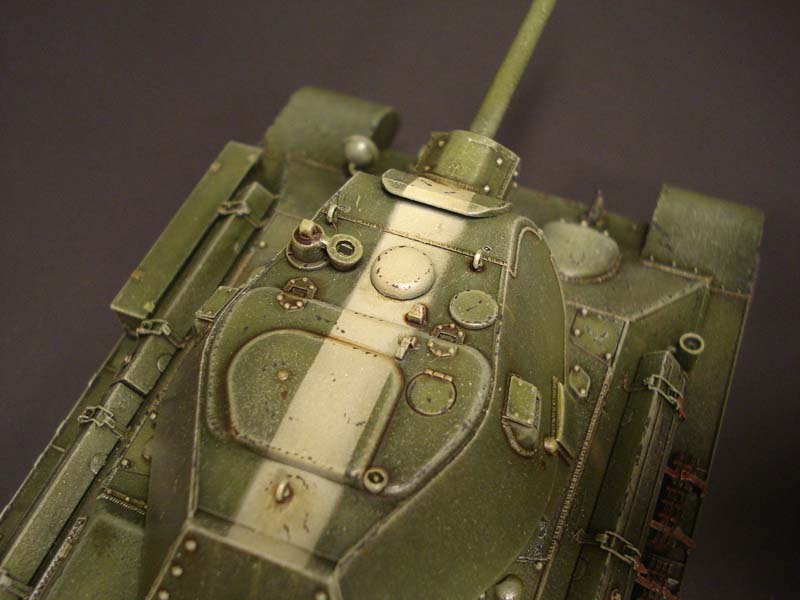
One of the little tricks to modulation is to go over the model and highlight certain details with a brush using the highlight color in this case Tamyia yellow green. Details like bolt heads, hinges, etc. This will further enhance the depth on the model.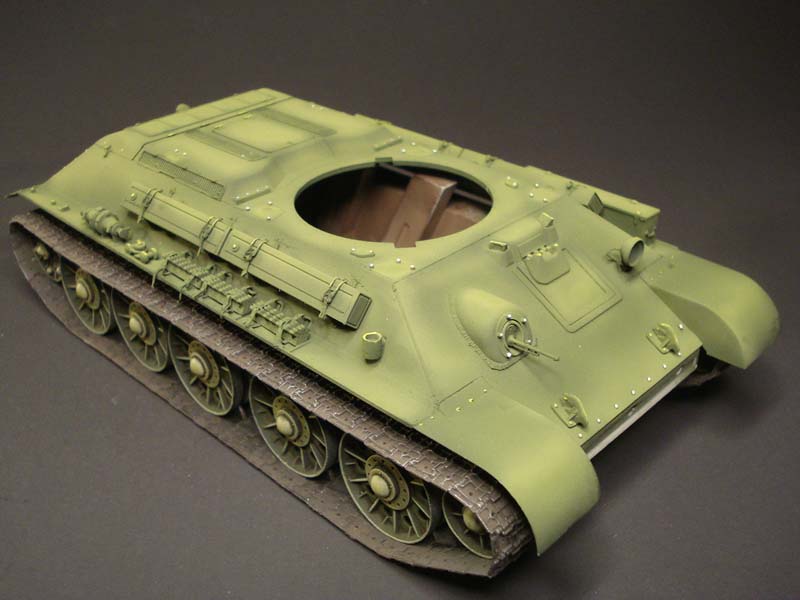
STEP SIX
Ok by now you are thinking this is nowhere near the right color and you would be right. That brings us to step 6. Next I make up an oil wash of Olive Green and Raw Umber from Windsor and Newton and apply it all over the model and let it dry. This will darken the model down and add an additional tinting. Remember no clear coat has been added during these steps in order that each layer blends with the others.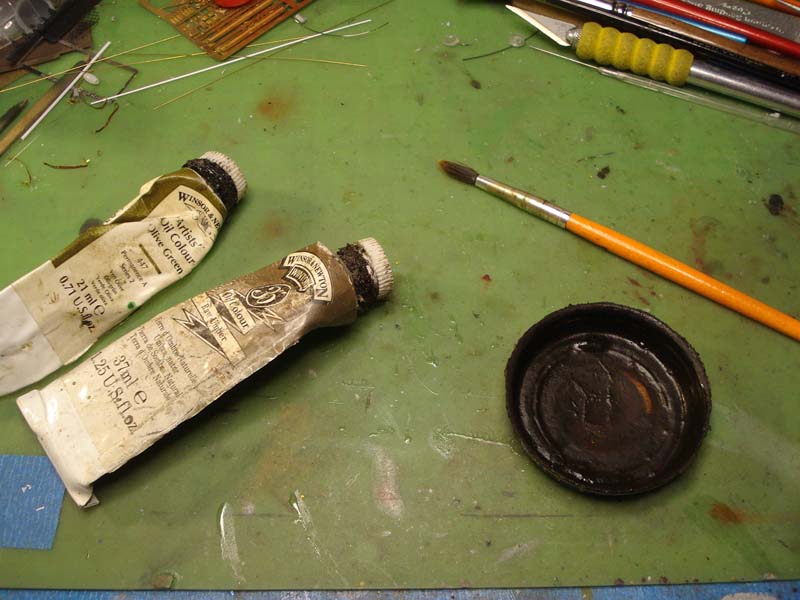
STEP SEVEN
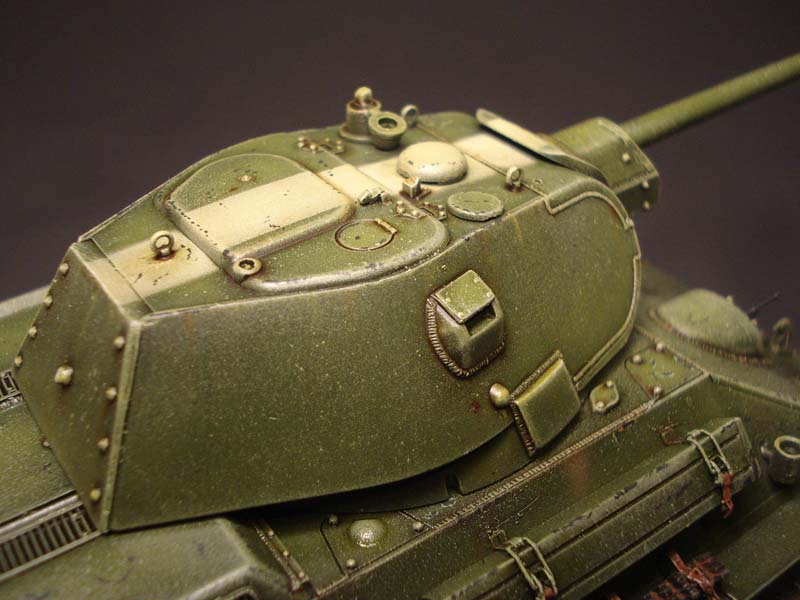
Now I do something that is considered rather old school. I do a dry brush of a mixture of Cadium Green, Olive Green, Cadium Yellow, and White oil paint over the model. With this step complete I can move on to further detail painting and weathering. Your dry brushes should be lighter versions of the base color and not white unless the base color happens to be a shade of white. The brush should be almost devoid of paint as too much paint will leave streaks that you dont want. The idea is to highlight raised surfaces.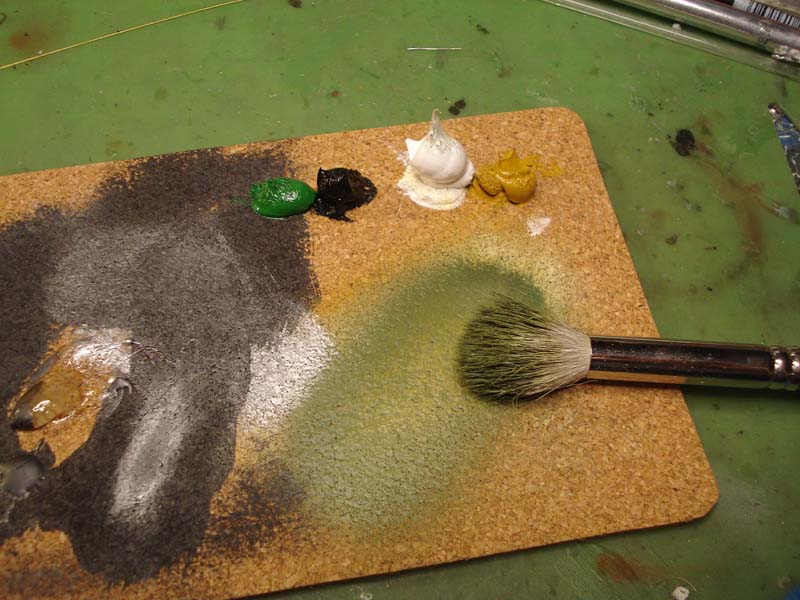
 At this point the basic painting is complete. Let the model dry for a day and then seal it with acrylic clear coat; in this case Future floor polish. It important to use an acrylic clear coat because the next steps will be oil based and the acrylic will protect the work already done.
STEP EIGHT
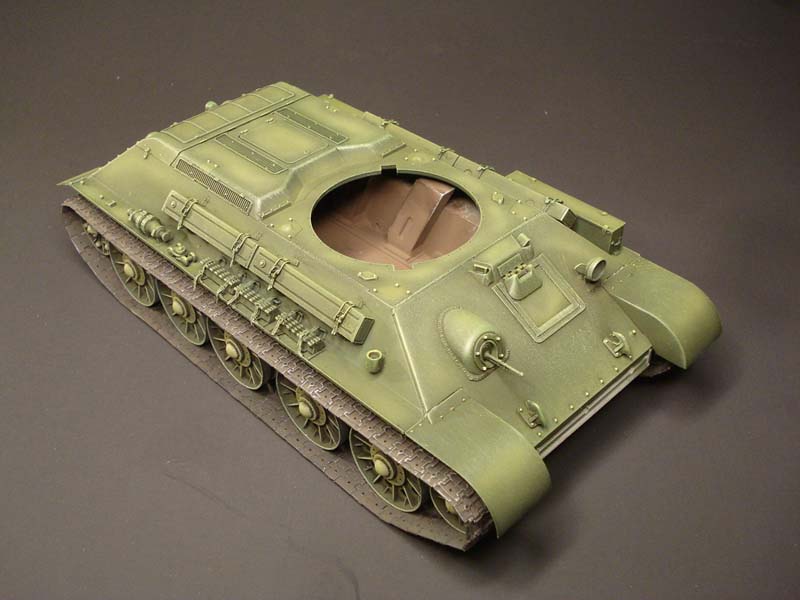
When the clear coat is dry I will go over the hull applying a pin wash of olive green. I added some streaking with the airbrush. When the wash was dry I again gave the hull another lite dry brush of pale green. The hull is darker with the clear coat, but will lighten up when the dull coat is applied.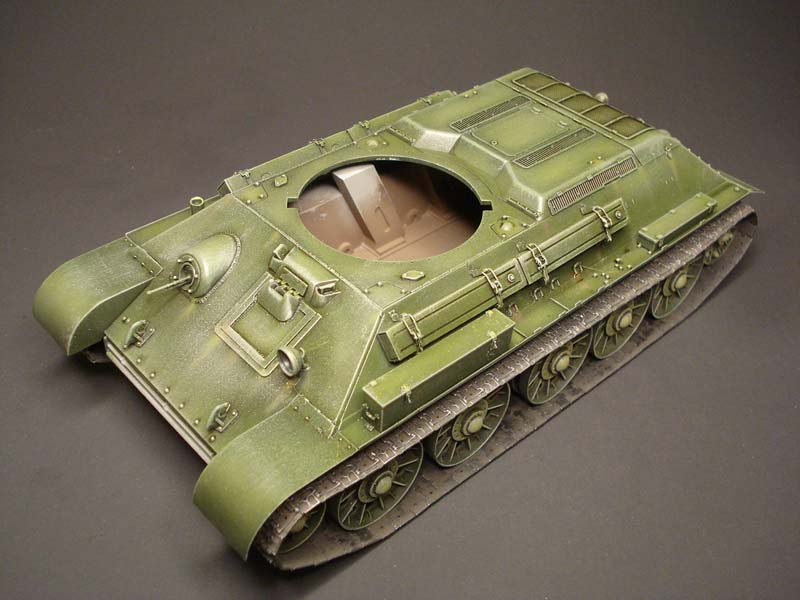
FINAL STEPS
At this point I once again I give the model a coat of sealer. When this is dry I will continue with more pin washes of brown, red brown to, and pastel powder washes to weather the model further. Weathering is a matter of taste so I will leave that part up to you, but my rule of thumb is Dont put on so much muck that you cant see the model.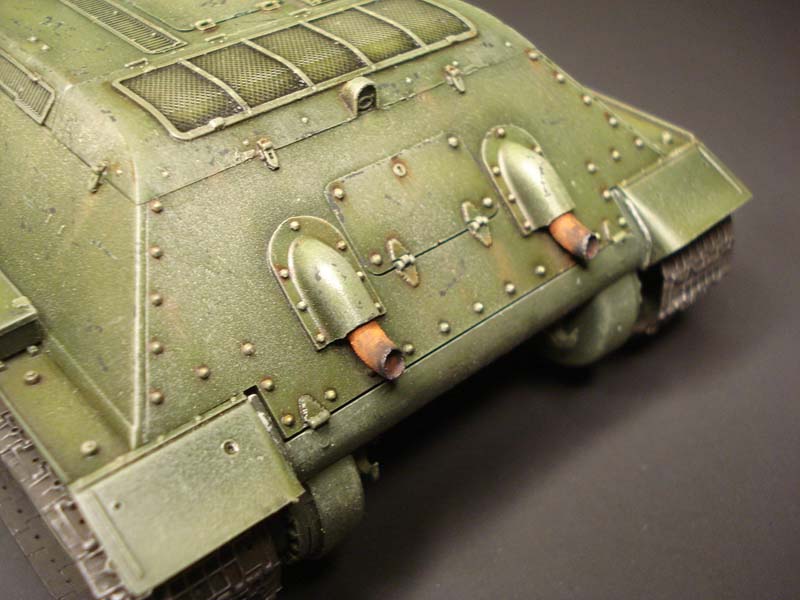
 When all is done I do one more dry brush with silver on raised details and then seal the model with flat clear enamel. Now its finished!

About the Author


Comments
Is drybrushing really that out of fashion? Well, even if so, we all see now, that it still does quite a nice job, and why wouldn't it, right?
This is one great guide for painting, because it also shows, that we shouldn't be too shy in trying some things and combine them. What I probably like most is the subtle and very realistic weathering on a vehicle still being in use. And not to forget the great quality of the pictures! Thanks for that Terry!
APR 19, 2015 - 01:36 AM


wow! some paint job. I,m on to my Dragon T34/76 next and will shamelessly copy your technique and if its half as good I will be a happy boy.
APR 23, 2015 - 01:47 AM


I'm rather new at this and I go to my Dad for a lot of tips and tricks as well youtube and this site but the one thing I use A LOT is drybrushing. Maybe it is old school I wouldn't know considering my pops stopped making models in the 80's lol
JUN 22, 2015 - 07:03 PM

amazing work and guide! thanks a lot. I really appreciate the weld joint details and the overall look of the tank. 10/10
APR 06, 2016 - 08:43 PM

Copyright ©2021 by Terry Barrow. Images and/or videos also by copyright holder unless otherwise noted. The views and opinions expressed herein are solely the views and opinions of the authors and/or contributors to this Web site and do not necessarily represent the views and/or opinions of Armorama, KitMaker Network, or Silver Star Enterrpises. All rights reserved. Originally published on: 2015-04-13 10:48:42. Unique Reads: 21107

WEB HOSTING BY


Copyright ©2021 Armorama and Kitmaker Network, a subsidiary of Silver Star Enterprises
All Rights Reserved. Please read our Conditions of Use and Privacy Policy.
All Rights Reserved. Please read our Conditions of Use and Privacy Policy.