Introduction
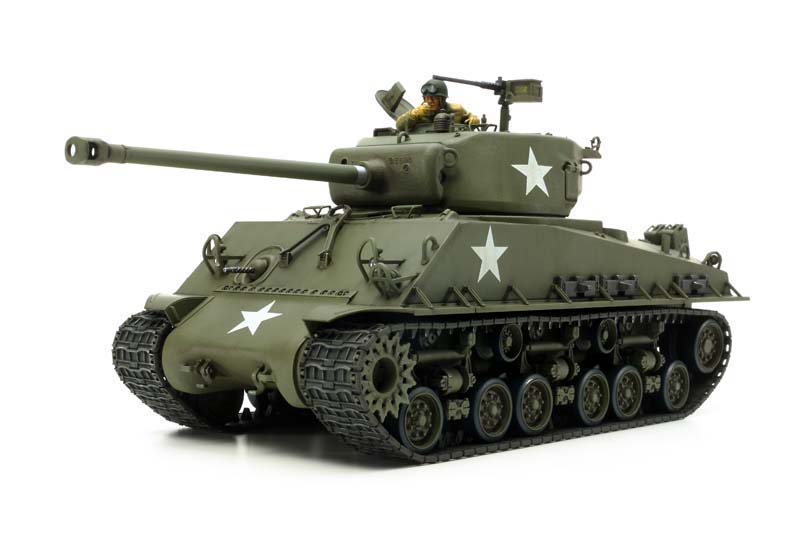
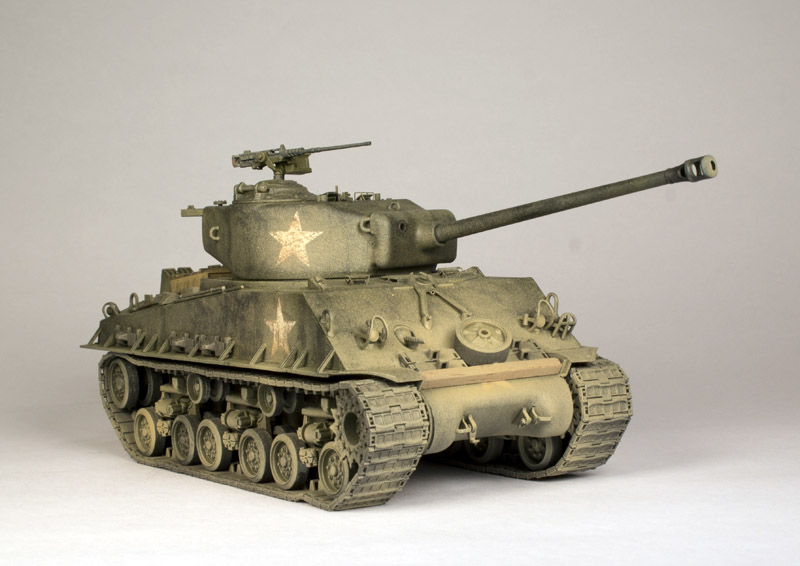
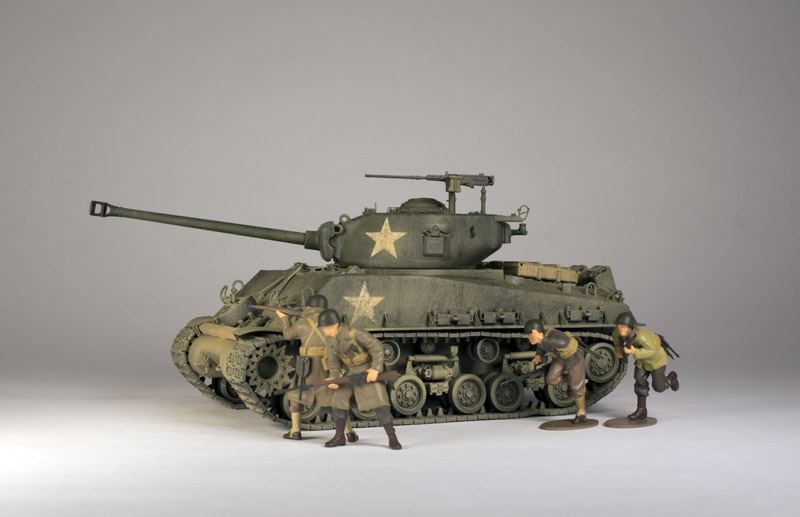
The M4A3E8 is a variant of the M4 Sherman medium tank, first produced in July of 1942. Roughly eight different companies manufactured the Sherman from 1942 till April 1945, and final production totals range from 48,000 to 55,000. During the Second World War, the Sherman was supplied through Lend-Lease to Britain, Soviet Union, Free French forces and other nations. M4's were known for their reliability and ease of maintenance. They were truly the workhorse of the American Army.
Kit History
This 2014
Tamiya M4A3E8 Sherman #25175 is a re-box of Tasca's 2010 Easy Eight Sherman M4A3E8 #35-020. The vehicle, photo-etched parts and decals are from Tasca while the figures and their accessories are from
Tamiya.
Inside the box
The kit contains 941 parts. The finished model contains 662 parts, and when you subtract the track number it's down to 350 parts. The instructions call out 113 parts to be not used. Tasca's parts are molded in darker olive drab plastic, while
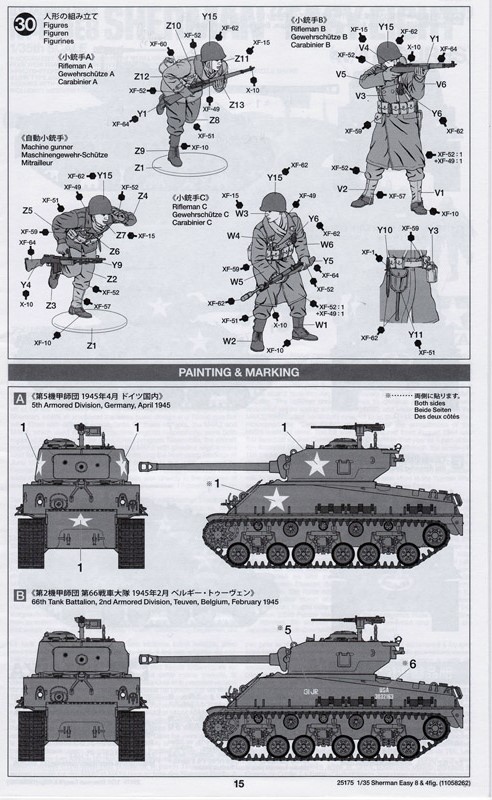
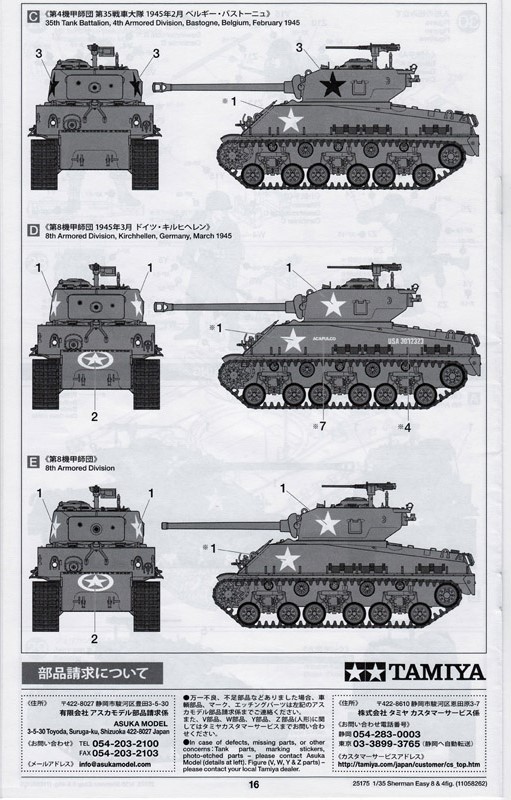
Tamiyas parts are molded in lighter olive drab. Decal markings are provided for five Sherman tanks. Four figures are included, and the weapons and accessories are from
Tamiyas Military Miniatures US Army Assault Infantry set #35192, date stamped 1995.
Construction
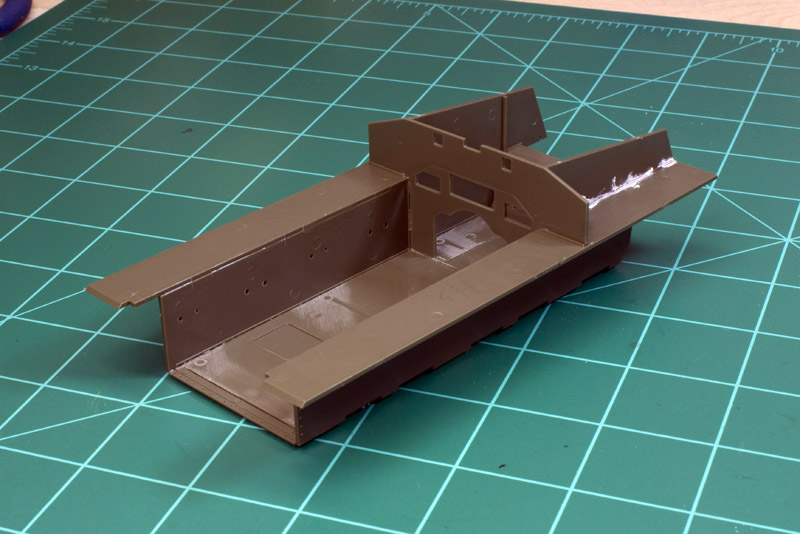
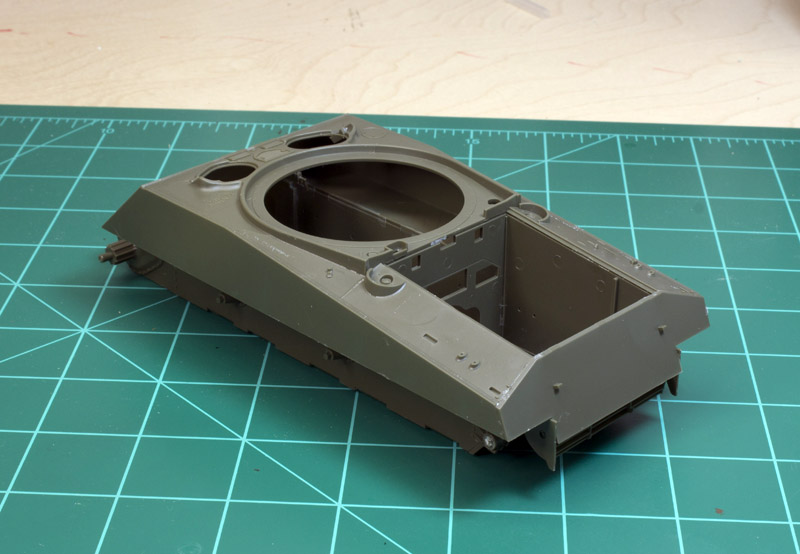
I started work on the lower hull assembly; there are two side plates, one bottom, a vertical plate that divides the front of the tank from the engine compartment and a slim part that fits on the front of the bottom plate. Next up are two horizontal plates that attach to the side plates, along with a rear plate at the back. The part fits are excellent, I only had to use putty to fill in hair size gaps. Before attaching the upper hull, I glued in the .30 cal machine gun. From what it looks like the machine gun should be movable, but I put glue in the wrong spot. When I did some test fitting of the upper hull to the lower, it fit just about perfect.
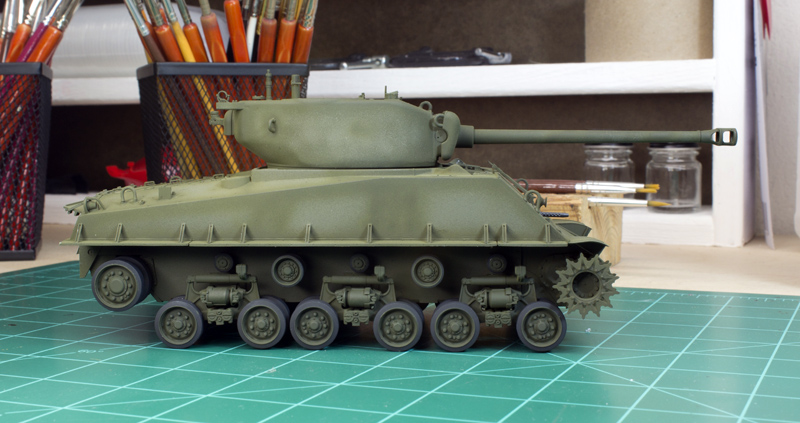
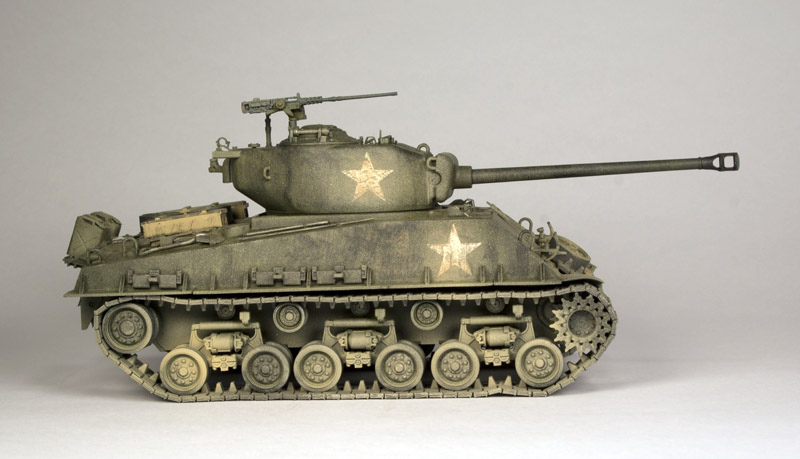
Next up is road wheel assembly; with each assembled suspension bogie consisting of 12 parts. This is another step where properly applying glue in the right spots will allow for movement of the suspension. Gluing parts B7, B8 to B14 through the holes of the B13's, will allow free movement of the suspension. With B6 only glue the ends to B13, keeping the insides clear of glue will allow the suspension to be flexible. You could then pose the tank driving over rough ground. The wheels are painted
Tamiya XF-85 Rubber Black, and the rims and rest of the assembly are painted XF-62 Olive Drab.
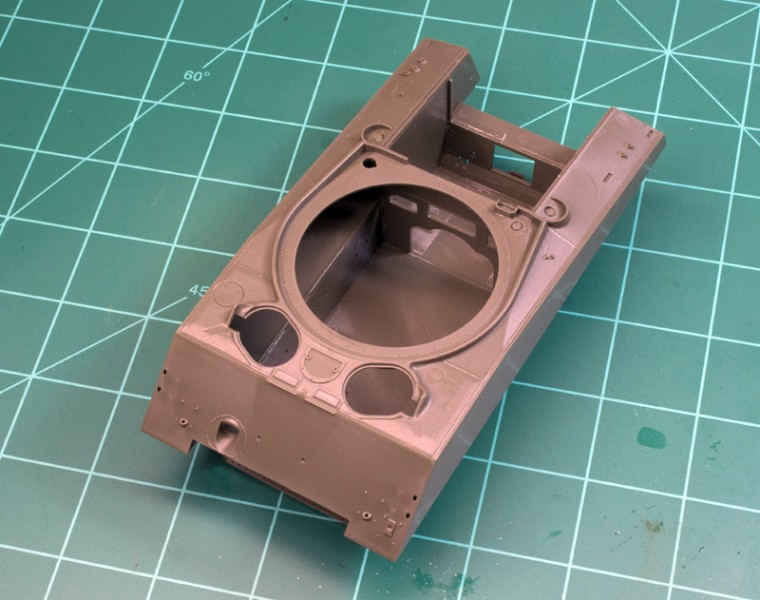
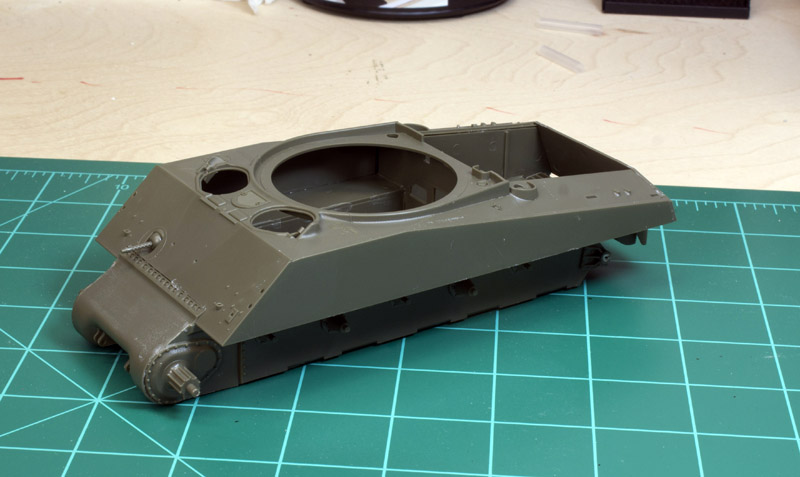
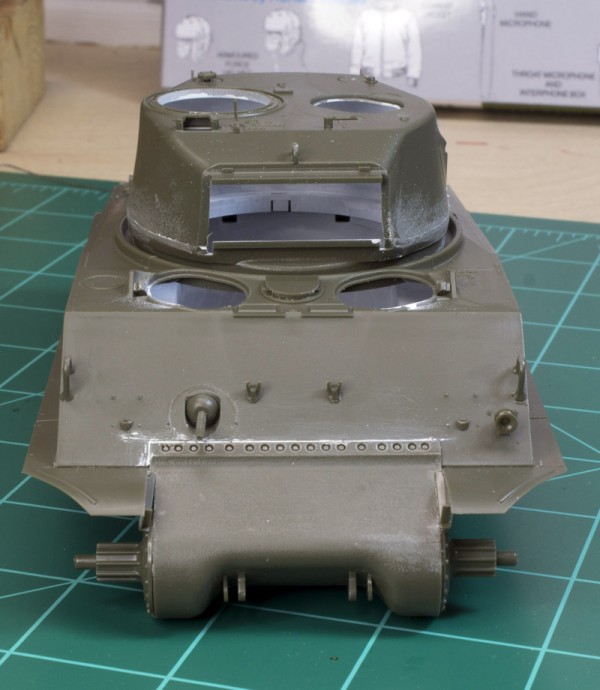
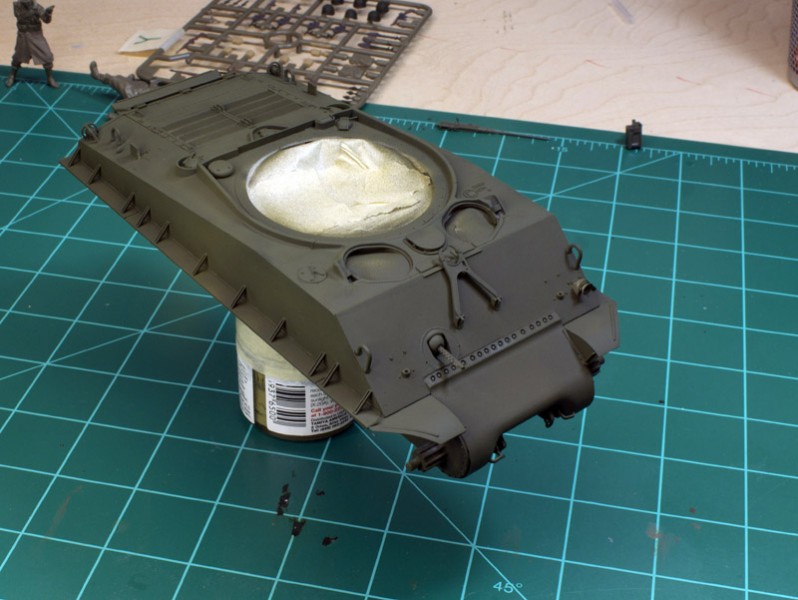
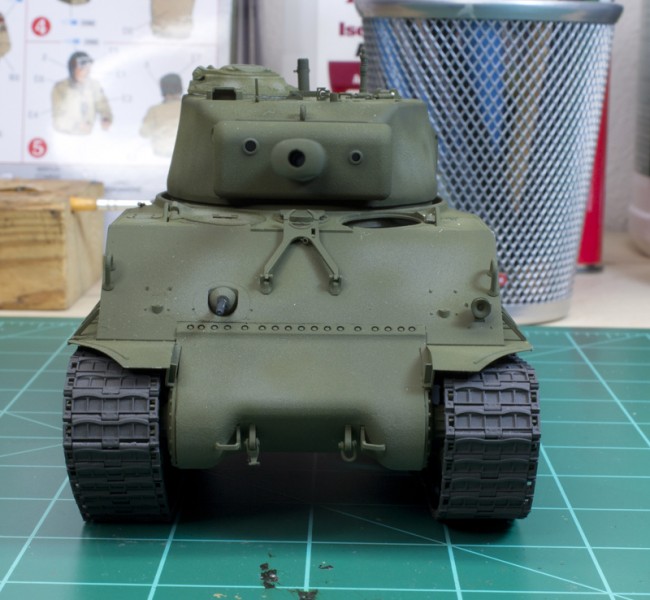
After gluing and letting the upper and lower hulls to try, I installed the transmission cover. And again it fit perfect, only needing a small amount of filler around the area of the bolts. The rest of the upper hull is straightforward, and the driver and co-driver hatches are provided with metal guards. Getting the angle of the four legs right can be hard, a template would have been nice to have. Unlike the Dragon M4 kits that are provided with metal fenders,
Tamiyas M4 has plastic fenders. There's nothing wrong with them and they attach to the upper hull pretty easy. I decided to go with the plastic covers for the headlights and horn. Not sure about the main gun travel lock, I assembled and glued it the right way but it would not snap into its mount on the front of the hull, so I glued it in place.
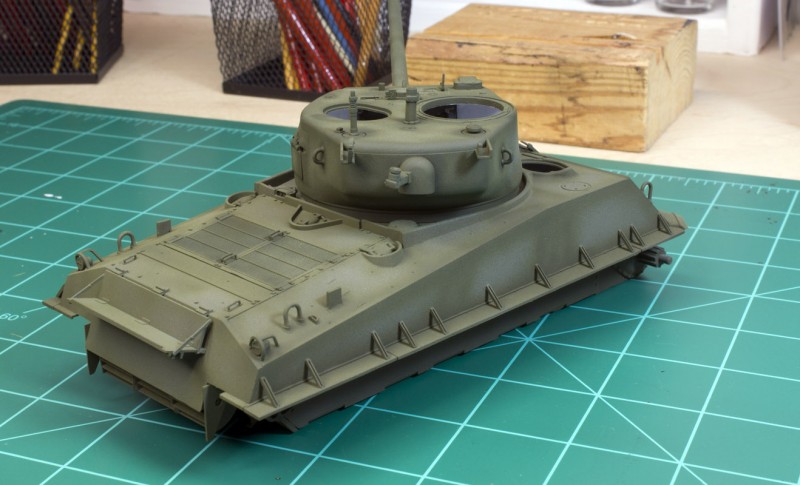
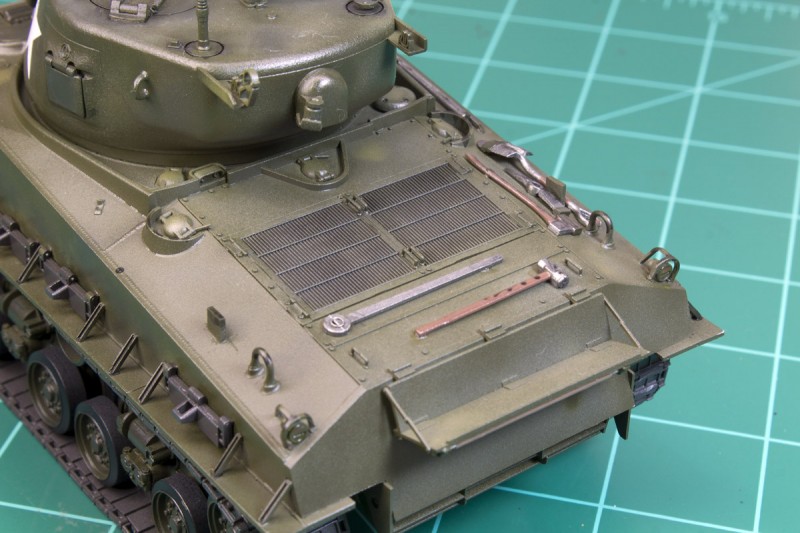
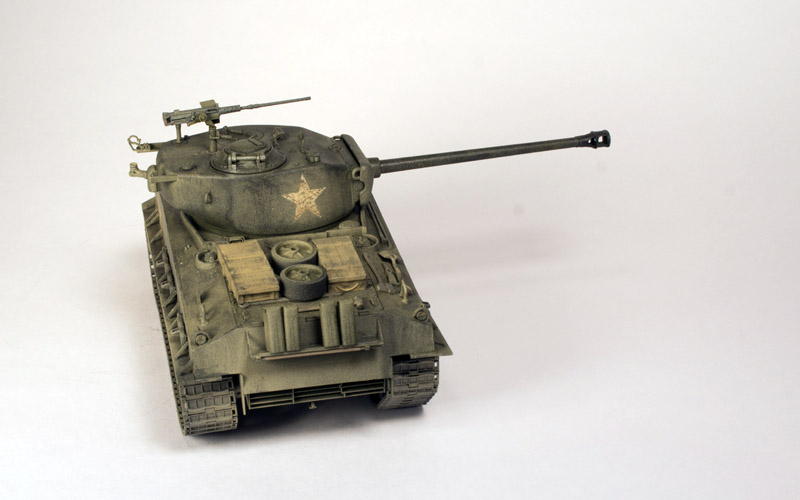
The rear deck is again pretty straightforward, although I did leave all the tools off to paint them separately to make it easier.
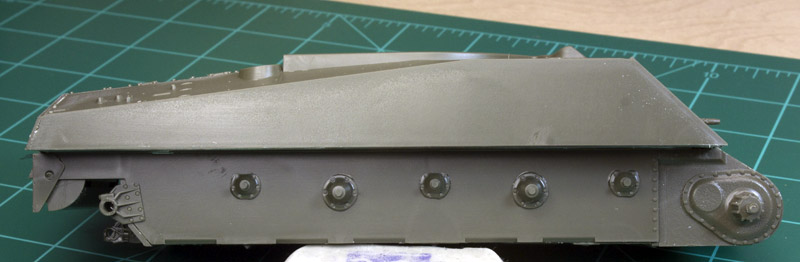
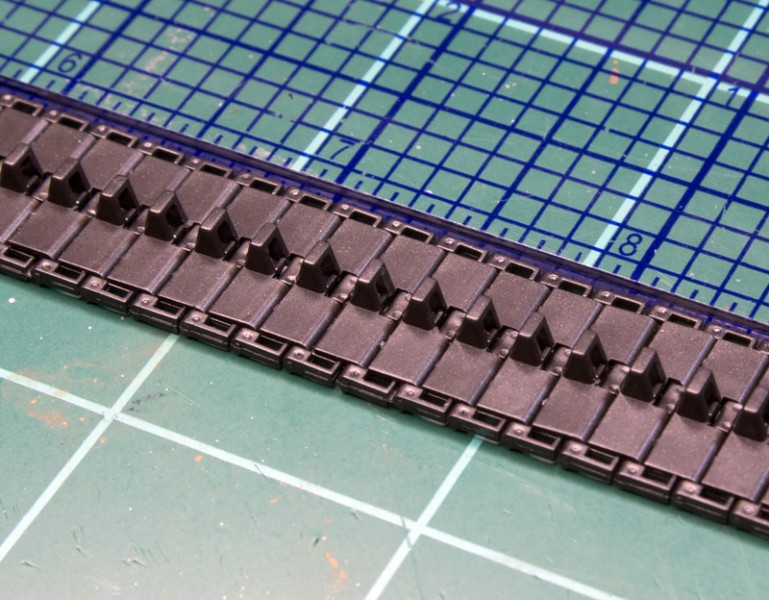
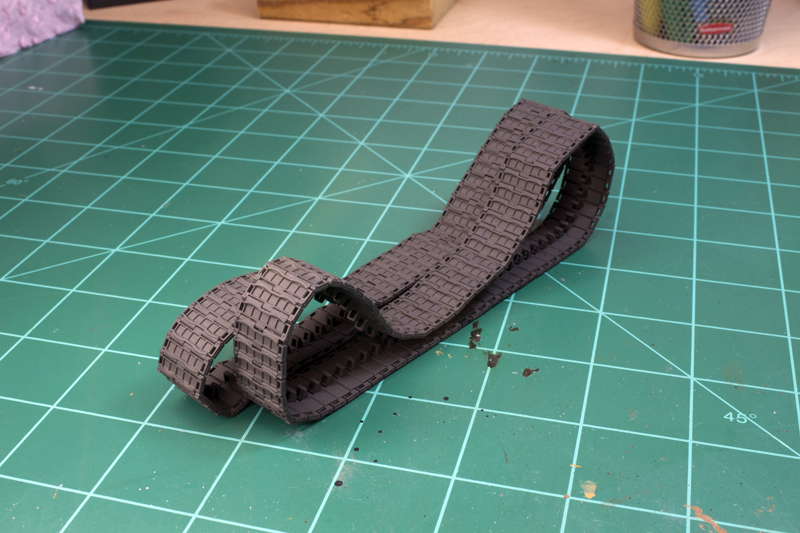
Next was track assembly, it seemed like it took forever to cut out and clean up each track piece. Each link has two parts. There are about six or seven links that do noT have the little pin nubs, those are to be glued on the side of the upper hull, to be used as spare tracks. I first got ten or so bottom links lined up next to a ruler, making sure to line the pin nubs into the next link. Then I used Testors cement on the tip of a tooth pick to place the glue in the centers of the track, using tweezers will help place the top pieces to the bottom one more easier. After doing five or so in a row, you get the hang of it and assembly seems to go a little faster. The instructions say to use 77 links per side, but I found that 78 works better, 77 is a tight fit.
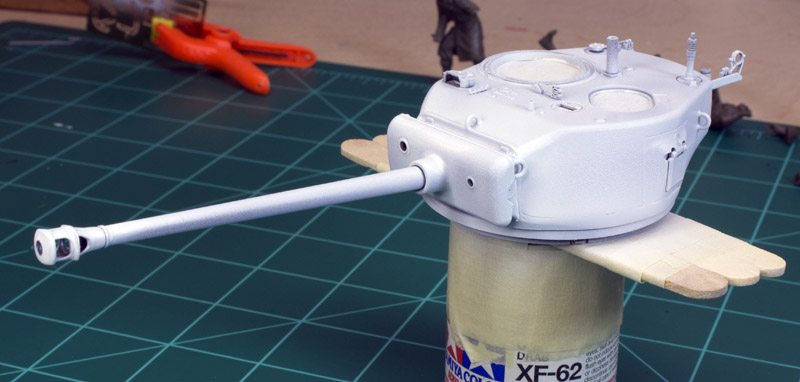
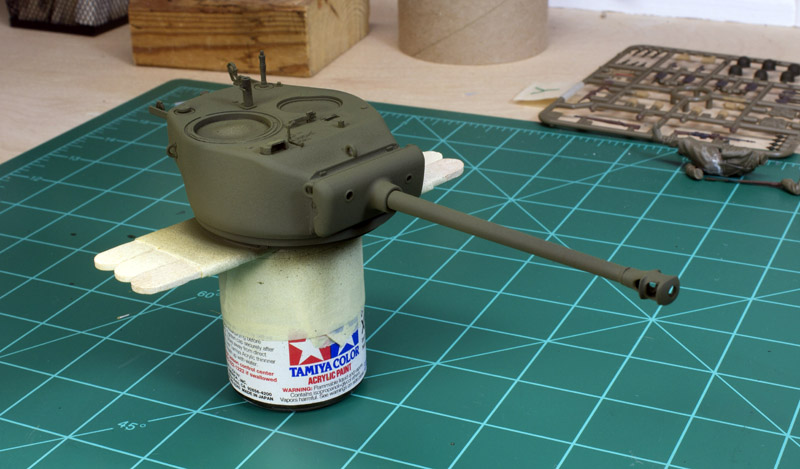
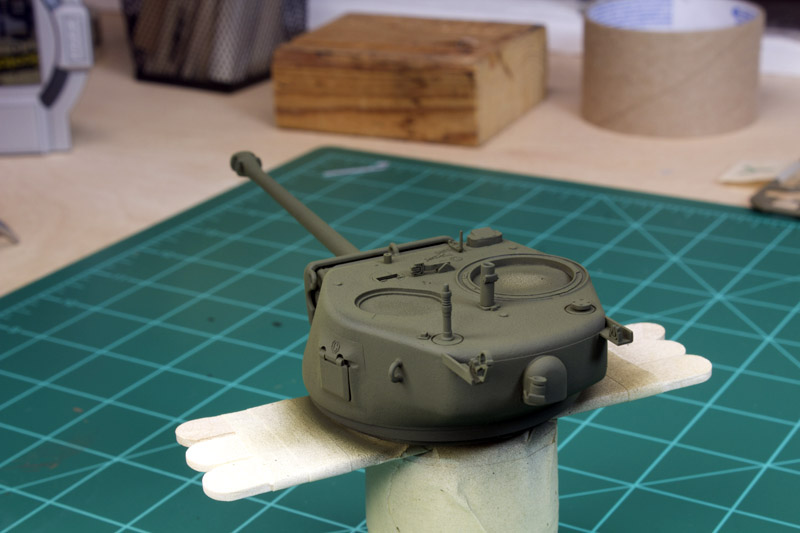
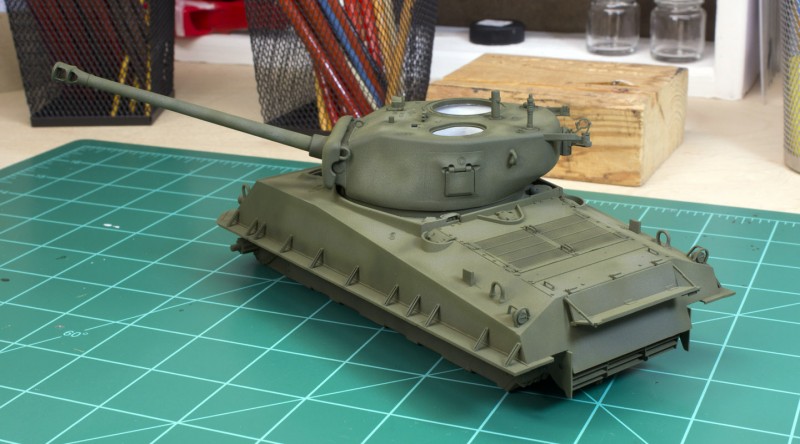
Turret assembly is next, and the main gun comes with two halves. After you have glued the two halves together, starting with either 300 or 400 grit sand paper, wrap the sand paper around barrel and turn the barrel. Work the sand paper up and down the barrel, to get even coverage. If youre lucky it might take five minutes for the barrel to become smooth and round, other times it take longer. After you have sanded the barrel to the point where you can not feel the seam, start using finer sand paper. I would start with 800 and work up to either 2000 or 3000. And to get even finer, using white printer paper works great to polish.
You have the option to use or not use the two piece muzzle brake, and you have the option to use the plastic commanders turret hatch, or the clear plastic one. The rest of the turret assembly is again pretty straightforward, although I did use a little filler on the two turret halves.
Painting
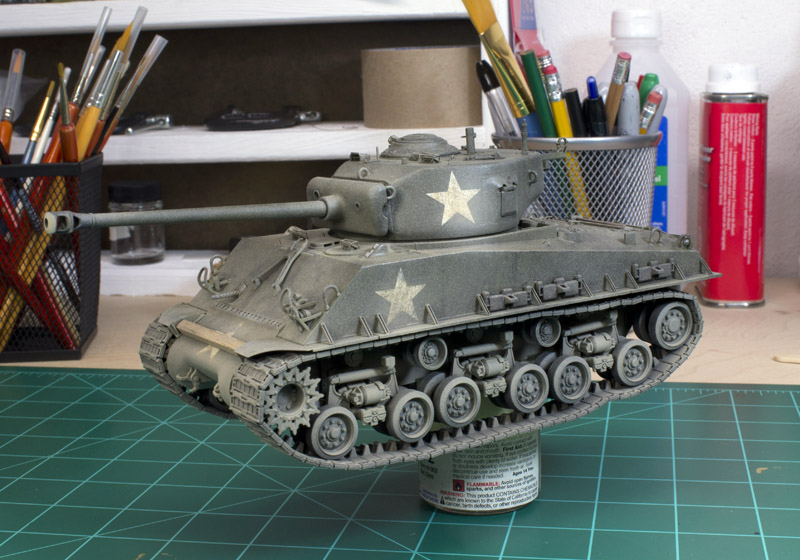
To make airbrushing easier, I attach the hull to an empty bottle of
Tamiya 23ml paint, with masking tape sticky side up. And for the turret I use either a 10 ml or 23ml bottle with three popsicle strips taped together to form a wider base with masking tape sticky side up, wrapped around the popsicle's. Next I use soap and water on a Q tip and gently wipe down all the surfaces, I just let the model air dry, but you could use Q tips to dry the model quicker.
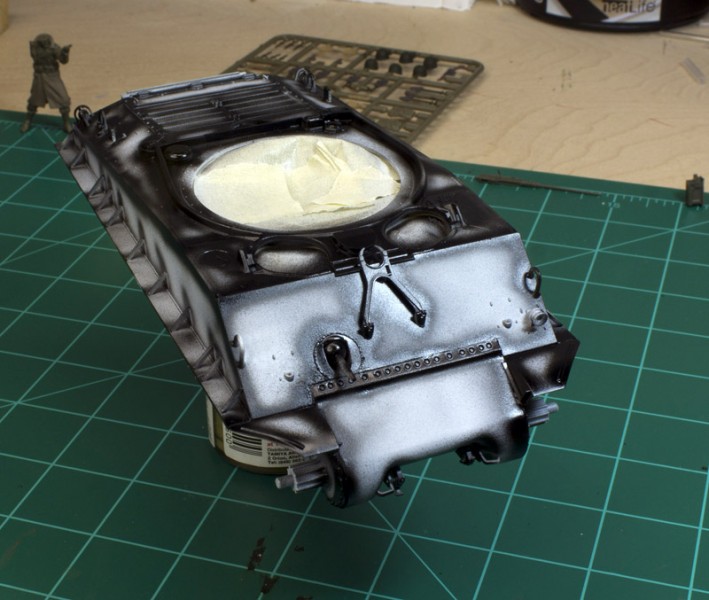
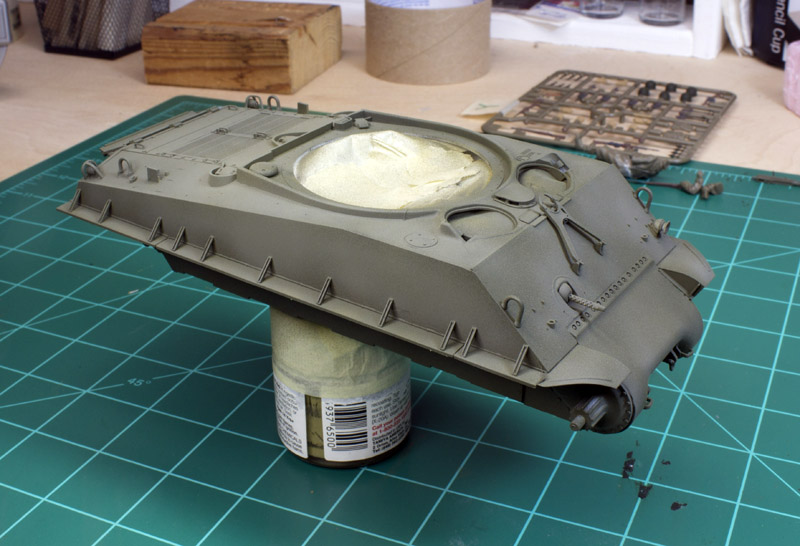
When the model was dry, I airbrushed Model Master acrylic white primer #4622. Their primers do seem to dry faster than the regular paints do, so I had to clean the tip of my airbrush needle a few times. The next day I pre-shaded with
Tamiya X-1 black on the hull and turret. When I airbrush
Tamiya acrylic paints, I just let them dry over night before moving on to the next color. I used
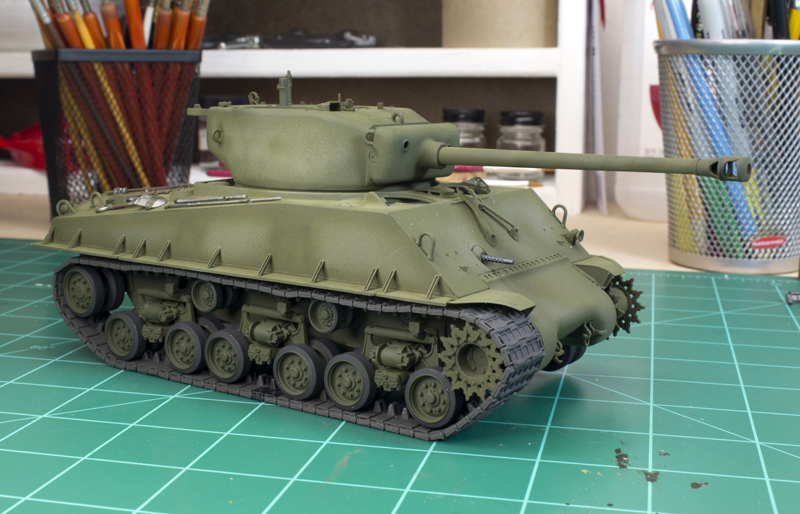
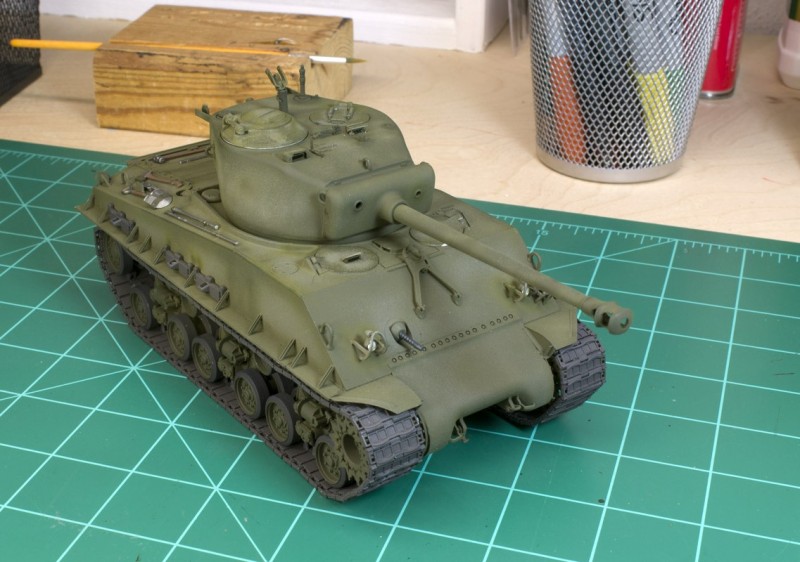
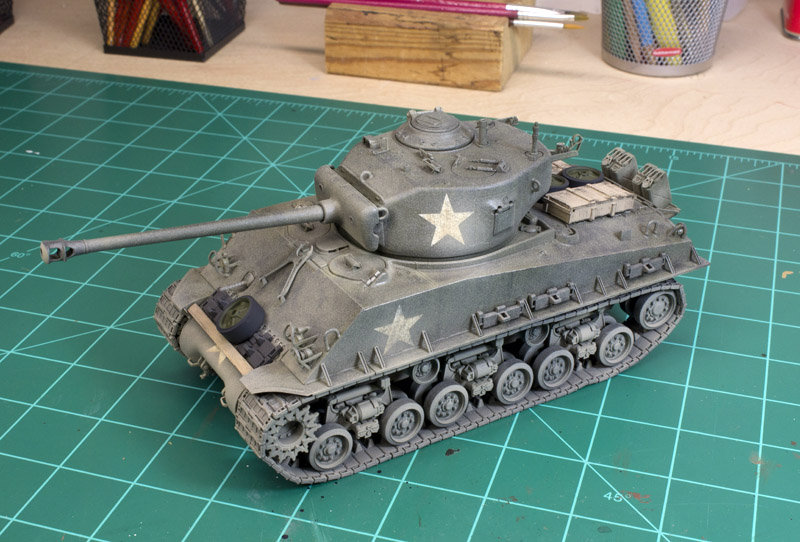
Tamiya XF-62 olive drab for the base color, which I airbrushed on in a good even coat. For post shading I used Model Master enamel olive drab #2050, this light shade of olive drab really made the model look faded. The next color I used on the edges to darken them up was I believe
Tamiya XF-61 dark green, but I can not sure.
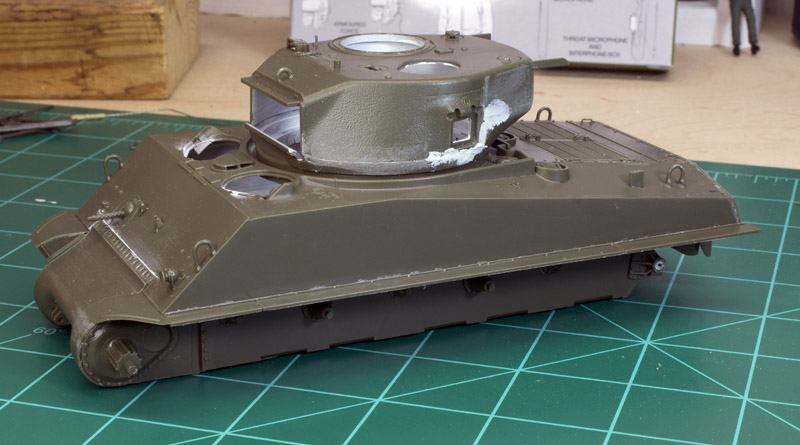
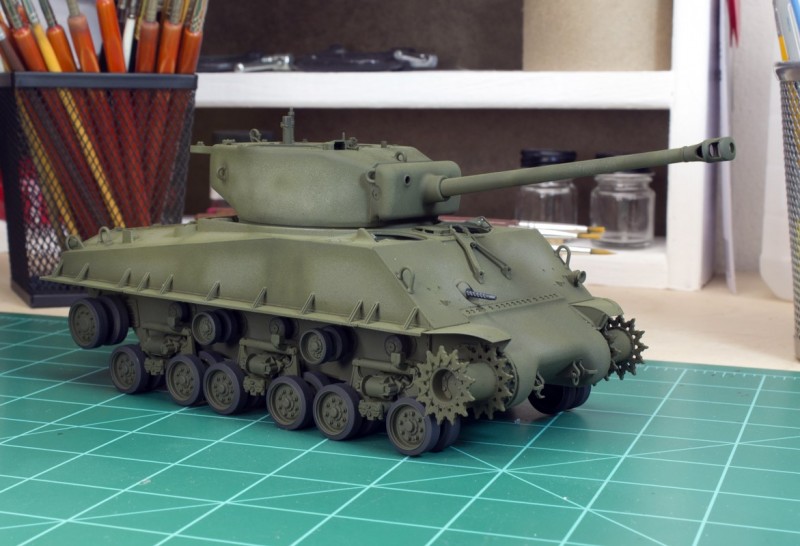
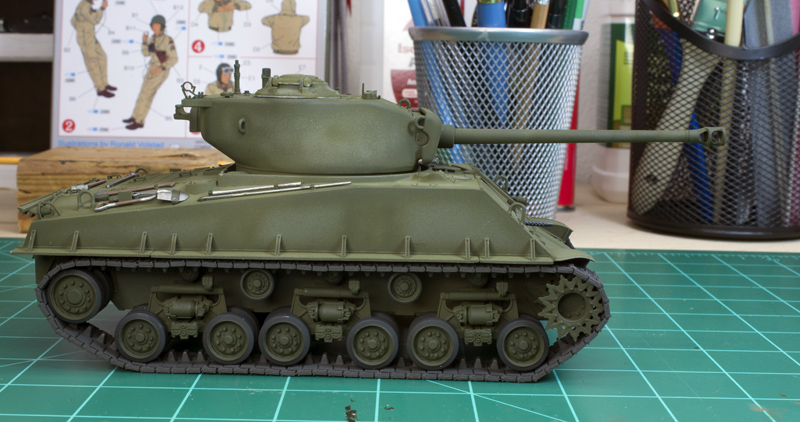
After the overall color was applied I attached the suspension, and return wheels. When I went to attach the tracks I had to remove the return wheels so that the center guides would clear them. I then attached the spare tracks and tools on the side and engine deck.
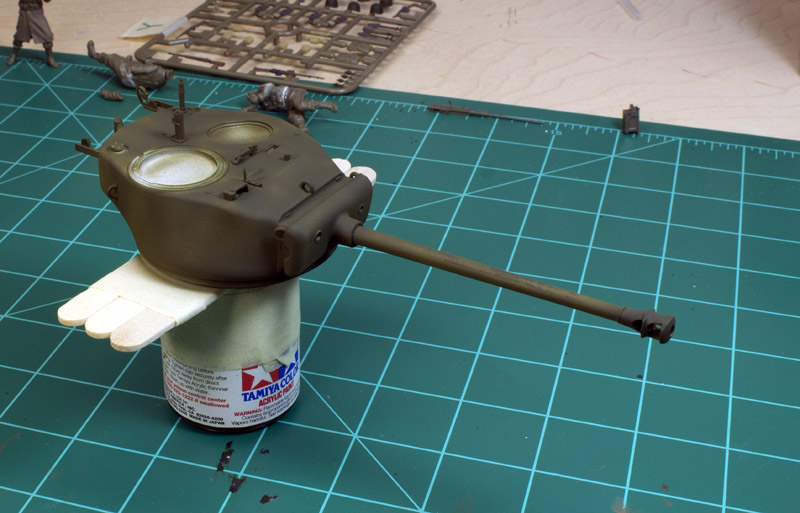
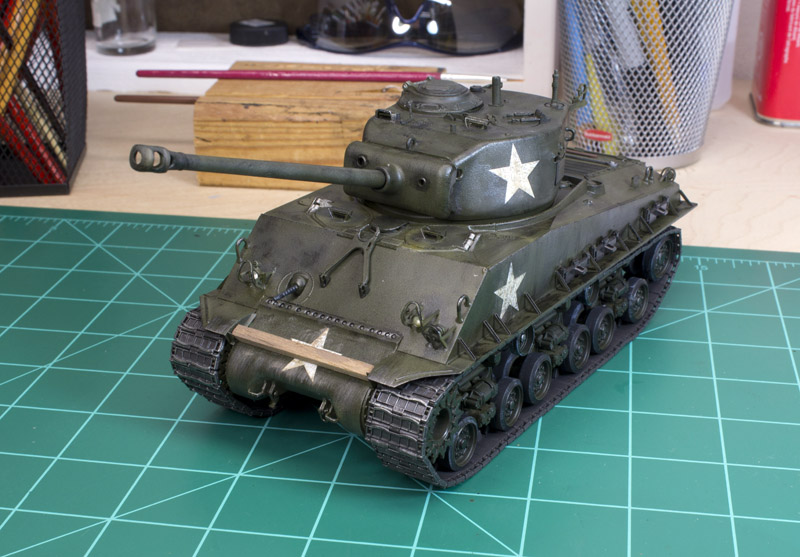
Touch up painting was needed here and there, then it was time to gloss coat for decals. I airbrushed on two light coats of Future. As you can see in the pictures, the Future made the olive drab really dark. I have used Future on past models and it has never made the overall main color dark, so I'm at a loss.
Decals
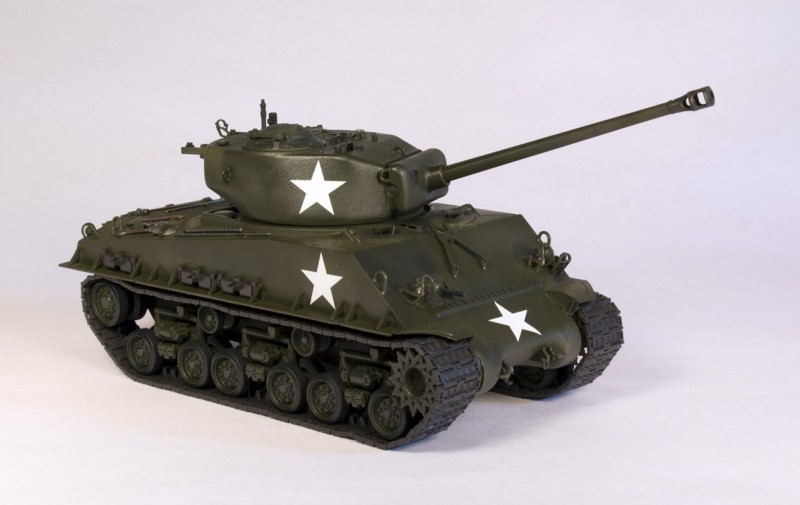
The decals supplied with the kit are simple water slide, after cutting out the decal and putting it into a container of warm water; I brushed on Model Master decal setting solution. I used tweezers to hold the decal paper and a toothpick to gently move the decal on to the spot I wanted. After letting it dry for 10 to 20 minutes, I brush on Model Master solvent solution. For one to two days following I brushed on the solvent solution once or twice a day. When I was happy with the look I airbrushed a light coat of Future. By doing this it helps seal in the decals. I then added a strip of cut balsa wood to the front to act as a holder. I brushed painted it
Tamiya XF-52 buff.
Weathering
With this model I wanted to try some different weathering techniques that I've come across. First up is an acrylic wash. Using a paint pallet mix together ten drops of water, three drops of Model M
Next is dry brushing with
Tamiya acrylic paints. I started off with
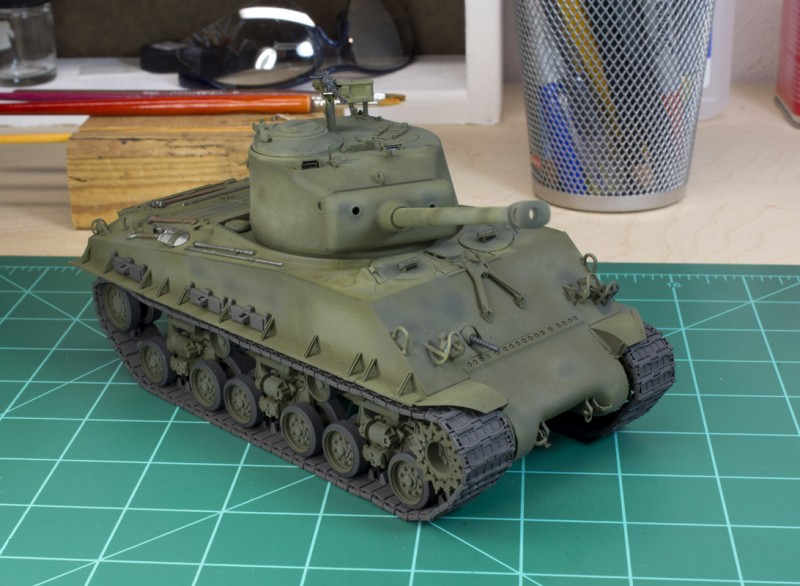
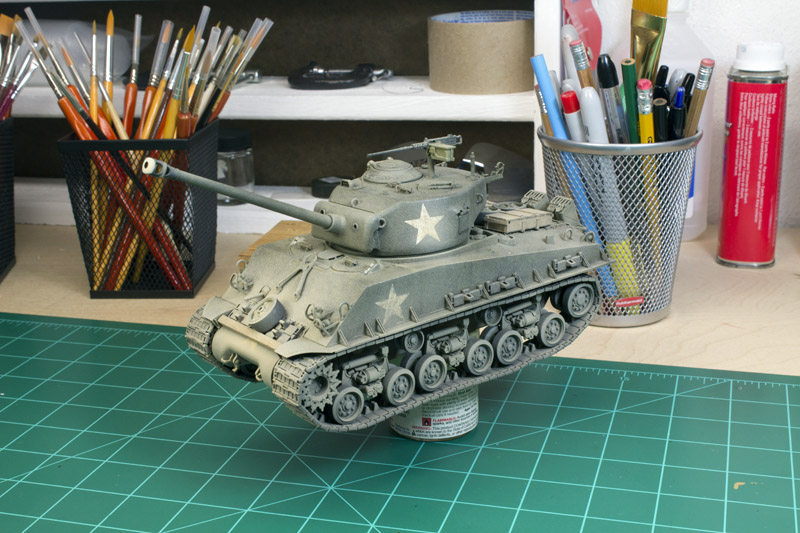
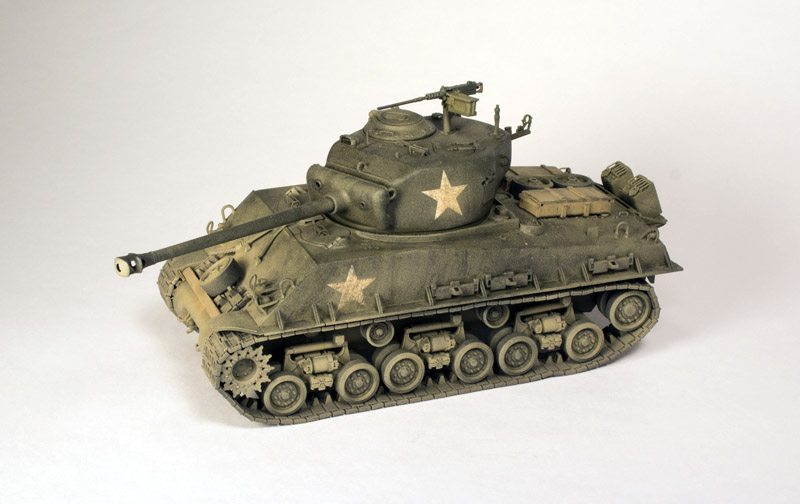
Tamiya XF-1 flat black, getting it on every surface and over the bright white stars to tone them down. Followed by XF-52 flat earth, and XF-56 metallic grey for the tracks and other surfaces to show the paint being wore off. Next I airbrushed on a light mist coat of XF-57 buff all over but mainly on the front and sides. I had not put the extra storage and spare tracks and .50 cal machine gun on until after this, so to blend them in I misted on another coat of XF-57 buff.
At this point I was happy with the weathering so I sprayed on Testors Dullcote, to finish the model.
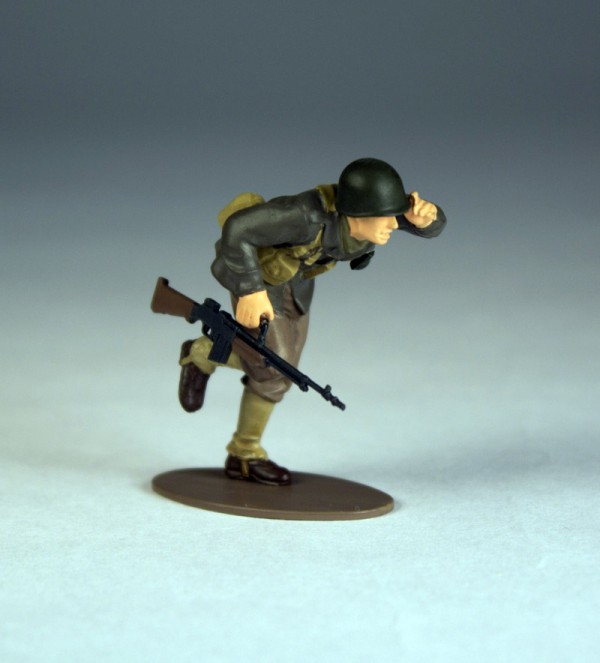
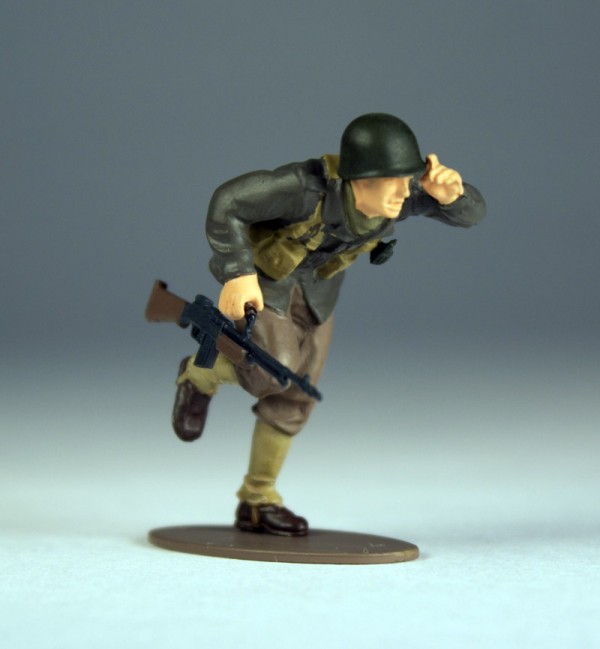
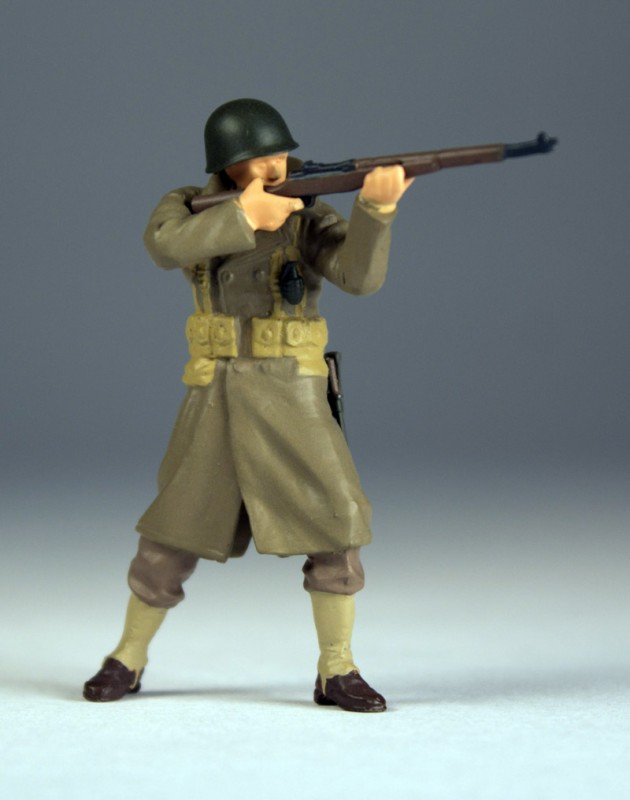
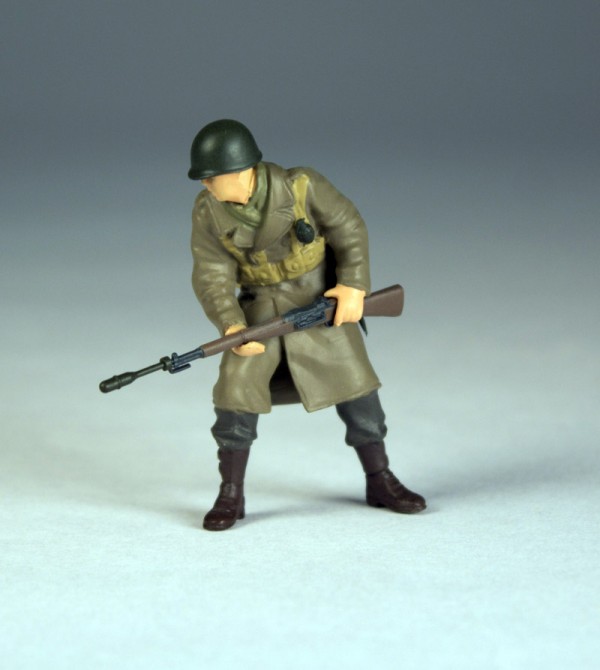
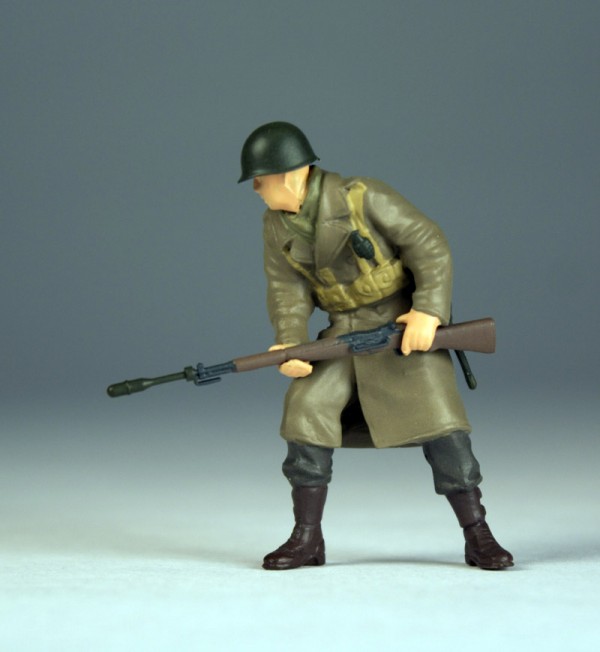
Figures
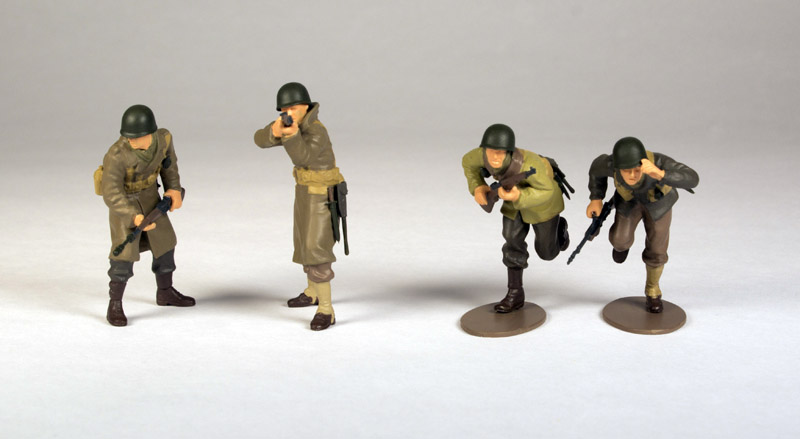
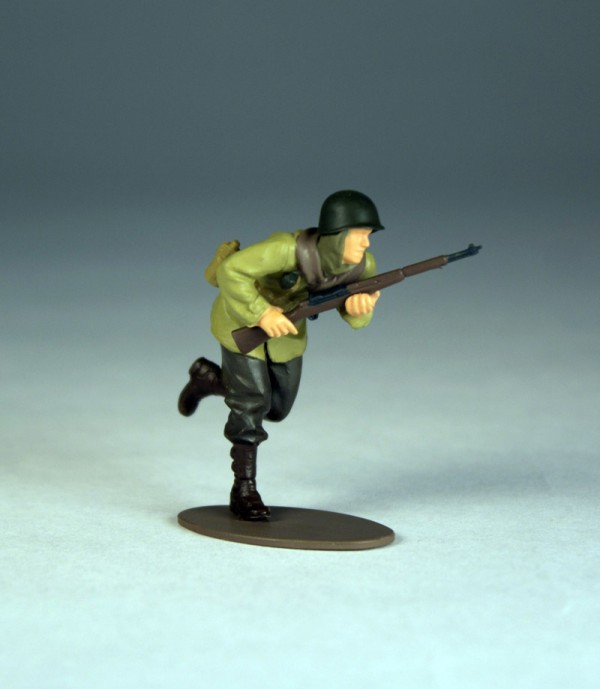
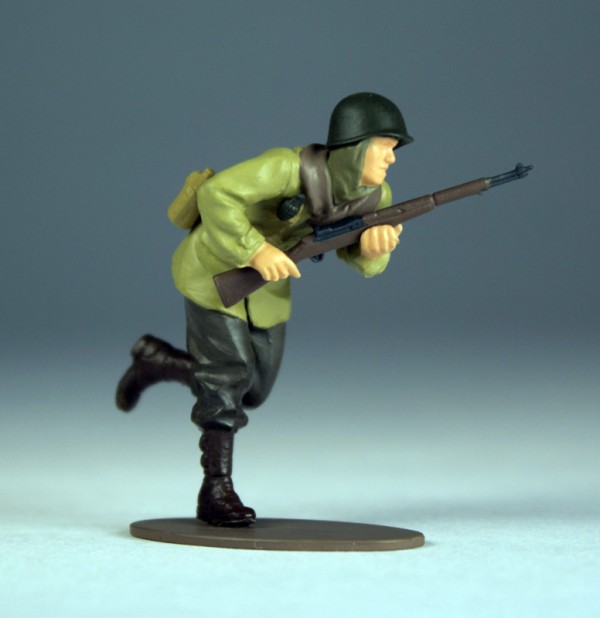
The kit comes with four infantry figures. Two standing and two in a running stance, to help the two running stand up the kit includes two bases. Each figure comes in six pieces, two legs, two arms, upper body and head. The part fits are very good, and only used a little putty where the upper body meets the lower legs. The only real trouble I had was with riflemen B, the one holding the M1 up to his head. His right arm did not attach flush to the upper body part, I used CA glue then after that dried I used putty to fill in the gap. It took me two tries at painting them, the first go around I did not like the look so I soaked them in a container of 91% Isopropyl alcohol to strip and loosen the
Tamiya acrylic paint.
The second try went much easier. By starting at the boots and working my way up, painting went much smoother. I would paint the boots three coats of flat brown, then work up the pants and so on. The real challenge is eliminating painting over another color, a fine tip brush is a must. After the four were fully painted I started gluing on their accessories and the two bases with CA glue. They were then airbrushed with Model Master acrylic flat clear to finish them up.


Comments