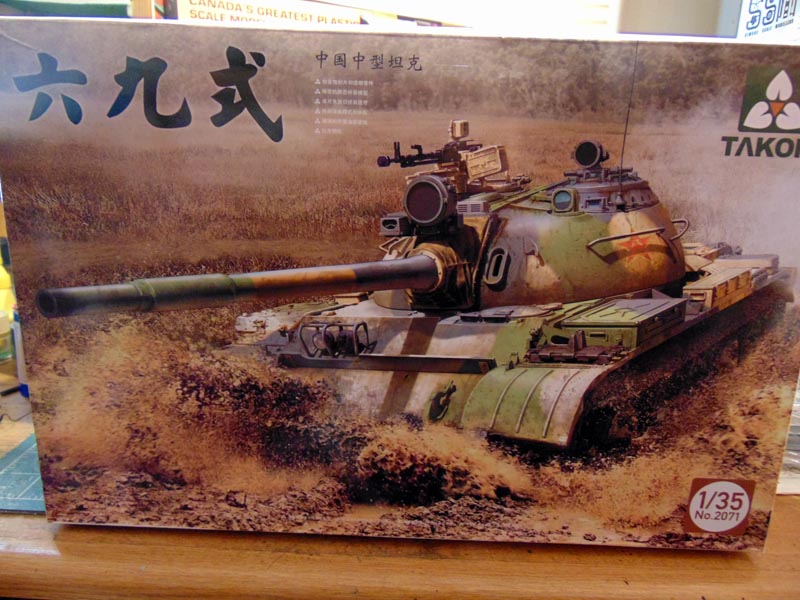
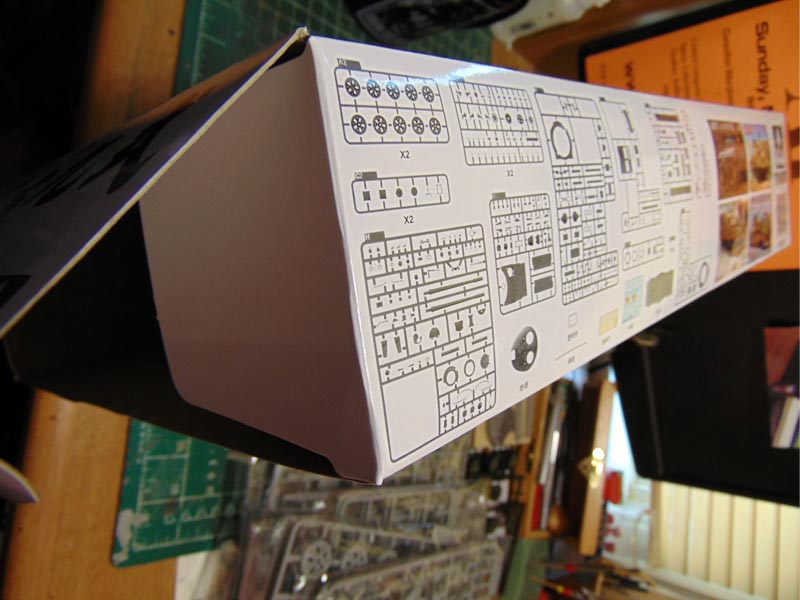
Takom's Type 69 kit was initially released for the Chinese market but has since become available on eBay. Based on their previous T-55 kits, this release includes new sprues for this variant. The kit comes packaged in a well-stocked, end opening box, with the painting and decals options on the back.
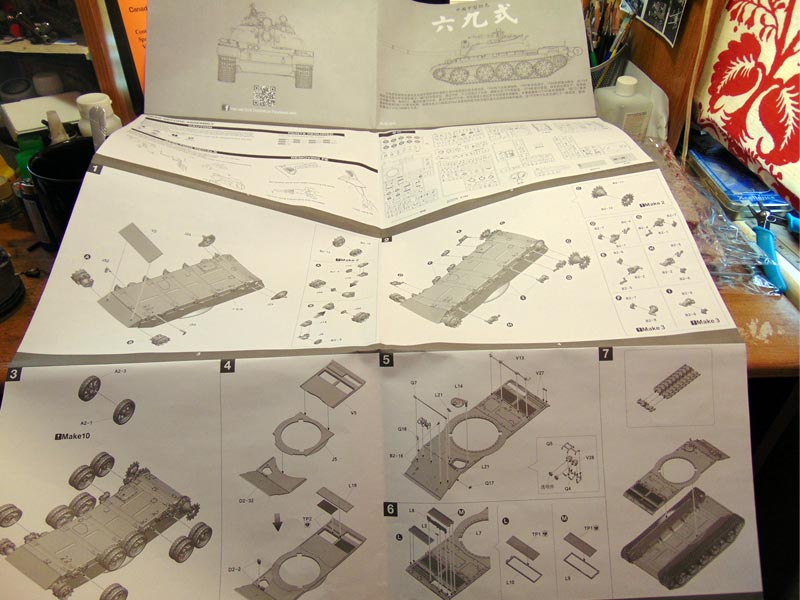
Opening the box
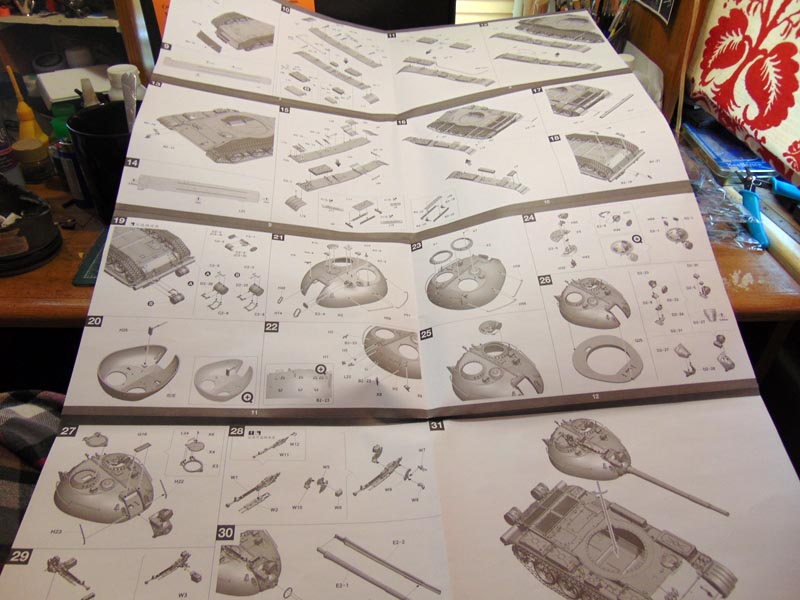
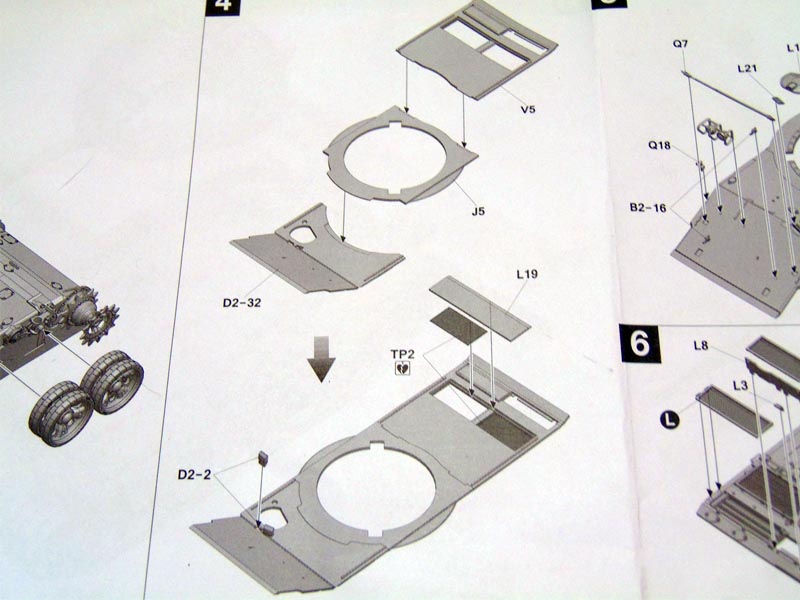
The instructions are well laid out and informative, although some of the smaller notations are only in Chinese. Also, they are poster sized!! Come on Takom, how big are your work benches?!? Everything is very clear though and I didnt notice any errors in the instructions.
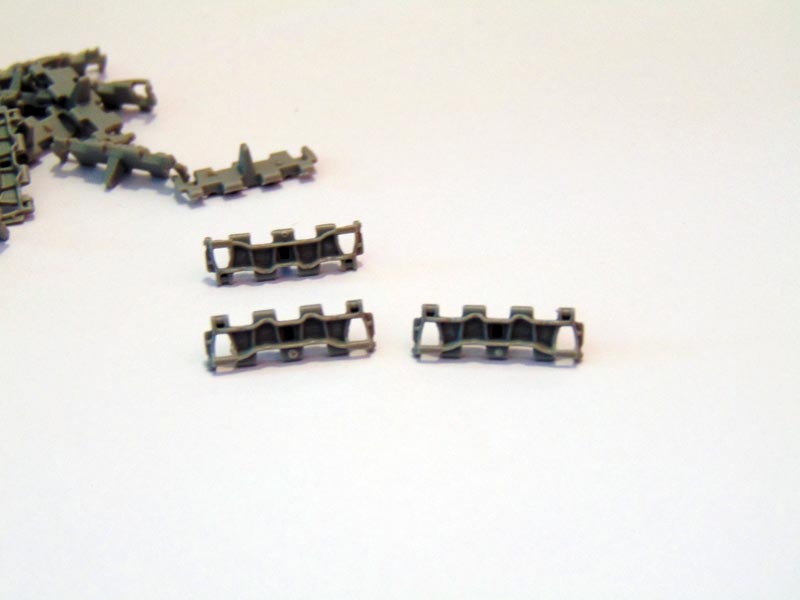
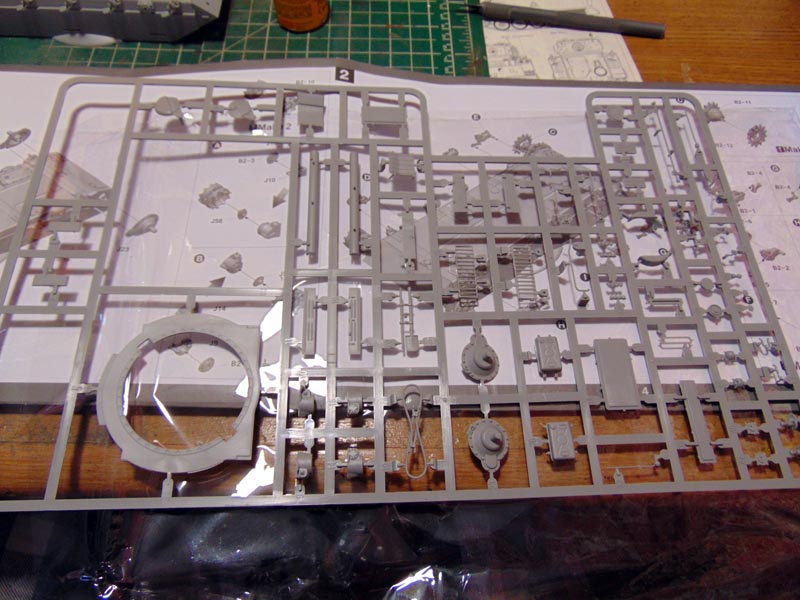
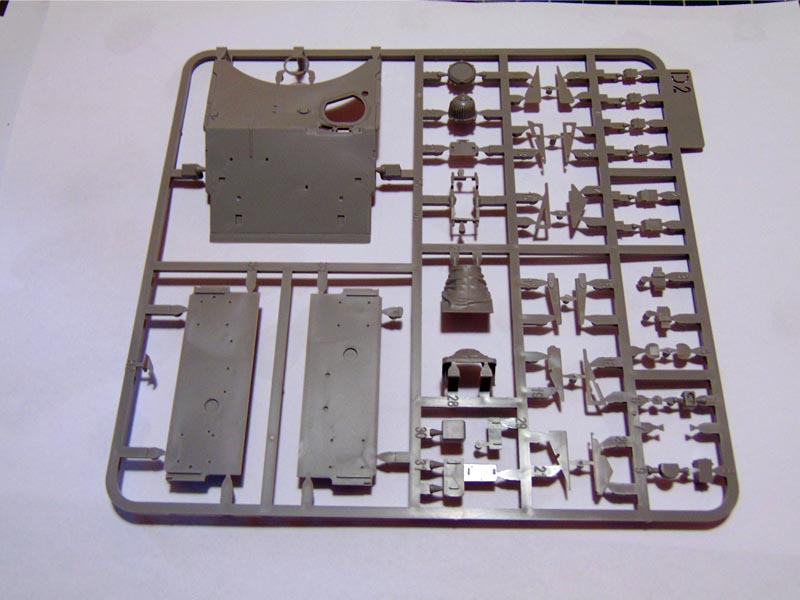
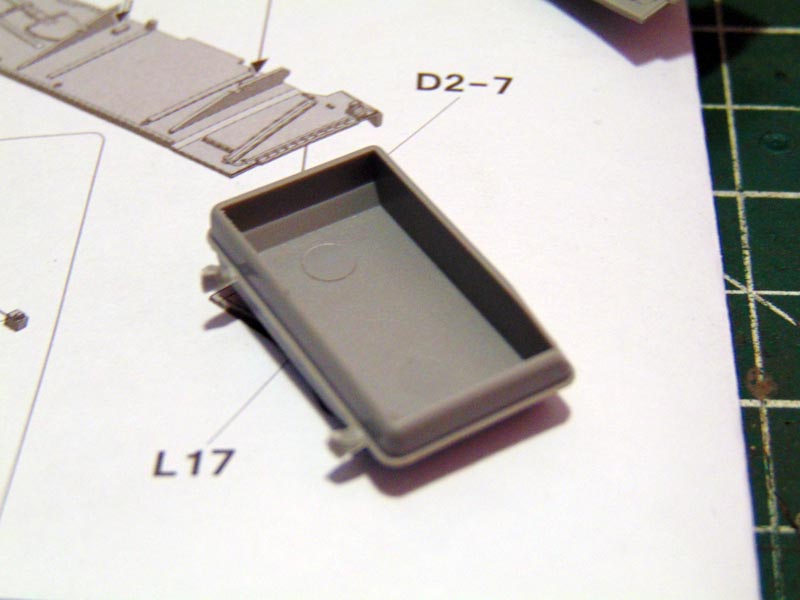
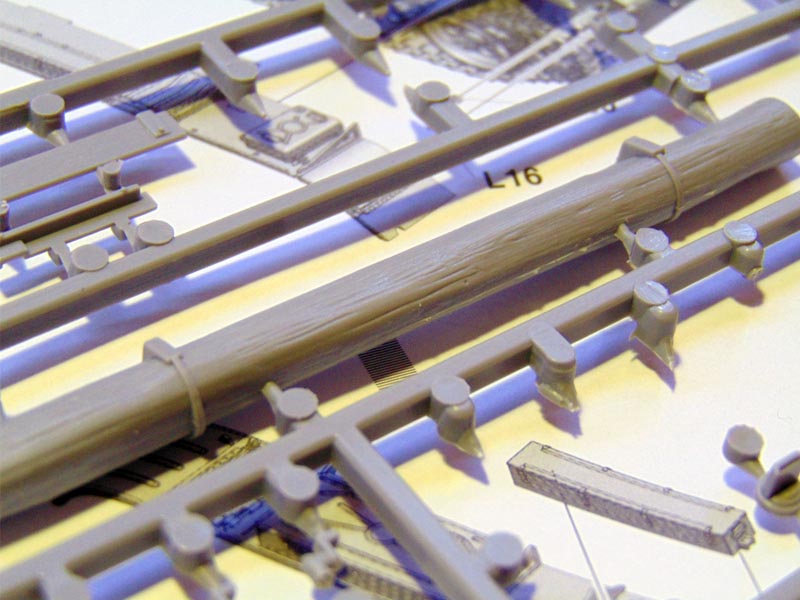
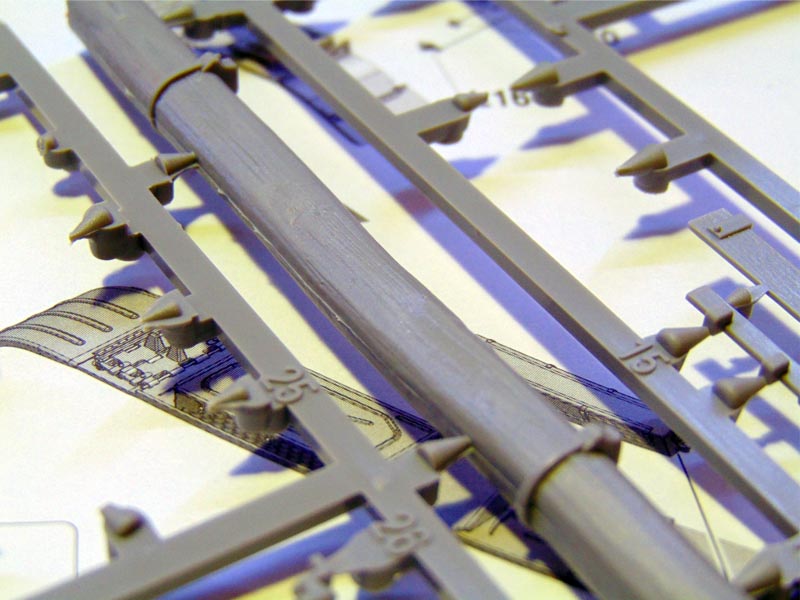
The kit is comprised of 15 sprues, three of which are duplicates, one small clear sprue, the turret shell, the hull tub, a bag of 184 track links, a small sheet of photoetch, a braided wire tow cable, and a sparse decal sheet.
The parts are packaged in individual bags and no parts had come free of the sprues. This would be a good time to mention that these sprues may be unfamiliar to those who havent done a Takom or Games Workshop model before; they are square in profile instead of the more common round profile. This may lend itself to the very fine part attachment gates throughout. Even the tiny and complex fuel lines separated easily and without breakage. The plastic is of a normal consistency and works with both Tamiya and Humbrol cements.
Molding quality is excellent, with little to no flash or separation lines. There are a few ejector pin marks, a few of which are visible. The tracks unfortunately each have two pin marks on the inner faces. They were easily filed off, but made the simplicity factor slightly less.
Assembly
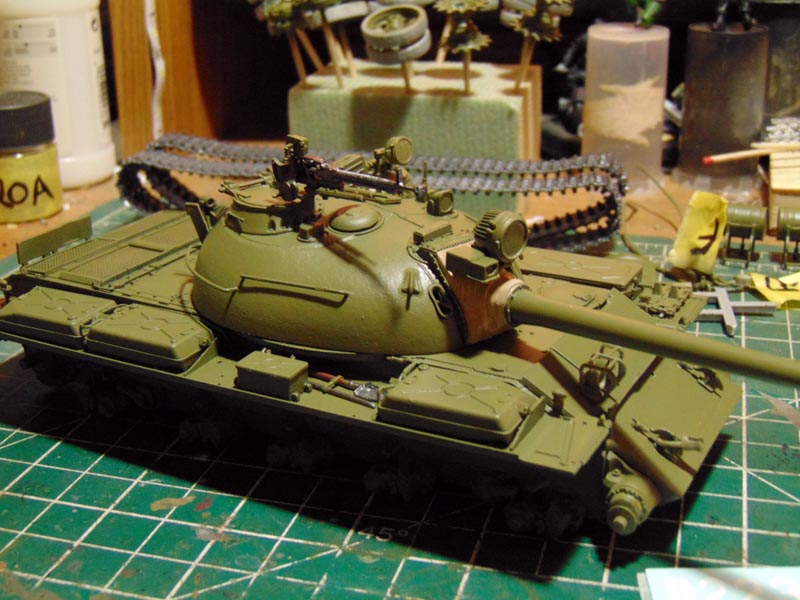
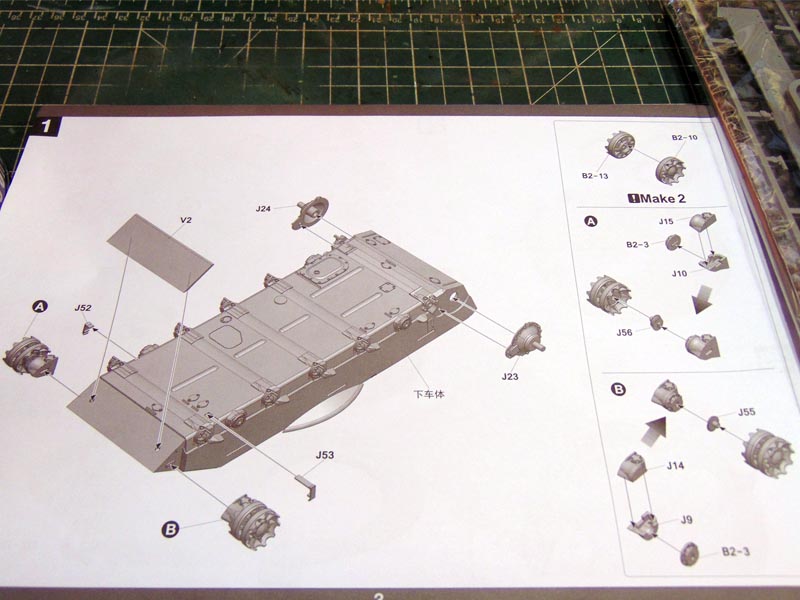
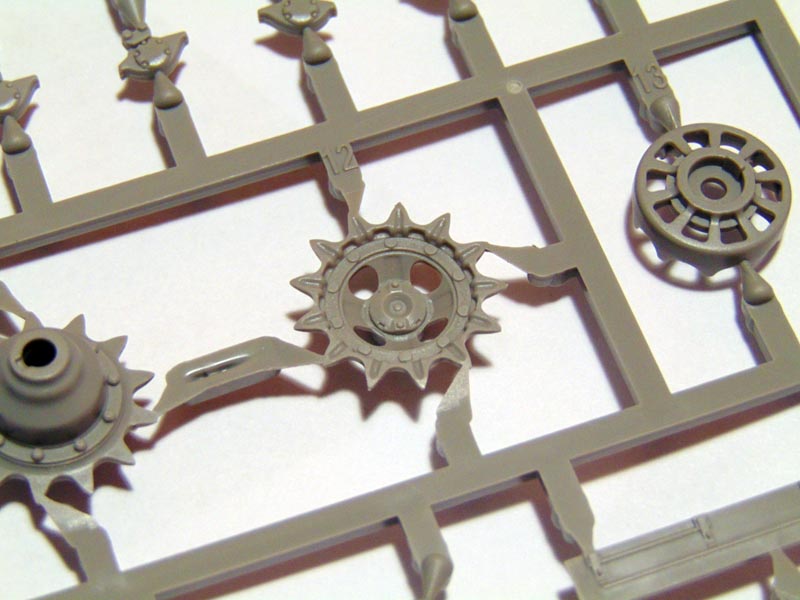
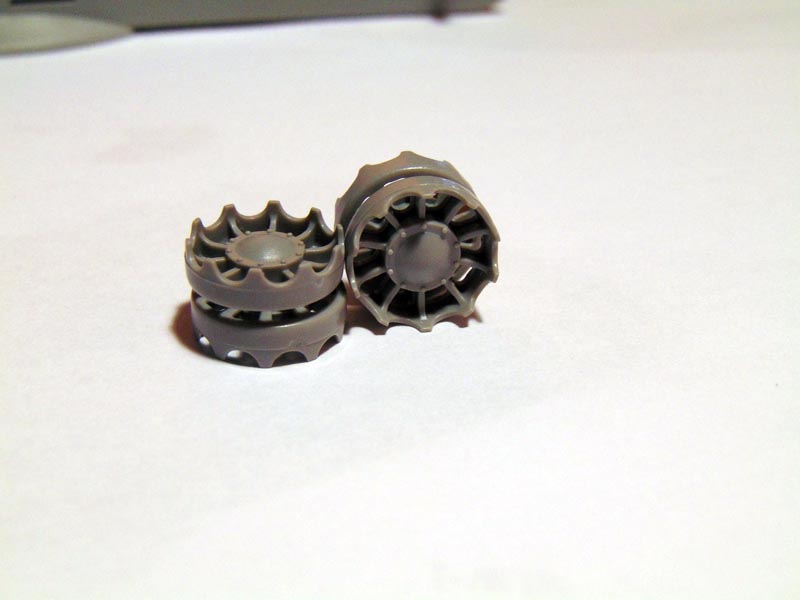
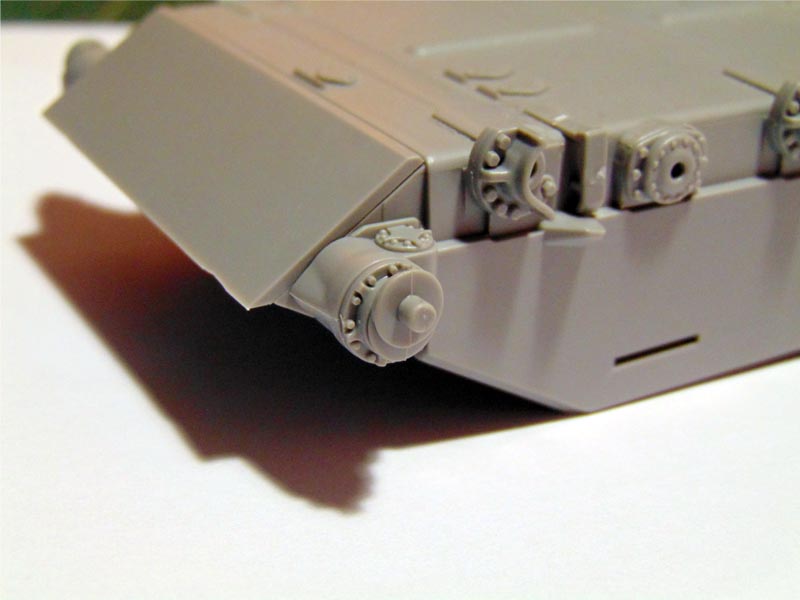
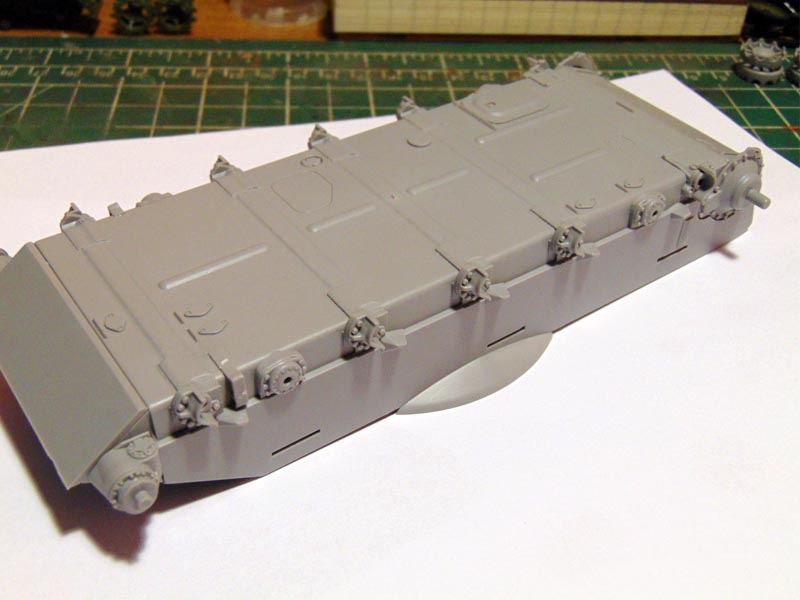
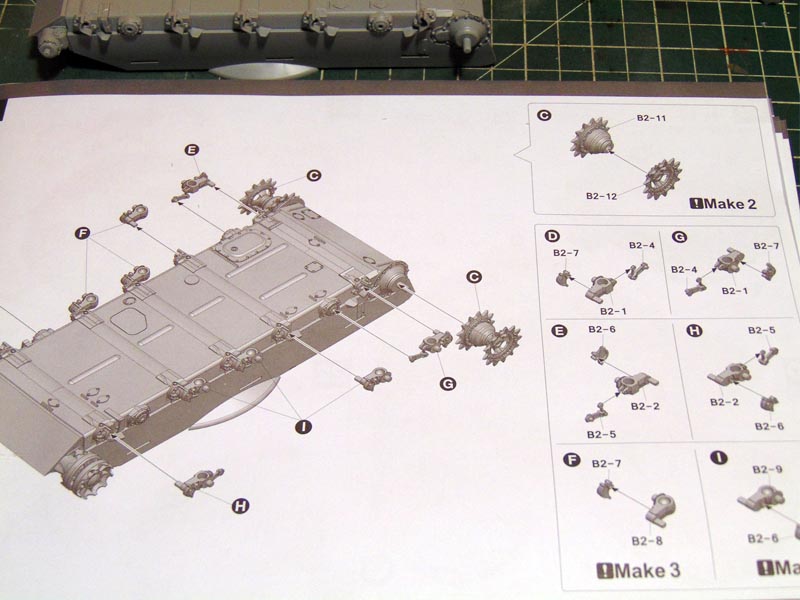
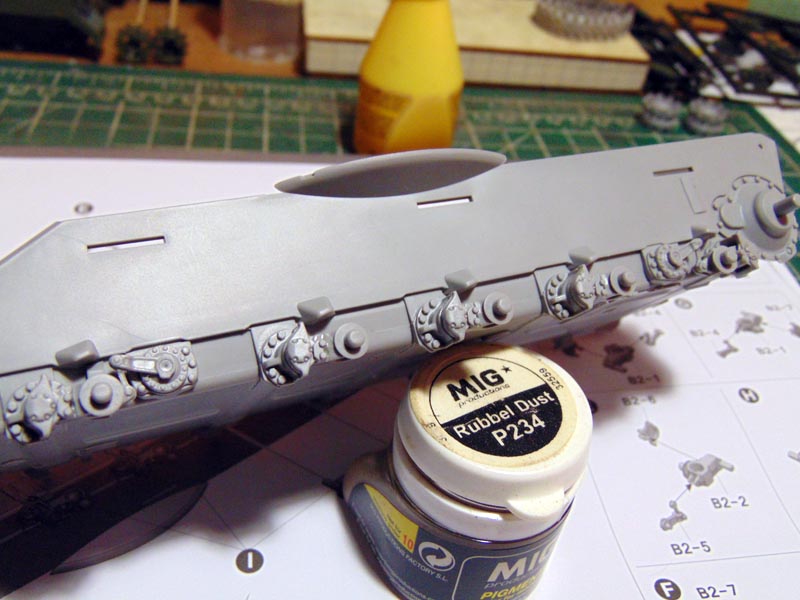
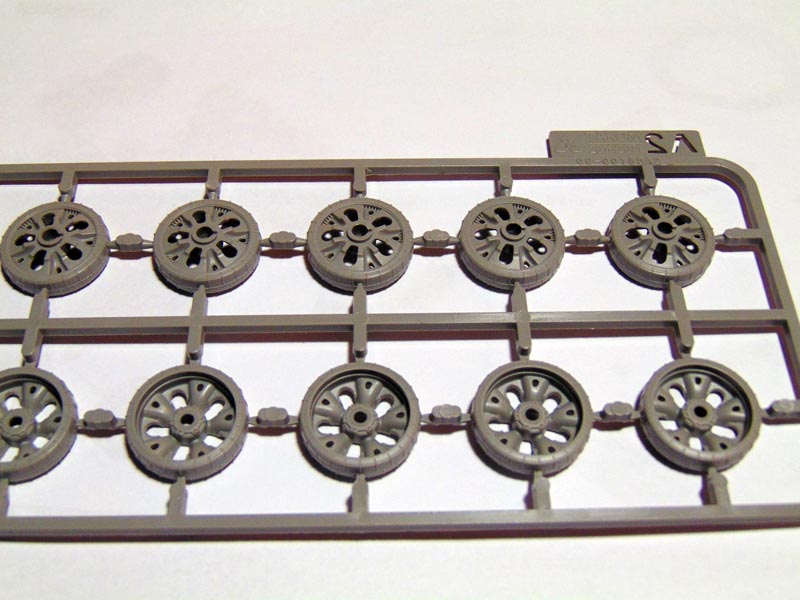
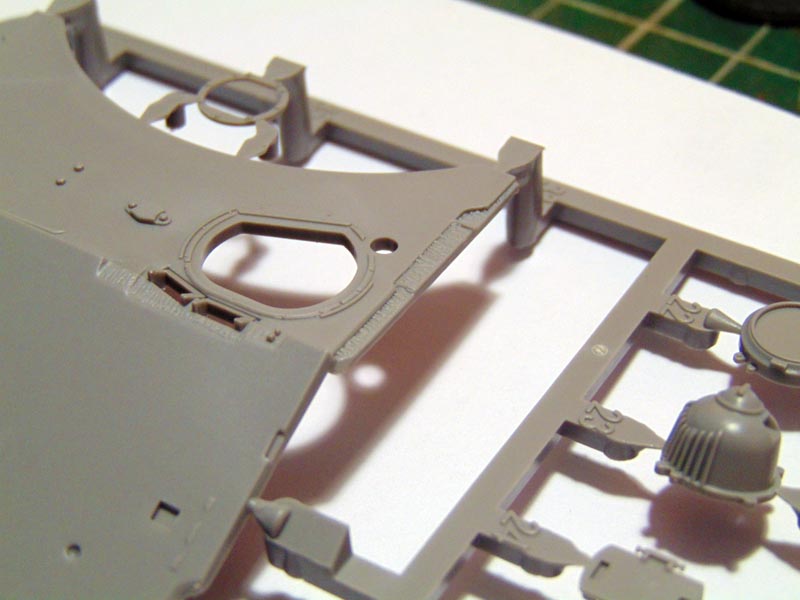
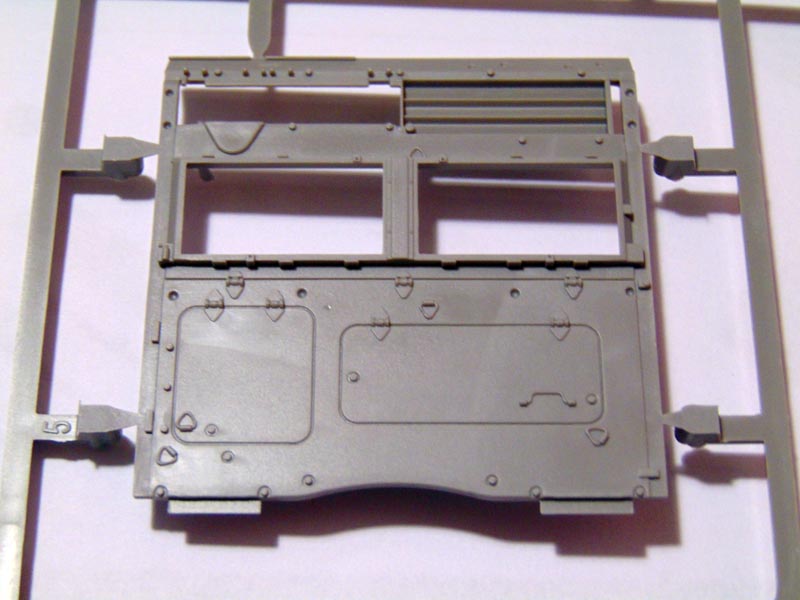
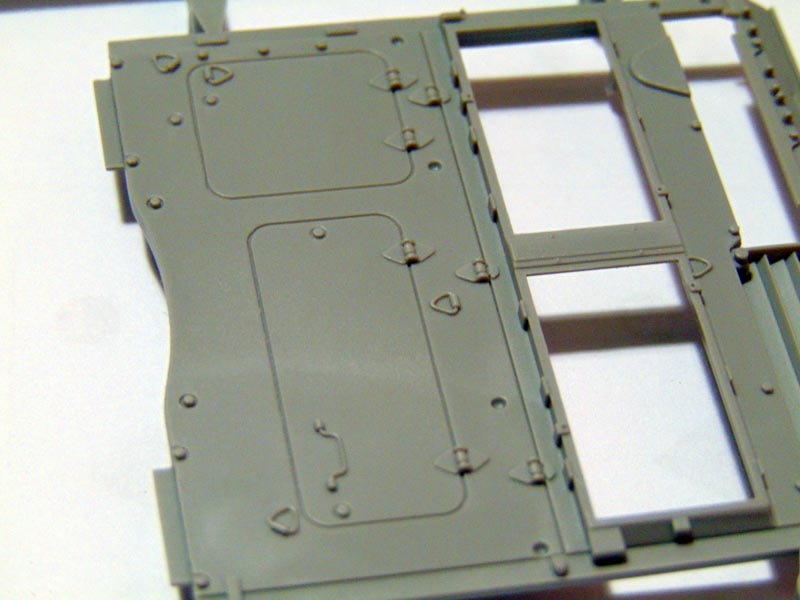
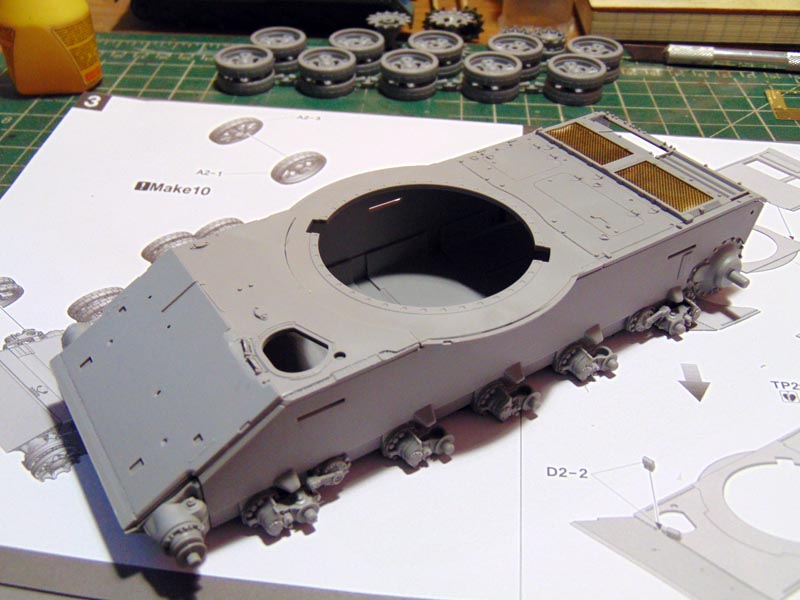
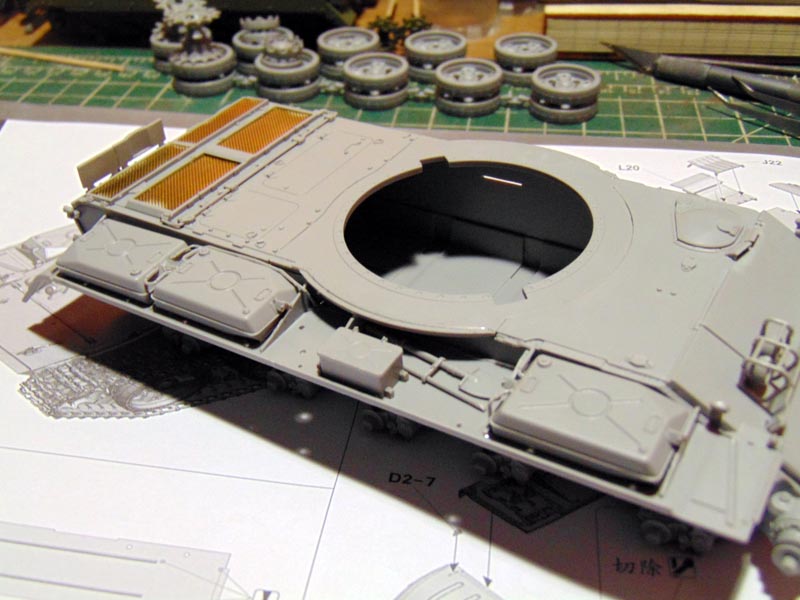
Assembly begins with the lower hull tub. It comes as one very well molded part, with underside detail and weld marks in appropriate areas. The suspension arms are well keyed and fit very tightly so the modeler doesnt need to spend an hour making sure they are all perfectly level. There is plenty of detail on each two piece arm, most of which will unfortunately be ultimately hidden behind the large road wheels. The road wheels are two-part as well with very good detail and ribbing around the outer diameter. This is marred slightly by the position of the sprue gate. The instructions would have you add the wheels, idler, and sprockets at this point but I left them off for the sake of easier painting.
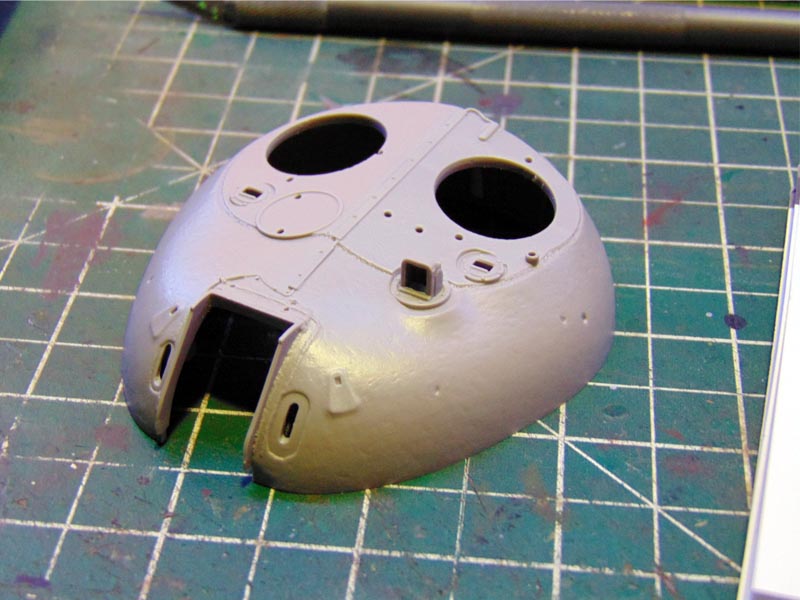
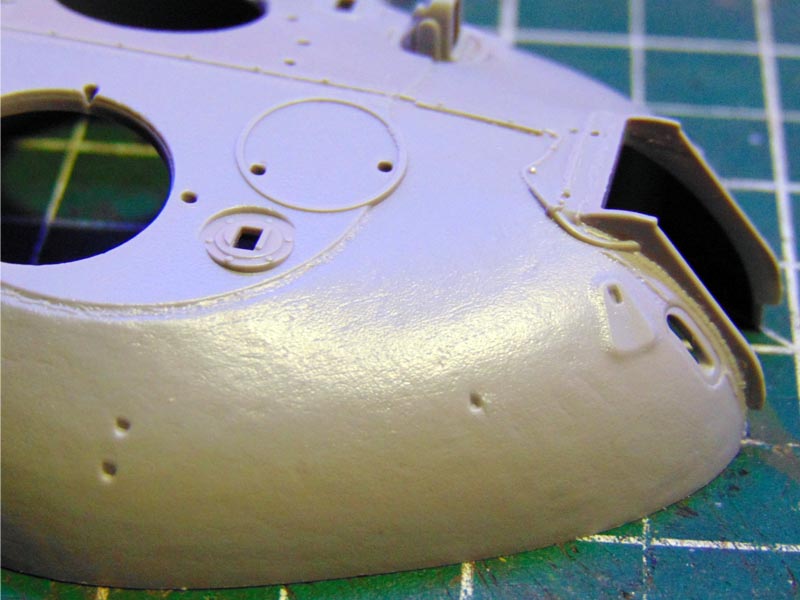
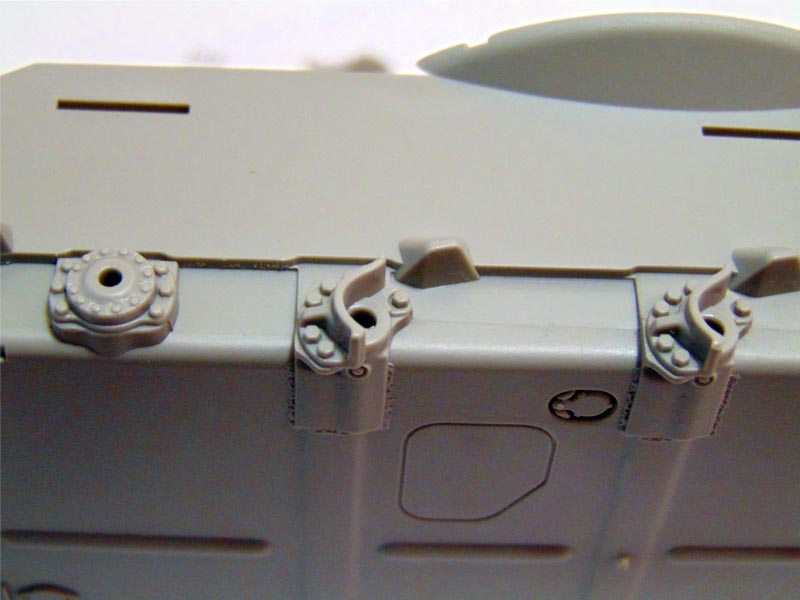
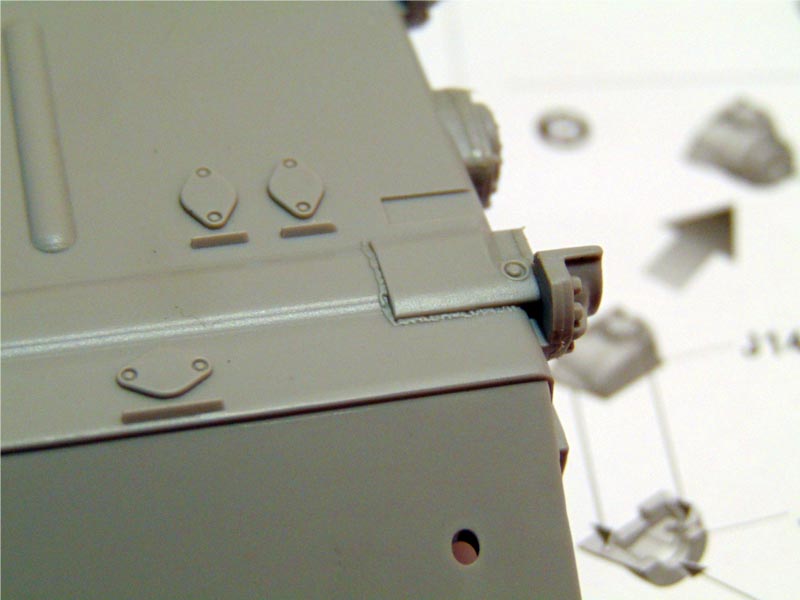
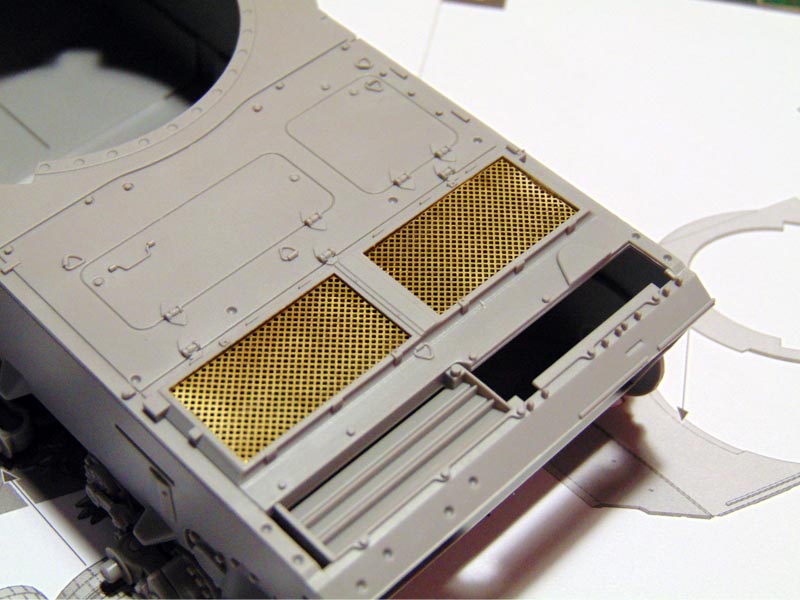
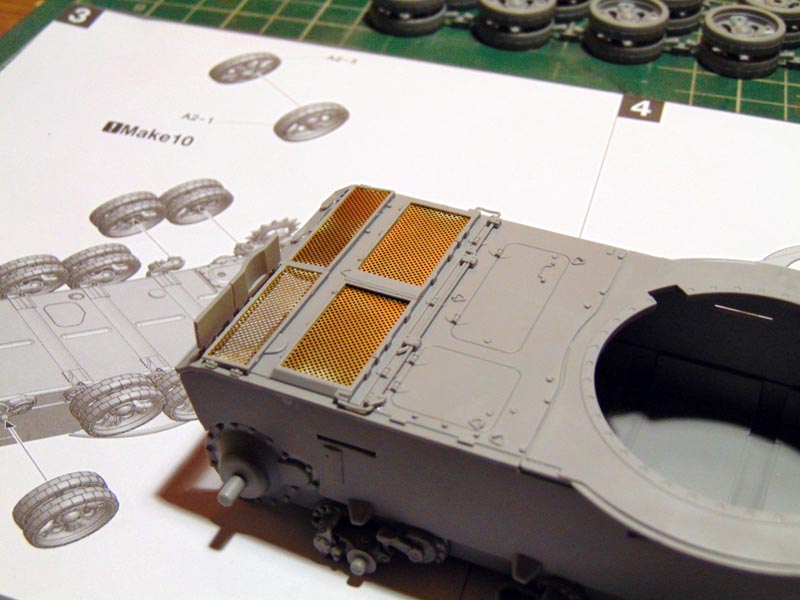
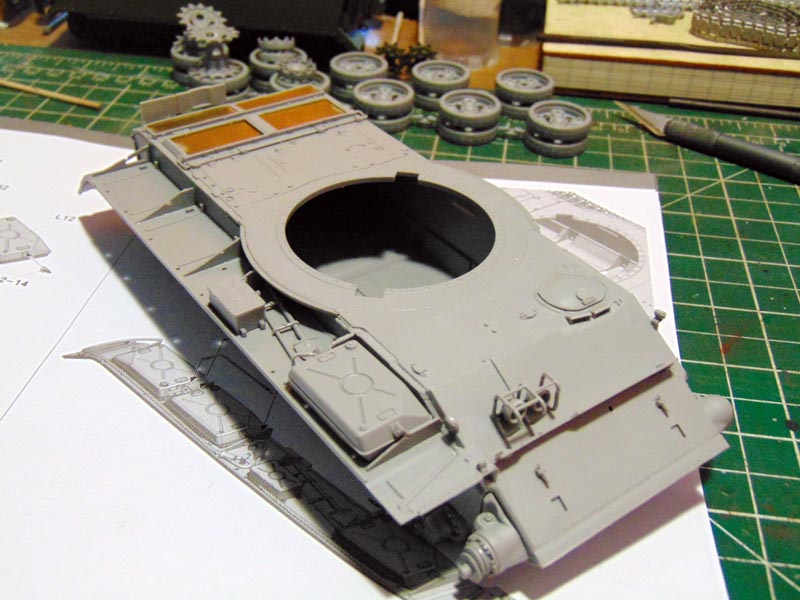
The upper hull consists of three large panels that fit together very cleanly. They are a good example of the excellent engineering used on this kit. Flat parts fit together with horizontal flange edges so as to give plenty of gluing surface without compromising the thin parts. This is especially effective on the fender parts. This step also adds the drivers periscopes, which are not clear parts. Too bad. The engine deck photoetch is also added in this step. The parts are a bit thick and could be better, but better than plastic. Its always nice to get PE out of the box. I painted the radiator vanes black before installation, but the screens are so thick you can barely tell afterwards anyway.
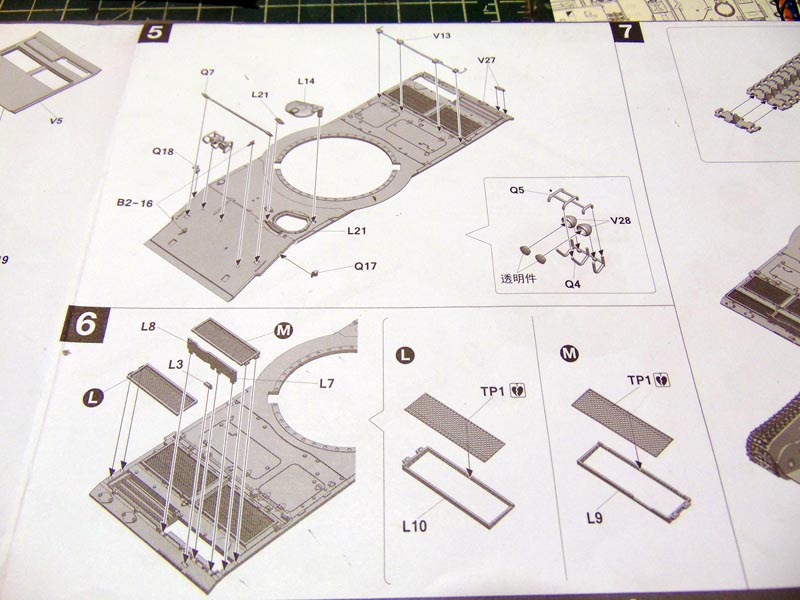
Once the top of the hull is assembled, there is a little detail to add to it. Two more PE screens and a couple of very thin, long, and complex parts. Part V13 in particular surprised me by coming off the sprues without breaking at all. The headlight guard assembly is quite fine and separated into two parts. Fit here was tricky, but looks good when finished. The headlight lenses are the only clear parts in the entire kit.
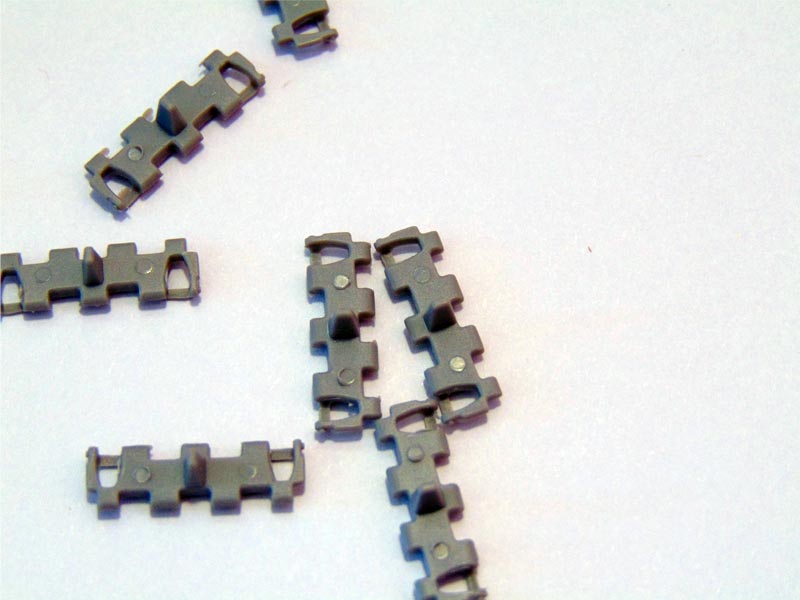
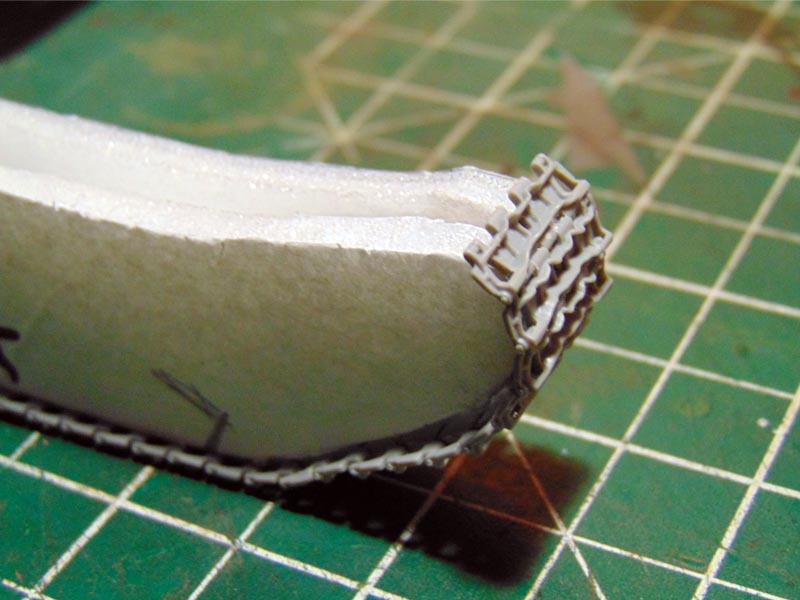
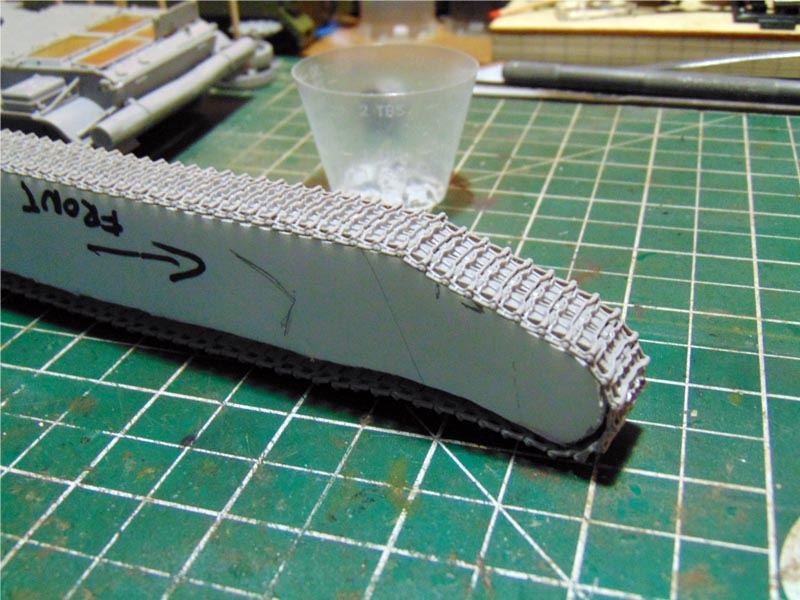
Step seven would have you placing the hull top, and assembling the tracks directly onto the assembled model. I went another direction. Using the positions of the suspension arms as a guide, I instead created a simple jig from craft foam board to assemble the tracks off the model for easier painting. The tracks are nicely molded with good outer detail, but flat inside. As previously mentioned, each track link had two prominent ejector pin marks on the inner faces, some worse than others. Though they would mostly be hidden, and were easily erased by a few swipes with a file it did extend the time it took to assemble these otherwise simple and excellent tracks. The 184 links are packaged in a bag, very much like magic tracks. They fit together well. I had two links that were short-shot; the guide horn had not been molded. The fit to the drive sprockets was fairly poor.
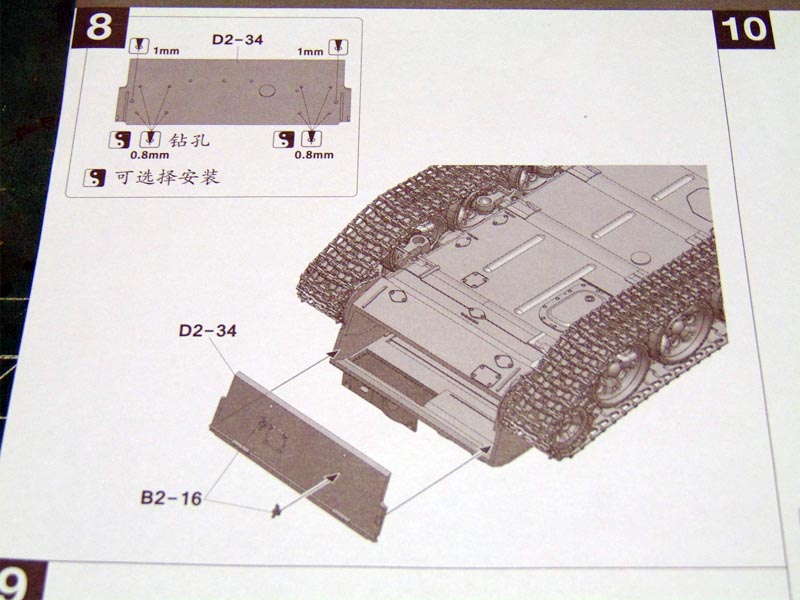
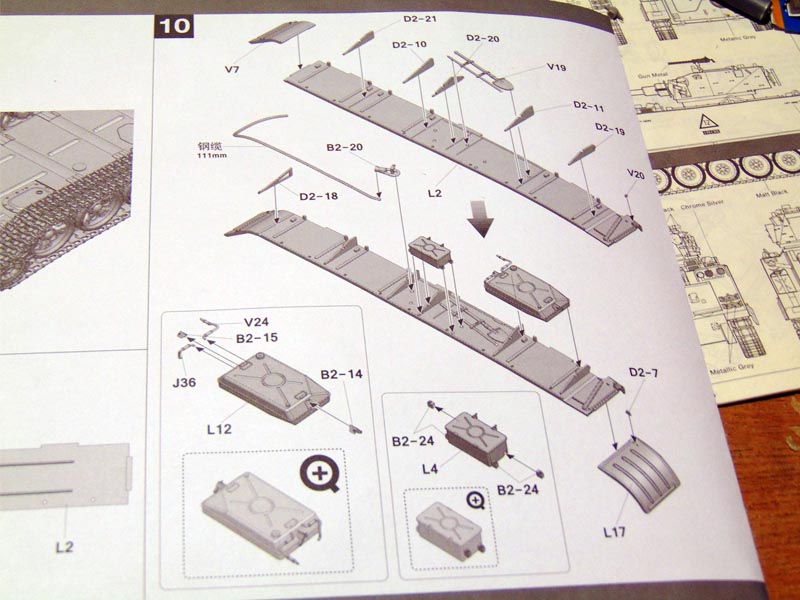
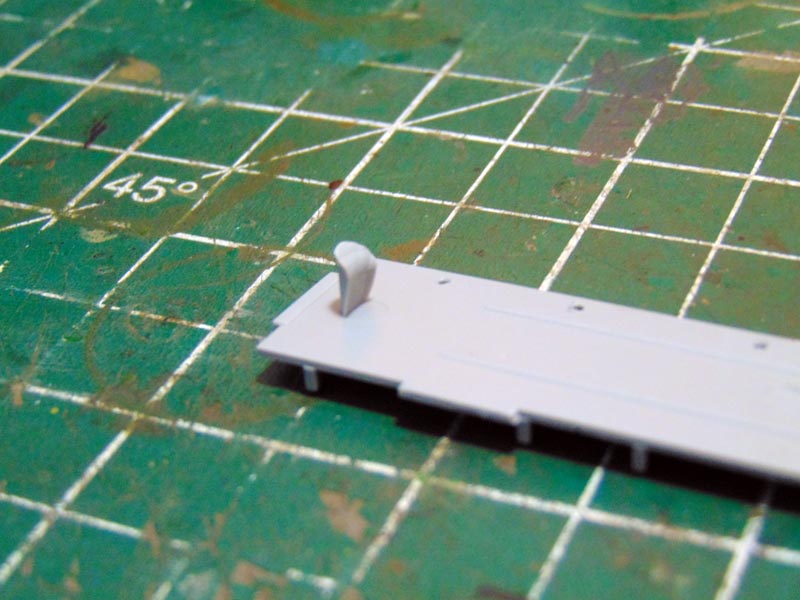
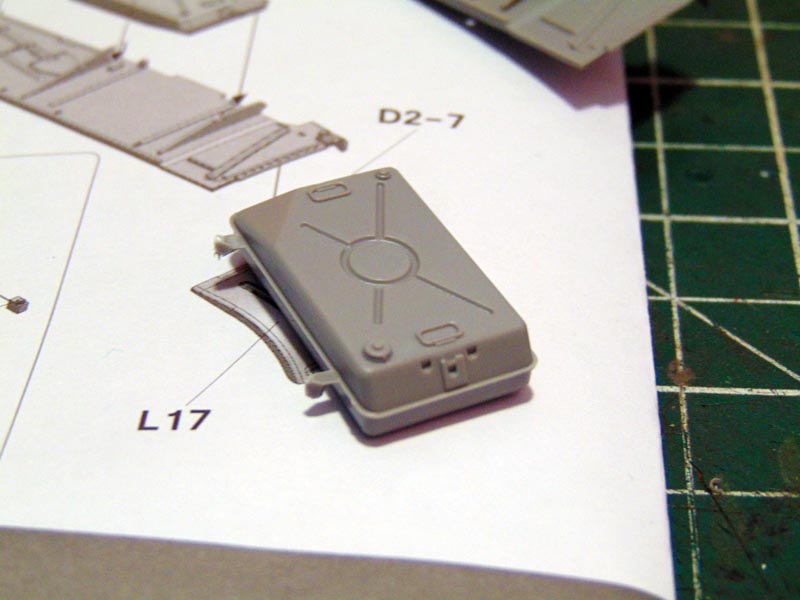
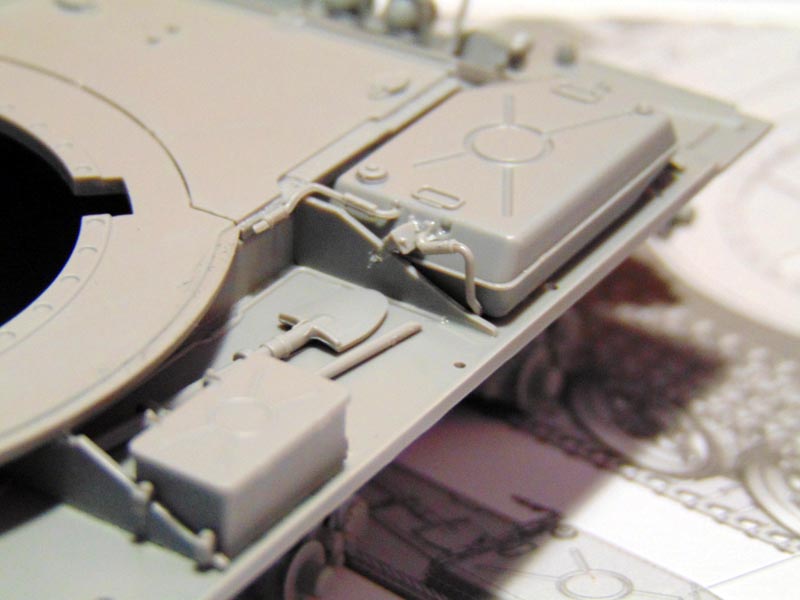
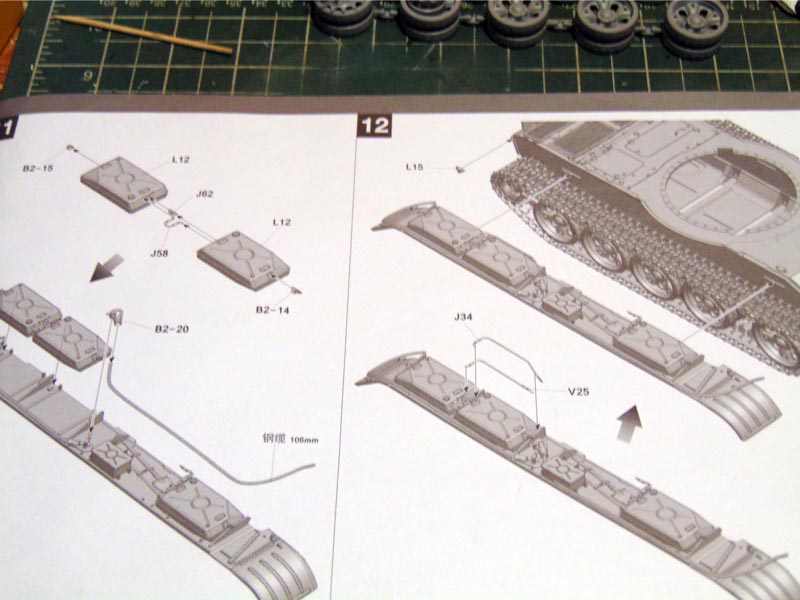
The fenders are thin and nicely molded. The directions for drilling the appropriate mounting holes are clear and precise. Mine did have some large pin marks on the underside. The fuel tanks are single pieces with hollow bottoms, which doesnt seem to be much of a detriment on the finished product. The multi-piece fuel lines are thin but came free of the sprues without issue. The fit was excellent. Fitting of parts B2-14 and B2-15 were a little unclear at first, but made more sense with the fender supports in place. The supports are very thin and fit nicely to the side of the hull and under the turret overhang. They help quite a bit to make sure the fender is squared up. The tool boxes on the opposite side are multipart assemblies that look excellent.
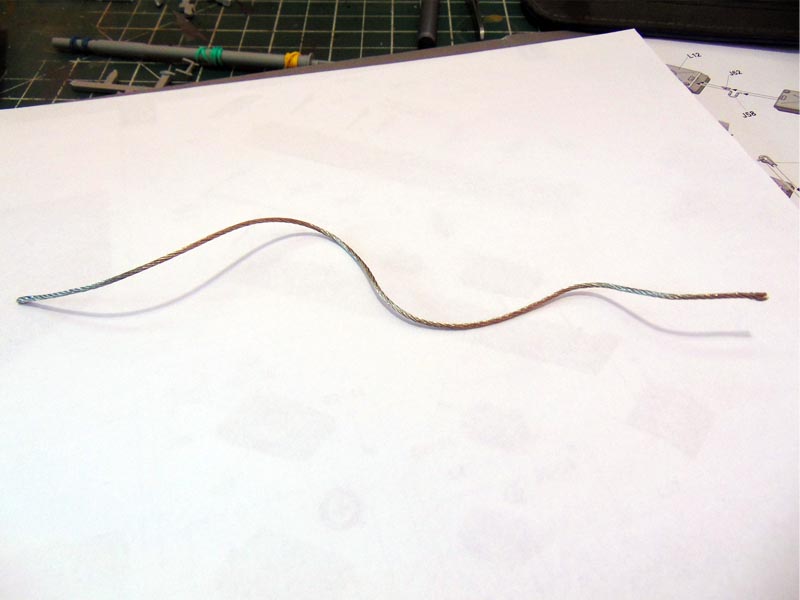
The tow cable provided seems excellent. Its tightly wound and malleable enough to be simple to work with. The unditching log provided in the kit is also quite good, with a fairly convincing wood texture. This is slightly let down by the molding line on each end. I chose to use the spare fuel drums at the rear. Again, very fine parts that hadnt broken in transit or handling. I did snap one a little bit, but not enough to fully break the part and it was easily repaired.
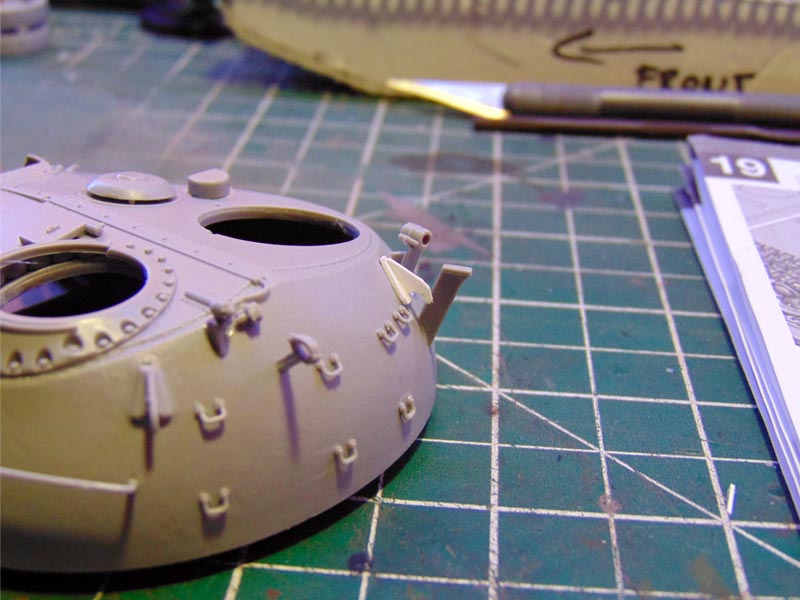
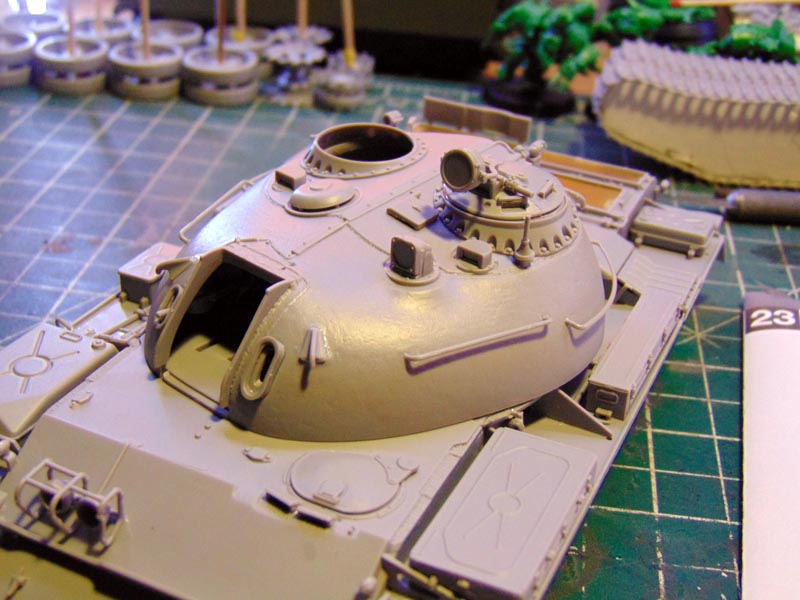
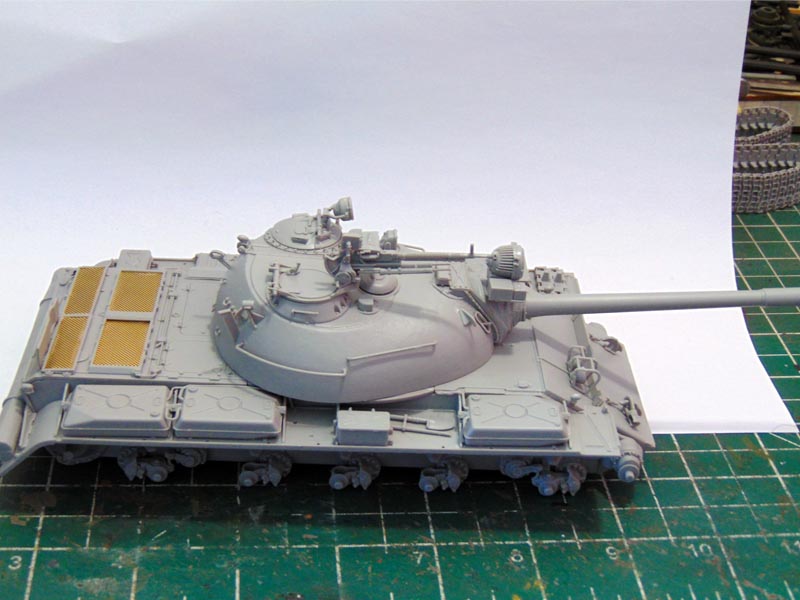
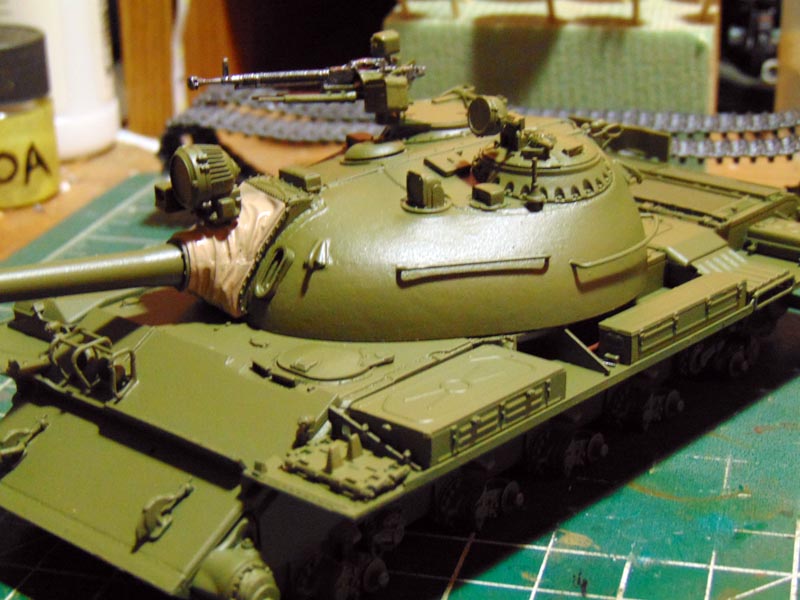
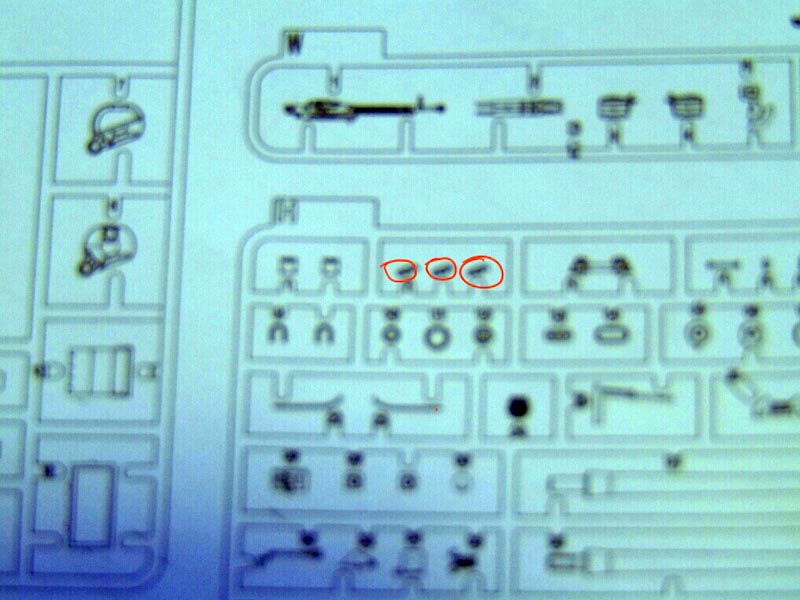
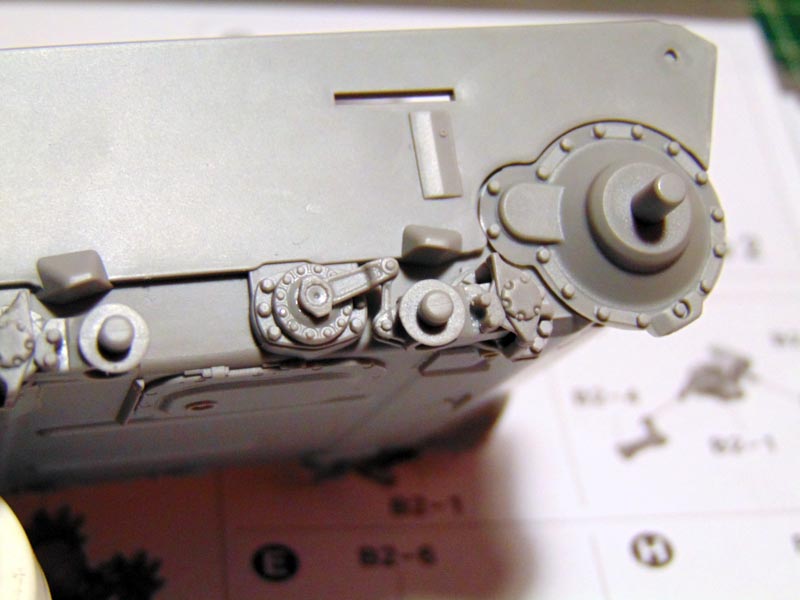
Finally we can start everyones favorite bit- the turret! There is a subtle cast texture that I find very pleasing, though I cant speak to the accuracy at all. Grab handles are again nice and thin with clear and precise mounting points on the turret. The coaxial machine gun isnt slide molded, so break out the pin vice. One thing that wasnt clear at first that bugged me- the turret needs four lifting points, part H2.
The problem is that there were only three part H2s. Even the instructions only showed three After a fruitless search I attempted a half-decent styrene replacement. Of course it wasnt until the next day I found the fourth lifting ring on sprue D2, but still listed as part H2! Quite frustrating at first, but more humorous now.
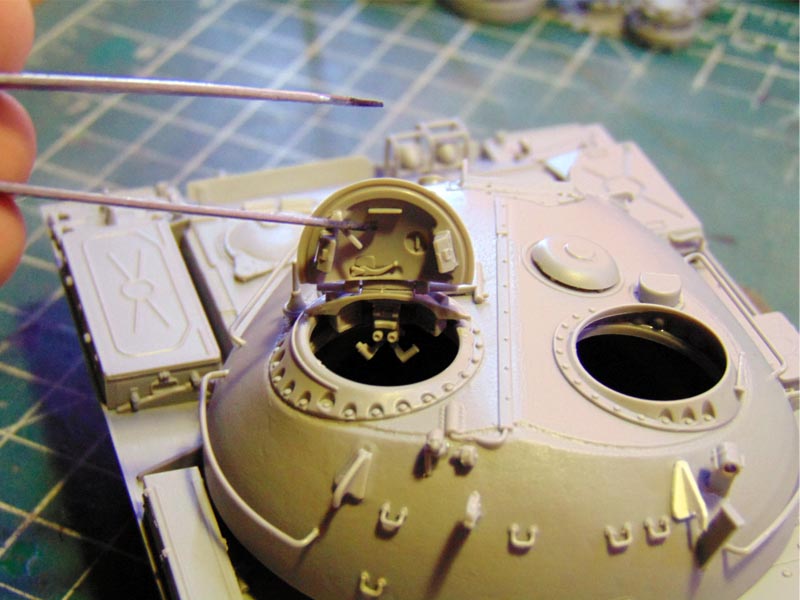
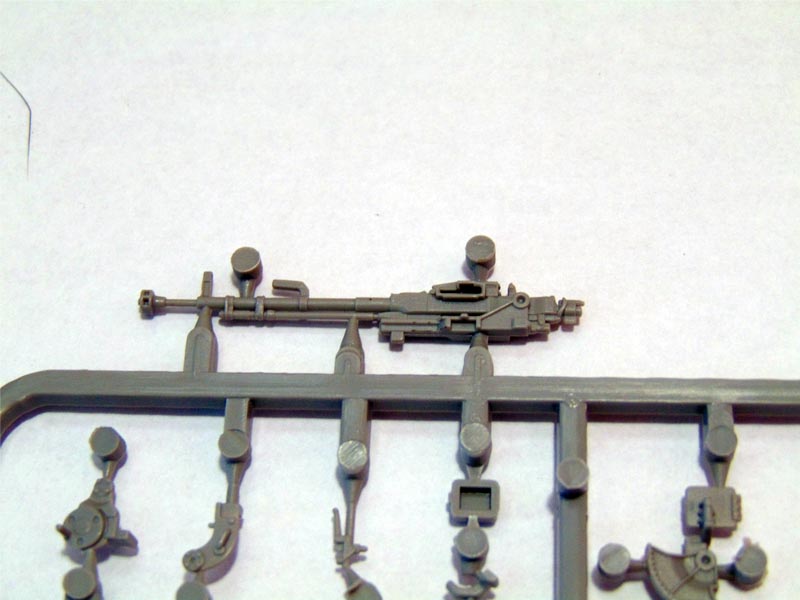
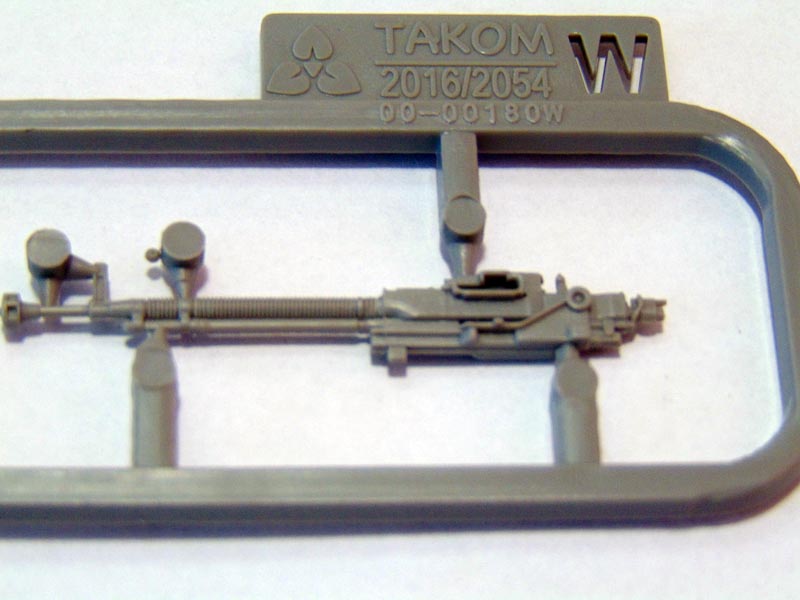
The inside of the commanders hatch features enough detail to accommodate a figure without looking too empty. Inner hatch detail is good, as well as more periscopes and a sighting tool inside the turret. A nice touch if you like having a figure in your turret. There is a sort of capture assembly to make the hatch workable, but connecting parts are too small and it doesnt work very well. At least were given the option. The anti-aircraft gun is very impressive, consisting of ten parts. There are two options with the main difference being a ribbed barrel or not. These parts are very attractive and fit very precisely. The only downside is that the barrel isnt slide molded, and the complicated muzzle brake will be rather difficult to hollow out.
The canvas cover for the main gun is convincing, but dont be an over-modeler like me and remove the seam line horizontal across the sides; its meant to be there! The main gun itself is the classic two piece affair with a very nice collar piece at the turret end. There are small pins to align the barrel, and the seam was fairly easy to clean up. The searchlight parts are really nice, with deeply molded detail.
The Verdict
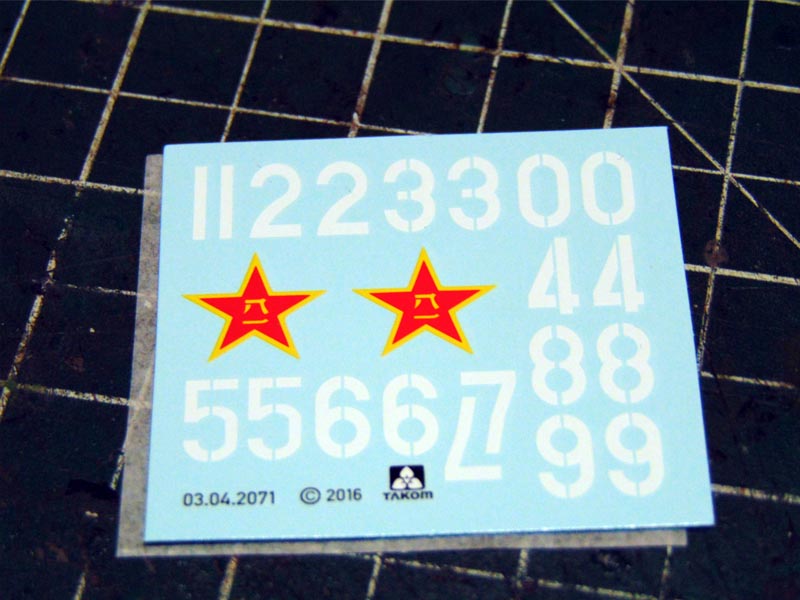
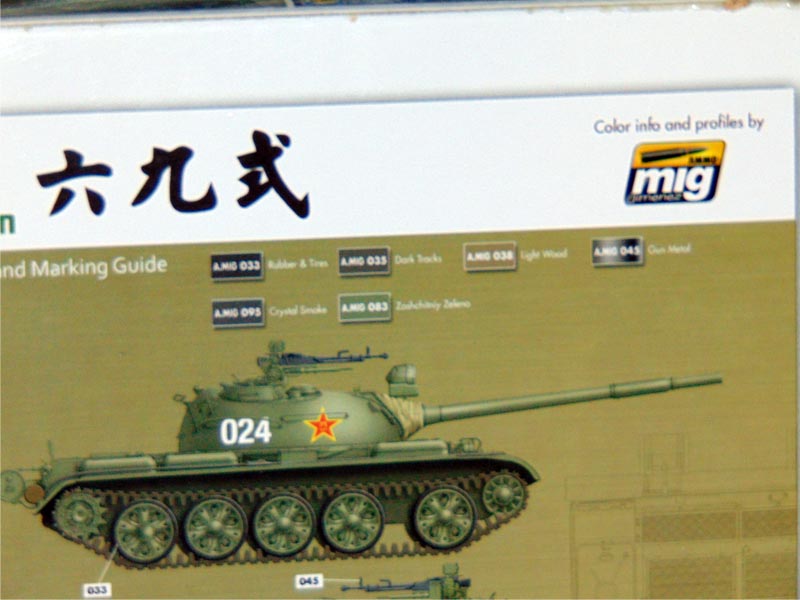
This concludes the build phase for the Takom Type 69! Ive left several small parts and assemblies off for ease of painting and later assembly. The instructions (rather, the back of the box) have colour call-outs for Ammo of Mig paints exclusively. Luckily I had a bottle of the A.Mig 083 from their Vietnam colours pack. The decal sheet is small, consisting of two national markings and numerals zero through nine. So, sparse but still some options exist. The decals are well printed with good colour and register. They are a little thick though and didnt seem to react much to Microsol.
Overall, Id rate this kit very highly. The quality of the molding and the excellent engineering and fit of the parts would normally fetch a much higher price tag, but these are pretty reasonable on eBay.
If you wanted to add implements, the tracks could be replaced with metal ones. The PE likewise could use a replacement set thats thinner and more dimensional. A bigger decal sheet would also have been welcomed.
SUMMARY
Highs: Well engineered.
Good molding. Lows: Thick PE.
Limited marking options.Verdict: Recommended.
Enjoyed your review got to get me one of these , can you expanded a little more on how you used the the positions of the suspension arms as a guide, to create the a simple jig from craft foam board to assemble the tracks off the model for easier painting ? that seems like such a great idea, anyways great review
I just kinda winged the jig mostly. I started by cutting the foam board to size and physically pressed it against the axel posts to get impressions on the surface. Using those as a guide, I placed the road wheels on sticks and punched those through the foam so the wheel laid on the surface of the foam. Once they'd all been lined up in this manner, I traced the perimeter how I wanted the track to lay. Then cut it out, traced and cut a second one, and glued them together with spacers in between to give some room for the guide teeth.
Not a great explanation, I know, but hopefully it gets you in the right track. Pun fully intended.
Thanks for looking, everyone!


Comments