The development of the SU-85 started in 1943 in response to the appearance of the better armored German tanks, as a stop gap measure until the T-34/85 with the very same 85mm D-5T gun could be developed and produced. The vehicle was a typical tank destroyer: a tank chassis with a powerful gun mounted in the superstructure; it is a direct descendant of the SU-122.
This particular version of the SU-85 in German service does not differ from the Soviet counterparts; the external fuel tanks are missing, and pretty much thats it. The model being a simplified version of the full-interior SU-85 MiniArt has recently released, any interior modifications done by the Germans will not be present.
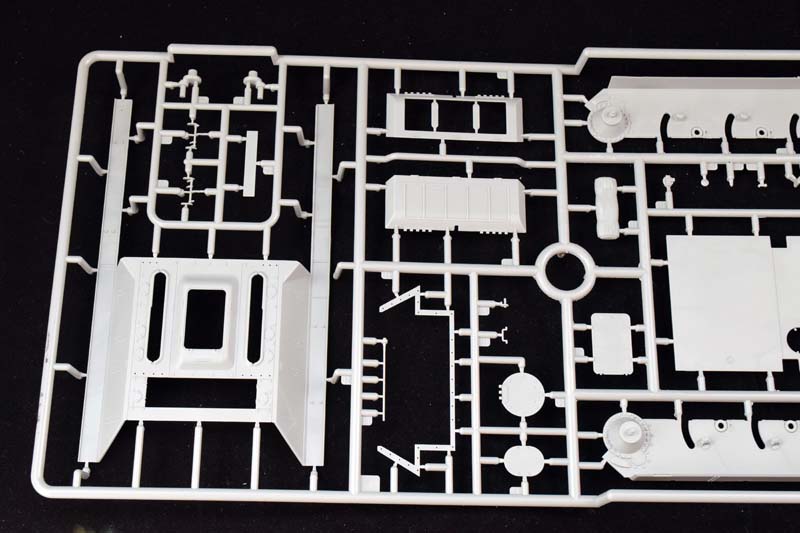
The model does have a simplified interior, as I mentioned. I keep talking about MiniArts mix-and-match philosophy of model making: adding certain sprues and omitting others they can easily produce an SU-122 with full interior, a simplified SU-122, an SU-85 with full interior, and a simplified SU-85; the base sprues of the model will stay the same. Its a pretty efficient way of producing models as it allows for making several versions with the least amount of re-engineering.
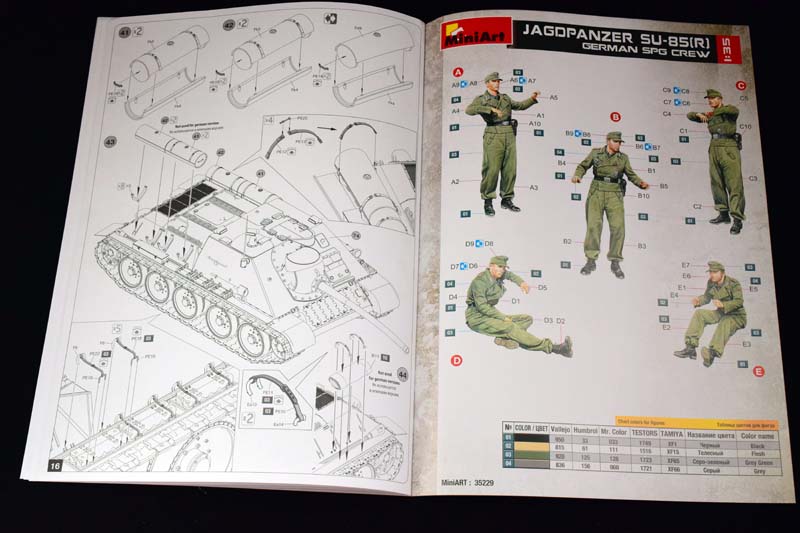
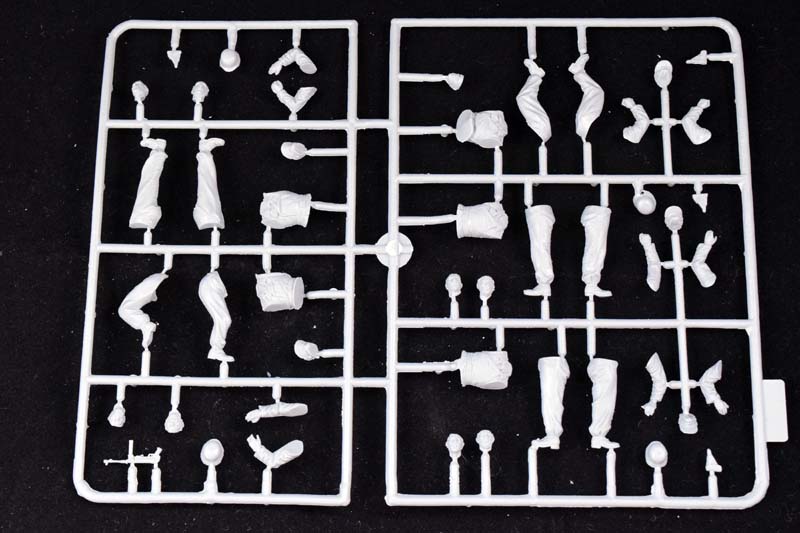
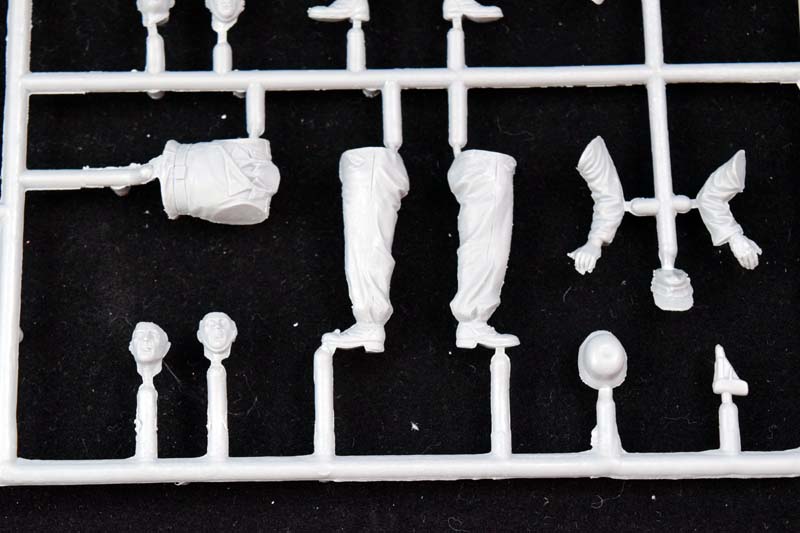
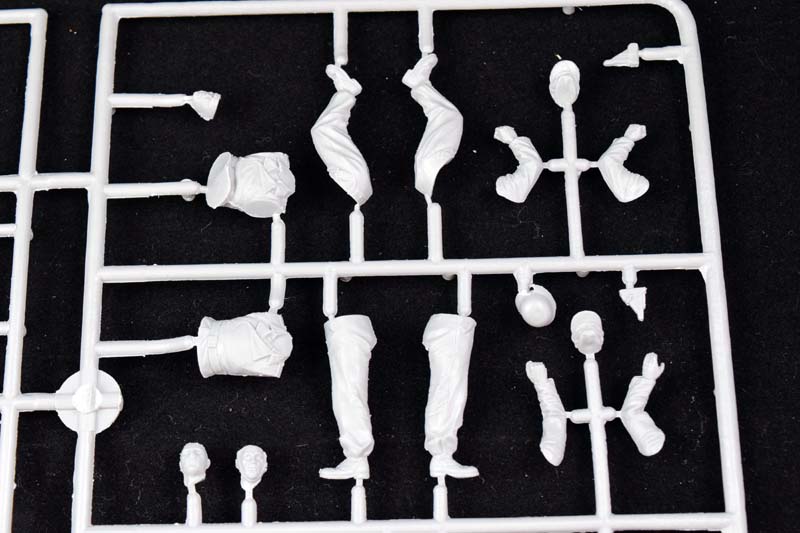
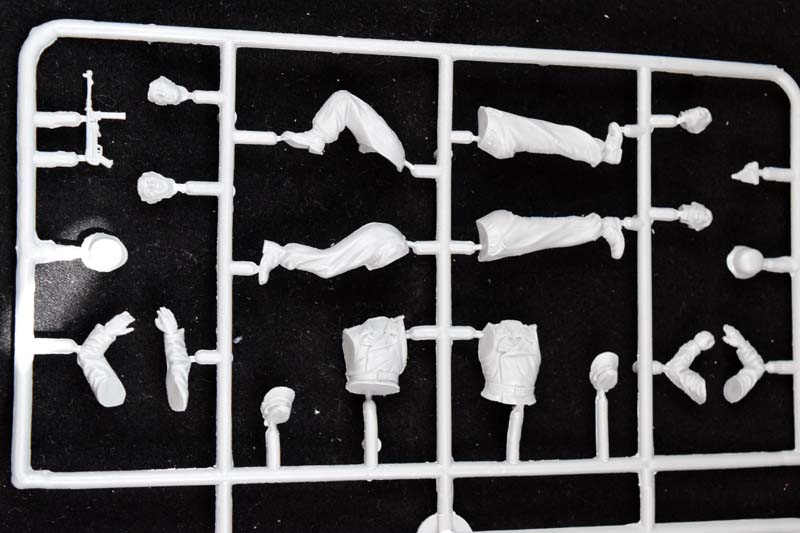
Along with the model we get a crew of five; these are the same figures that were offered with the captured SU-76 model long time ago. Their poses were suited for the open tank destroyer; not sure how these figures will fit into the closed confines of the SU-85. (They might; I honestly dont know.) I do like their poses; they are depicted during transit, so they look relaxed -apart from the driver, that is. (We dont get a seat for him, the same as in the case of the SU-76, so it might explain why he is so tense...)
There are some interesting photos for reference in the following website:
http://blog.tankpedia.org/2013/10/29/in-pictures-the-soviet-su-85-as-the-german-jagdpanzer-su-85r-jagdpz-85r/
Review
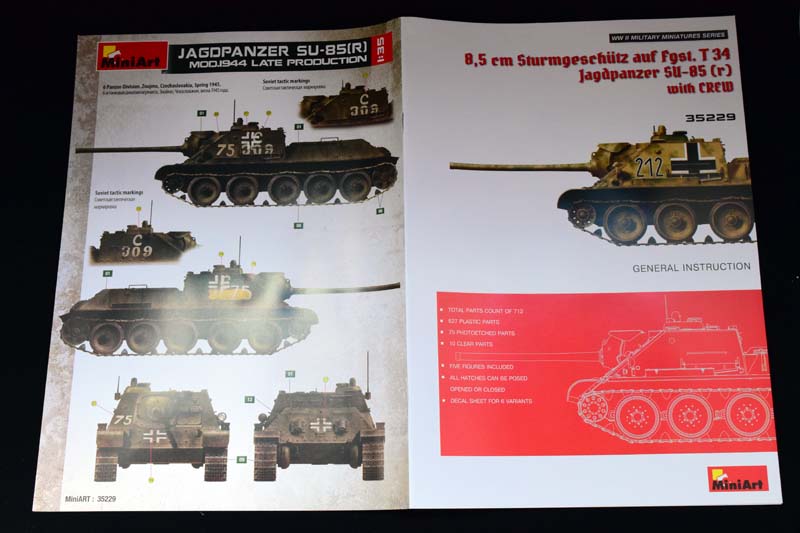
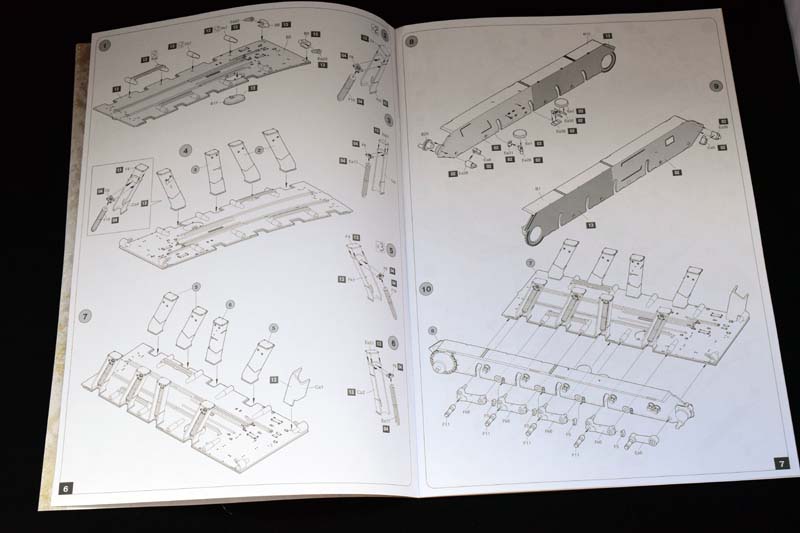
The instructions are, as usual, excellent. They come in the form of an A4 format booklet with clearly laid out drawings of assembly. In some cases it would be nice to see the parts together, but in general they are easy to follow.
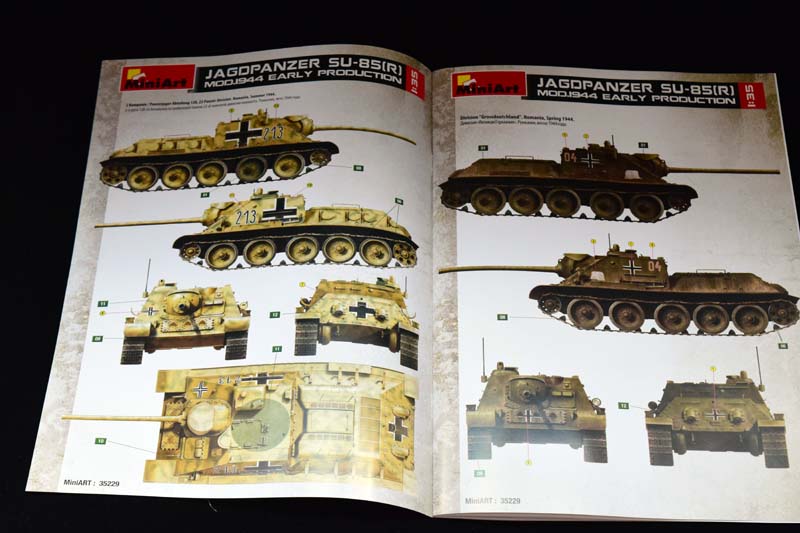
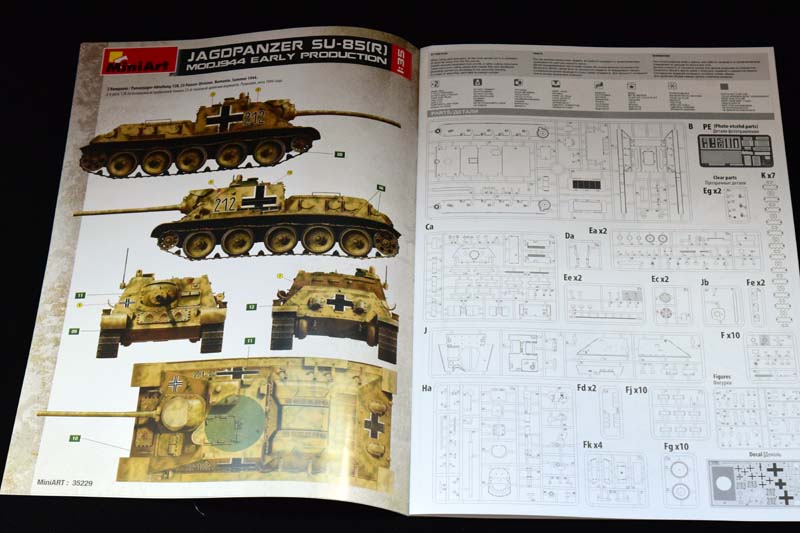
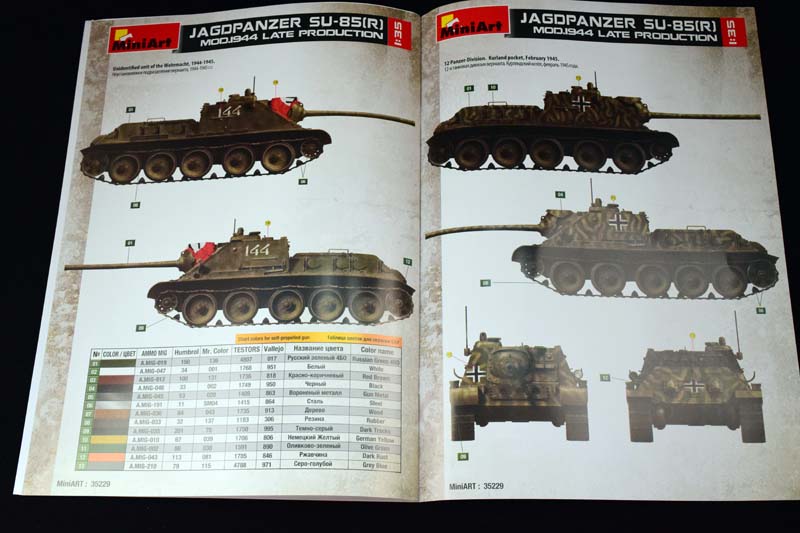
The painting guide uses Mig Ammo colors, and gives an option of a total of six vehicles, a lot with quite interesting paint schemes. (I think this is one of the things that make captured vehicles so attractive to modellers.) Interestingly a lot of these versions have a big, green circle on the top of the fighting compartment. I admit Im unsure of their purpose. The SU-122 model had a similar circle in red; they might have served as aerial recognition markers for the Russians in this form. They are possibly green on the captured vehicles because the Germans painted them over, but this is only a hypothesis. Since most historical photos were taken at eye level, I could not find anything online that explained the purpose of these markings. Regardless, it is quite a unique feature; it does give an interesting look to the tank destroyer.
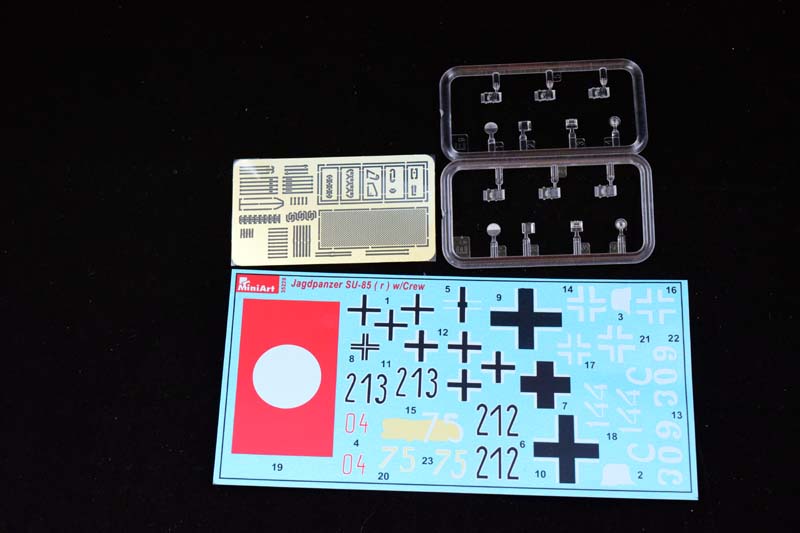
The decal options are interesting: we do get a big Nazi flag for air recognition -without the swastika in the middle. This obviously is done to make sure the model can be marketed in Germany where Nazi symbols are forbidden, but providing an alternative version for the German market would have been better. Other companies provide straight black sections of decal that can be assembled into a swastika; perhaps this would have been a good way to go. Its relatively easy to make a swastika, but you now need to get the proportions and the line thickness right if you decide to use the flag. Im not sure how well the decal can be set to represent a fabric flag, though. Perhaps applying it to a pre-crumpled flag made out of putty would be better.
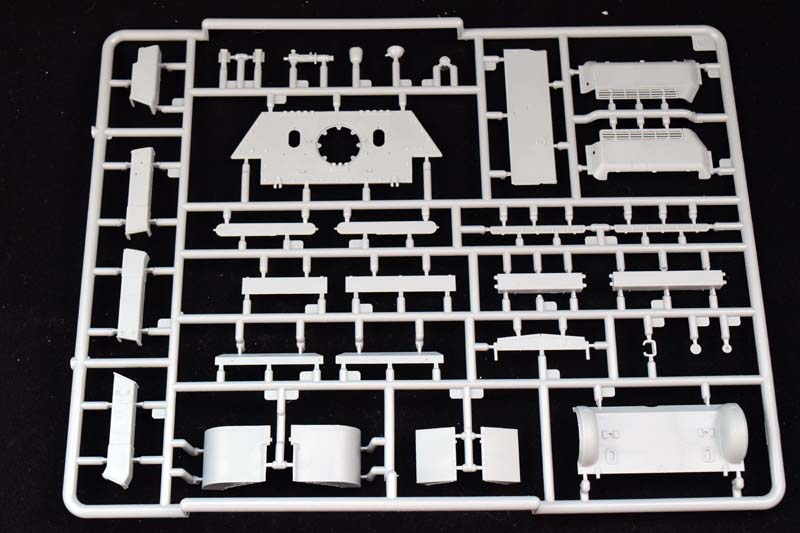
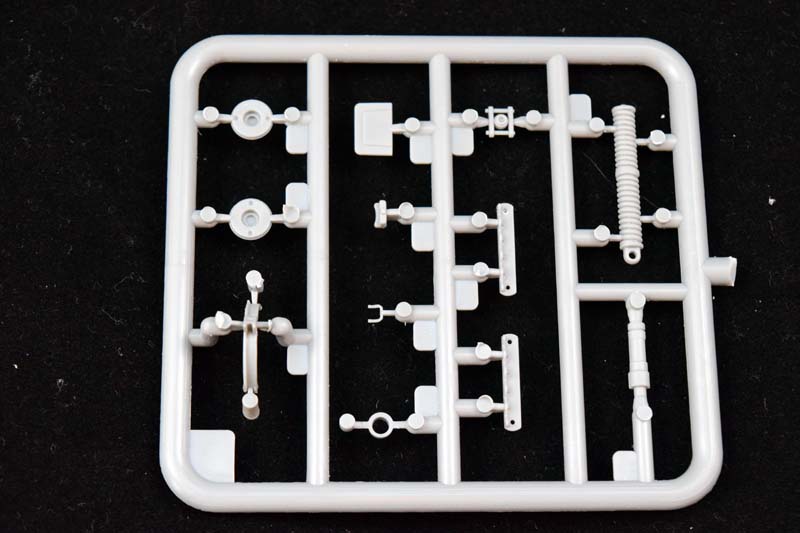
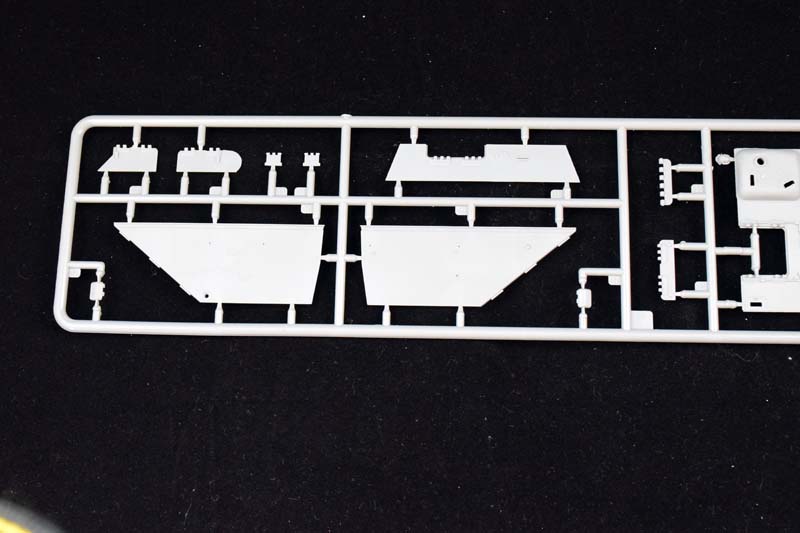
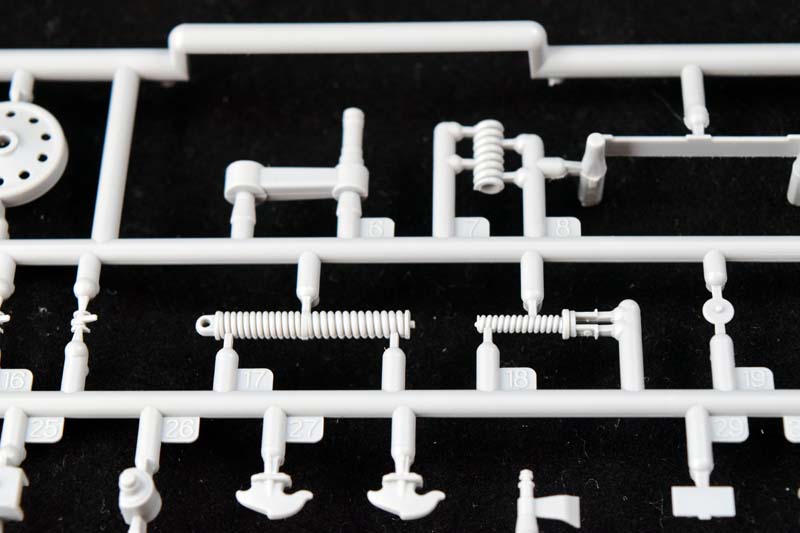
The assembly starts with the bottom of the hull. The hull comes in separate pieces, and not as a one-piece tub. Parts of the Christie suspension are assembled through step 1 to 7. Here we see the actual injection moulded springs MiniArt provides with these kits; they are frankly pretty cool feats of engineering. Im still not sure how it is possible to mould a plastic spring even with slide moulding.
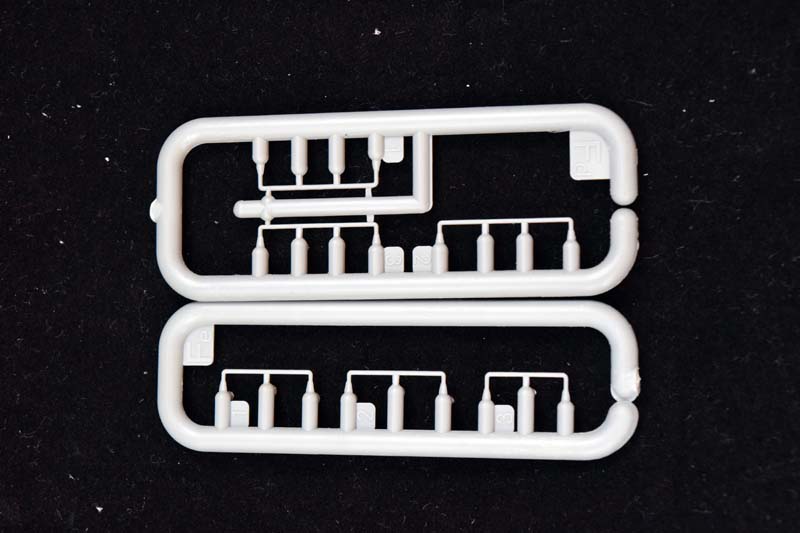
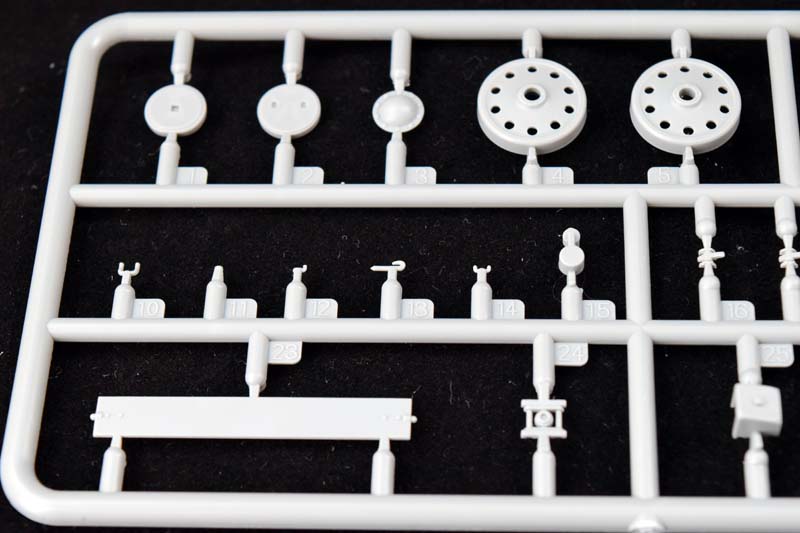
The following few steps show the assembly of the sparse interior and the sides (alongside with the running gear). Since the suspension springs are static, the suspension itself is not workable. (Not a big deal, as the swing arms can be positioned according to need by simply not using the springs in the suspension.)
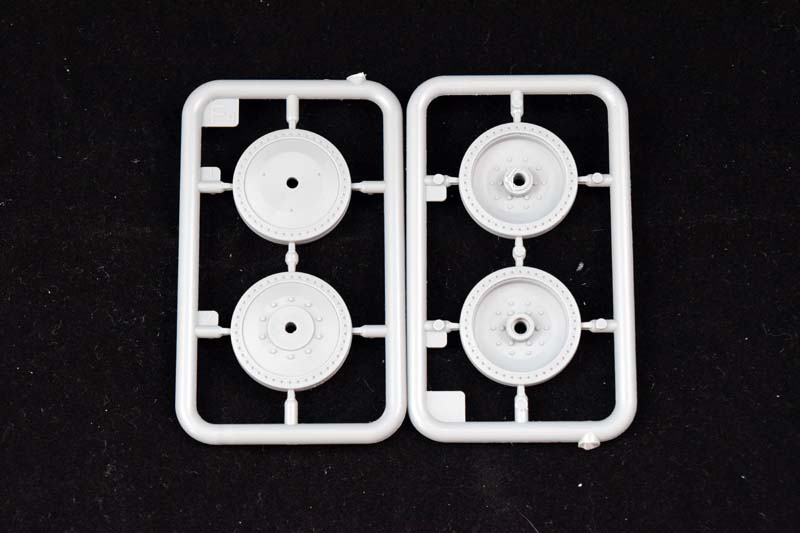
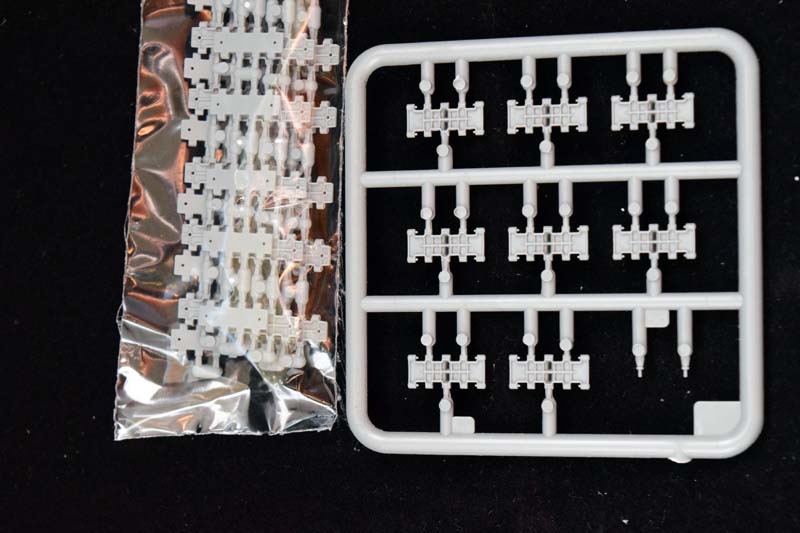
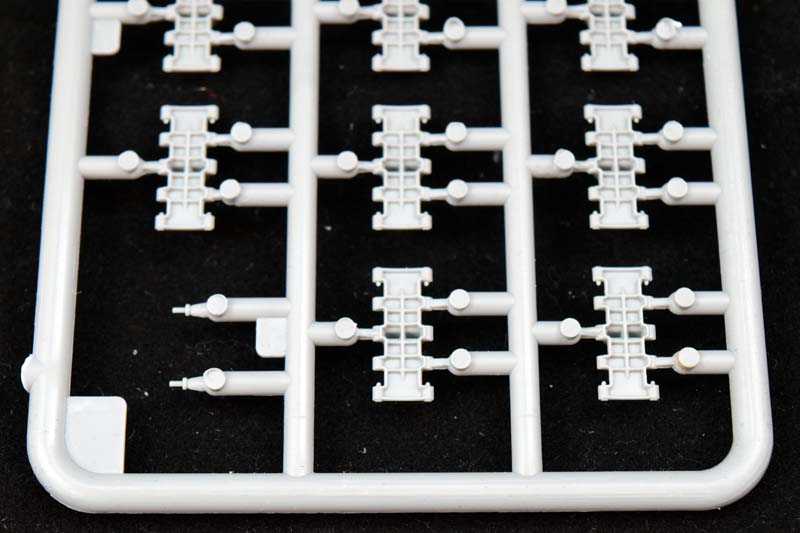
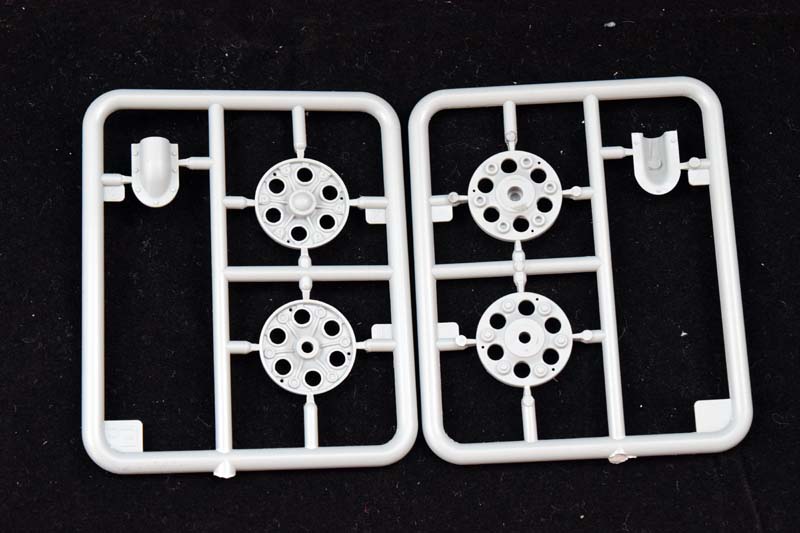
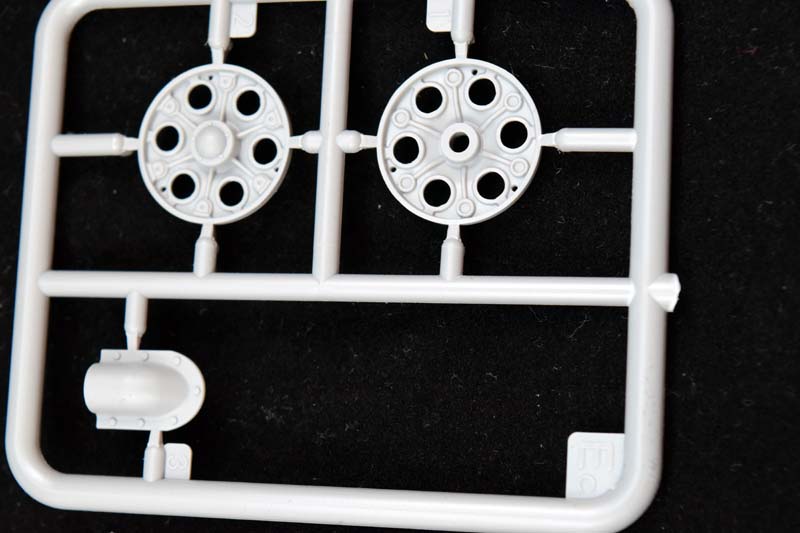
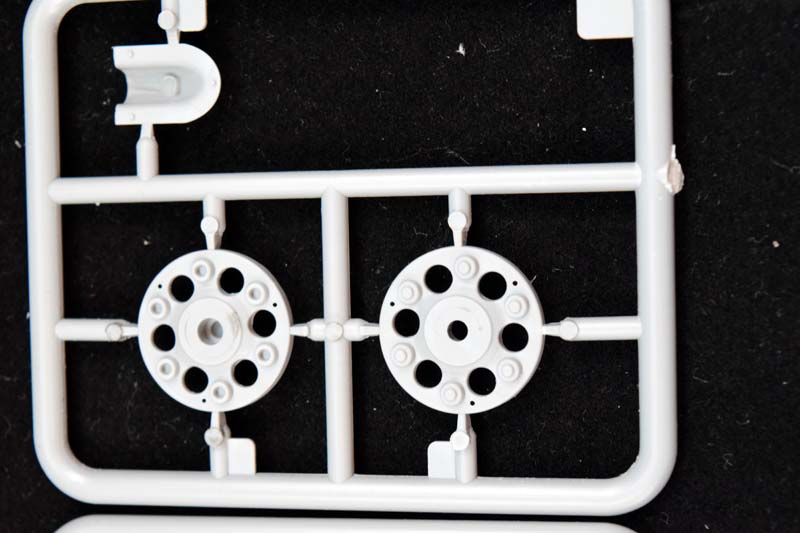
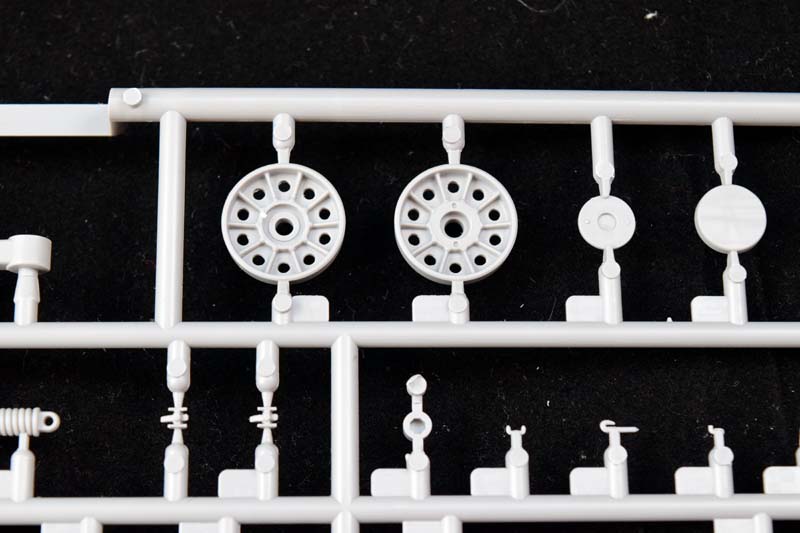
The road wheels and tracks are quite straightforward to assemble; MiniArt actually has released them as separate kits. The tracks are very nicely detailed: you can make out the casting numbers on their surface. They are not workable; they do clip together, but the pins are very small and fragile, so they are only good for holding the links together while the glue sets. One annoying thing about the tracks is the clean-up: three gates hold each track link, and they all need to be carefully cut away. (I managed to cut into a few of the links, since it takes a while to finish, and you do lose concentration after a while.) To be honest so far I have found Dragon's Magic Tracks the best of these types of track links: you get them already cleaned up in a bag, and that's that. Regardless, once assembled they look great, so there's no need to buy a replacement set. (Especially since MiniArt does sell them AS replacement set -and for good reason.)
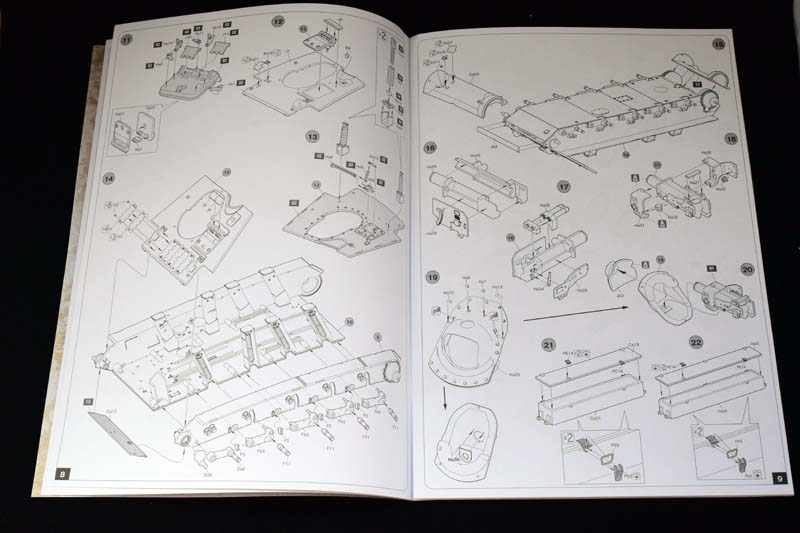
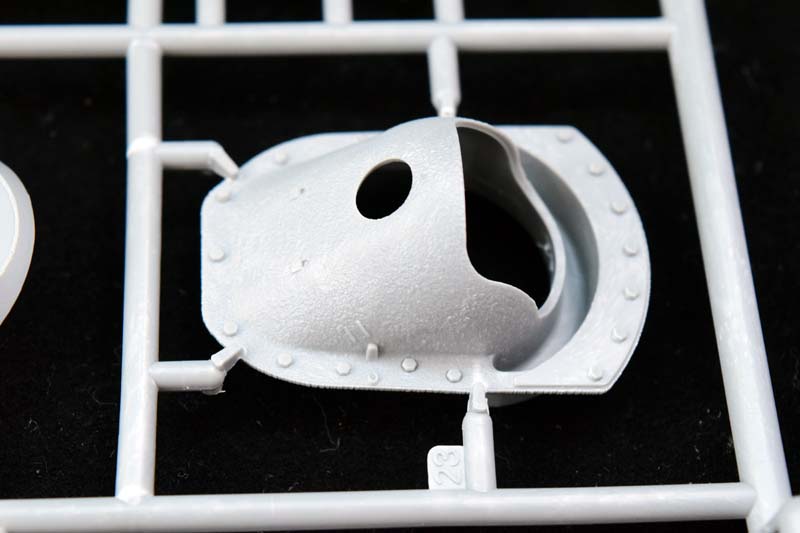
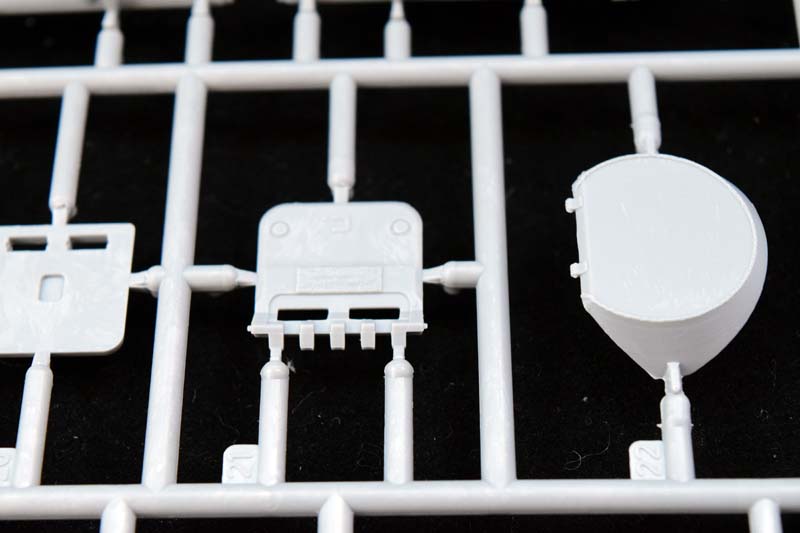
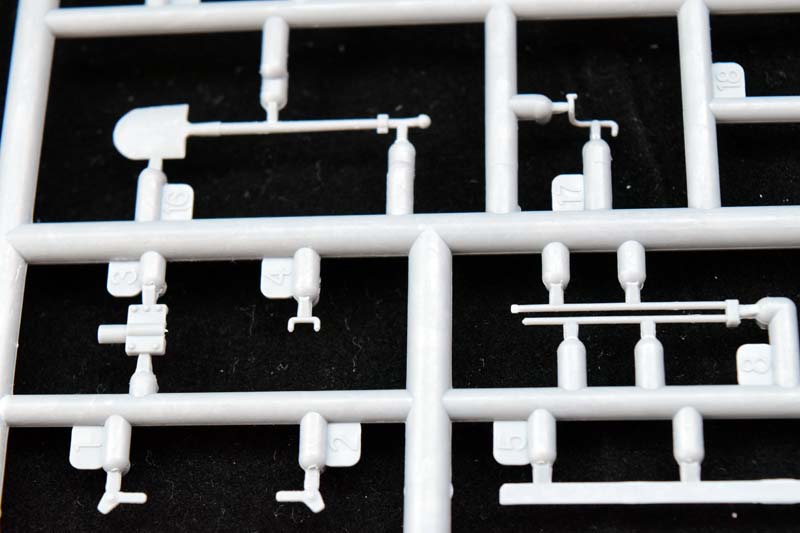
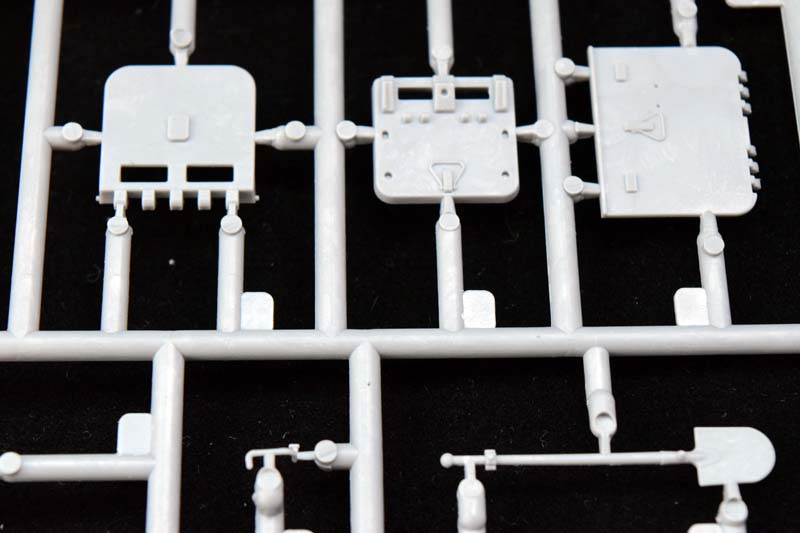
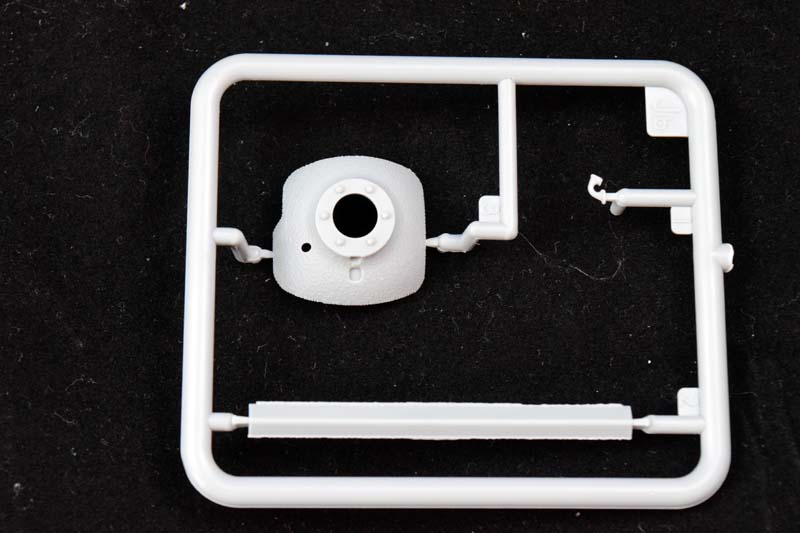
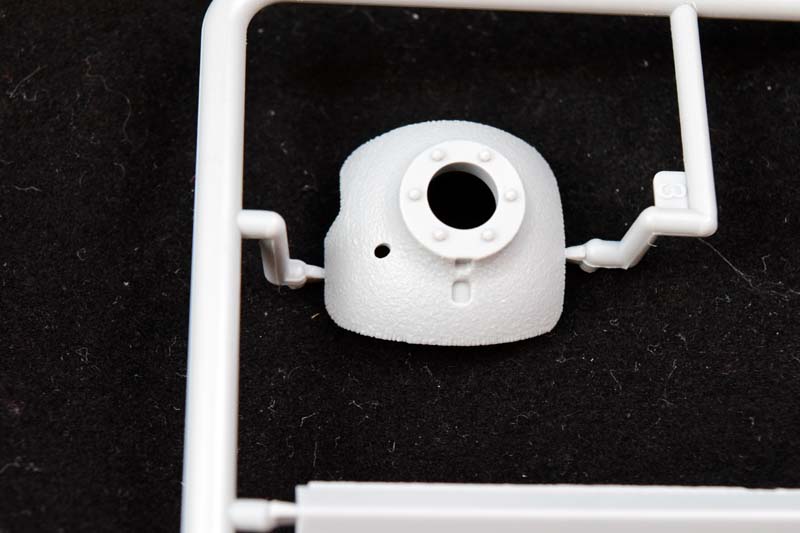
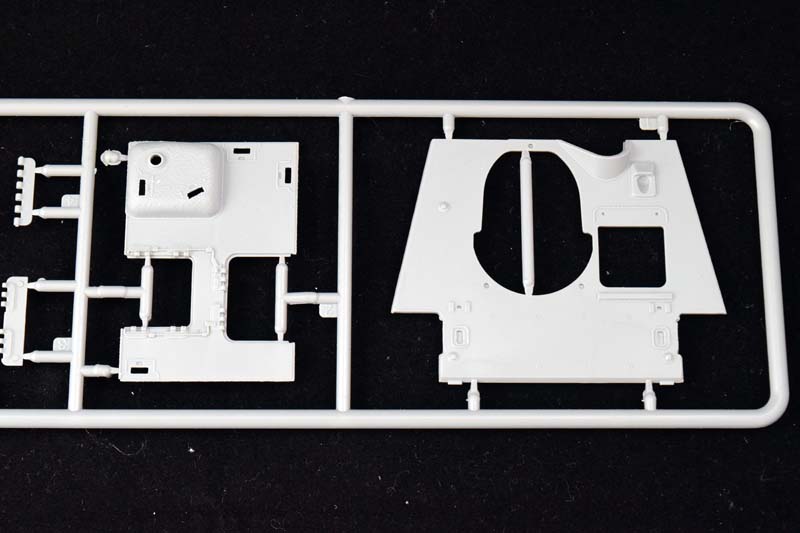
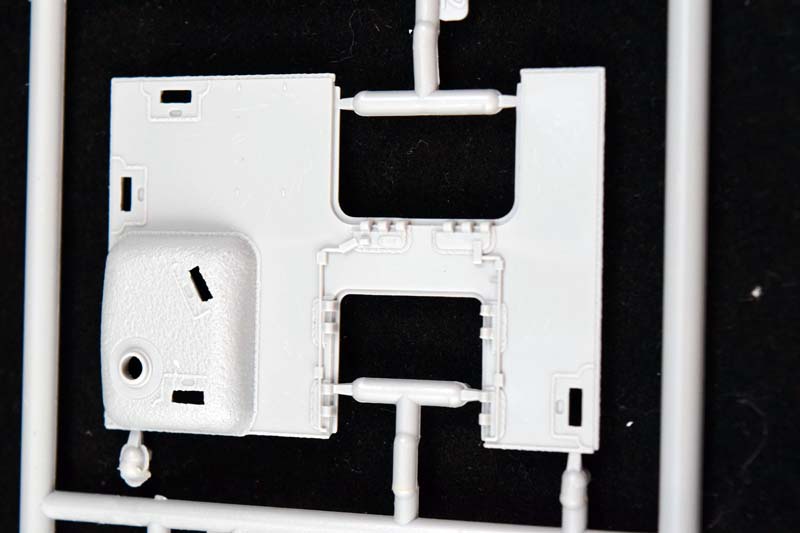
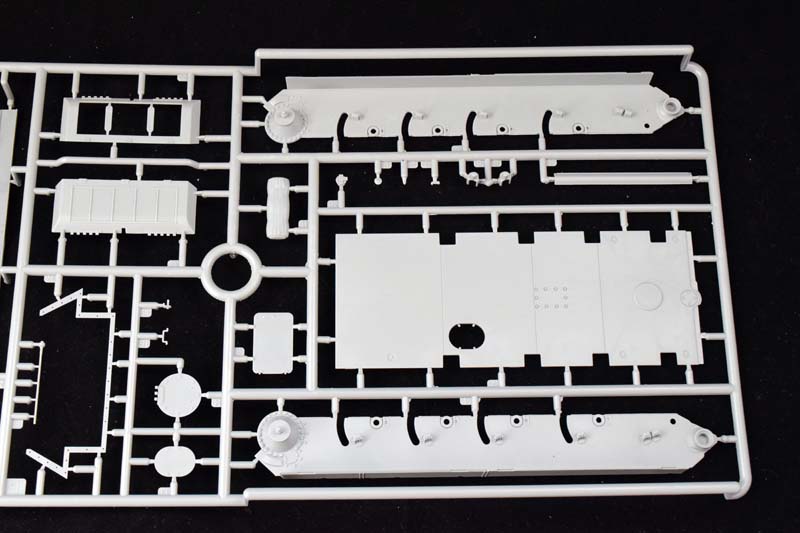
The frontal armor plate is added from steps 11, alongside with the back transmission cover, and we have a basic gun breech assembly at step 16. The ball mount and the top of the superstructure have a really nice cast-steel texture; they look great once painted and weathered. The engine deck, the superstructure sides and top, the road wheels are added through step 23-38 with all the details, hatches, tools and hooks.
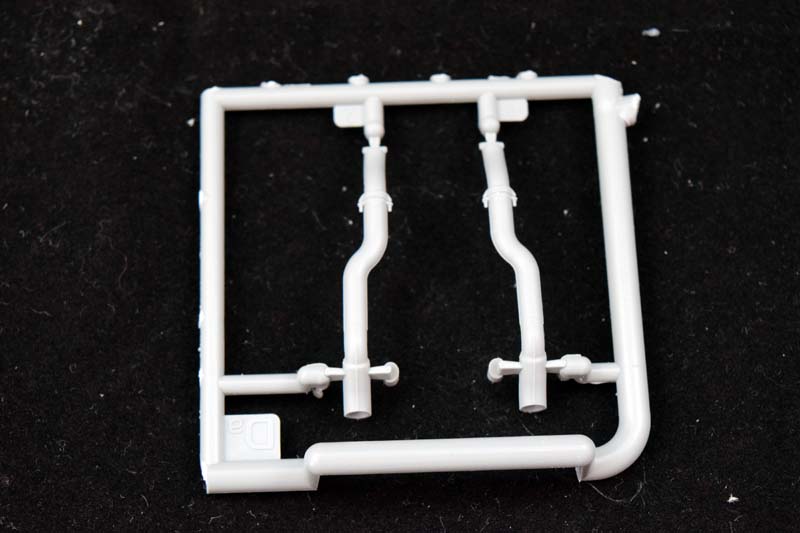
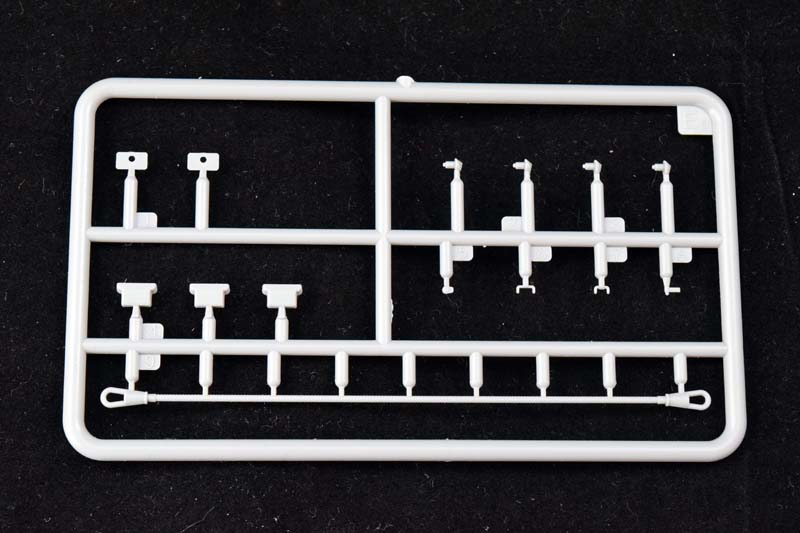
The towing cable is mounted straight, so in this case the plastic part given might be used, but I would still suggest swapping it to a metal one (picture hanging wire) to make it more realistic. (Cables are never ramrod straight.)
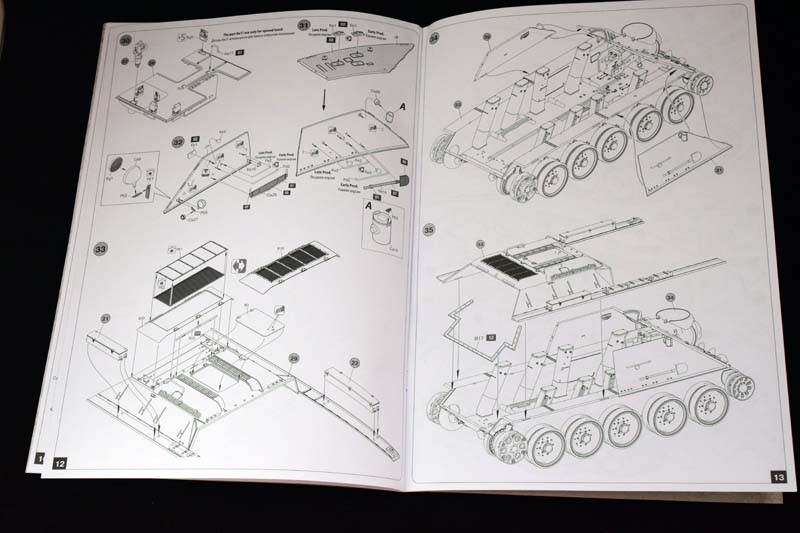
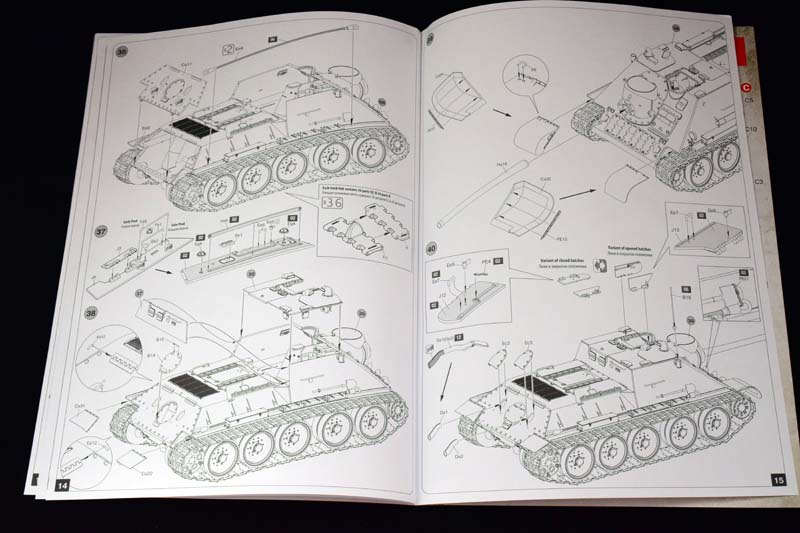
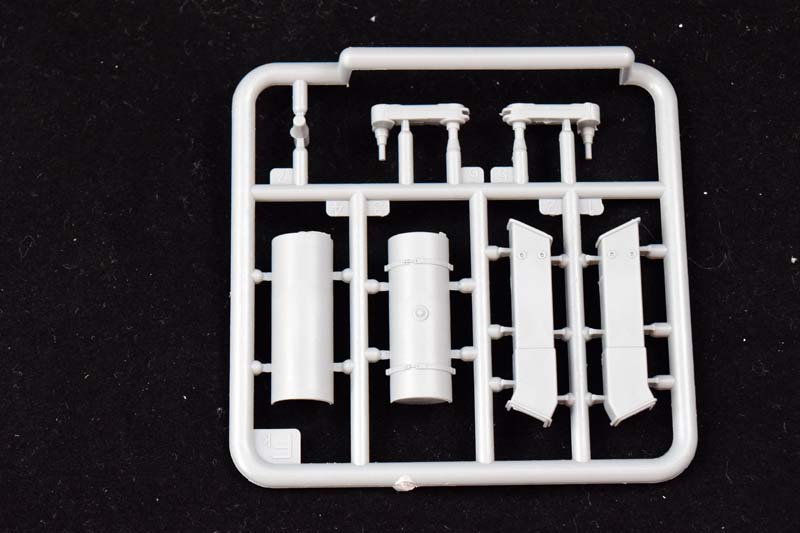
The remaining few steps show the addition of the last couple of details, and they also show the external fuel tanks added. There is a small text going with this part: not used in German version. It would be nice if it was clear what parts can be left off; not sure if the flexible tie-downs were left in place, or only the metal base of the holders remained in the German vehicles. Obviously MiniArt reused the original manual which is fine.
Conclusion
Overall, the model is a great SU-85 kit. Its miles ahead of the old Tamiya offering in both detail and accuracy; I have not seen the Dragon one to be able to comment on it. It is well engineered, but a complex model, so beginners will struggle a bit. This particular kit in German colors offers an unique version, but it is essentially the same as the other MiniArt simplified SU-85 model, with a German crew added: should you wish to do so you can build a Soviet version out of it, too.
That said I'm still not sure how the added crew would fit into the vehicle; the interior is certainly cramped, so the figures would probably need to be modified. (Some of them are standing, leaning on something, for example, which is a difficult feat to accomplish inside the SU-85. Since they are given as a bonus, I don't think I can complain about the lack of dedicated SU-85 crew. The other minor issue is the interior: while there is certainly some detail provided, some big parts are missing, like the recoil guard. If you leave the hatches open, it will be a quite prominent omission, even if the crew hides most of the details.
SUMMARY
Highs: well designed model with good detail; interesting subject with unique camo patterns, reduced part number for people not interested in full interiors, extra crew.Lows: somewhat complex assembly.Verdict: recommended.
I am a biologist by trade, and as a hobby I've been building scale models for the last twenty years. Recently I started to write reviews of the models I bought. These reviews are written from the point of view of an average model builder; hence the focus is on quality of the model, how easy it is to...
Thanks for the detailed review. Looks like another great kit. While I can appreciate that it might be more difficult to produce a kit with a complete tub chassis I personally appreciate the effort and here the kit loses some of its appeal. This is the case with all so-called-"flat pack" kits so common of some companies. I like building with everything aligned and true right from the start. Don't know how it compares with the Dragon offering (which is several years old) but this one seems to have better instructions.
I was thinking a lot about this flat-pack design (good name, by the way), and I think it might be intentional: the amount of detail included makes the walls and bottom into sub-assemblies. I'm building the Tamiya T-55 with CMK interior now, and to be honest, it's easier to work on the sides if they are separate. But I might be wrong.
Think about it this way: single piece tubs need to have thicker side walls for the molding process. So interior bits typically need to be undersized to fit into them. All flat panels allows for easier assembly of details and floors and thinner side walls with stability coming from bulkheads. Interior bits can be more true to life with the floors and bulkheads full sized as opposed to paired down to fit in artificially thick side walls.
Even though I usually mis-align them I still prefer flat pack to tub. I have building flat pack forever. I cut my teeth on ancient Airfix, Fujimi and ESCI small scale armor; all flat multi-piece hulls, and those with tubs were Bandai 1/48 scale armor where the bulkheads and floors wouldn't fit.
Apparently working coil springs are becoming quite easy to create using a three part slide mold. Starting with the standard two part mold and then adding a sliding rod that comes in to form the open center of the coil spring.


Comments