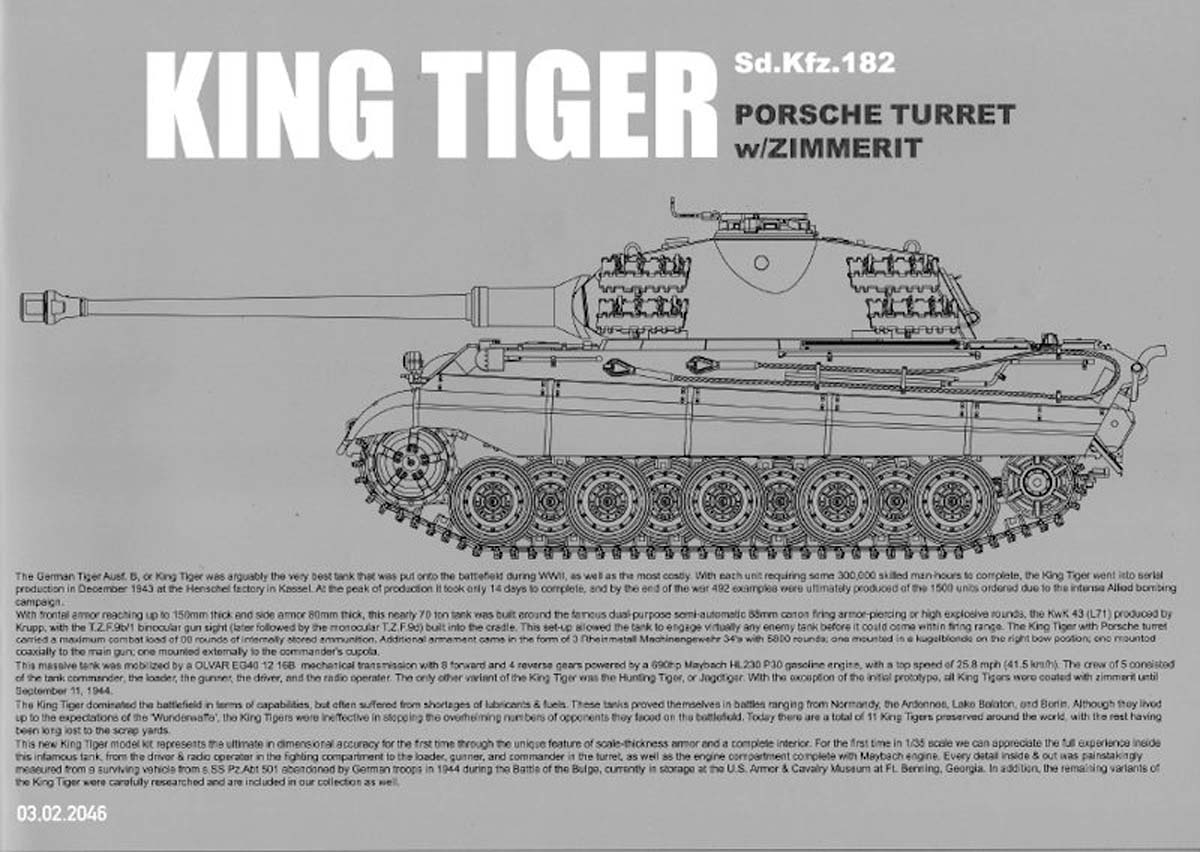
The origins of the King Tiger started with the VK45.02 program in 1942. The requirement was to build a chassis that would use a turret mounting the 8.8cm KwK 43 L/71 main gun. Krupp was contracted to design and build the turret for both the Porsche and Henschel proposals. The only difference between the two turrets was that the Porsche version was electrically traversed, and the Henschel used hydraulics.
Henschel was awarded the production contract in October 1943. At the time, Krupp had already completed 50 turrets for the losing Porsche chassis. These turrets were converted from electric to hydraulic traverse and installed on the first 50 Henschel chassis (V1/2/3. 280001-47). Starting with chassis S/N 280048, the Krupp designed Serien-Turm was installed (June 1944).
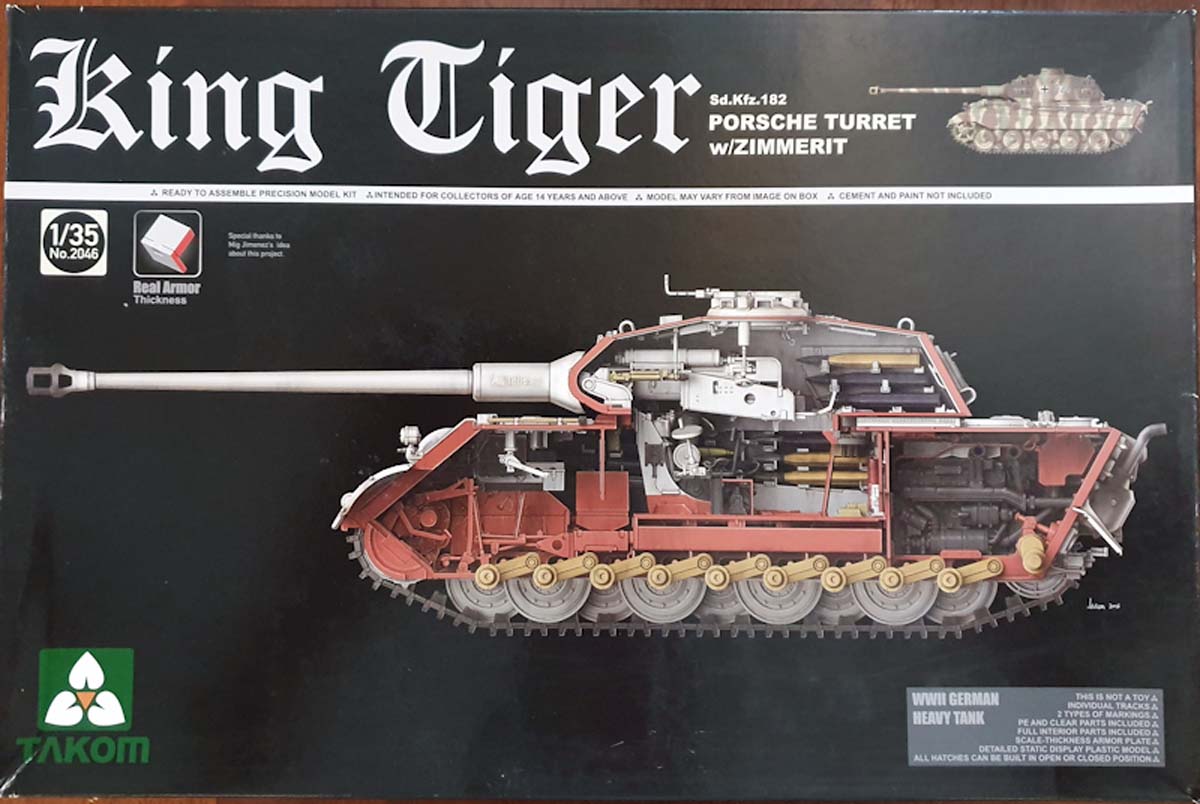
The Takom box calls this kit a Porsche turret. This is incorrect as Porsche never designed or built the turret. The turret (in this kit) was designed, and built, by Krupp for the Porsche chassis
This kit represents a Henschel chassis with a Krupp designed turret. Takom should have called this a King Tiger with the VK45.02 turret.
Whats in the Box
This kit is from Takom and released in 2016. This is a large box, measuring 15in x 10in x 5in (38cm x 25cm x 12.7cm). The kit has just over 1000 parts. Whats in the box:
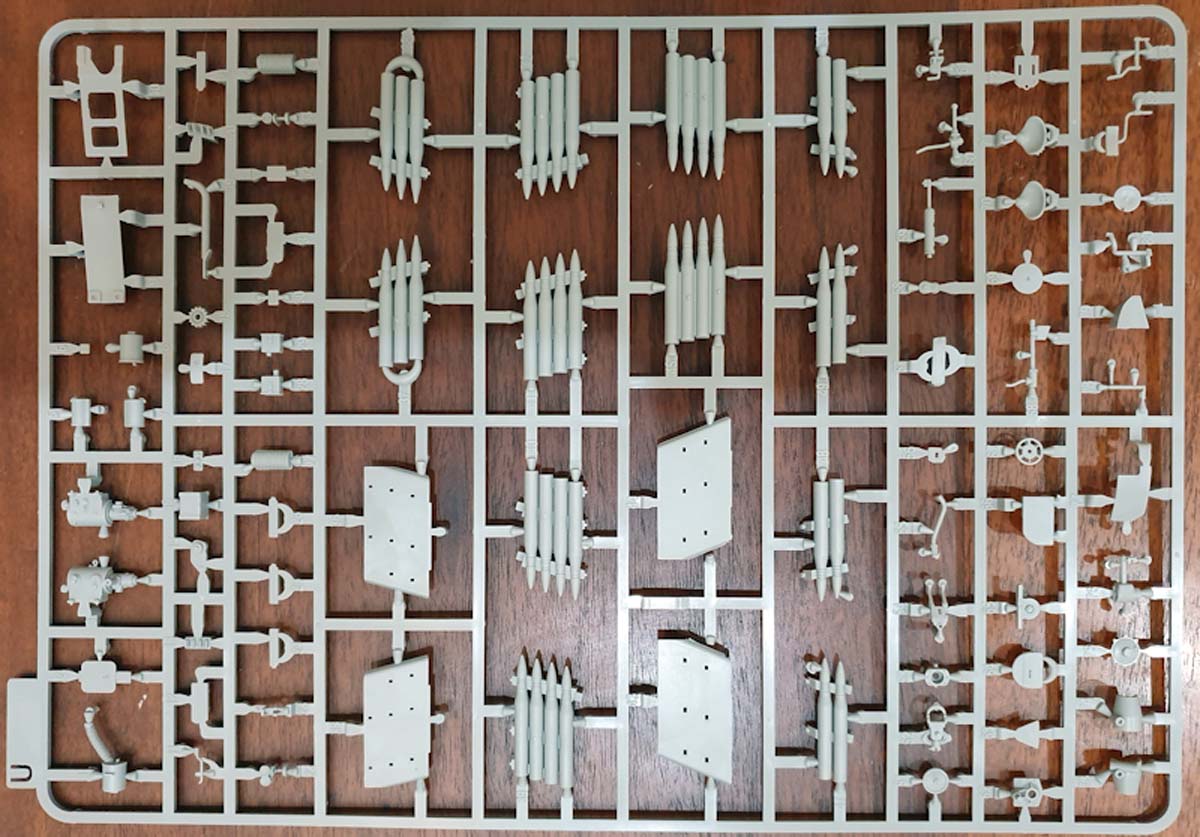
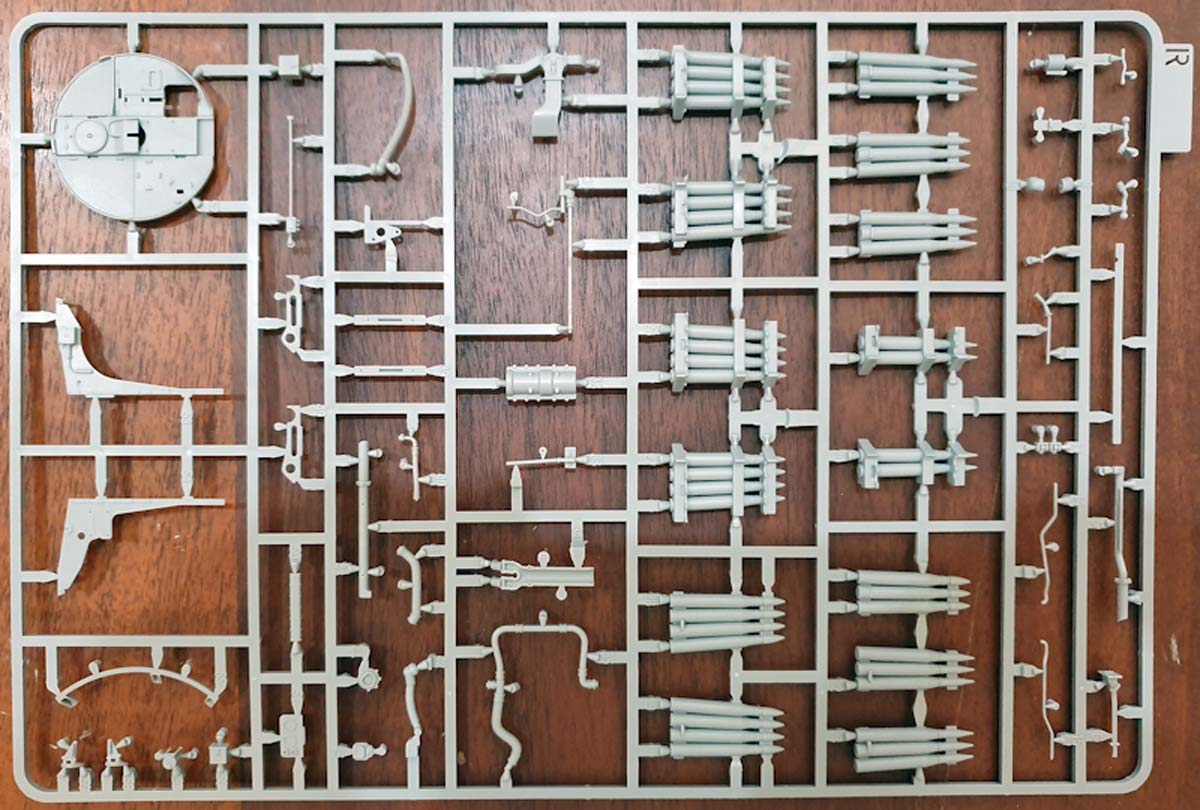
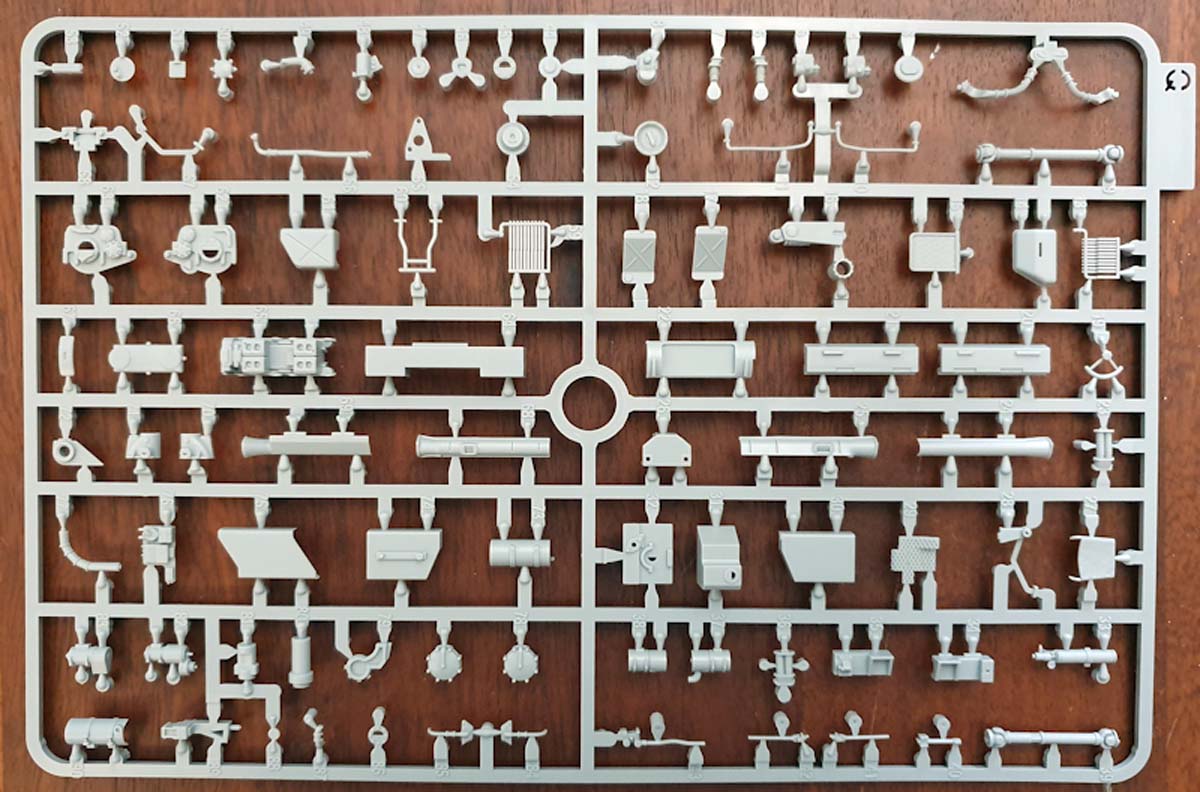
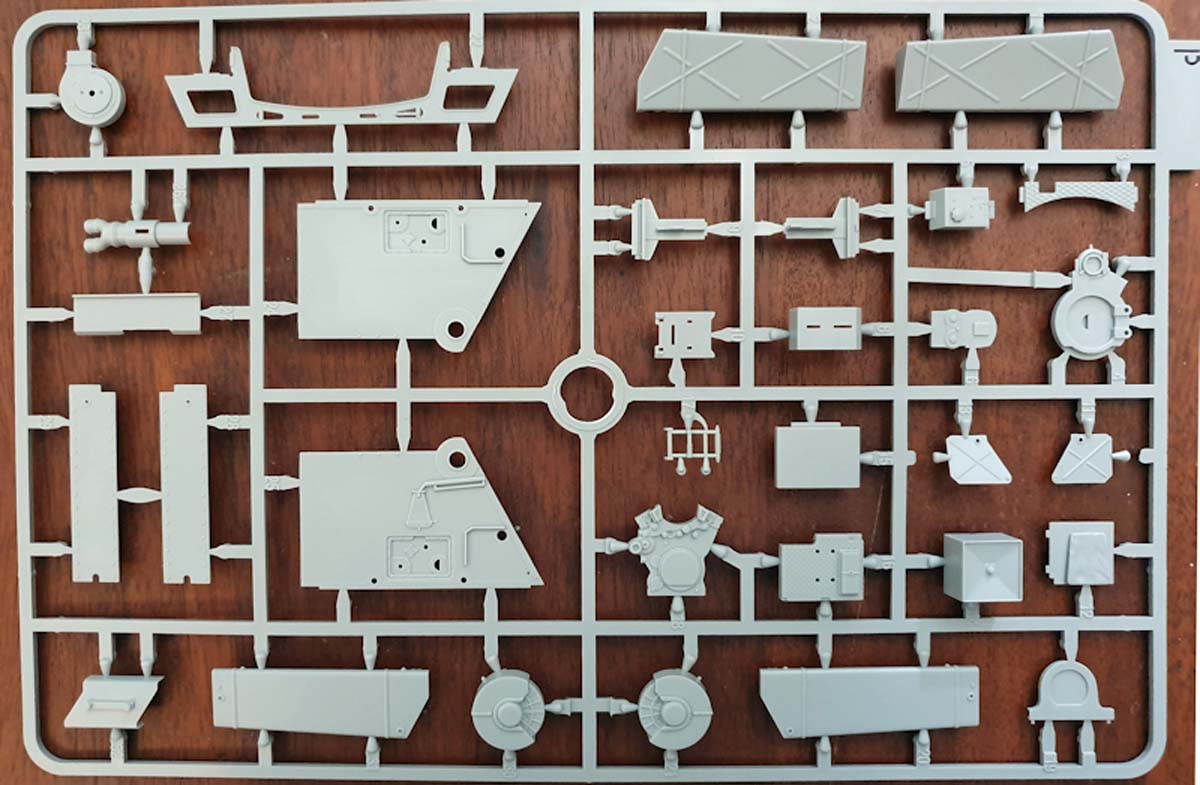
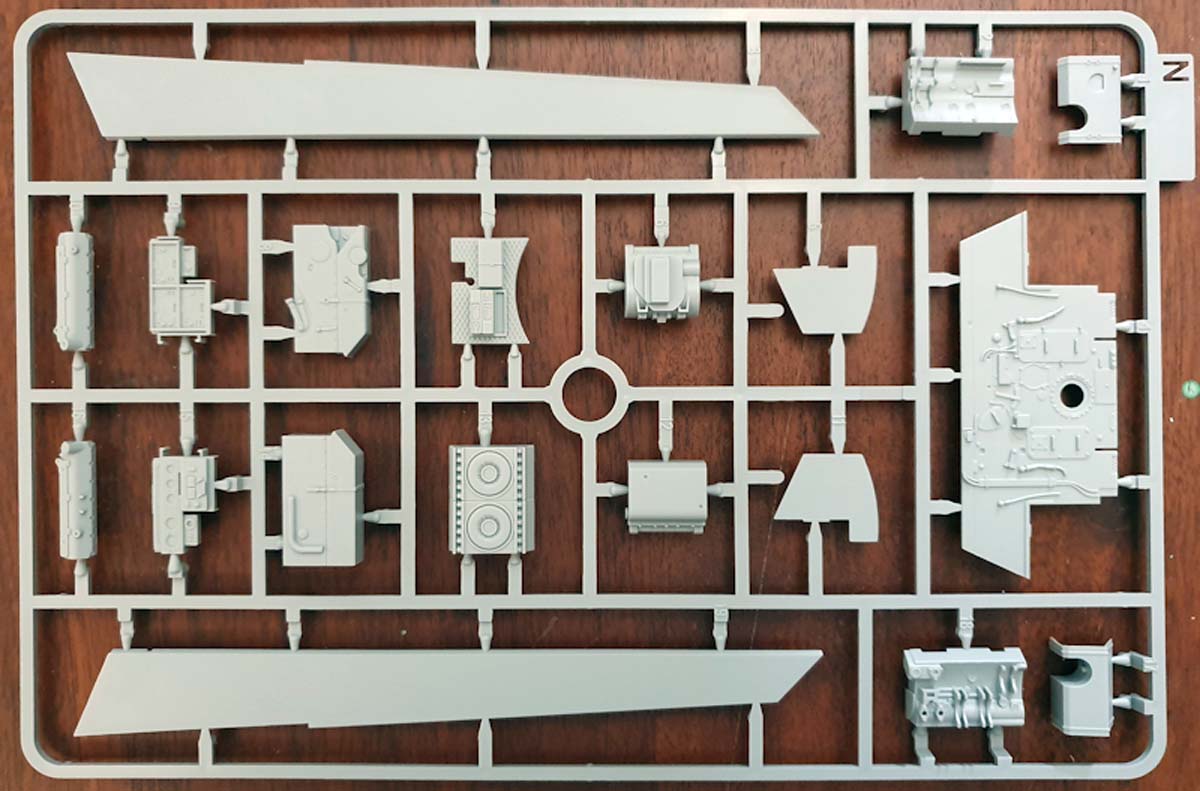
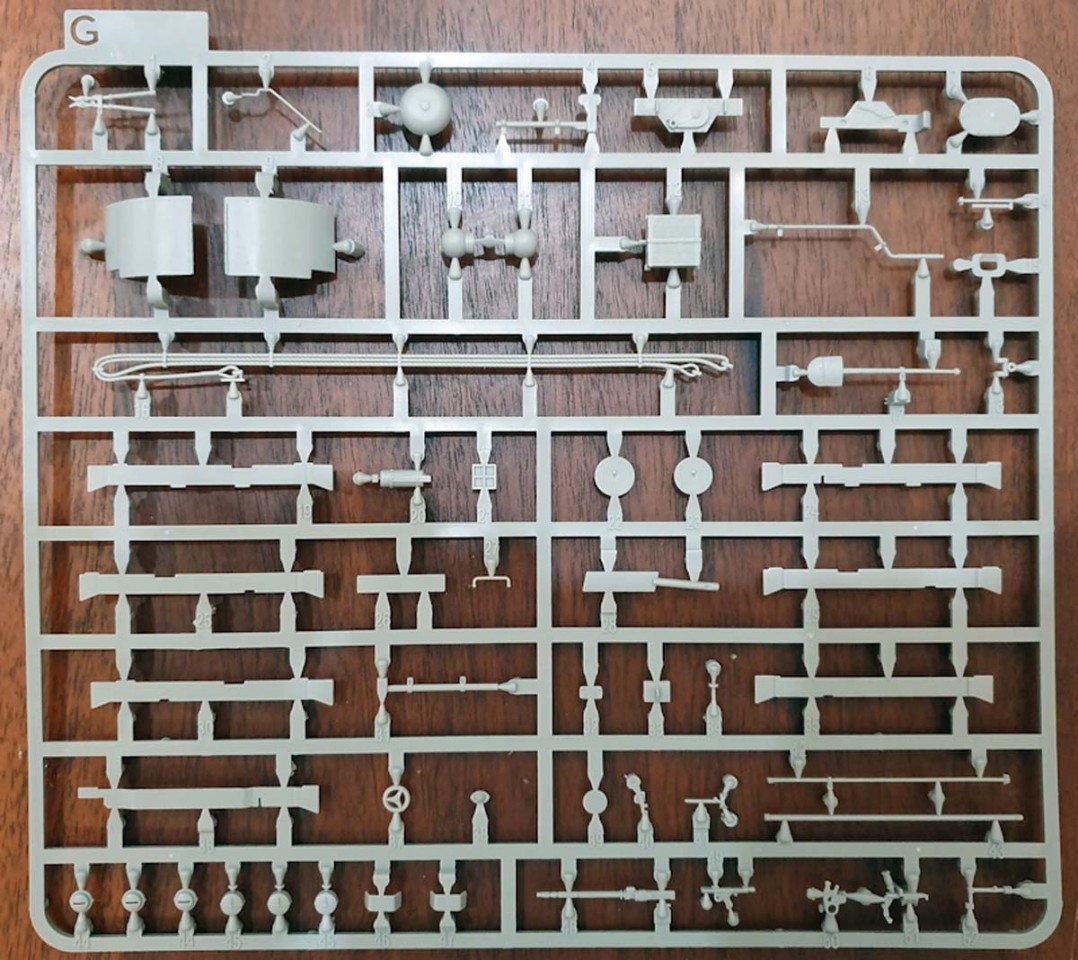
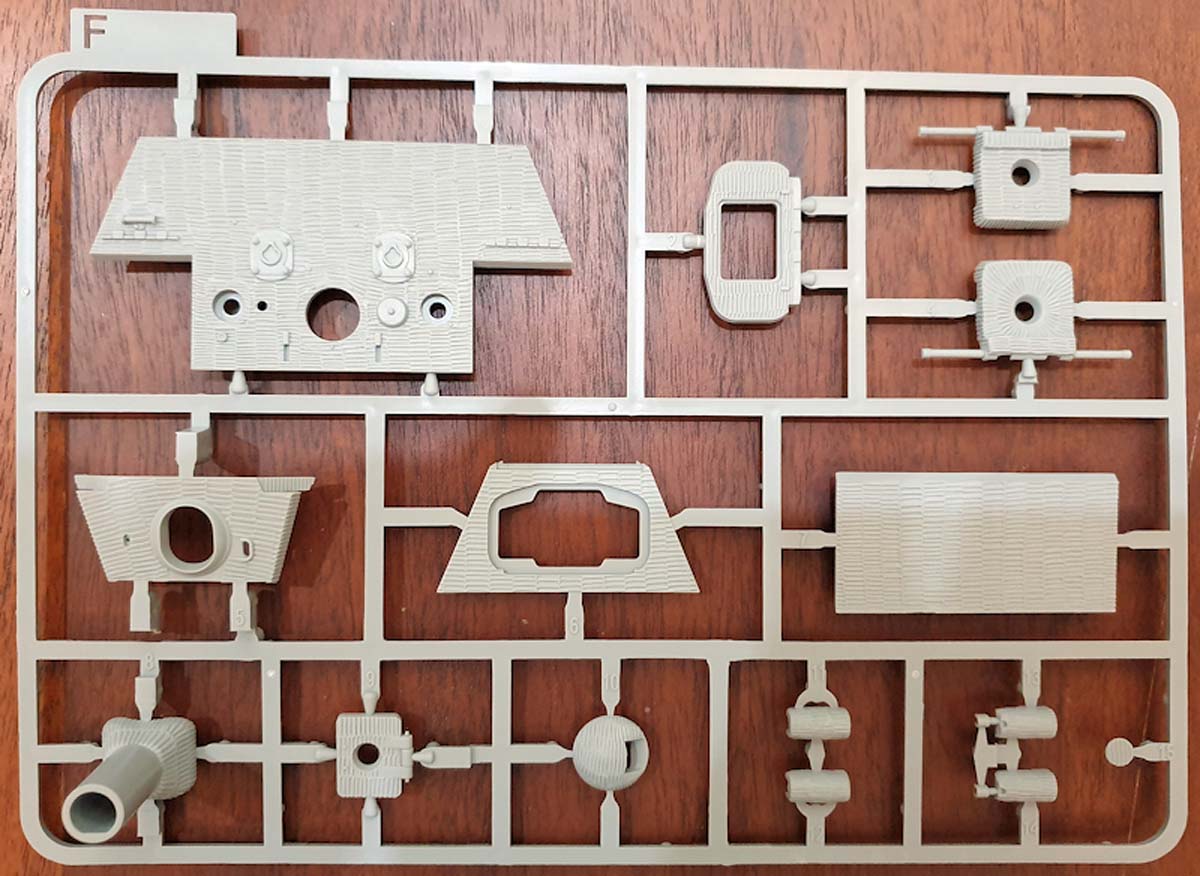
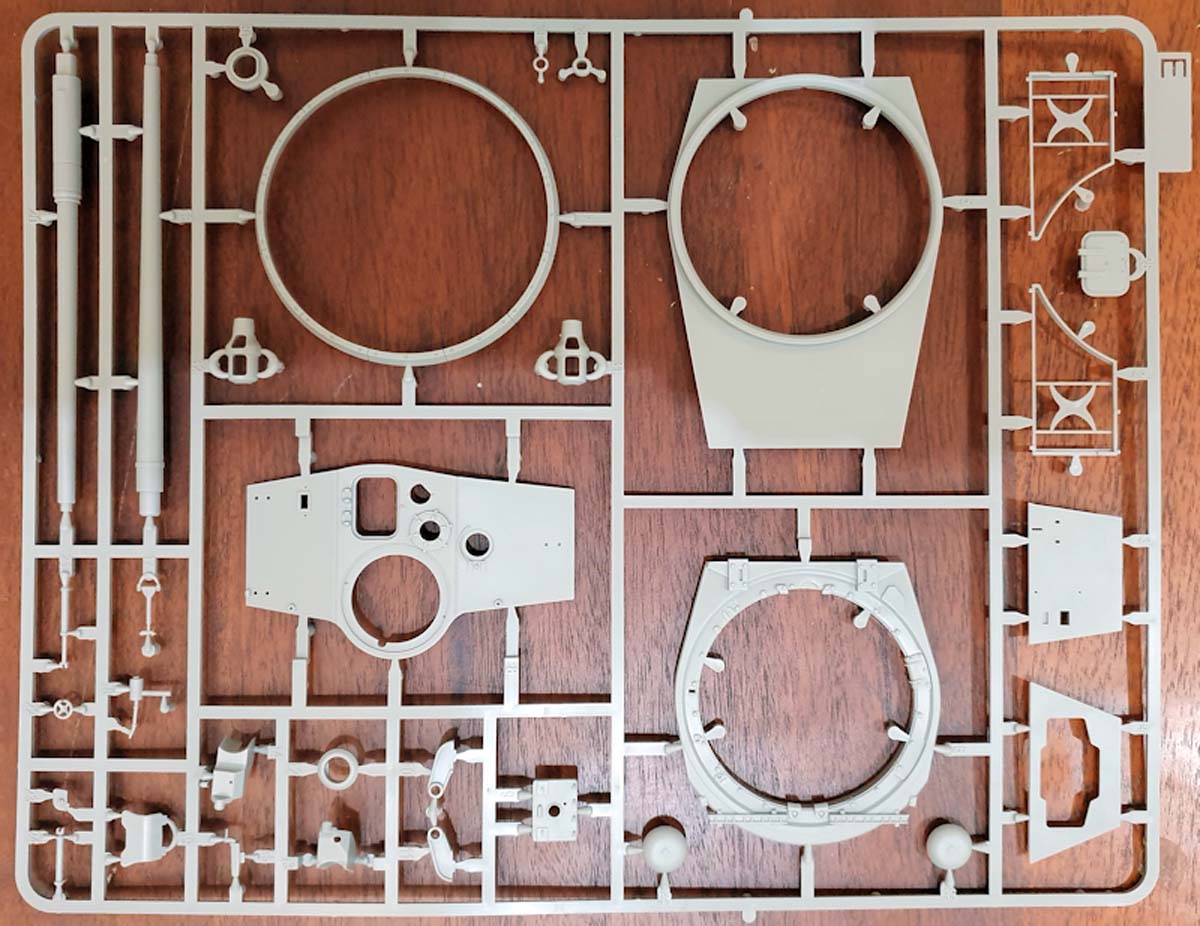
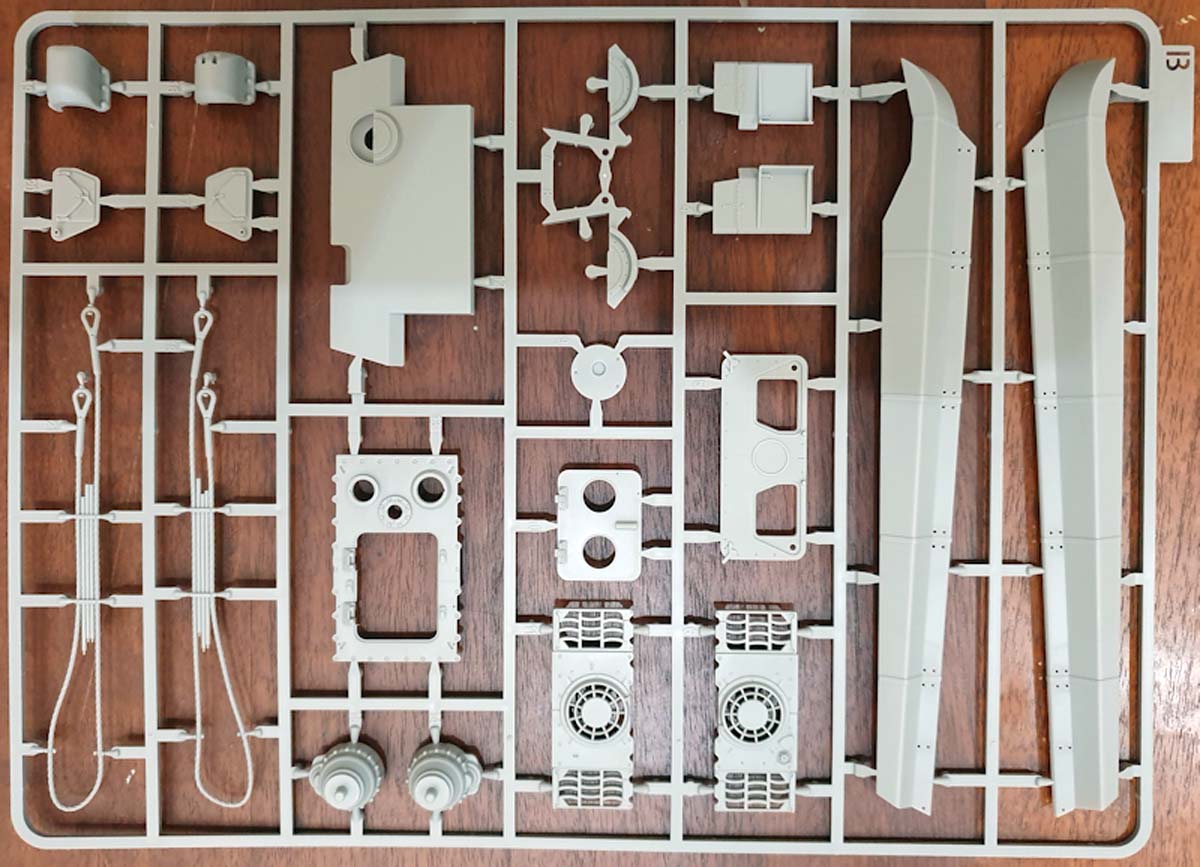
16 sprues molded in grey
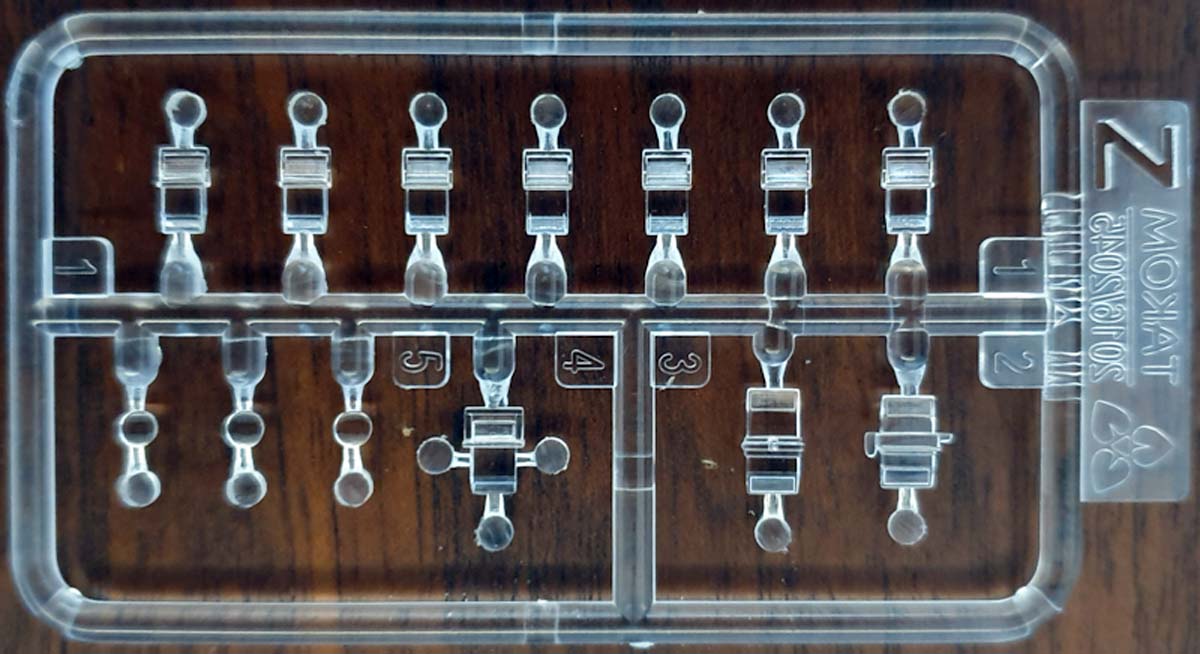
1 clear sprue
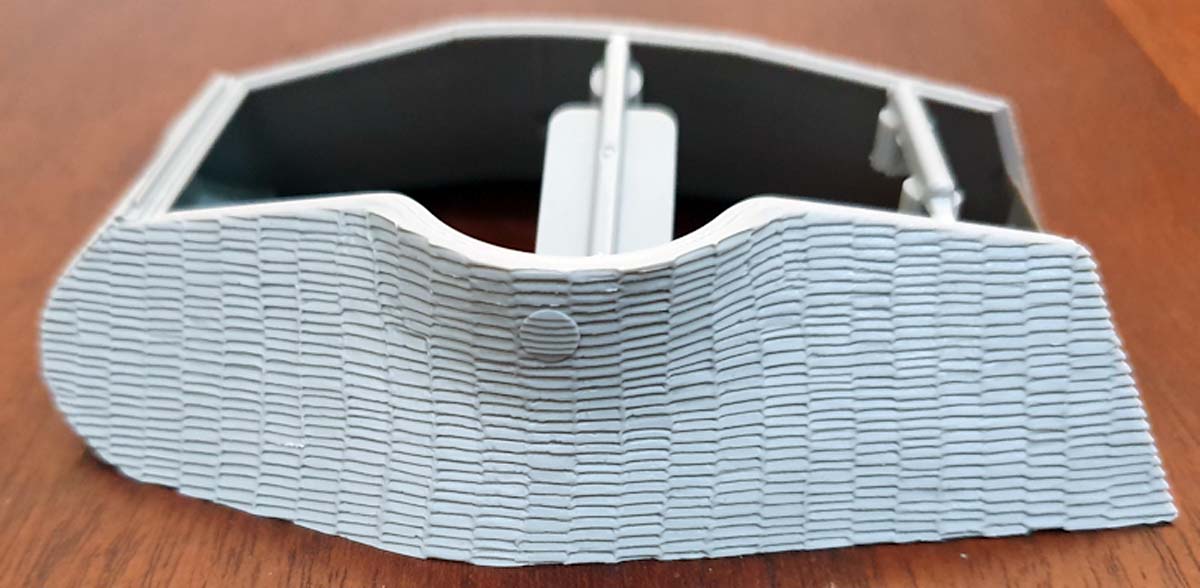
Lower hull molded in grey
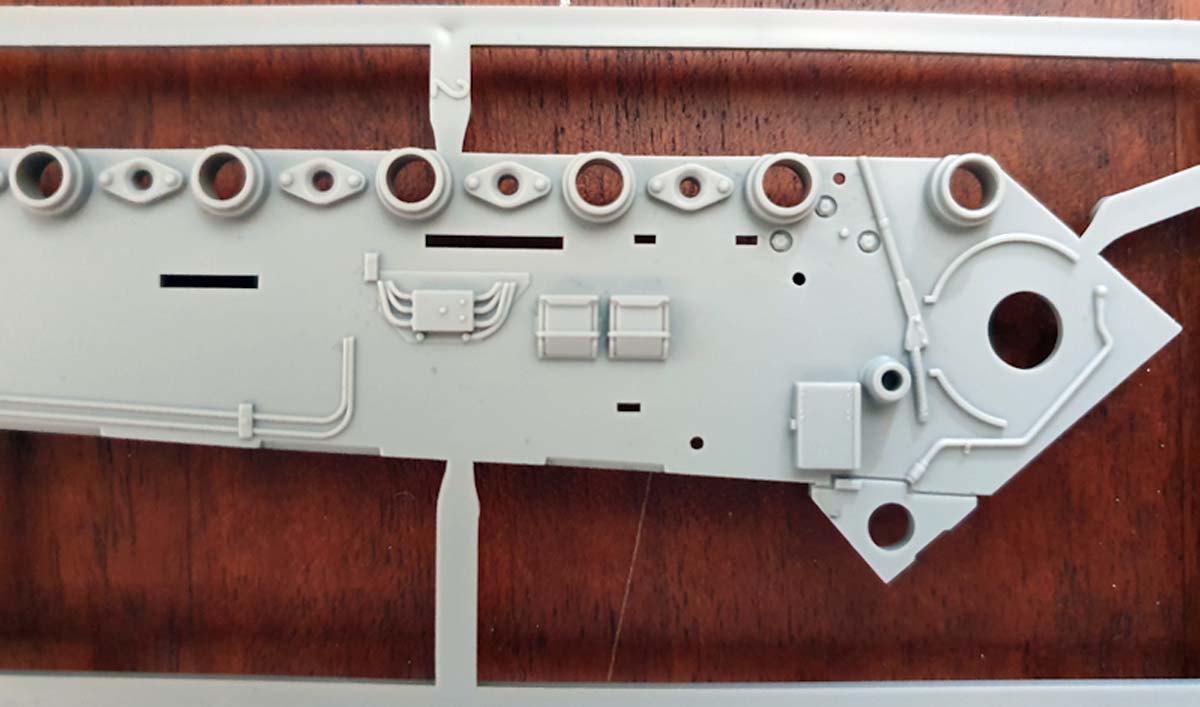
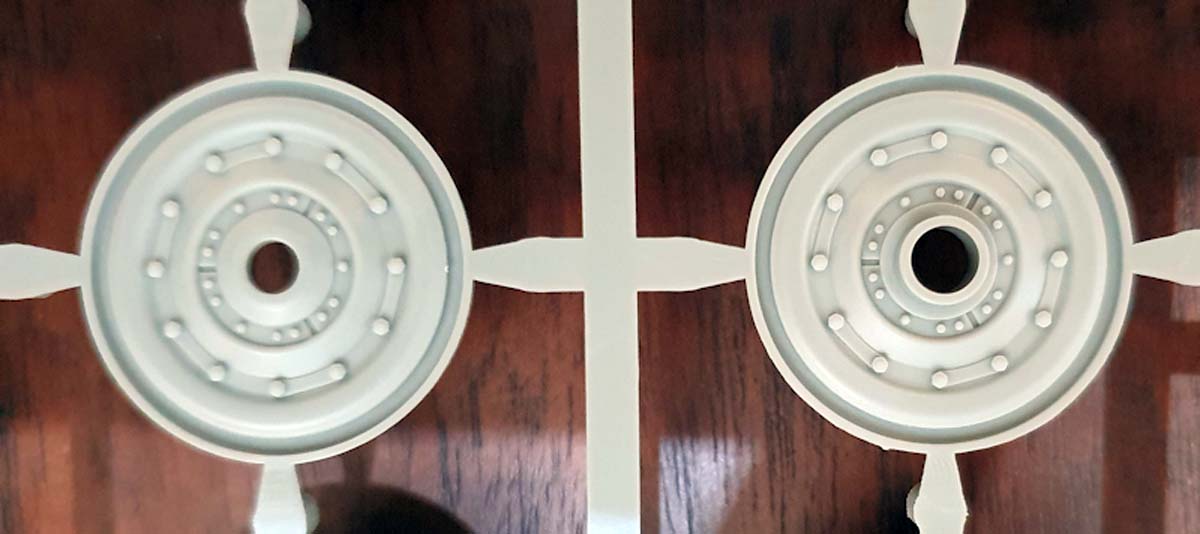
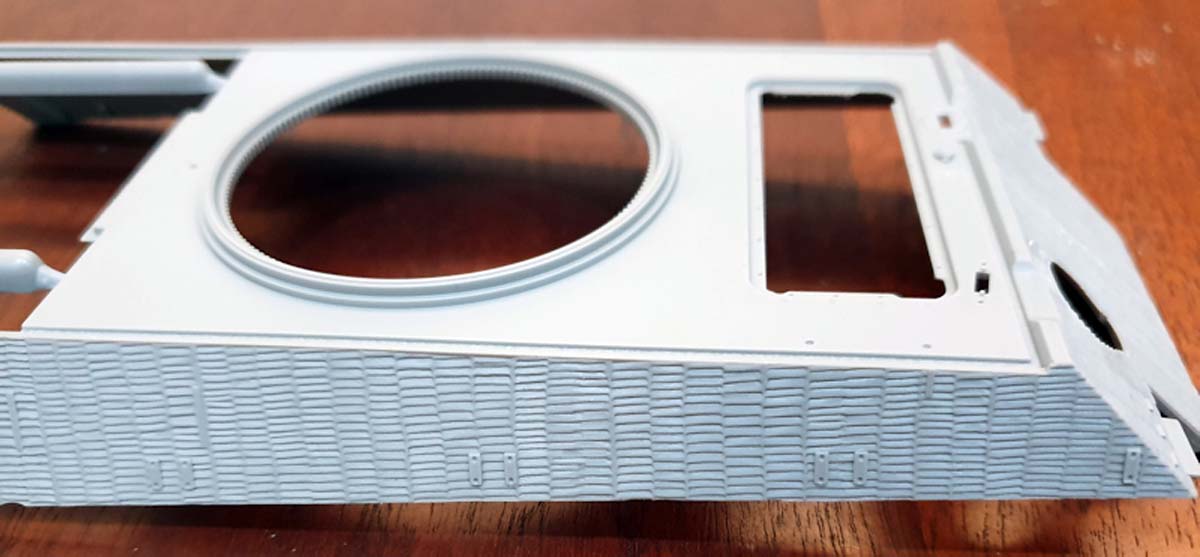
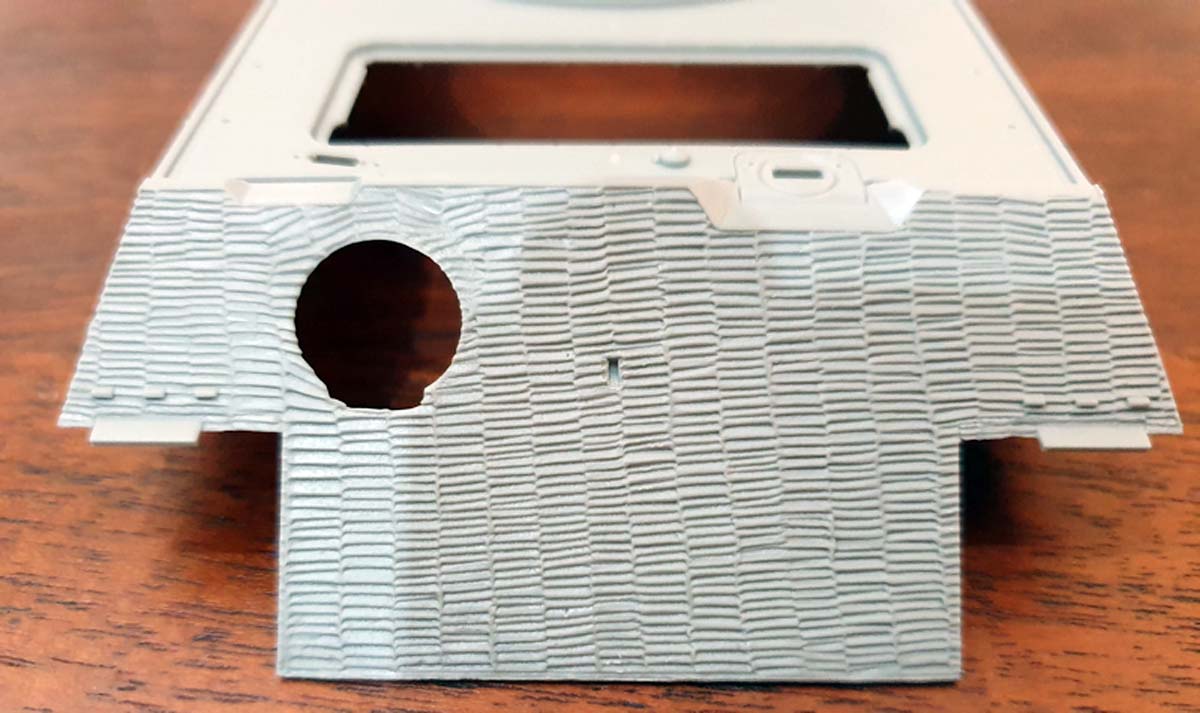
Upper hull molded in grey
Turret molded in grey
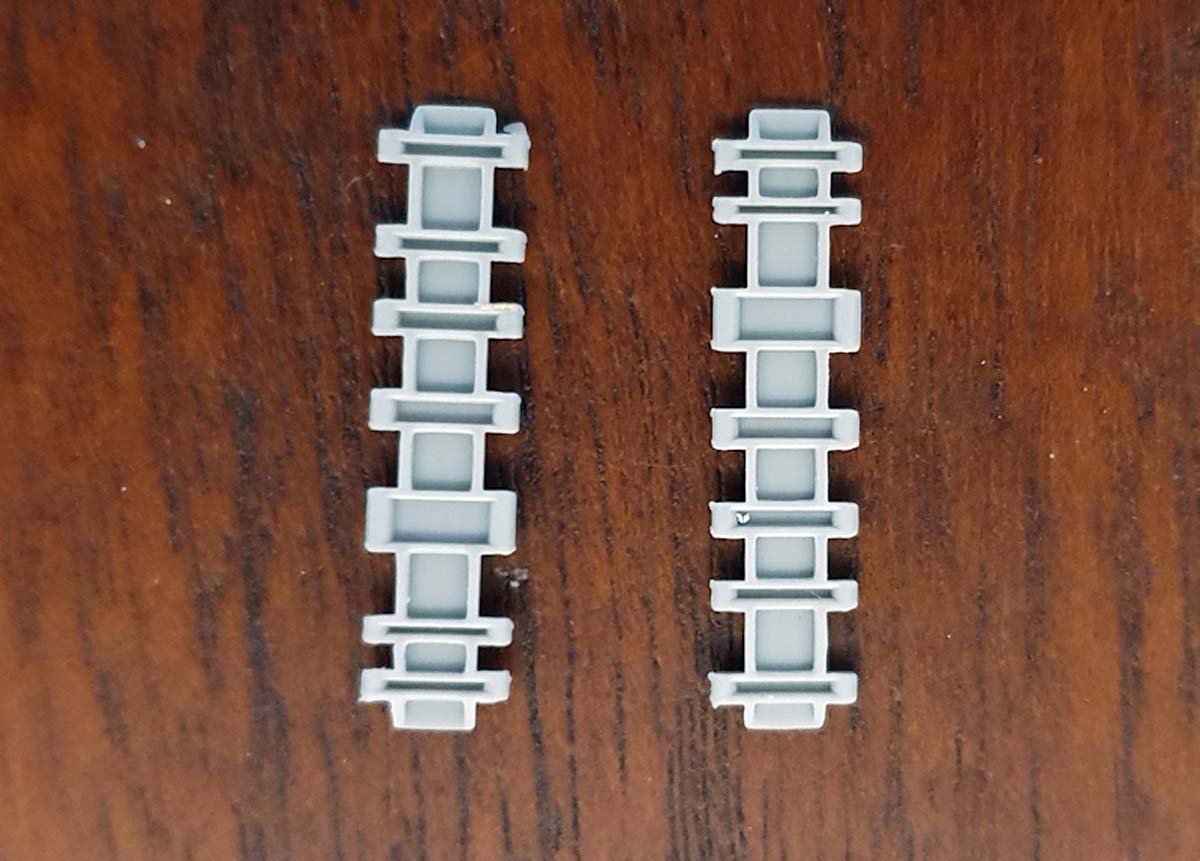
2 Bags of track links (96 each)
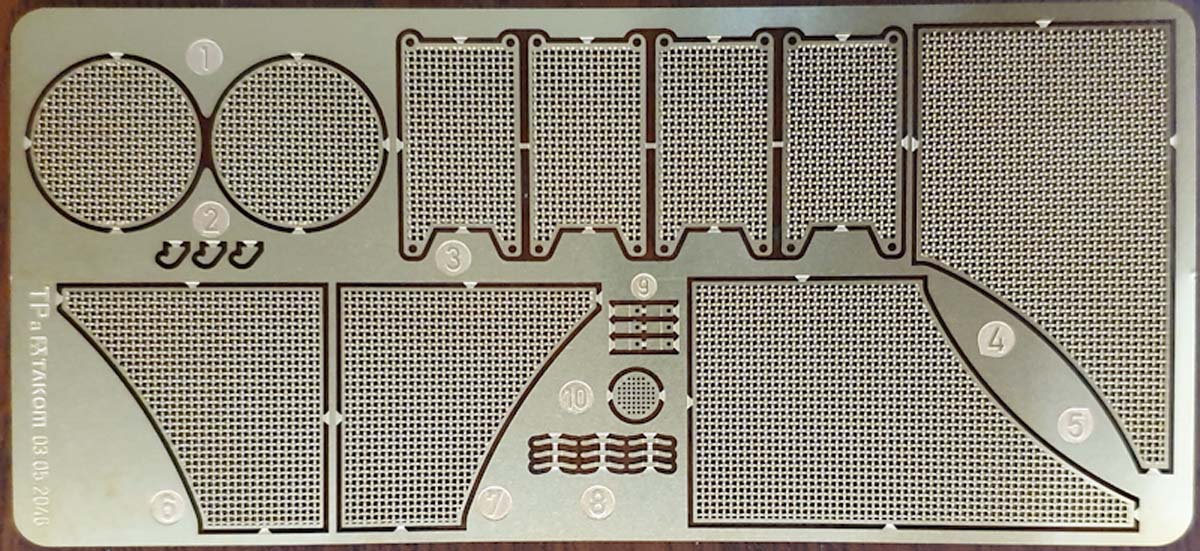
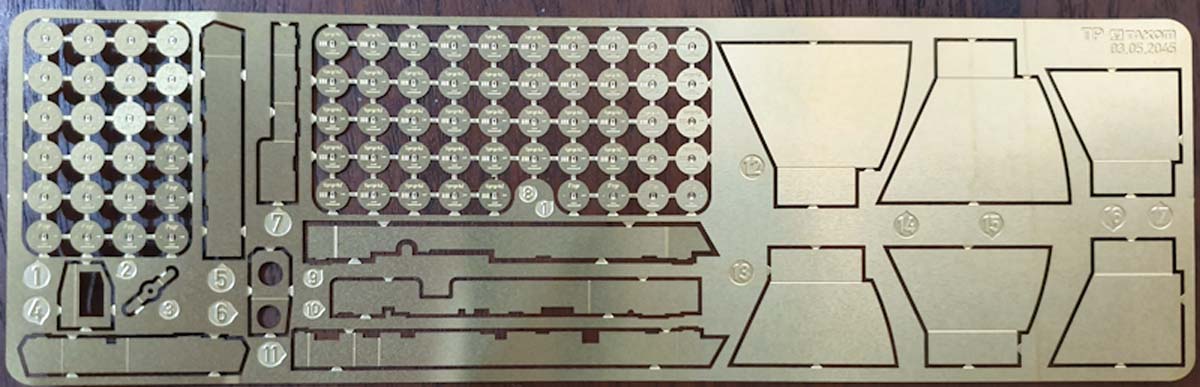
2 PE Frets
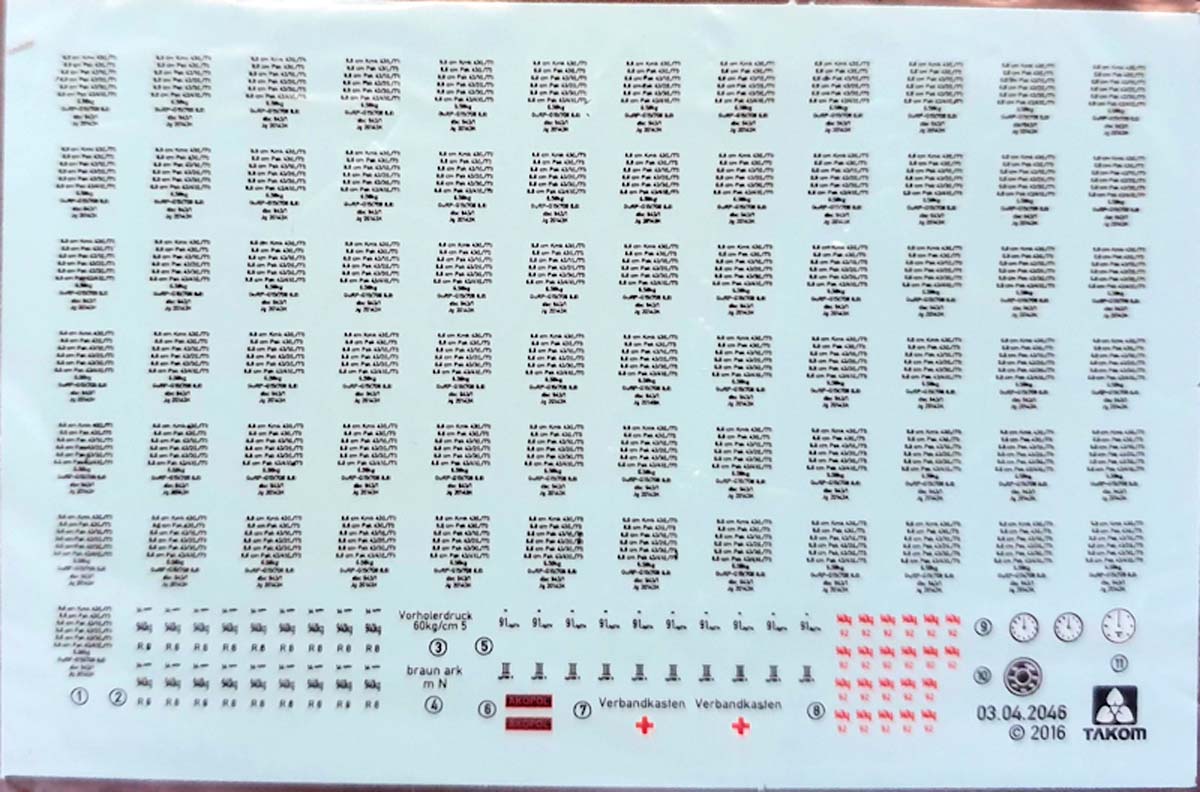
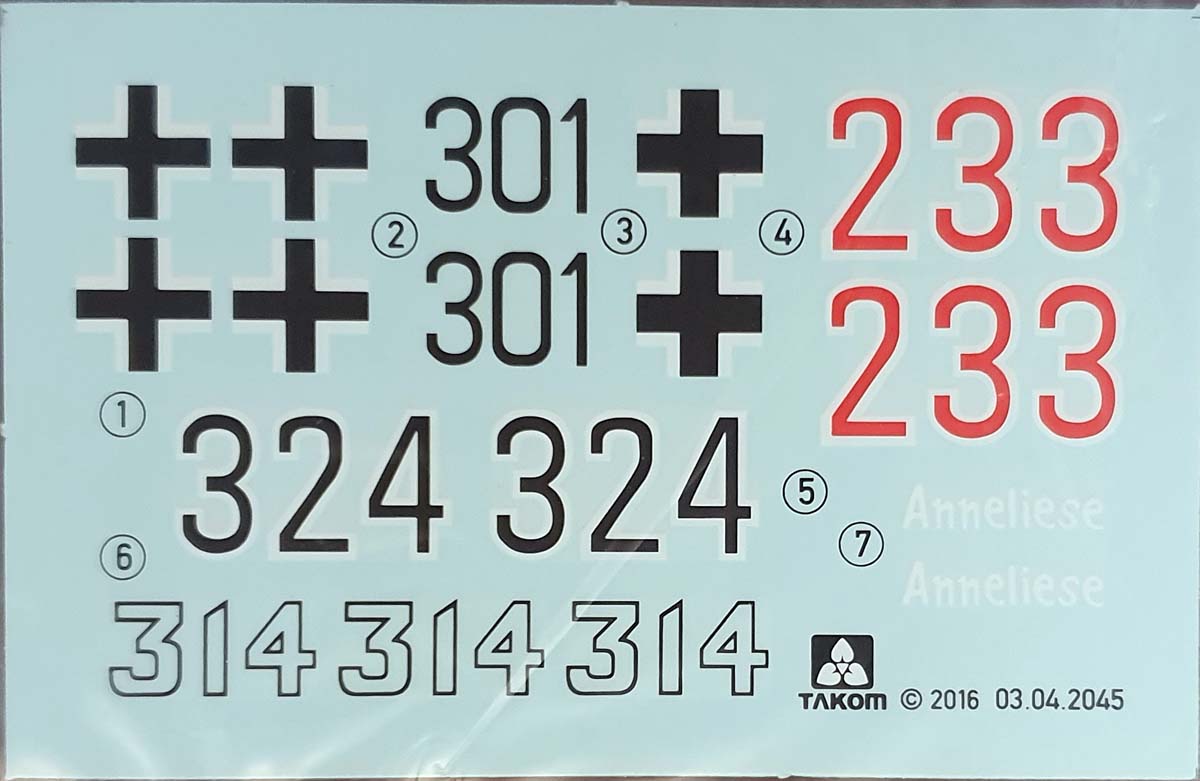
2 Decal sheets
1 30 page Instruction manual
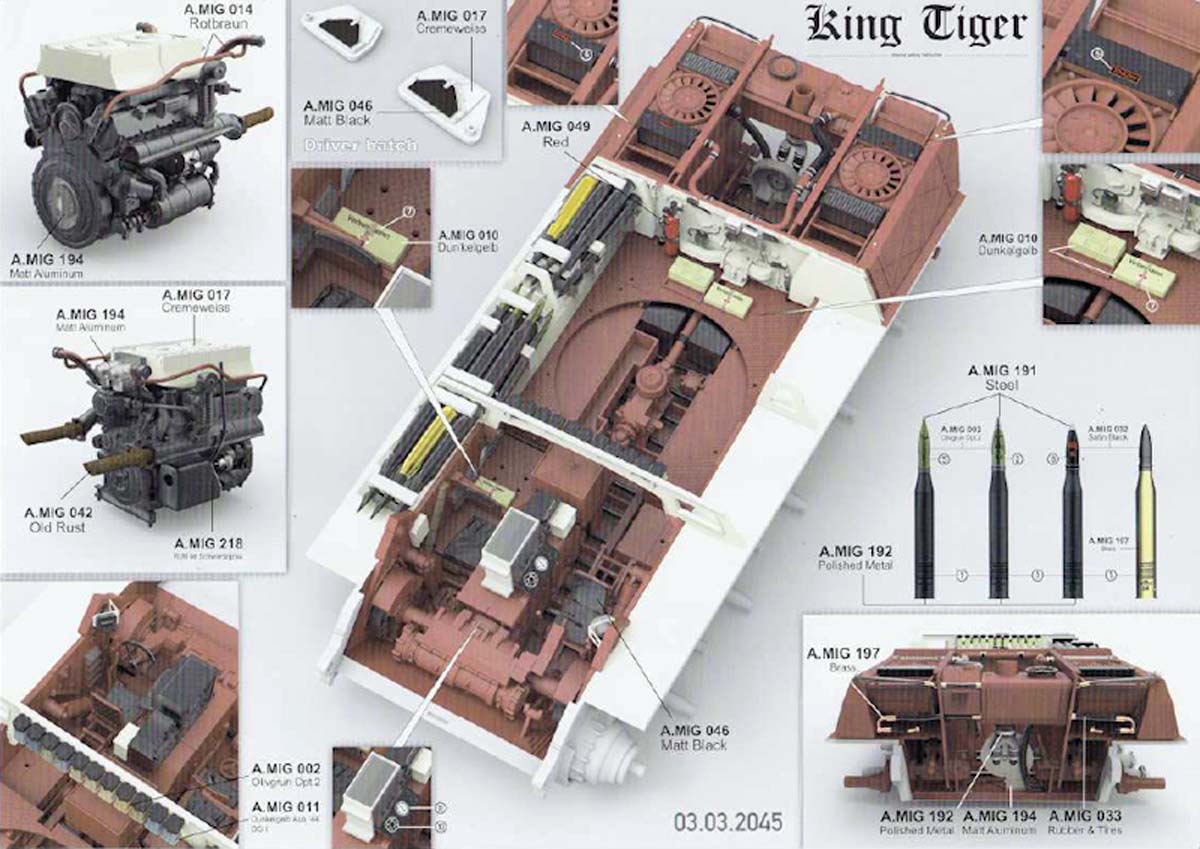
1 interior painting guide
Looking at the Kit
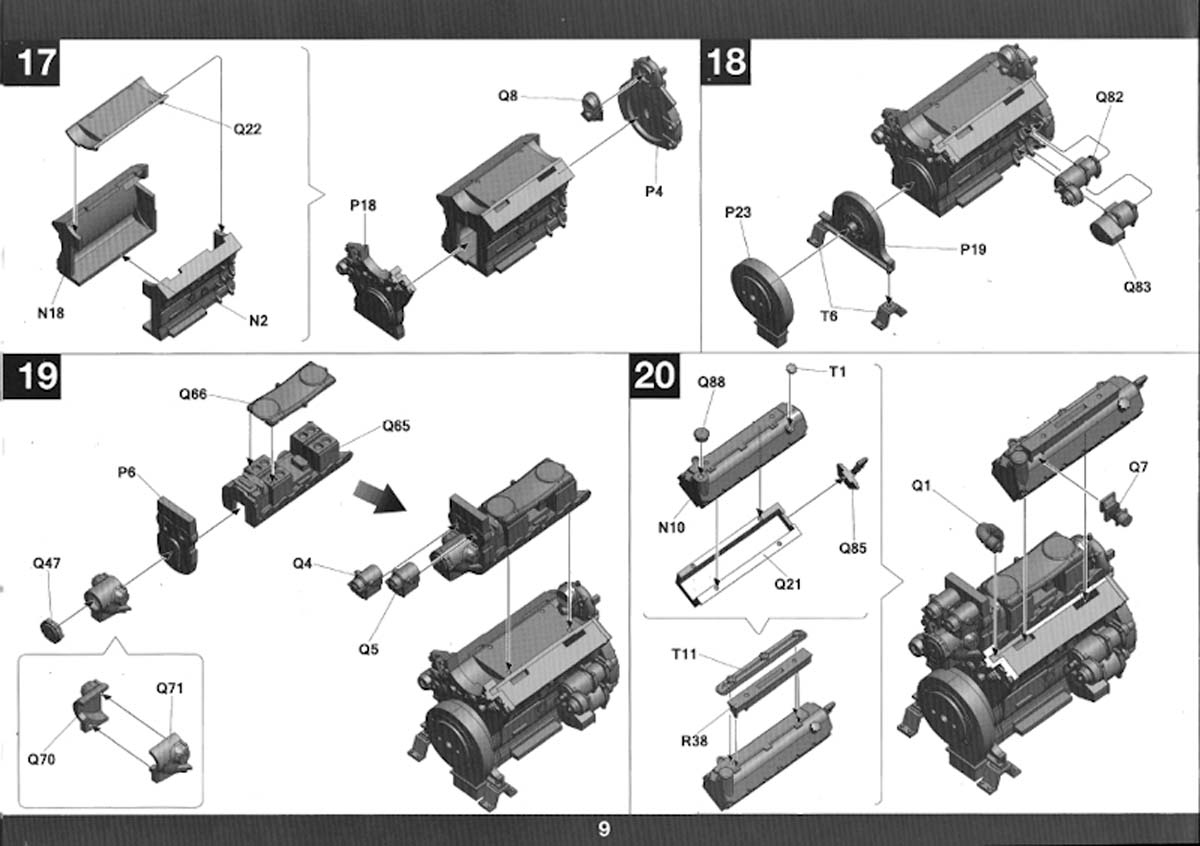
Instructions Standard Takom format, consisting of 29 pages of computer graphics. The dark color of the graphics can make it difficult to see details. Assembly is broken down into 77 steps. An errata sheet is included to correct a few mistakes in the instructions. A 1:1 layout guide is included for placement of the spare track hangars on the turret sides. The spare track hangers were not incorporated in production until late June 1944, on the Serien-Turm. This kits turret would not have left the factory with spare track hangers. They would only have been added in the field by the rear area maintenance shops.
What version does this kit represent? The included kit parts can help us identify a production timeframe. We know that the kit represents one of the first 47 production units built between January and early June, 1944. There are two kit parts that narrow down the timeframe further.
This kit includes only the 9 tooth drive sprocket and the double link Gg 26/800/300 tracks. This configuration was not introduced until sometime in May 1944. Therefore, the kit can only represent a (sometime in) May to early June 1944 production delivery.
In addition, during this timeframe, King Tigers built with this style of turret would have left the factory with the DunkelGelb (RAL7028) basecoat and zimmerit.
Sprues The quality of the styrene is clean and crisp. There is little to no flash on any of the parts. Any ejector pin marks are located such that they shouldnt be seen once built. Sprues have their identification letter stenciled making them easy to identify.
PE Two brass frets are provided. Fret TP contains all of the base plates for the ammunition, along with few turret parts. Fret TPa has all of the radiator screens.
Lets look at the build process
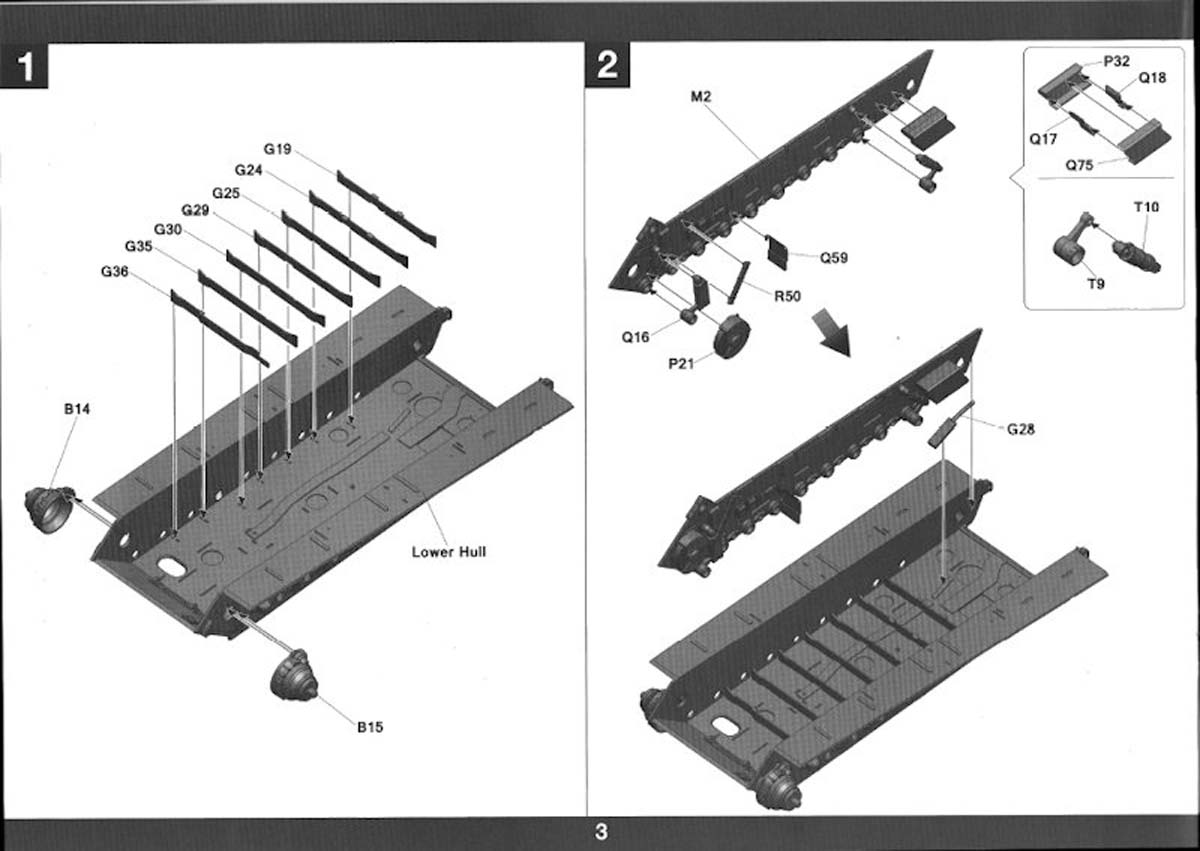
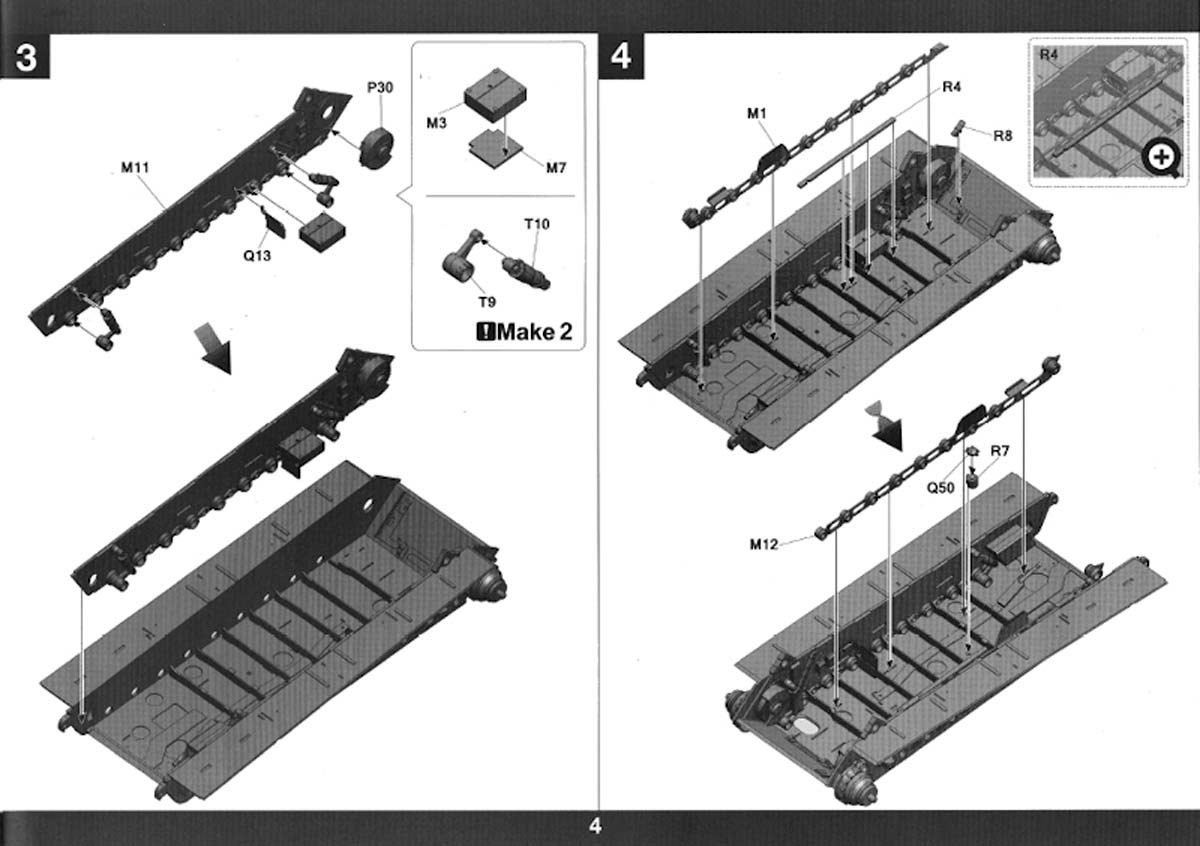
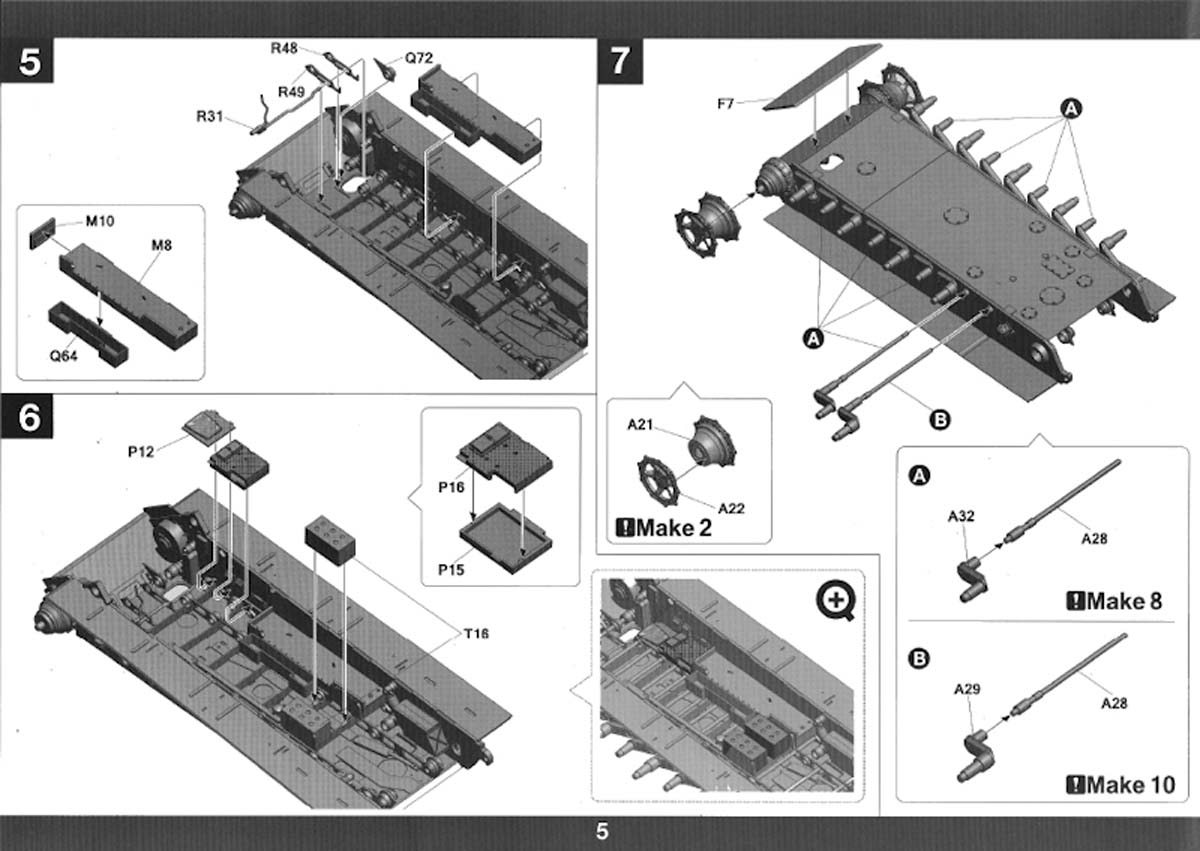
Steps 1-16 assembles the lower hull and forward fighting compartment. A few comments:
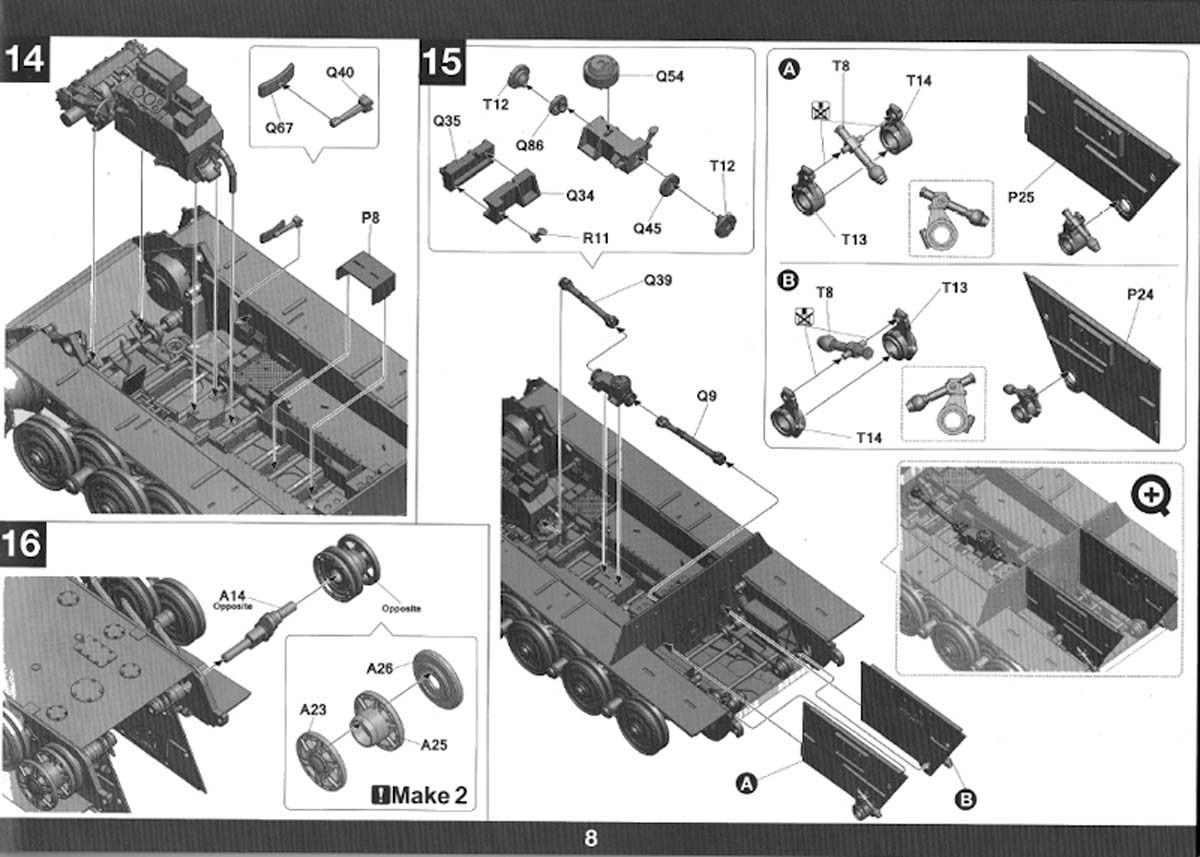
For Steps 9/12/16 (Drive Sprocket/Road Wheels/Idler Wheel) you are asked to install these parts. I would recommend that you leave these all off to be painted separately. In addition, these parts do not use poly-caps.
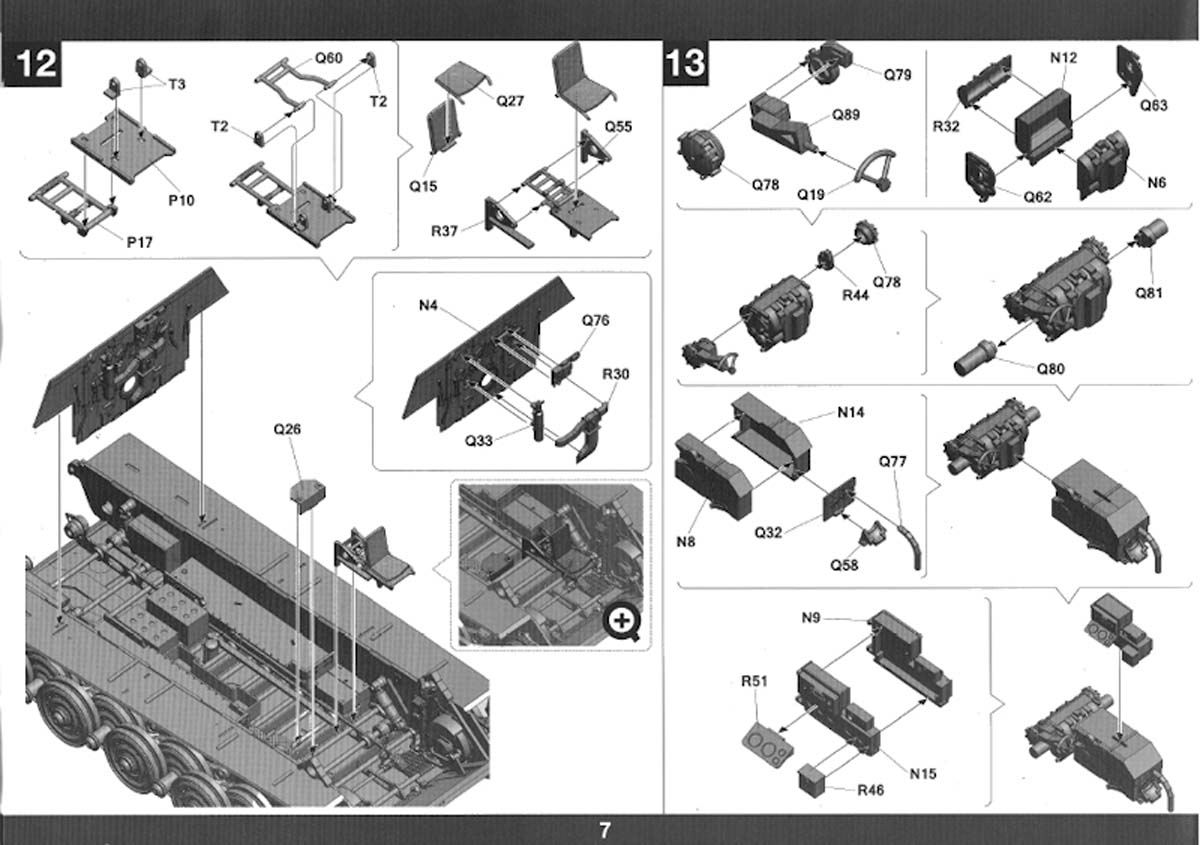
Steps 17-28 assemble the engine and engine compartment. There are many delicate parts that represent the hoses and lines. These will break easily. Handle them with care.
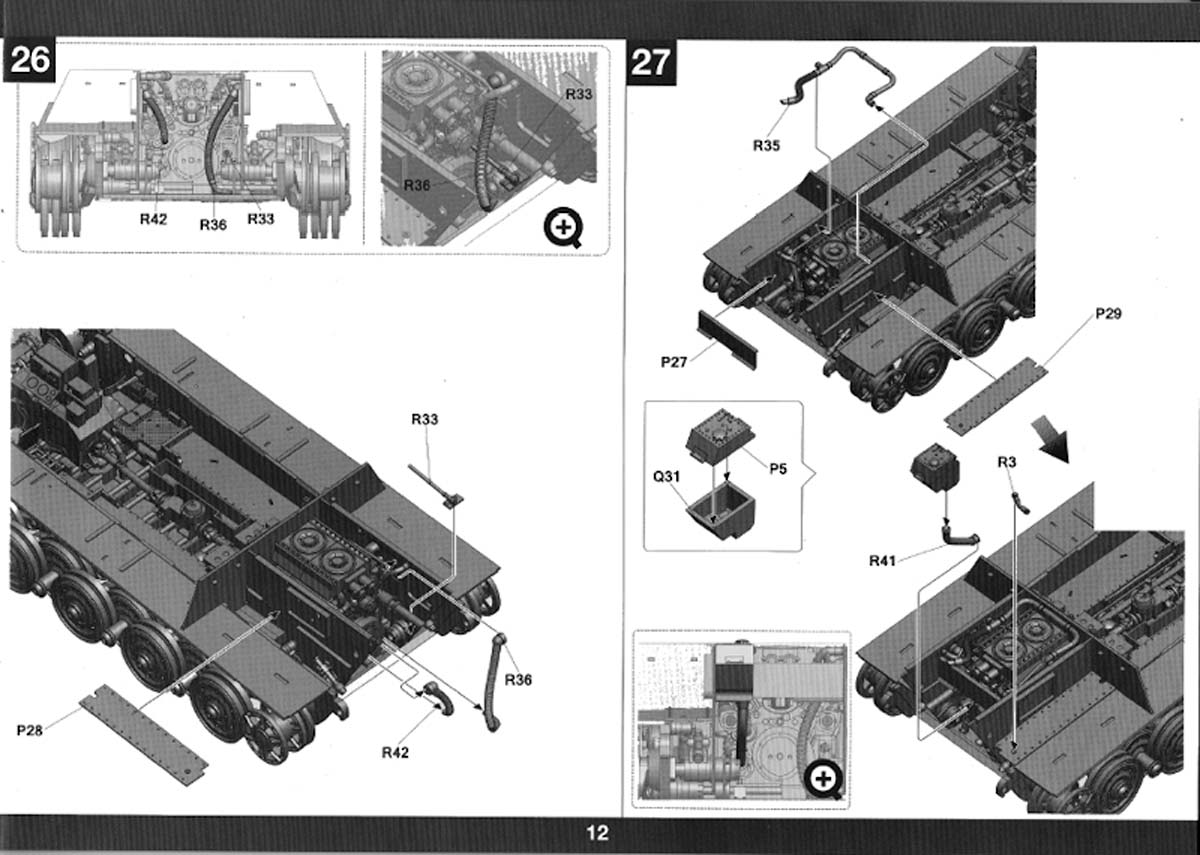
Steps 29-31 add the radiators and side fuel tanks. Again, a couple of delicate hoses to handle carefully.
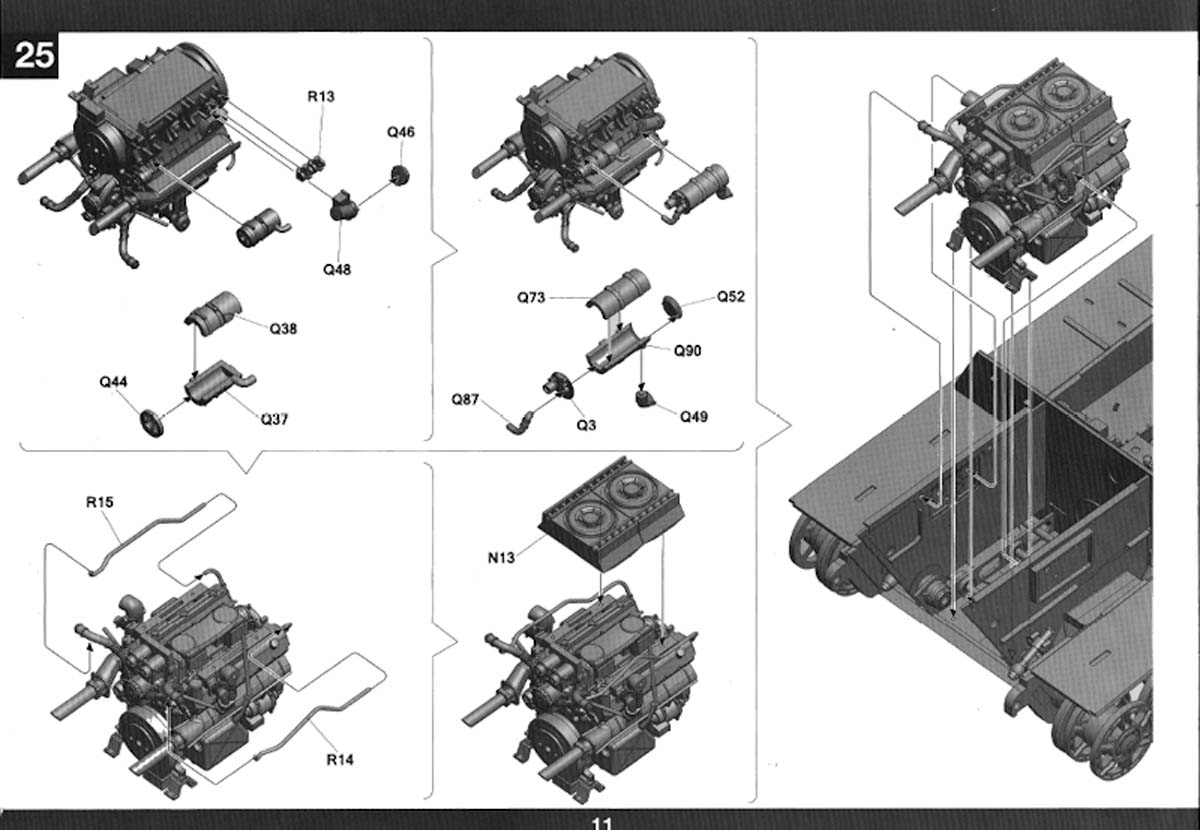
Step 32 adds the interior floor and the forward cross support with the spare MG34 ammo bags.
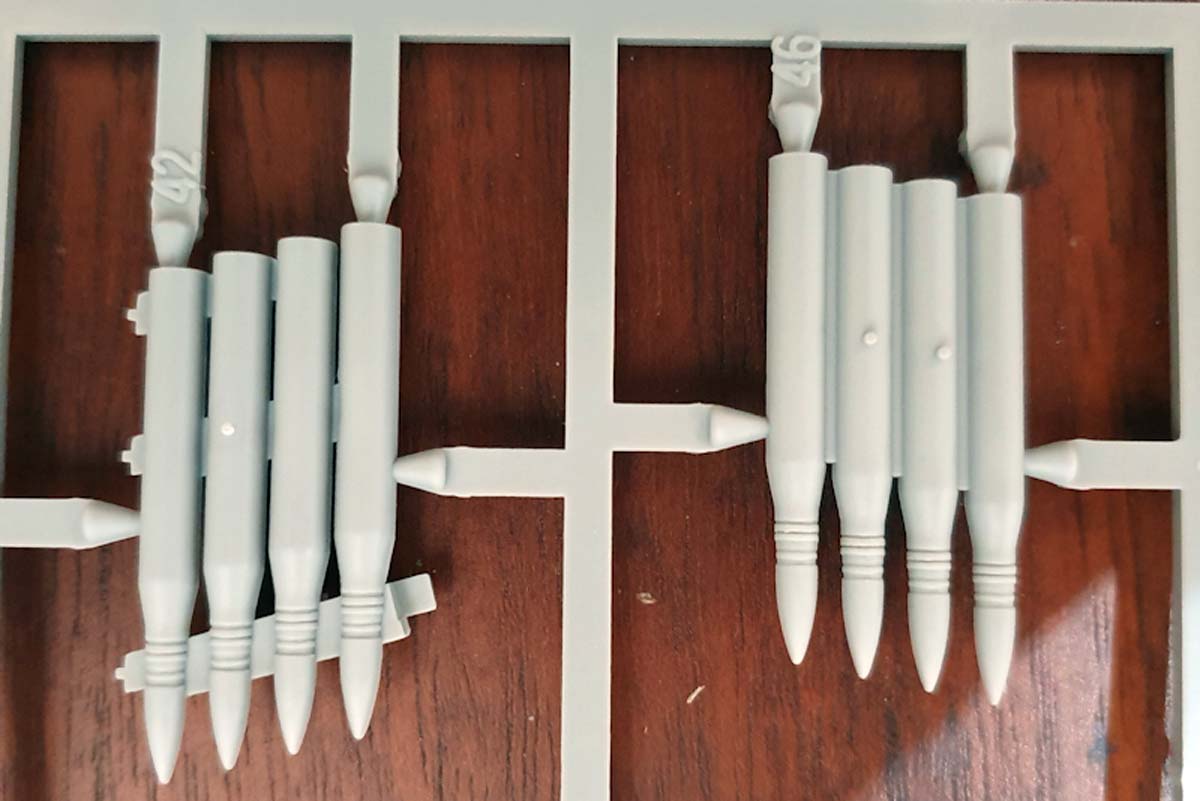
Steps 33-36 completes the hull interior with the pannier mounted 8.8cm ammunition and racks. This is my biggest disappointment with this kit. The ammunition is molded with the racks. You need to add a PE base plate to each round. Then, you have a masking nightmare to paint the racks separate from the rounds. Then, masking the racks so you can paint the rounds. Finally, masking to paint the tips of the rounds. You get to do this with 12 separate parts. You also need to add two decals for each round.
Takom went cheap by not molding separate sprues with just the rounds and empty racks. At the very least, Takom should have added empty racks to give the builder that option. Because Takom chose this method, the builder is provided no option but to add a full loadout.
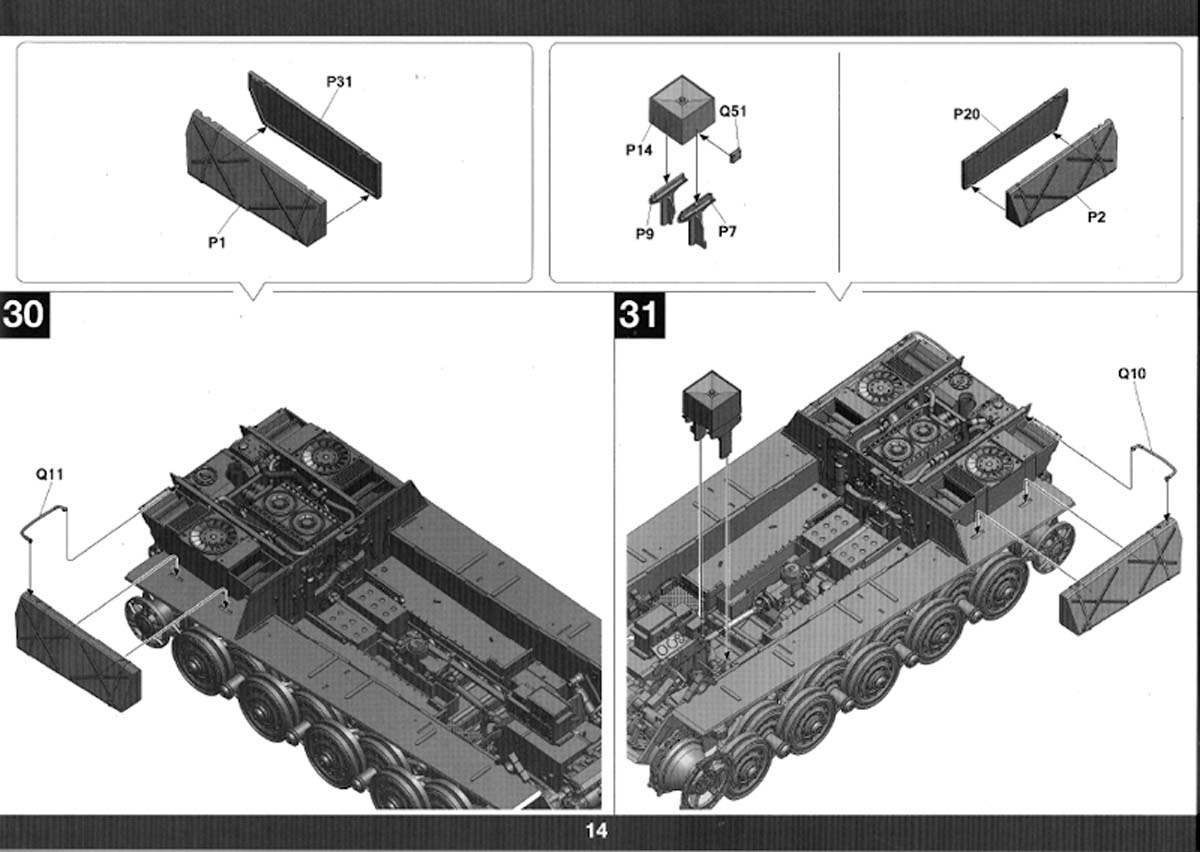
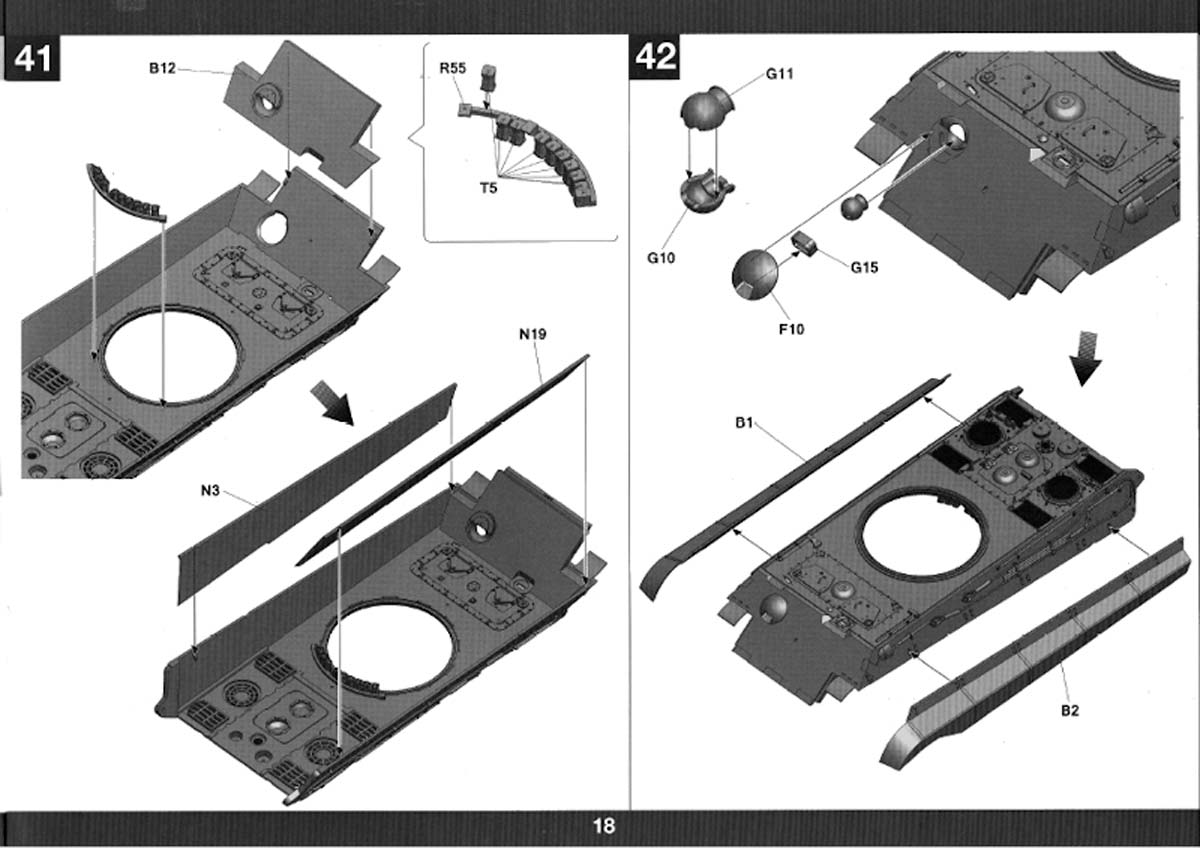
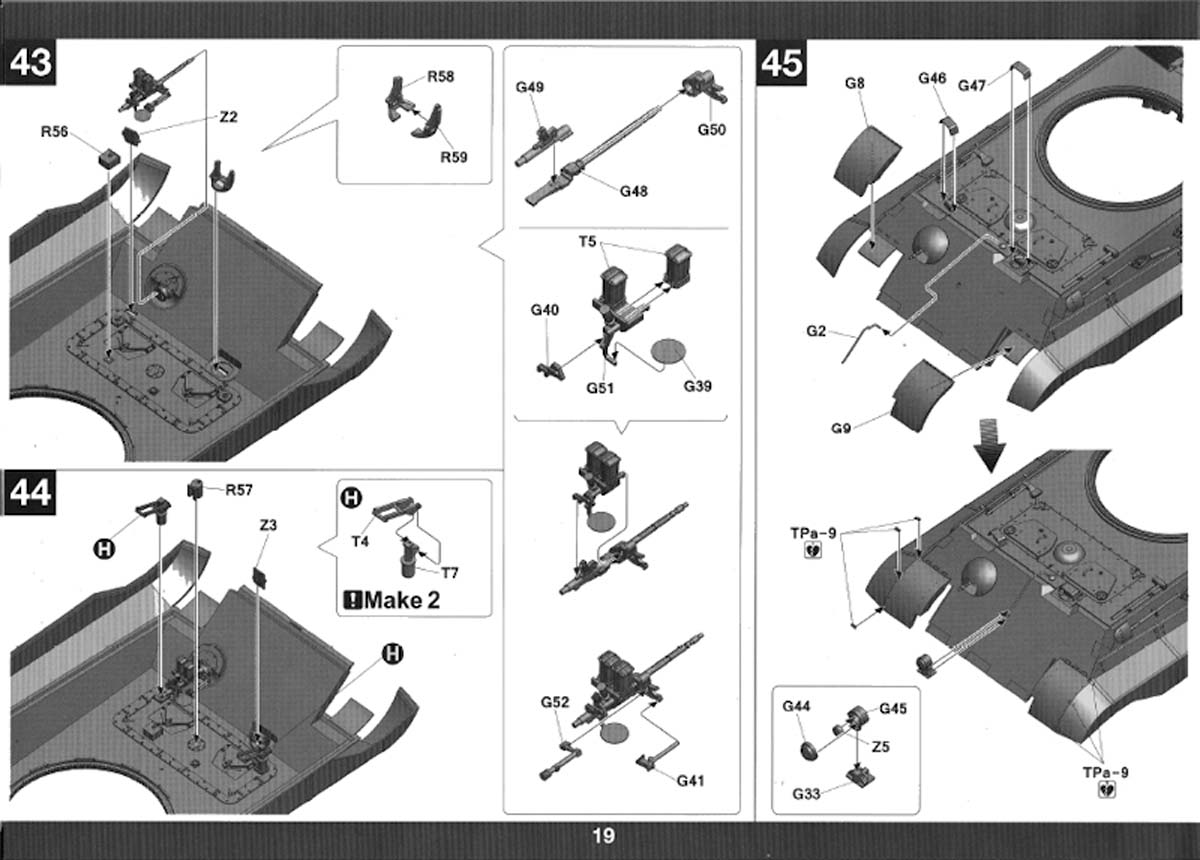
Steps 37-45 assembles the upper hull, interior and exterior. It would be better to leave the tooling off to be painted separately.
Step 46 shows the upper hull being attached to the lower hull. It also has you add the tracks. Unfortunately, there is no indication about how many links you need. There are two types of track links. You need to alternate the links to assemble a full track. The real vehicle had 46 of each link. So, that would be a good starting point. The links are not designed to be movable and are glued together. There is also no jig included to help assemble the track.
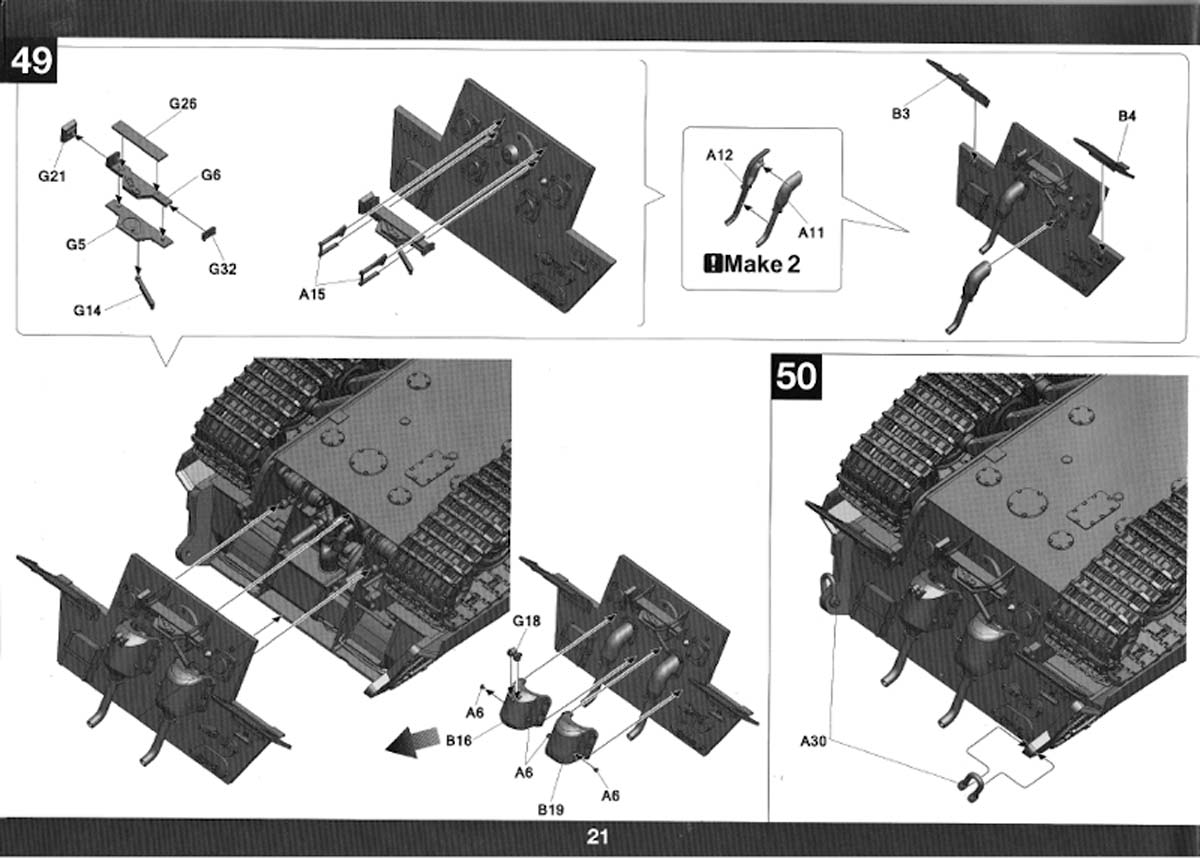
Steps 47-50 adds the front tow hook structure and the rear plate. Probably better to leave off the jack to be painted separately.
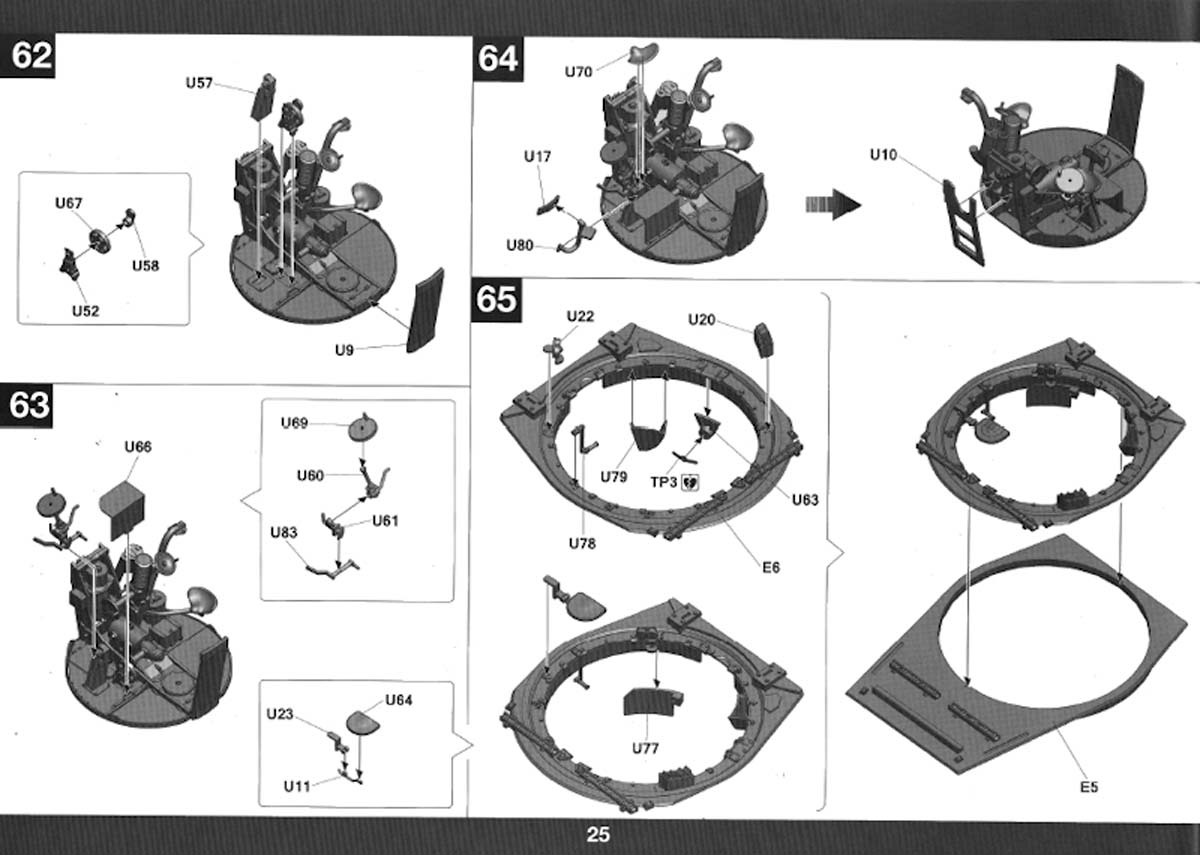
Steps 51-58 assembles the turret shell. The instructions show the spare track hangers being installed. For proper locating of these, you need to use the included placement guide. However, these were not installed during production. This was only a field retrofit. Its also possible that not all 47 fielded turrets were modified. Add them if you want, or if building to a picture were they are installed. Otherwise, leave them off the turret.
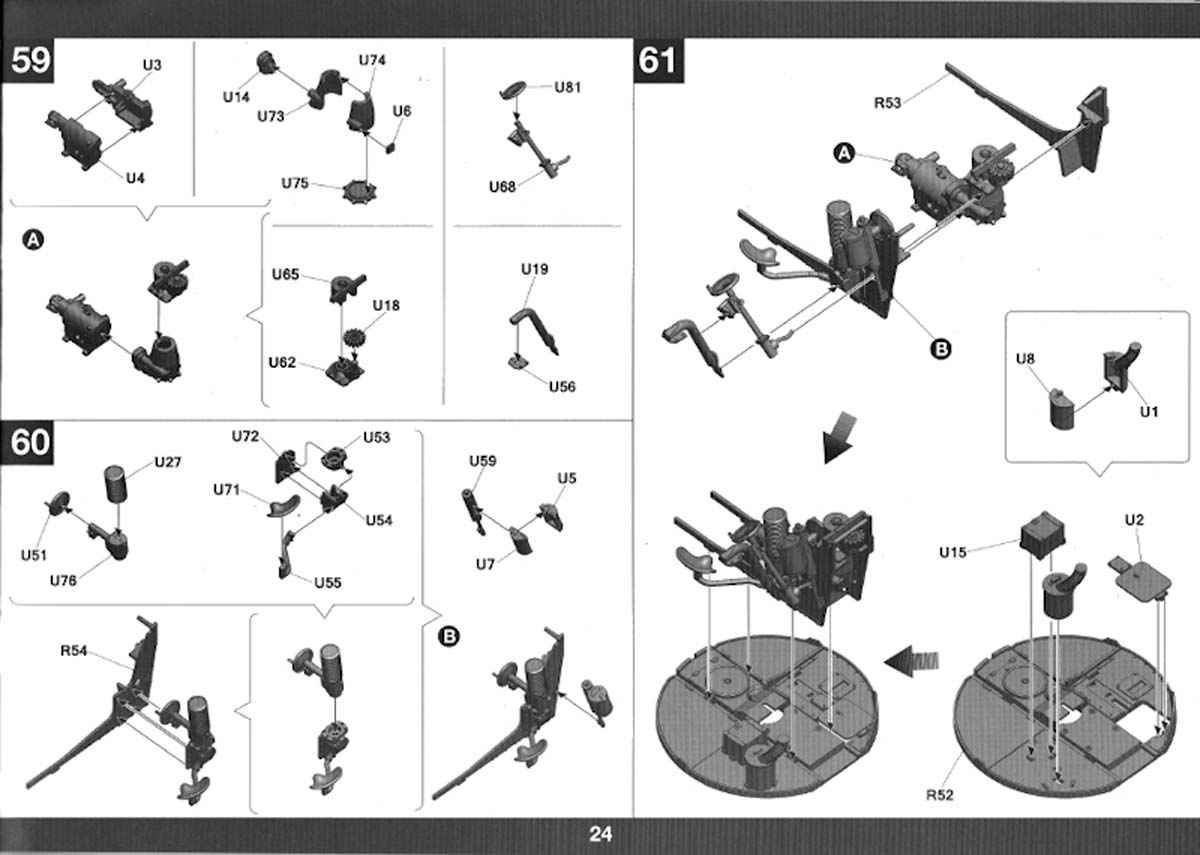
Steps 59-66 assembles the turret basket. There are a lot of small parts here along with some PE that requires shaping for installation.
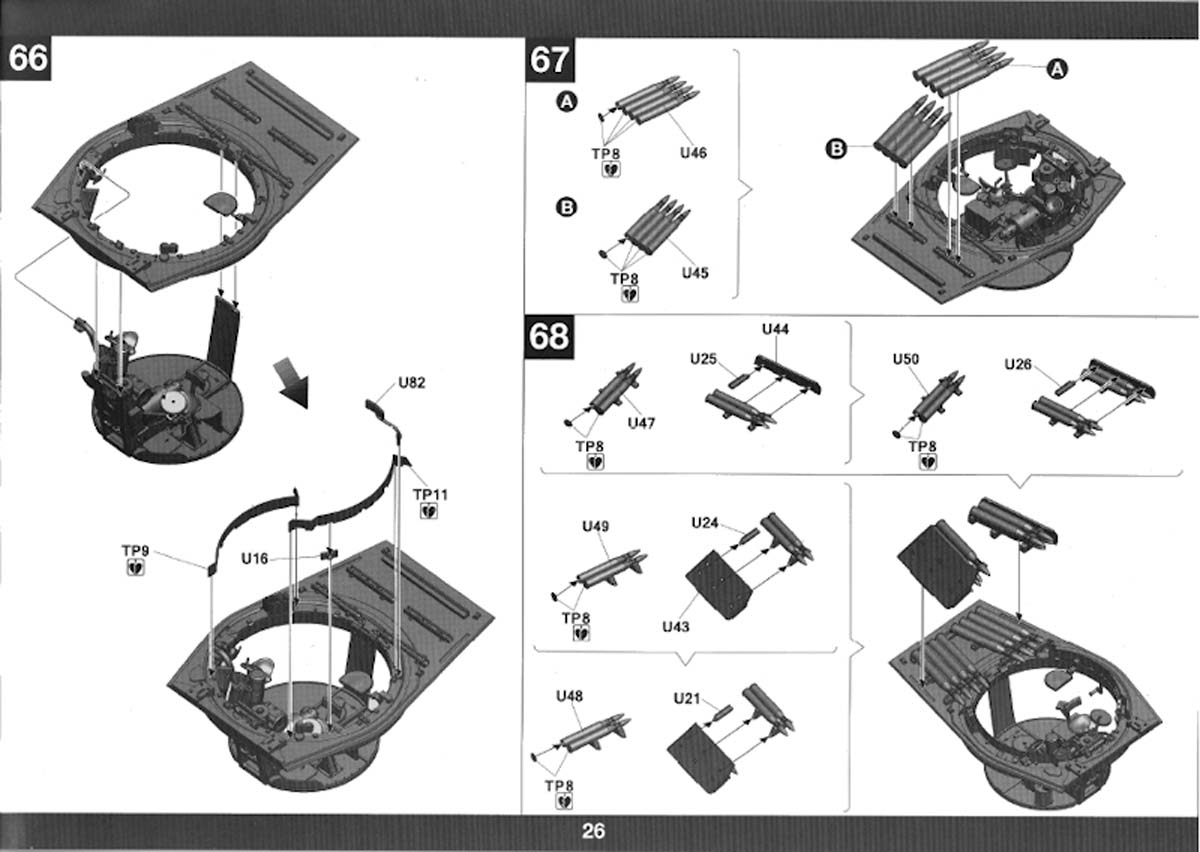
Steps 67 and 68 add the storage racks and ammunition. Again, you have the same problems that you experienced with the hull ammunition storage.
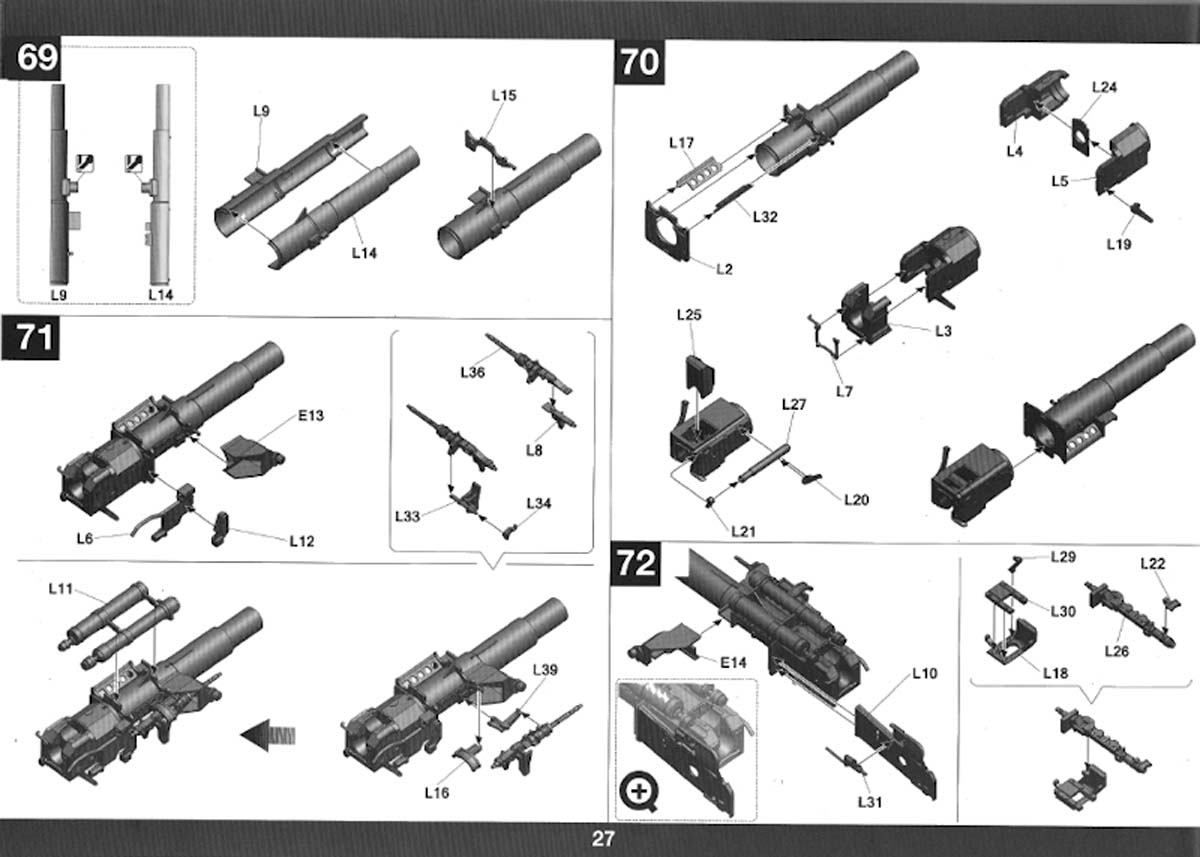
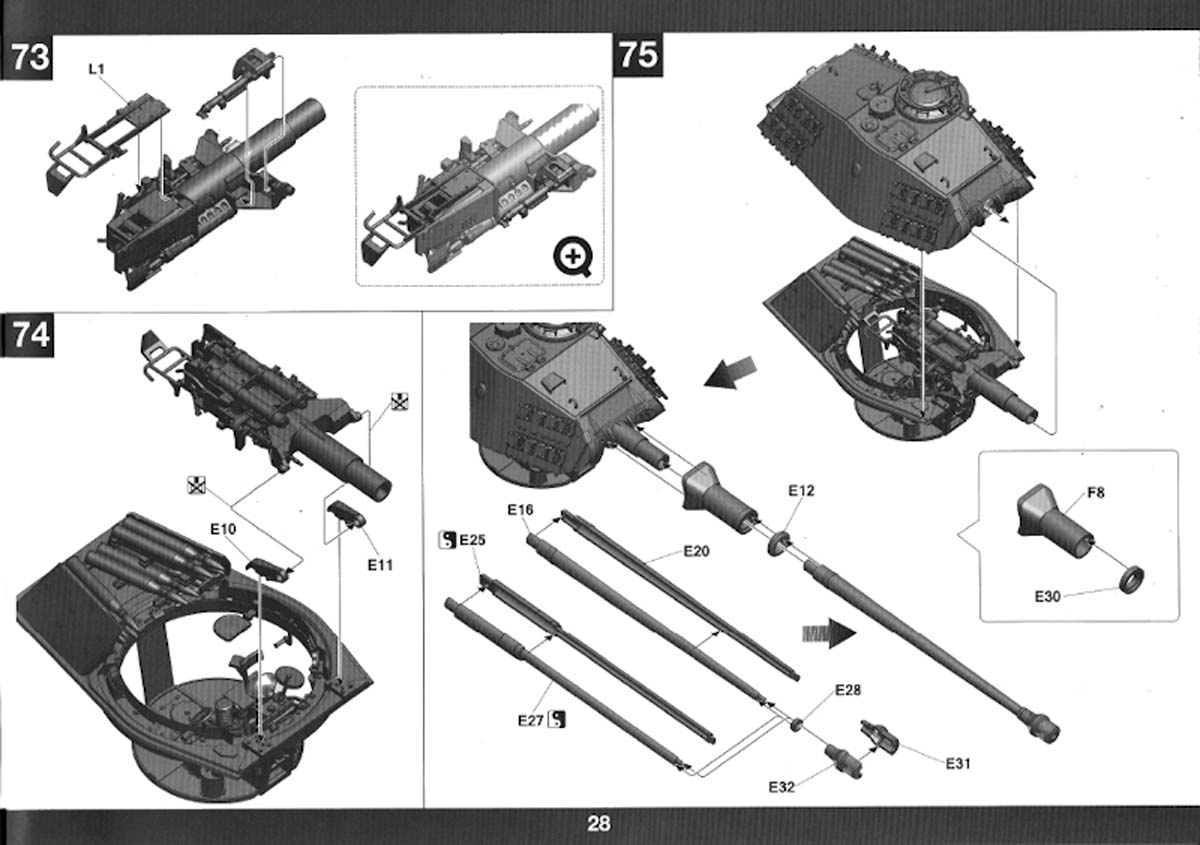
Steps 69-74 you assemble the inner part of the main gun. The detail is good. Again, small parts to be careful handling.
Step 75 attaches the turret shell with the basket assembly. You also install the main gun barrel. Takom has provided both the one piece and two piece barrels. The two piece barrel was introduced in April 1944. The timeline that this kit represents would most likely have had the two piece barrel installed at production. The instructions show the barrels as two pieces to be glued together. This is incorrect. The correction sheet shows the correct parts. The barrels are molded as one piece. Since they are not slide molded, there is still a seam that will need to be removed.
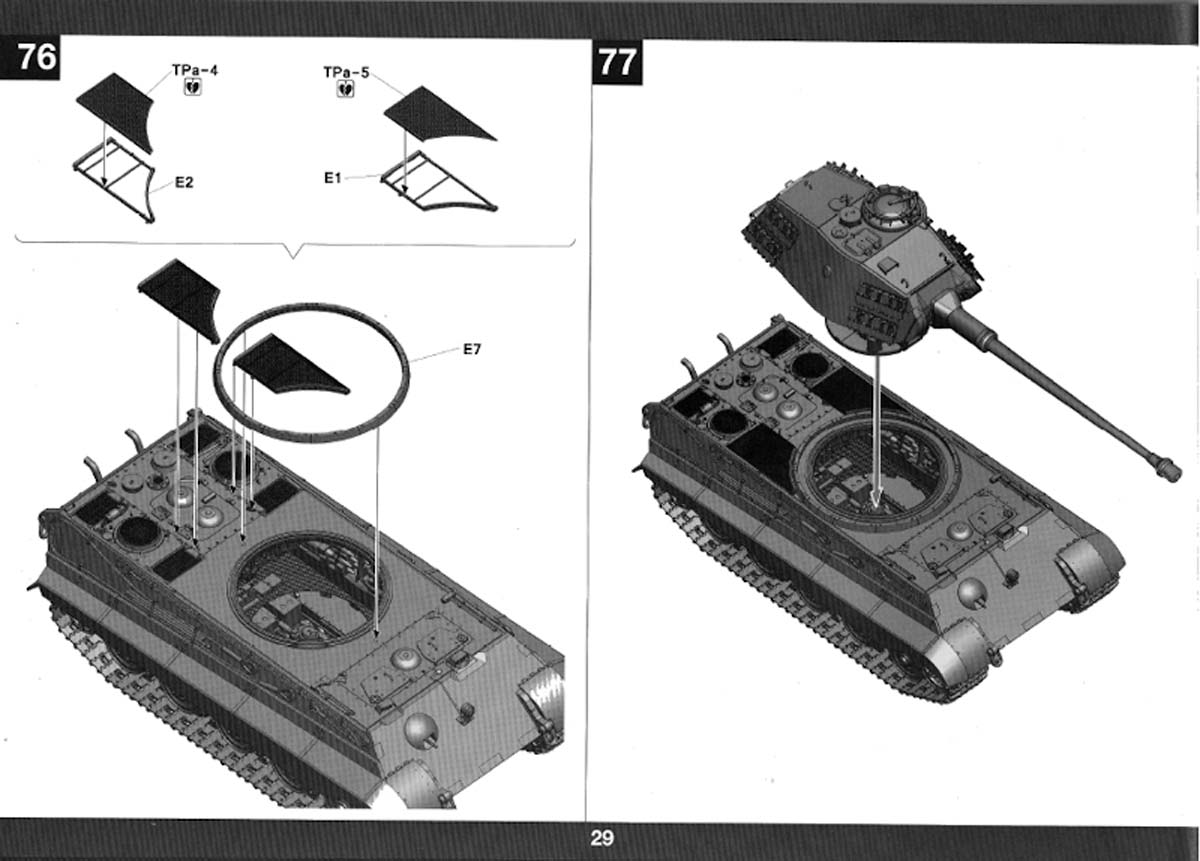
Step 76 adds the additional raised radiator mesh and the turret ring guard.
Step 77 is the final step and simply adds the completed turret to the hull.
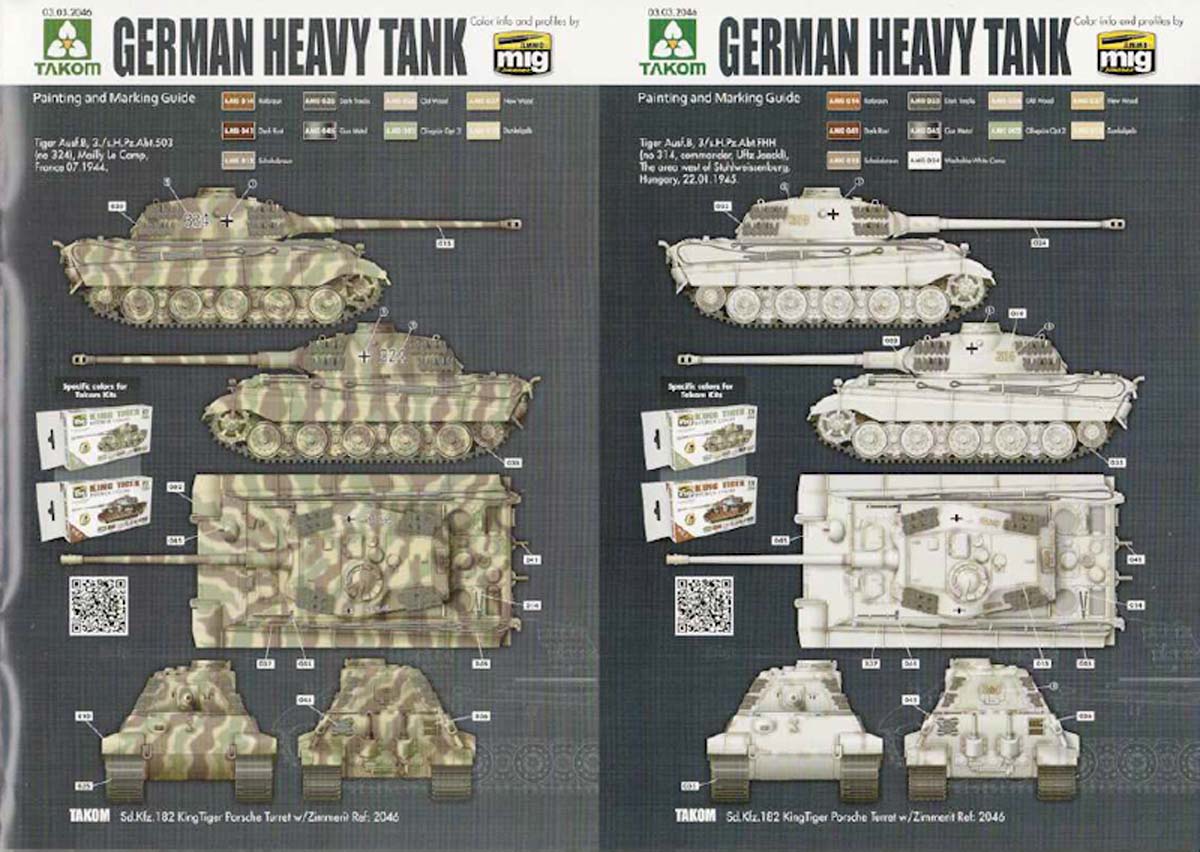
Painting: Paint call-outs are only for Ammo-Mig products. A separate 2 page guide is provided for painting the interior and the turret. No color callouts are provided in the instructions.
Decals Options are provided for two vehicles:
No. 324, 3rd Company, sPzAbt 503, Moilly Le Camp, France, July 1944
No. 314, 3rd Company, sPzAbt FHH, Stuhlweissenburg, Hungry, January 1945
Reference Books
1. Panzer Tracts No.6: Schwere-Panzerkampfwagen D.W. to E-100 including the Tigers
2. Germany's Tiger Tanks_ VK45.02 to TIGER II. Design, Production & Modifications
SUMMARY
Highs: The kit includes a nicely detailed interior. Molded on zimmerit.Lows: The barrels are not slide molded. Shells are molded with the racks, instead of individually. No empty shell racks included. Verdict: This is a well done kit of the King Tiger with the original Krupp turret.
About Mark (d111298pw) FROM: OKLAHOMA, UNITED STATES
I'm from the US, but have lived most of my adult life around the world due to my work.
I started building models when I was 6. Took a 30 break as other priorities took hold (work,family, etc..). Got back into it a number of years back building F1 kits (Ferrari only). When I got to India, the modell...
Not sure what that means...anyways, a tremendous kit in spite of the occasional niggle. I'm looking forward to clearing enough room on my work bench to start this one soon!
Any idea what colors the shells should be? I have seen some down brass and others looking a steel shade. If Im going to mask it all off, I want it right the first time and I havent found any other sources.
Might possibly have been a mixture, as from what I understand metals like brass were getting in short supply and they were having to use other metals for the shells.
Like you I have not heard a definitive answer, and I imagine like many things German there won't be one.


Comments