Introduction
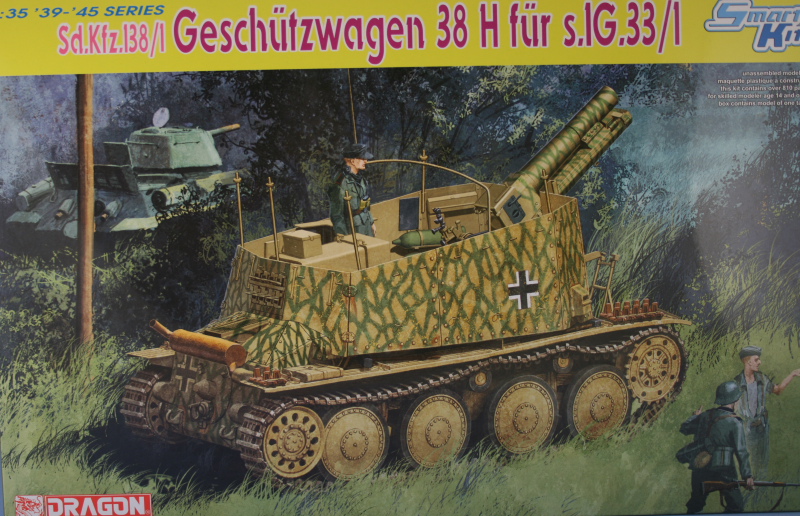
In an effort to increase the mobility of artillery, the German Army introduced the Sdkfz 138/1 design at the same time as its cousin, the Marder III H or Sdkfz 138, began production on the versatile Pz 38(t) chassis. The 138/1 mounted the 15.0cm sIG 33 infantry gun and is commonly referred to as the Grille H, although it was actually built on Ausf H, K, L, and even a small number of M hulls in the 38(t) production run. Production ran from February 1943 to June 1943 and the final batch of 10 were completed 4 months later in November as a result of the redirection of 10 M hulls initially meant to become Flakpanzer 38(t)s but finished to the Grille H specification. The Grille Hs saw action primarily on the Eastern Front as well as in Normandy and this latest kit by DML, #6470, is titled Sd.Kfz. 138/1 Geschutzwagen 38 H fur s.I.G. 33/1.
Contents
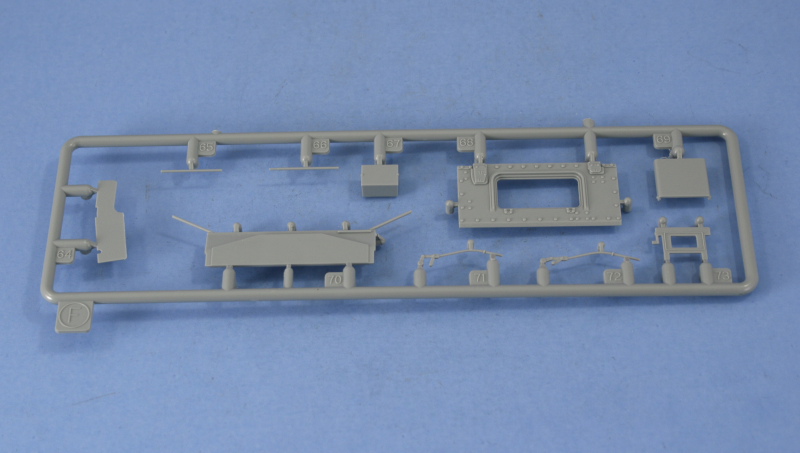
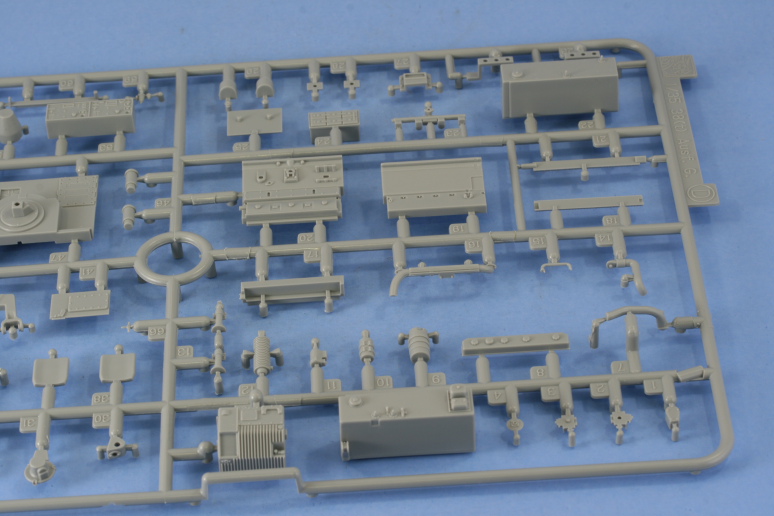
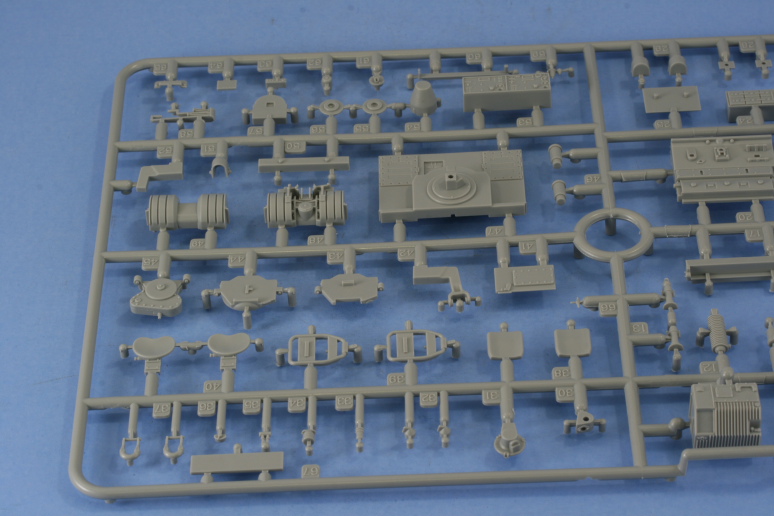
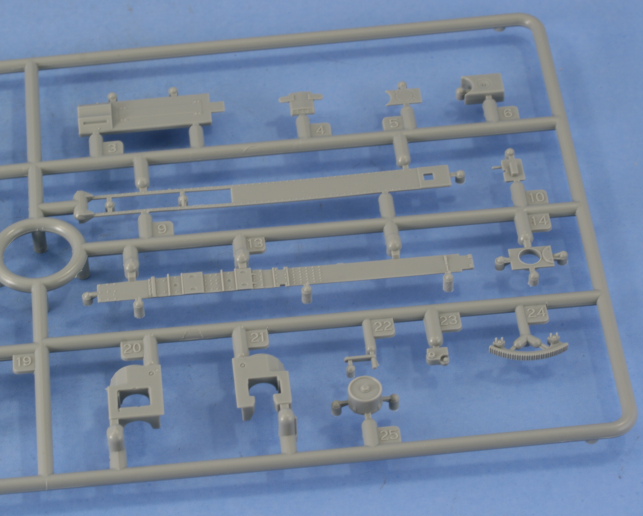
The kit is packaged in the standard slip top cardboard box and, in a change for DML, many of the sprues come sealed together inside plastic bags instead of being packaged individually as had been the previous practice. The quality of the molding is the normal DML standard with the slight exception of one part that had some very slight flash present on sprue F. The kit contents consist of over 810 parts arranged as:
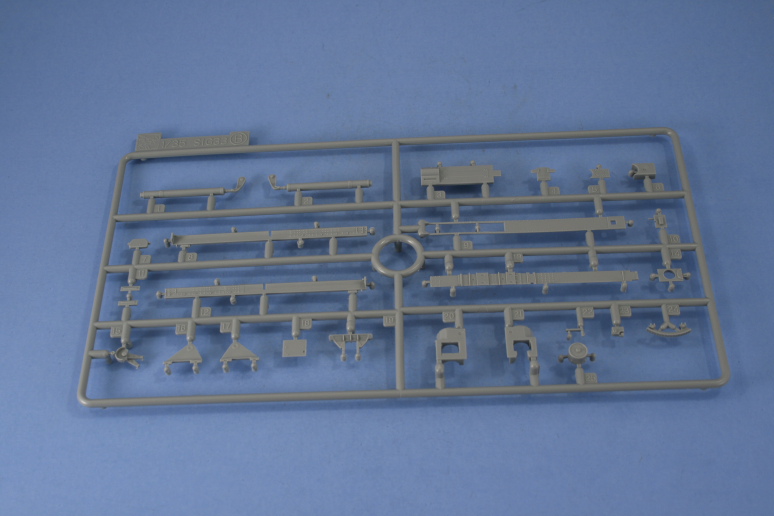
18 sprues of light gray styrene
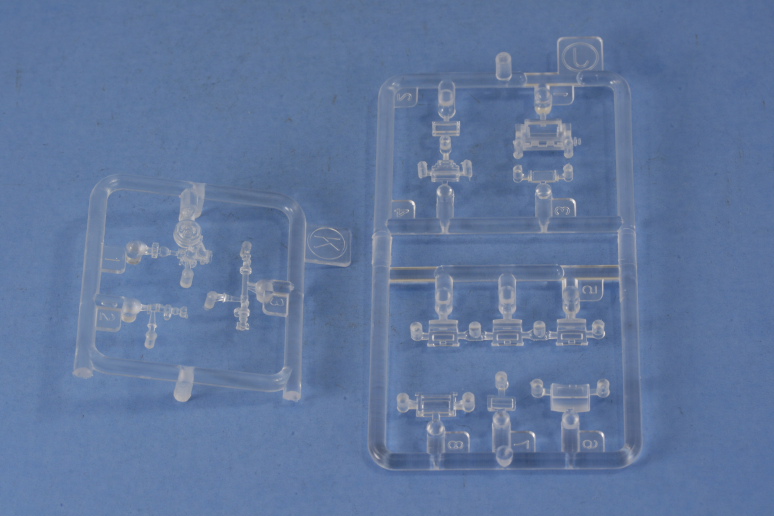
2 sprues of clear styrene
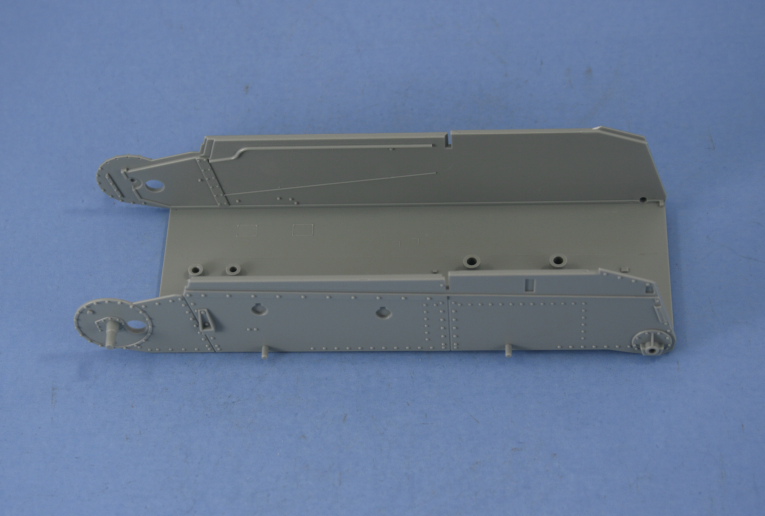
1 light gray styrene hull tub
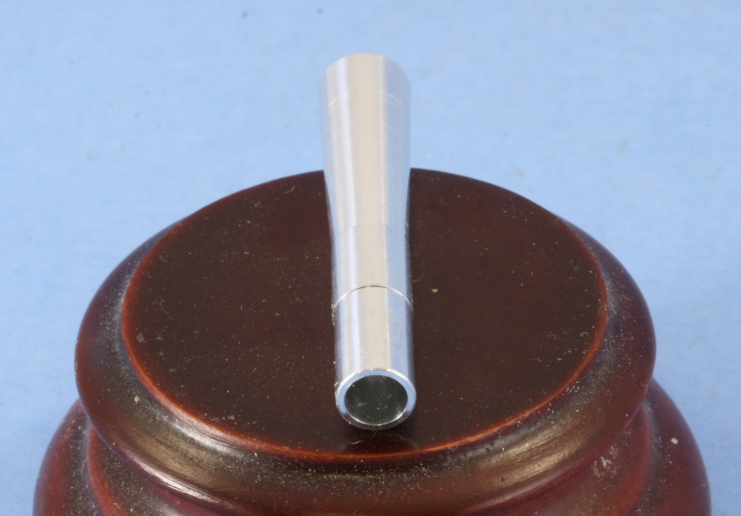
1 turned aluminum barrel
1 pre-formed steel wire
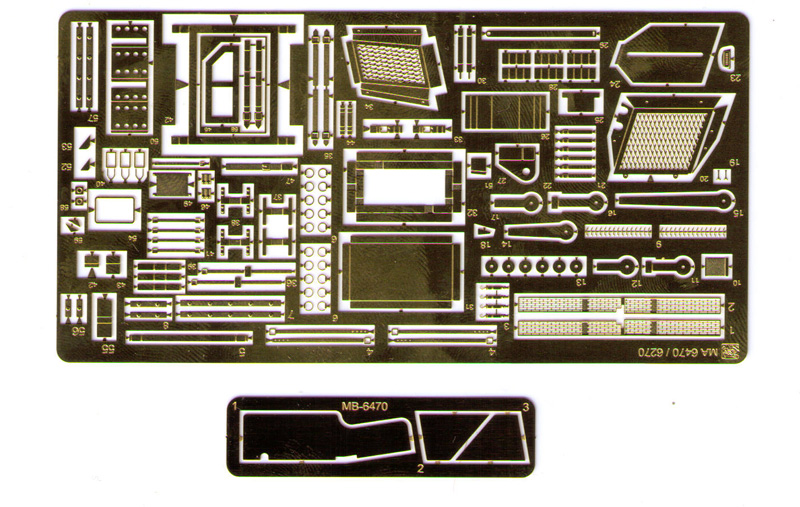
2 PE frets of brass detail parts
1 bag of Magic Track individual links
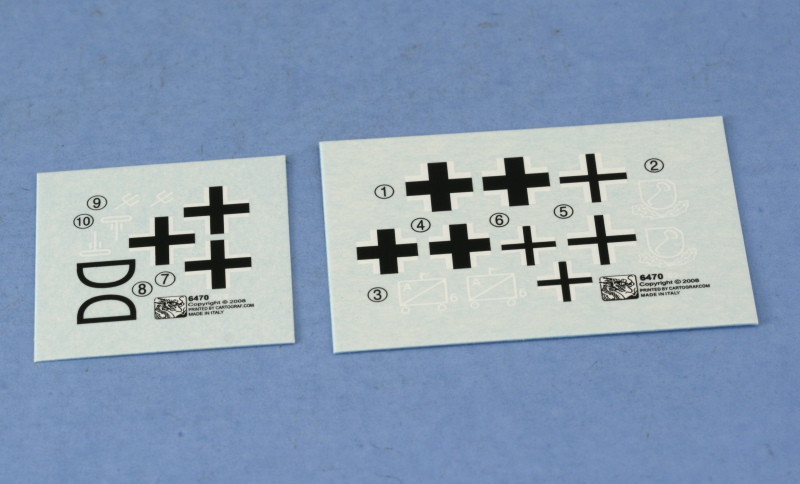
2 Cartograf decal sheets
Instruction booklet
Review
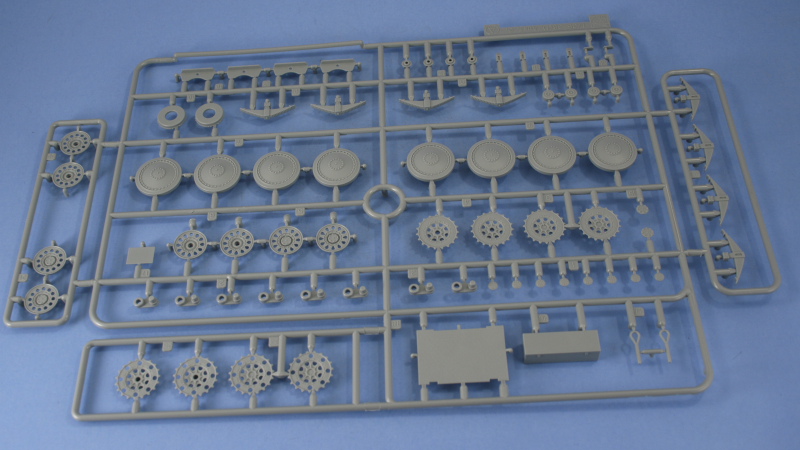
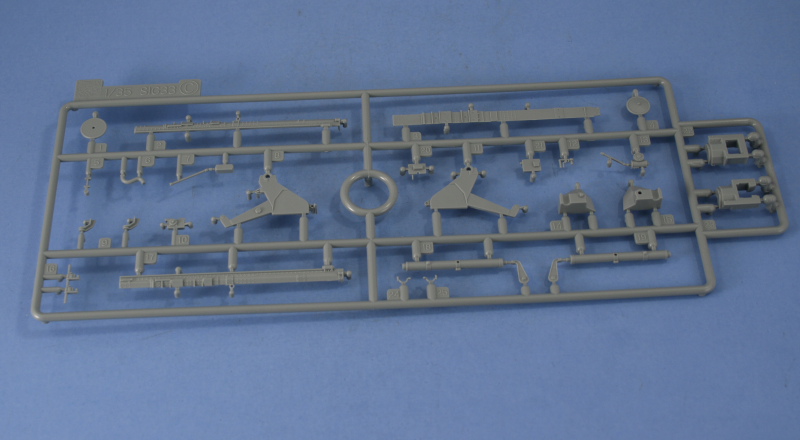
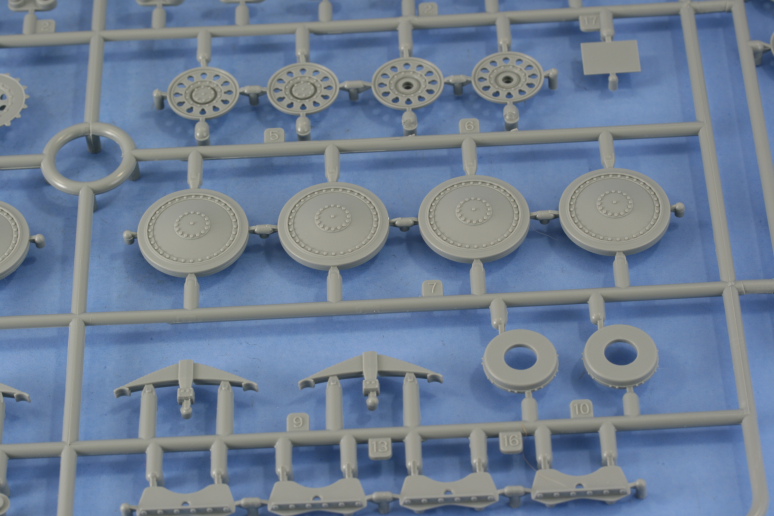
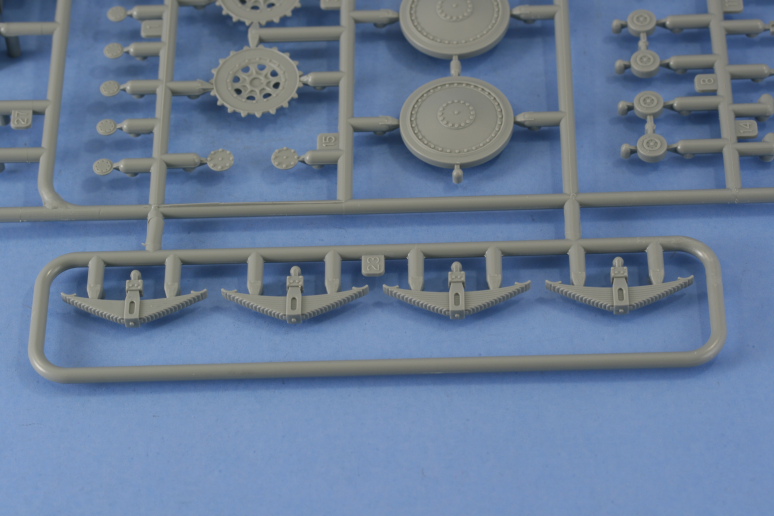
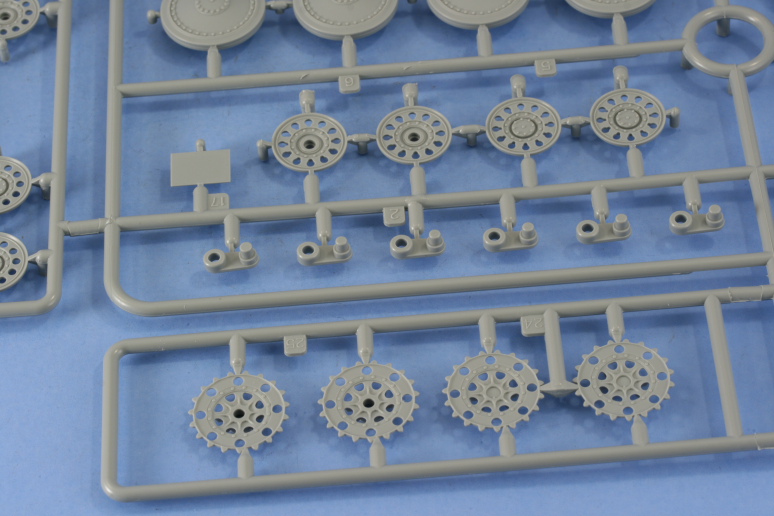
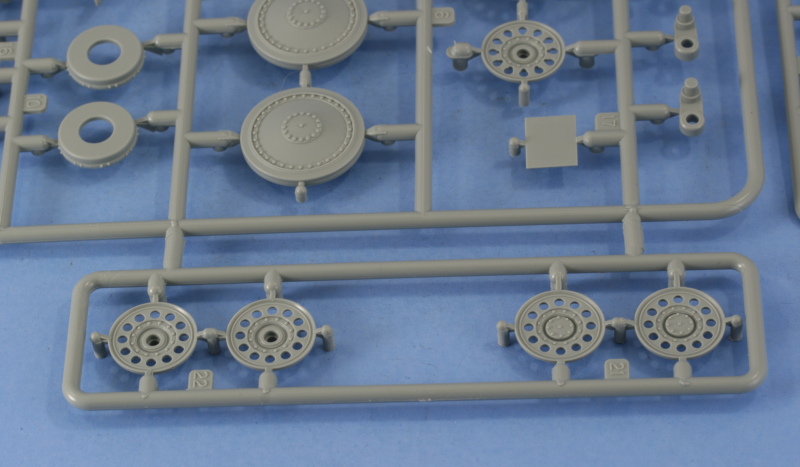
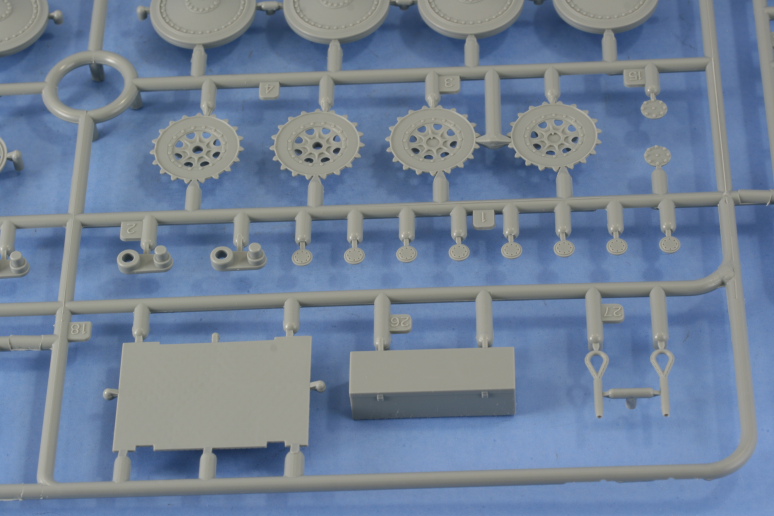
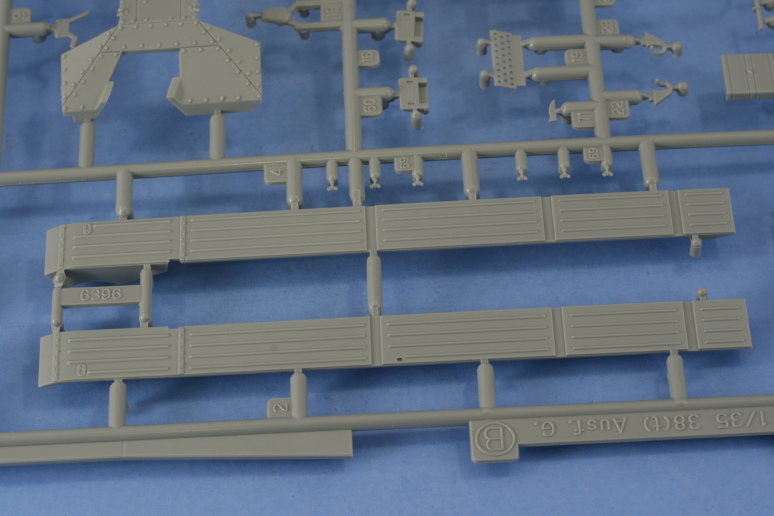
Dragon has continued their series of 38(t) chassis vehicles with this particular kit, and the heritage from previous releases is readily apparent when examining the sprues. Because of the nature of the Grille H design, much of the original 38(t) design for the lower hull remained unchanged, so DML has made use of their sprues from their 38(t) G release to a large degree as well as other sprues from their Grille M. Options are provided for either the early or the late style of sprockets and idlers, although the production periods for the Grille H would suggest that only the early style would be appropriate, so check your references before committing.
Options are also included regarding the leaf spring assemblies and details for the rear hull in regards to fitting the armored covers for the crank starter and the idlers, but really the armored styles should be used as a matter of course. The instruction diagrams were likely carried over from the 38t and retained the option as a result. The fenders provided are one-piece affairs with the braces added separately and have nice rib detail, but are perfectly straight as is the case with all of DMLs 38(t) family of fenders, something that may or may not bother you regarding the infamous kink not being present.
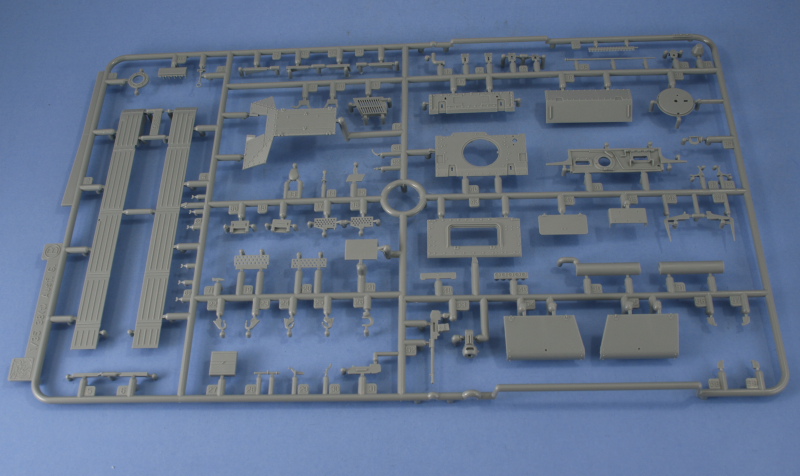
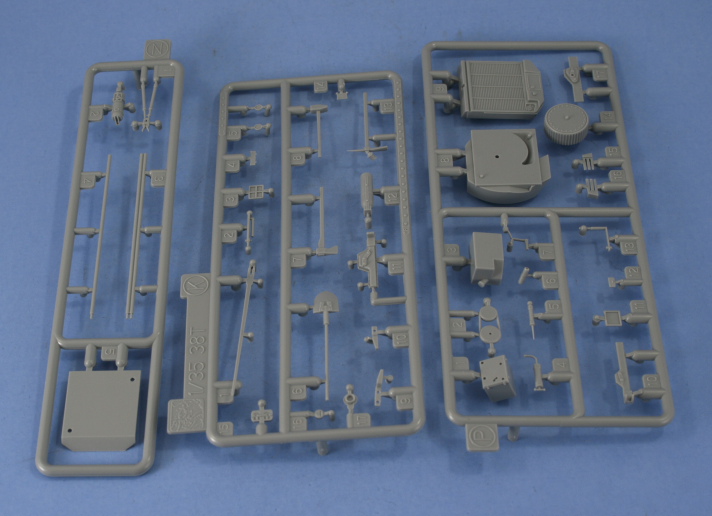
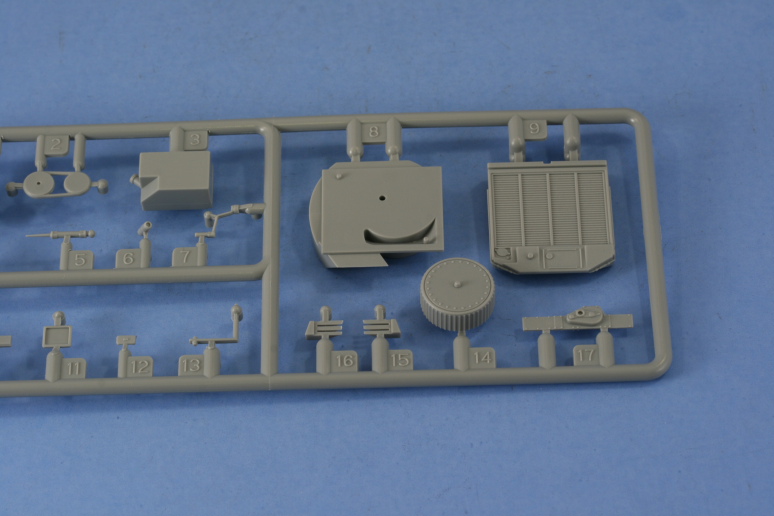
Moving on to the interior, the kit provides the standard DML interior in the form of the brake housings, transmission, drive-shaft, and rear bulkhead with detail on both sides for the exposed interior of the fighting compartment. A seat is provided for the driver that has a separate back-rest cushion for added detail, but integrates the bottom cushion to the frame. Options are provided to create the steering levers using either multiple PE parts or a single styrene part, however no parts are provided for the floor pedals. If you opt for the PE parts, it is necessary to surgically remove the handles from the styrene part and attach them to the PE construction to achieve the final assembly.
Details are also provided for the drivers visor which can be posed open or closed, and includes the drivers intercom box as an added detail. Most of the lower hull area will be taken up with the massive gun mount but the kit also includes parts to construct two Kar98 rifle racks, although no rifles are provided so youll have to scrounge those yourself to add that particular detail. The kit also includes the now well-known Praga engine from previous kits as well as various other details to populate the engine bay, and provides an excellent level of detail on its own as well as a foundation for those wishing to fully plumb/wire this area for super-detailing. PE parts are provided for many of the details in the engine bay as well as for the side hatch intake grilles and the main intake grille on the rear hull. Bolt detail for the main intake grille is provided in the form of molded on bolts that will need to be carefully shaved from one of the sprues and glued into position.
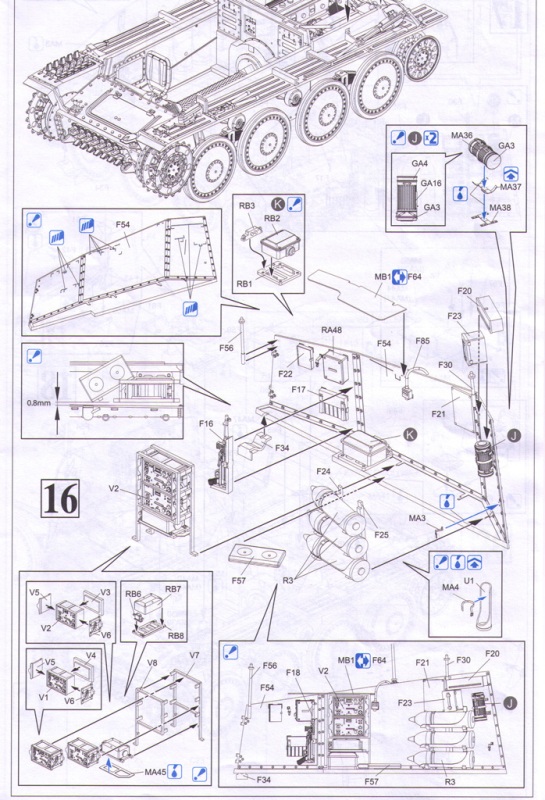
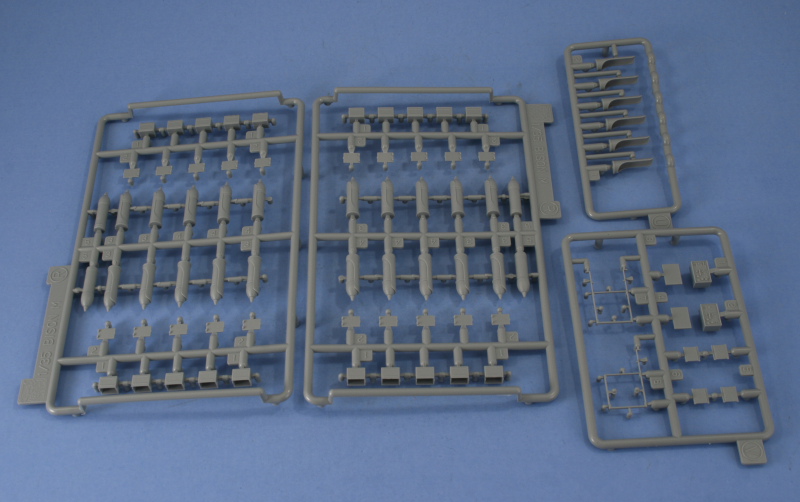
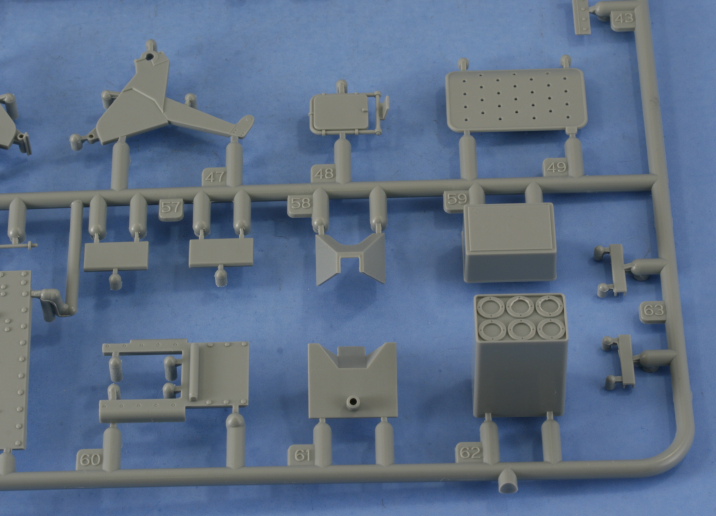
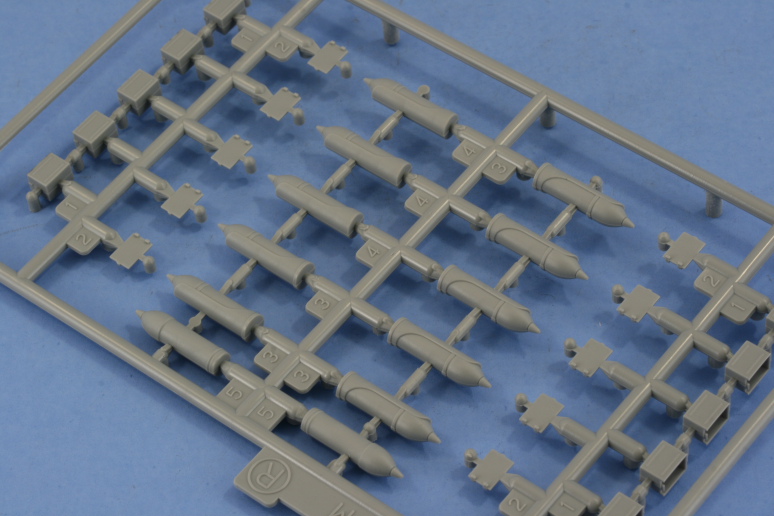
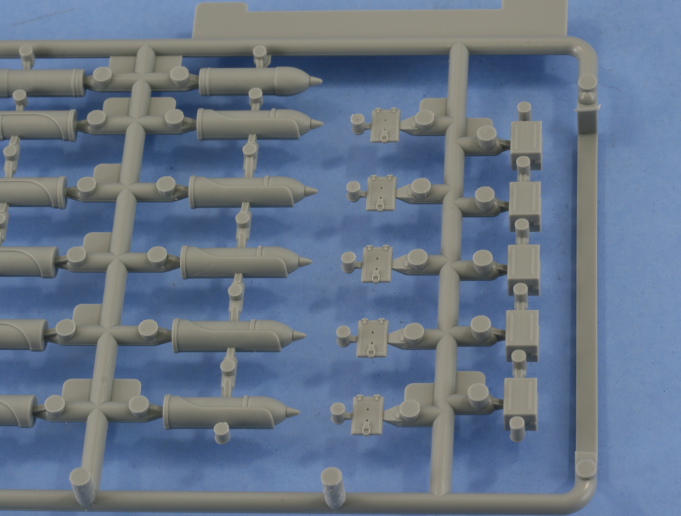
The fighting compartment is the real heart of this vehicle though, and is packed full of detail for such a small vehicle to begin with. Quite a bit of effort has been expended in getting all the big and small details for this area in the correct position and the kit includes full layout diagrams in the instructions to aid in precise placement. Options are provided to mount the 15.0cm shell racks either empty or with rounds in place, and the sprues include 4 complete shells separate from the racks as well. The parts with the rounds in place are a little simplistic on the detail, particularly for the straps, and will be difficult to paint/detail the shells properly given how they are stacked together. For the empty shell racks, nicely detailed PE straps are provided allowing up to 4 racks to be displayed empty but not all 7, so you cant go all empty or all full. The empty racks, even though they are slide molded, are still a little on the thick side but will look ok once installed.
There are some molded on locator marks on the left side panel that need to be carefully removed prior to beginning the assembly. The kit provides an extremely well detailed radio frame and power setup, and includes all of the various storage boxes and gear that belongs in these areas. The rain guard for the radio can be added using either PE or styrene parts provided. A sprue of Gen2 infantry gear is provided for the sole purpose of producing the gas mask containers for the crew so plenty of other gear is left over in the process. The only thing missing from the left side is a decal for the slate board that they have included as part F21
why something so prominent wasnt included remains a small mystery since the part is there but left plain.
For the right side of the compartment, again some molded on marks that arent used need to be removed before installing the charge boxes and the ammunition racks for that side. The instructions note that it is necessary to shave down the molded on ridges on the tops of boxes that are stacked, so be sure to follow that carefully to avoid a too-tall set of boxes otherwise. The spare armored glass block holder is provided as a finely detailed, although complicated PE part, that has to be bent to shape just so, but will look great once done and the clear styrene block provided installed in place. Rounding things out, the large storage boxes and the perforated shell stand are rendered with very high detail, as is the gunners seat as a multi-part affair with separate back and seat cushions for easier detailing. The option is provided to pose the rear compartment panels in either the open or closed position as well.
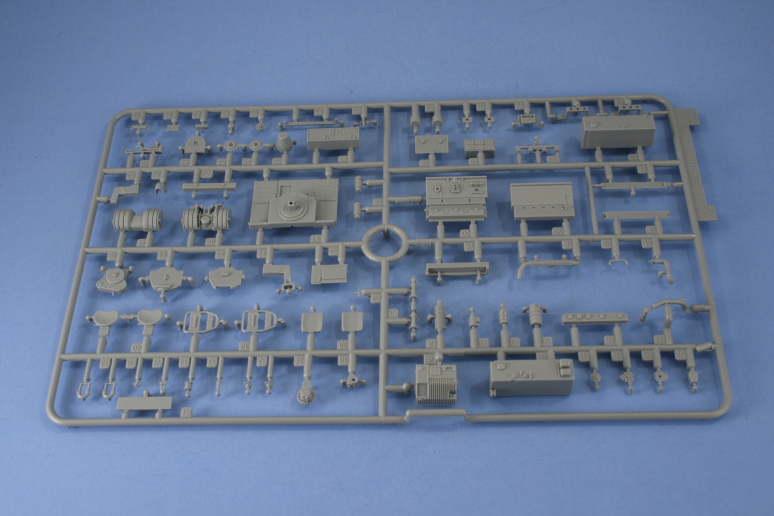
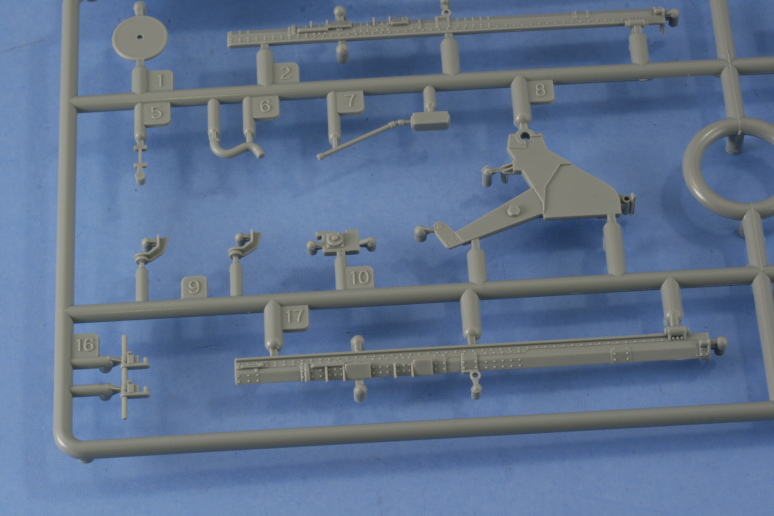
The sIG 33/1 gun is a little marvel all by itself. The turned aluminum barrel provided includes accurate spiral rifling grooves cut into the muzzle and is designed to install seamlessly via a mount pin to the breech base. The breech is a multi-part design that cleverly uses inserts at the top to minimize mold/join seams that require sanding. The sprues here are labeled with a Blue B vs. the Black B, so youll have to keep that straight when looking for parts to avoid confusion. The gun tray is also cleverly designed to avoid the old-style nasty join seam that typically runs down the middle of two-part assemblies by making this a three-part assembly where the two sides join to an insert in the middle. The level of bolt detail on the mount is superb throughout and there are quite a few small detail pieces that really enhance the look of the gun.
The gun sight is provided as two separate clear pieces and an option is provided to fit either the standard height or the extended height neck to the sight. Considering how little of the clear portions would actually be retained I consider this kind of a waste myself vs. molding them in regular gray styrene, but the level of detail is comparable in the clear to what would be achieved in the gray. Its important to note that the rectangular spring-hinged guard on the front hull superstructure must be installed in a fixed position, so youll have to decide what elevation you want the gun posed at accordingly before installing that feature. The option is provided, using different sets of parts, to pose the gun travel lock in either the clamped or released position, so another choice is required before the gun installation.
The kit also provides some other miscellaneous detail options that deserve mention such as the inclusion of PE tarp loops for the hull exterior. These are tiny and will require a lot of care removing from the fret due to the way DML designed them. Molded-on representations of the loops are present but they are solid and will have to be shaved off if you decide to fit the PE replacements. The kit provides Magic tracks for the tracks but the instructions inexplicably direct you to install 96 links per side
however this is too long and the correct length should be about 92-93 depending on how much sag you wish to model. The pioneer tools provided all come without clamps and the PE fret provides the necessary securing straps for them as the only option. Last but not least the kit includes a length of pre-bent/shaped steel wire that it labels MC 2 on the instructions, but after carefully going over the instructions step by step multiple times, I cannot find any mention of this so have no idea what purpose its supposed to fill
but its there as an extra!
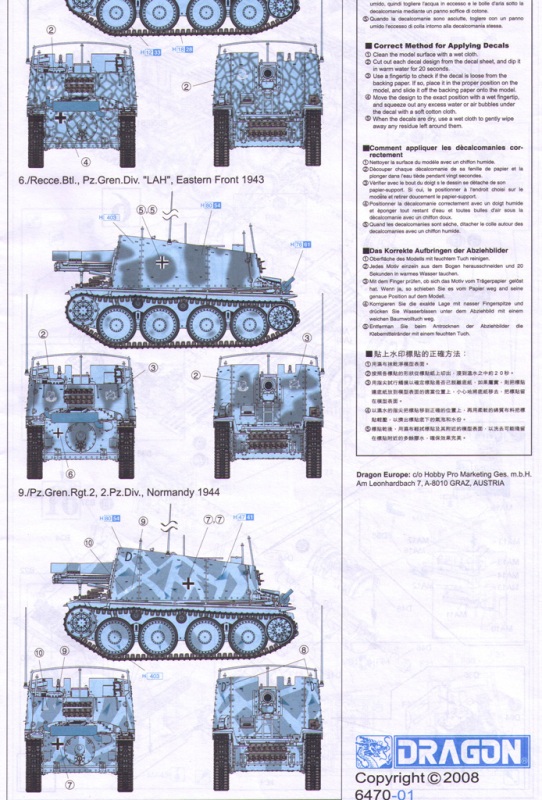
The instruction booklet is organized into 25 steps and follows the exploded diagram layout. Quite a few parts as mentioned are carried over from previous kits and are marked as not for use so be careful during assembly. Grille Hs were often very simply marked so the provided decal sheets are small as a result. The Painting & Markings guide provides schemes for the following 3 vehicles:
Pz.Gren.Rgt. 1, LAH, Pz.Gren.Div. LAH, Kursk 1943
6./Recce.Btl., Pz.Gren.Div. LAH, Eastern Front 1943
9./Pz.Gren.Rgt. 2, 2.Pz.Div., Normandy 1944
Conclusion
Coming in at over 800 parts makes this little kit packed with a lot of detail. As an open topped vehicle, virtually all of the drivers area and fighting compartment will be visible so theres plenty of opportunity to show that off. There are some small areas such as the missing firing table slate and the incorrect count on the tracks but overall this looks to be a top-notch kit that nails all of the characteristic details of the Grille H. I would have preferred a few more marking options vs. the 2 LAH and one Normandy provided, but even within that constraint quite a few other options can be explored if desired. While this is labeled a Smart Kit, there are many parts provided that are PE only so builders should be aware of that going in. Highly recommended.
A
Build Log has been started on the Forums to evaluate the kit construction.
******EDIT******
In the course of building up the kit, an error was discovered in reference to the gun mount. The mount design has the equilibrators set at the angle appropriate for the Grille M style mount and not that seen on the Grille H. The end result is that the interior is also missing a raised tread plate platform that the crew wouldve stood on to service the gun since there isnt sufficient room for it to be present due to the inaccurate position of the equilibrators. These two factors in combination with each other represent an inaccurate interior layout due to a short-cut in using the same mount and parts from DMLs earlier Grille M release instead of including parts specific to the Grille H. This has resulted in the overall score being dropped to an 85% instead of the previous 90%.


Comments