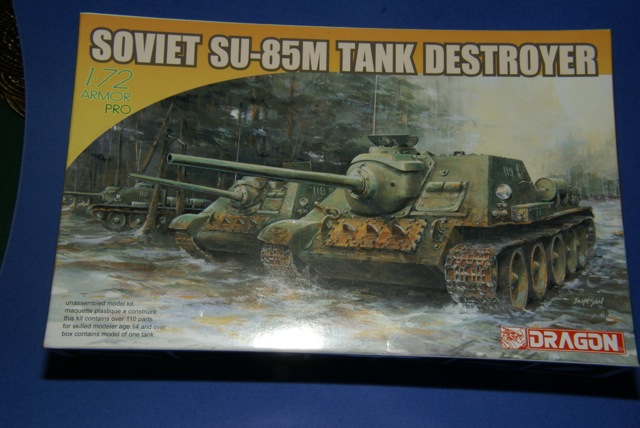
In anticipation of a new tank destroyer, production of the SU-85 was cancelled in July 1944. However, due to problems with the armor-piercing ammunition for the 100 mm gun, mass production of the SU-100 was delayed. As a stopgap measure, the SU-100 vehicle was instead fitted with the 85 mm D-5S gun, and was designated SU-85M. It was distinguished by thicker frontal armor (75 mm instead of 45 mm) and a roomier fighting compartment. Production of the SU-85M ceased in December 1944 after 315 had been manufactured.
The Kit
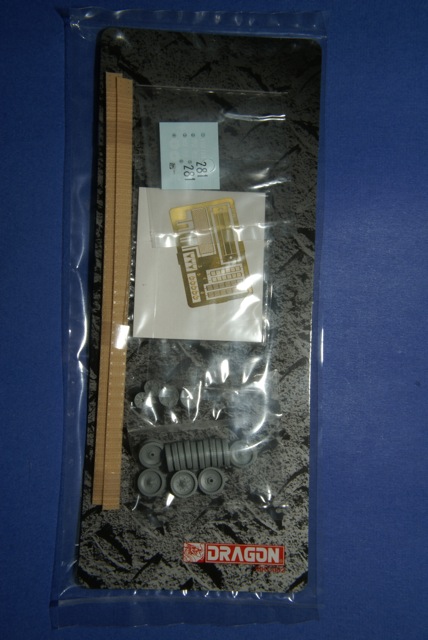
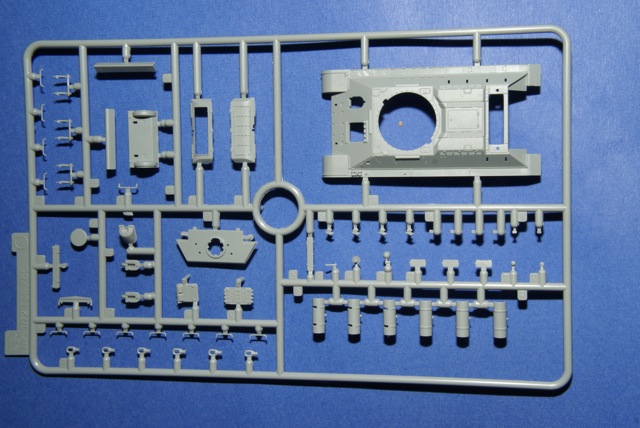
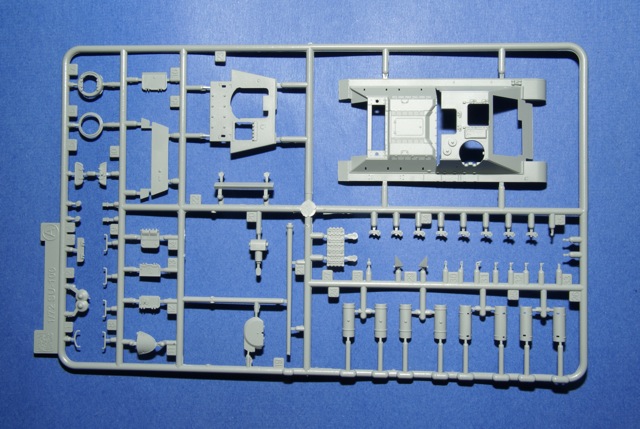
The kit box contents include the instructions, three plastic sprues, a lower hull, a plastic bag containing the running wheels, DS tracks, a small PE fret and small decal sheet. The moldings are crisp and detailed even to the point of having a cast texture on a number of parts and weld seems. All hatches are finely detailed and can be assembled in the open or closed position. Flash on any parts was minimal but some small parts will require careful cleaning due to excessively thick attachment points to the sprue.
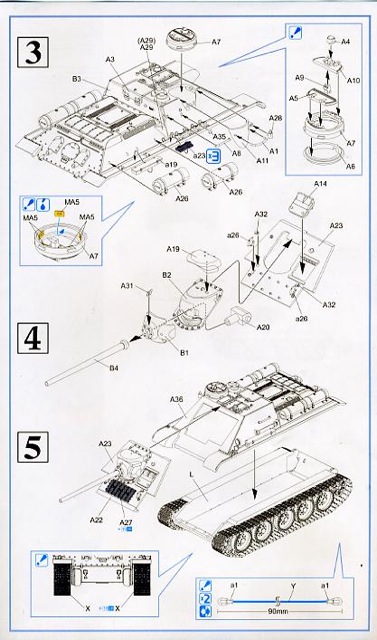
The instructions break down construction into five steps. These are lower hull, initial upper hull details, further upper hull details, mantlet and final assembly.
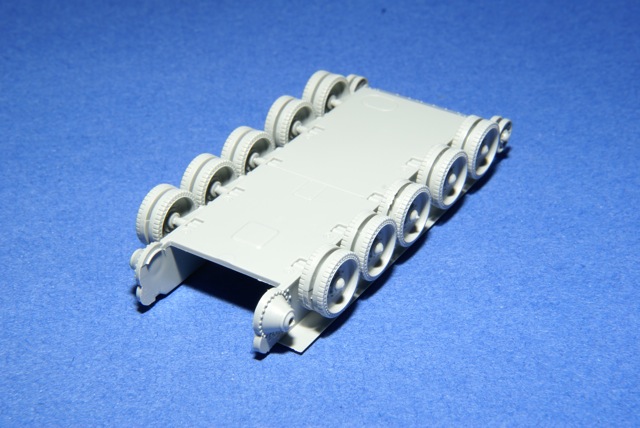
Lower Hull
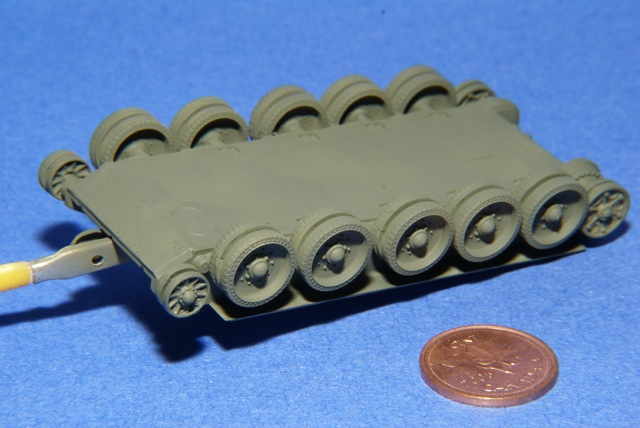
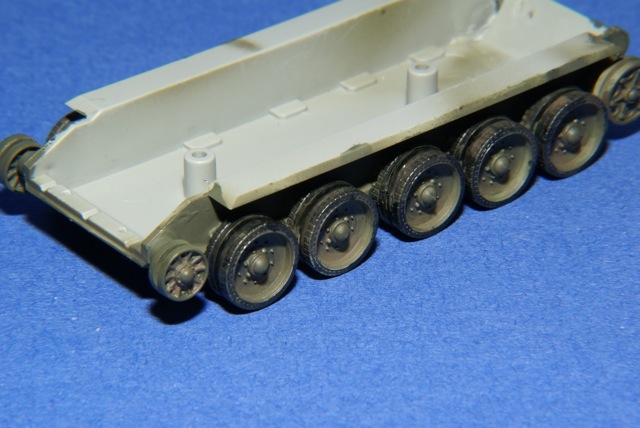
Step one of the instructions involves positioning the parts that constitute the lower hull assembly. Each set of suspension wheel pairs are molded as one piece with extremely fine detail present. There was virtually no cleanup of these parts required as they come as individual pieces in a separate plastic bag, not attached to a sprue. The main bogie wheels and the front idler are glued onto pins or axles projecting from the lower hull. The rear driver or idler has a pin projecting from it that is inserted into the rear hull. Assembly of these parts was both quick and simple.
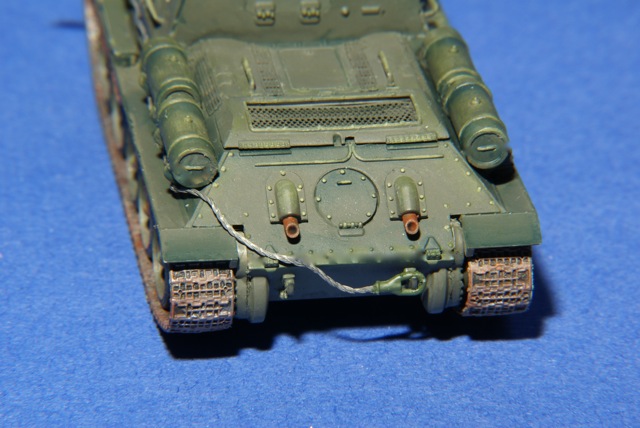
The next part of the assembly is to mount the two pairs of parts that represent the towing attachment points (parts A32 and a36) to the rear transmission cover (a16). Care must be exercised with these parts as they are extremely tiny.
The final step in this section is to mate the transmission housing to the hull rear. In my case the housing was somewhat deformed and required some reforming while the part was immersed in hot water to soften the plastic. Even after this, some careful filing with a jeweler's file was required as well as a touch of putty after it was attached to the hull.
Upper Hull and Left Side
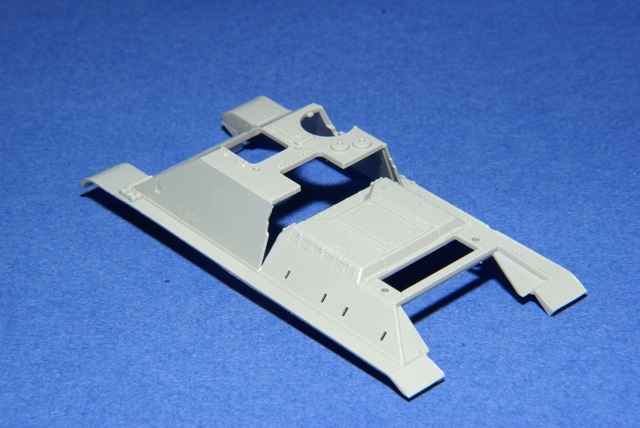
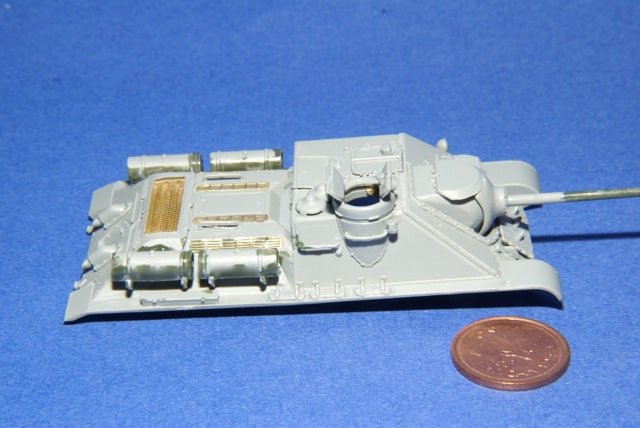
Step two includes the major top hull and left hull side details. The instructions show five subassemblies for this step. The first I chose to do was to attach the mufflers and circular rear engine hatch to the rear upper hull plate and then the plate to the rear of the upper hull.
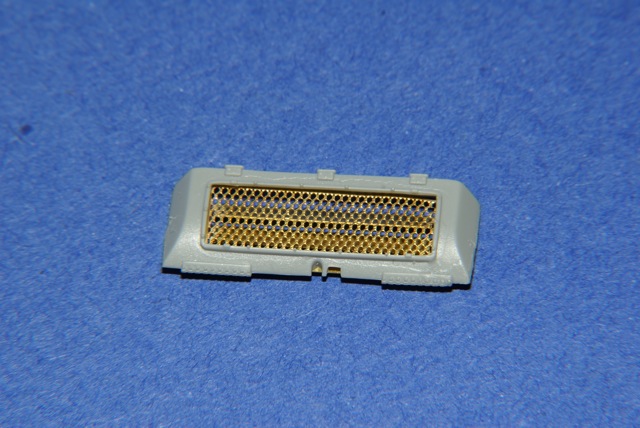
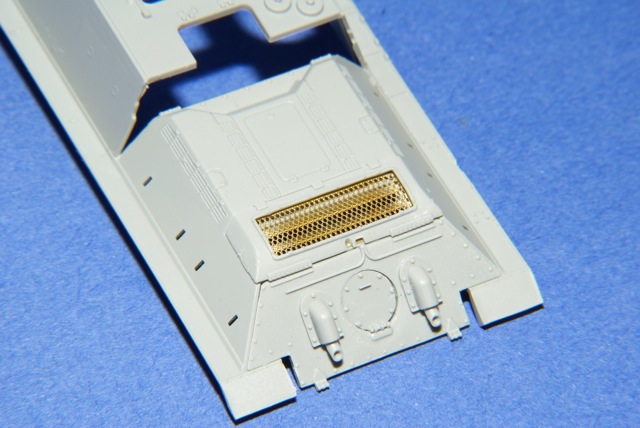
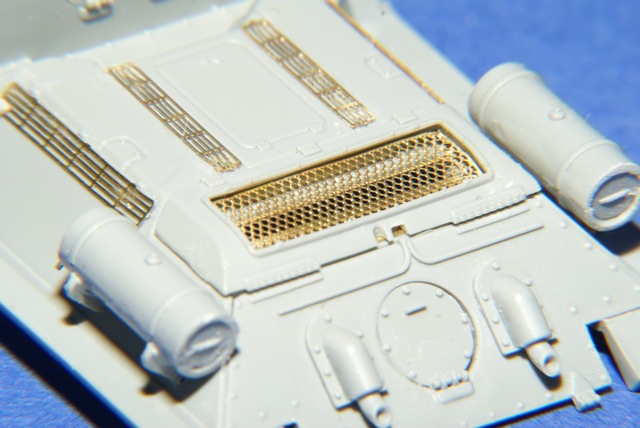
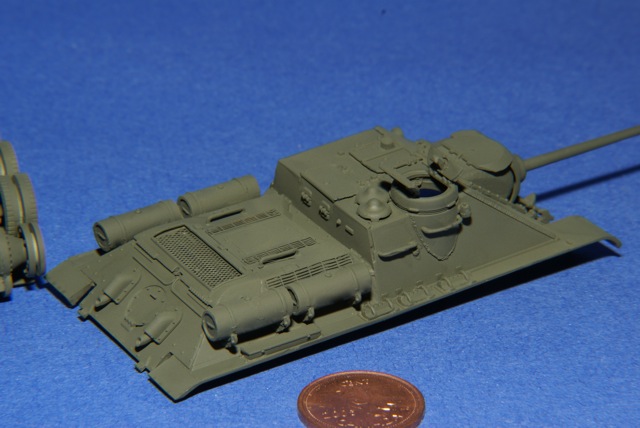
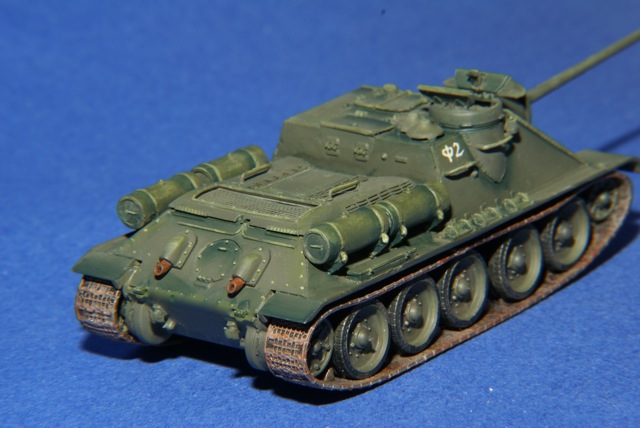
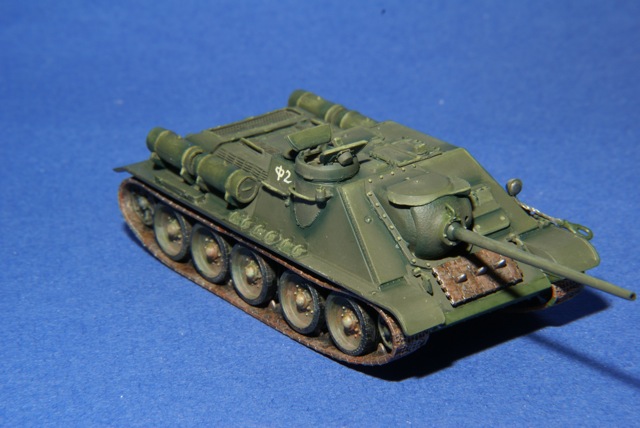
The next subassembly was for the large rear engine cover. The kit gives you two options for this piece. There is a molded complete engine cover that can be directly glued on or one can choose to assemble a cover composed of a plastic cover frame with a PE set of lovers and a PE screen/grill. I chose the latter option as can be seen in the photos. The most difficult part of using the PE parts is bending the internal louvers to 30 degrees and bending the screen or grill to fit the contour of the plastic cover. After the cover was glued to the hull I next attached the four PE grills to their proper locations behind the fighting compartment.
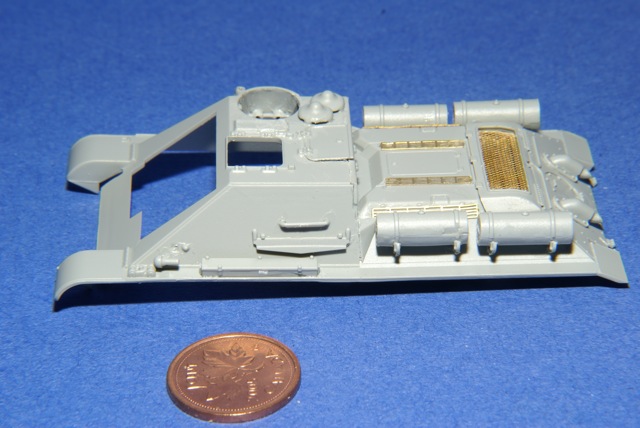
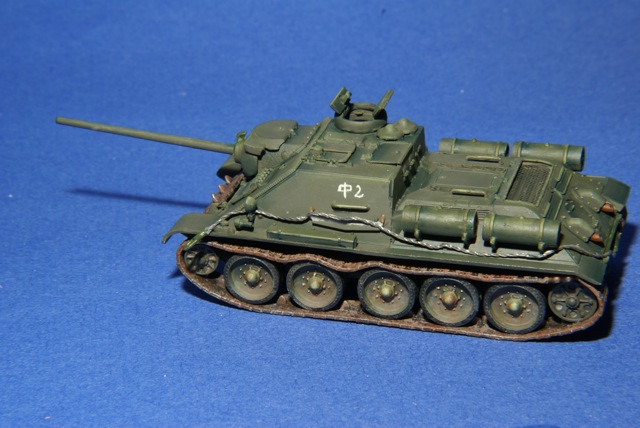
The next subsection was to assemble the external fuel drums. Each drum is made up of two drum halves and two support arms for attachment to the hull. One has to be very careful with the latter items. The instructions don't tell you that they fit only a certain way. If you don't put them on in the proper order the filler cap will point off to the side as opposed to straight up. This process unfortunately will require a certain amount of trial and error. Another issue with the fuel drums is that they edges of the drum tops do not fully meet the edges of the drum sides. Here I used liquid cement to seal the gaps as putty would have created great difficulties in getting it smooth without losing detail.
The final subsection of step 2 was to attach various items to the top of the hull and fighting compartment. Besides working with the diminutive size of some of the parts I ran into a few problems. The first was with the rear fighting compartment upper hatch A16. It has a recessed lip around the edge that allows part of the hatch to be recessed and part to sit above the compartment roof. The sprue attachment point for this part was excessively thick and requires quite a bit of work with hobby knife and mini files to clear the lip of unwanted plastic. This was also an issue with the odd other hatch. Finally, a glaring issue is that the instruction for the placement of the headlight is incorrect. They show the part a22 attached to the left fender where it should attach to a recess in the fighting compartment side wall.
Upper Hull and Right Side
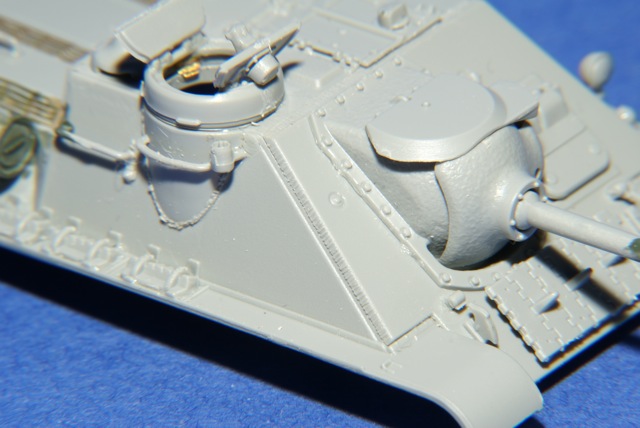
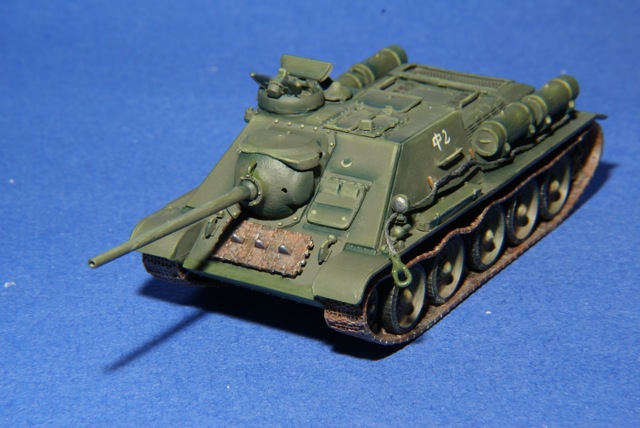
Step three involves details for the right hull side and the commanders cupola and its associated sponson. The cupola is composed of six parts, two plastic rings, two hatches and an upper and lower periscope half. An option at this point is to install six PE vision port pieces inside the cupola ring, which I did. I question if this was worth the effort as they are hardly visible. The rest of the detail parts were attached without issue.
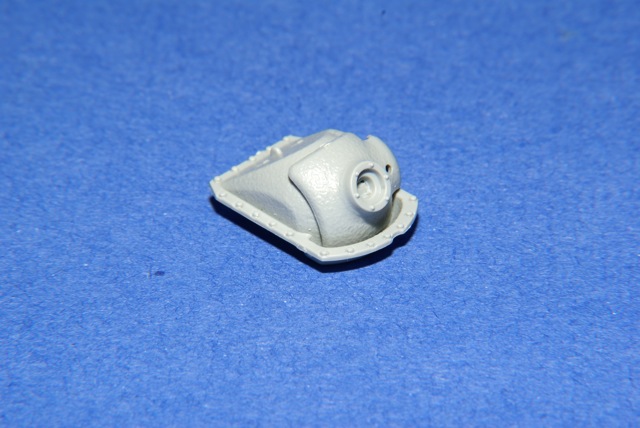
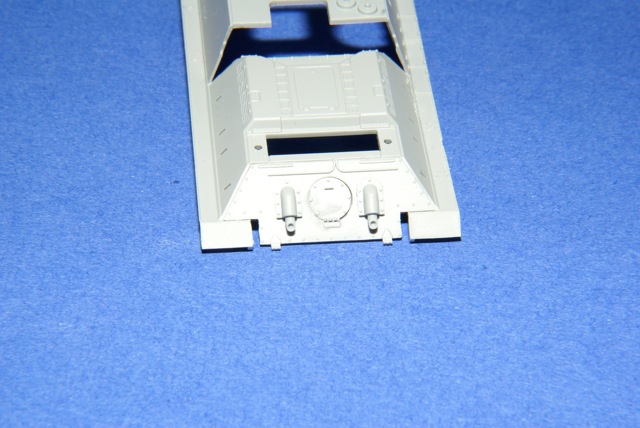
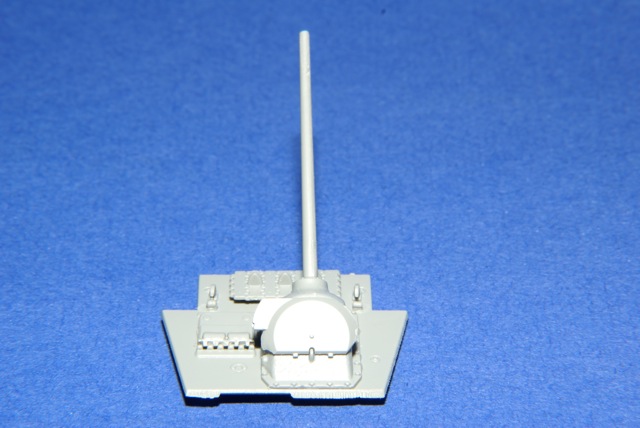
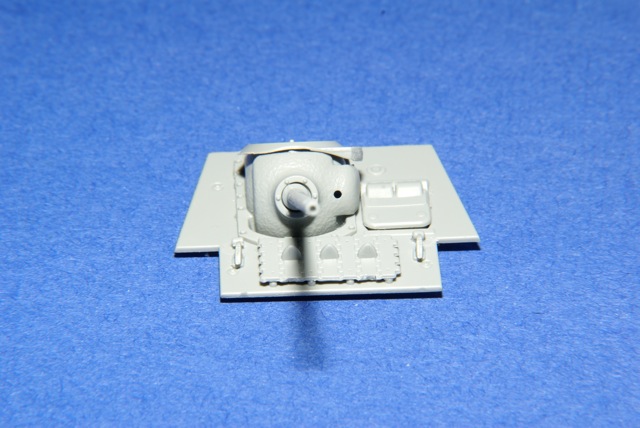
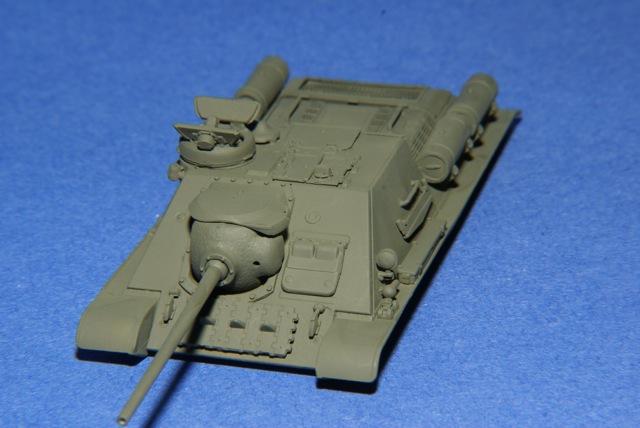
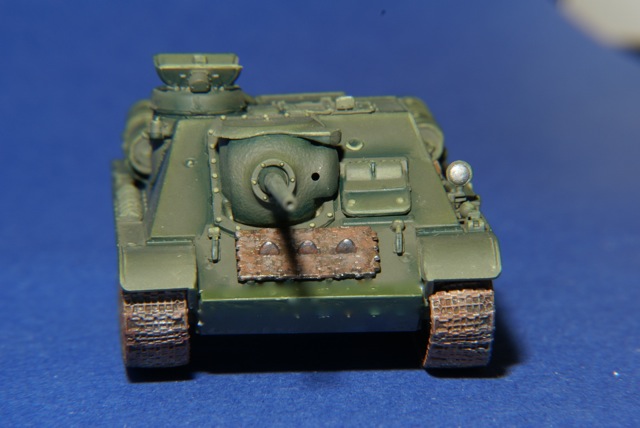
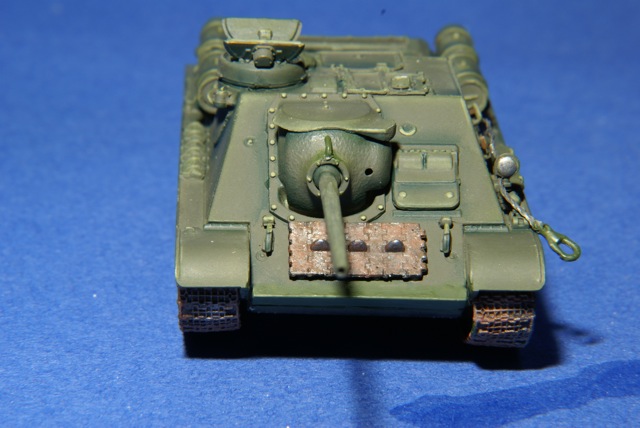
Mantlet and Front Armor
Step four directs you to assemble the gun mantlet and details on the front armor plate. The only issue that arose in this area was with the drivers hatch. As with the rear hatch, the sprue attachment point was rather thick and some filing was required to get the hatch to sit properly.
Final Assembly
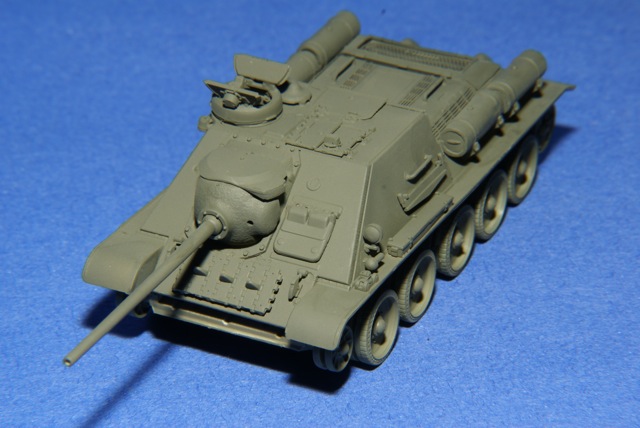
The fifth and last step is to attach the front plate with the mantlet to the upper hull, join the upper and lower hull and add the tracks. The first two of these steps had no problems. The treads however did cause some issues. The kit track length is too long and on the left track I cut off two links but still needed to induce sag between the wheels to achieve a reasonable appearance. With the right track I cut off four links and was unable to induce much sag. Thus, by trial and error I would suggest that removing three links from each track might work out the best. The absolute final step was to cut and attach the two plastic ends to each length of metal tow cable.
Painting and Finishing
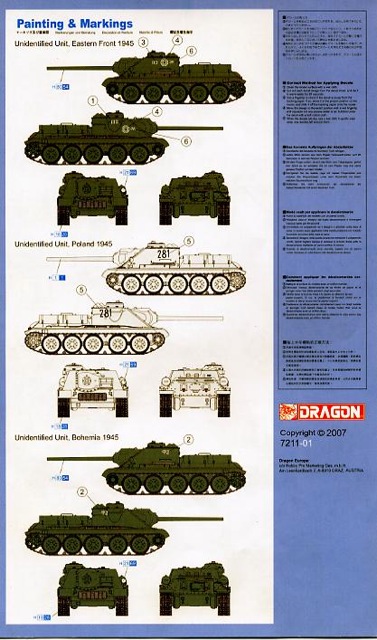
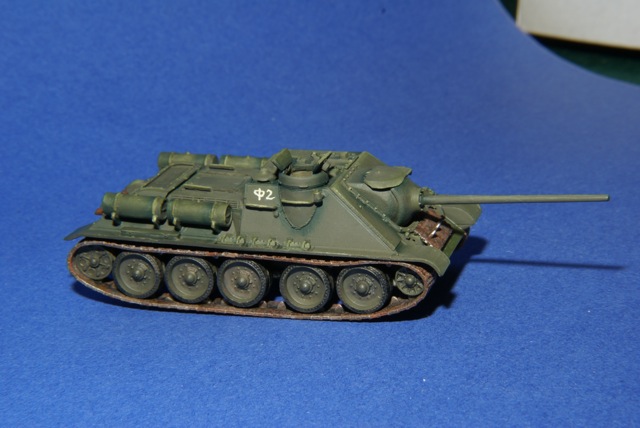
Painting was done using acrylic colours exclusively. I used Mr. Hobby H343 Soot colour to pre-shade various areas of the vehicle. I then mixed up a Russian green colour using Tamiya XF-67 NATO green and XF-2 Flat white. This mix was then sprayed over the vehicle in light coats. More white was added to the mix and a slightly lighter colour was sprayed in selected areas for contrast. Next the rubber on the main road wheels was brushed with a lightened XF-63 German Grey. The tracks where painted and weathered before installation. The running gear was subjected to numerous washes of XF-52 Flat Earth and XF-57 Buff for weathering purposes. Certain details were accented with a wash of flat black.
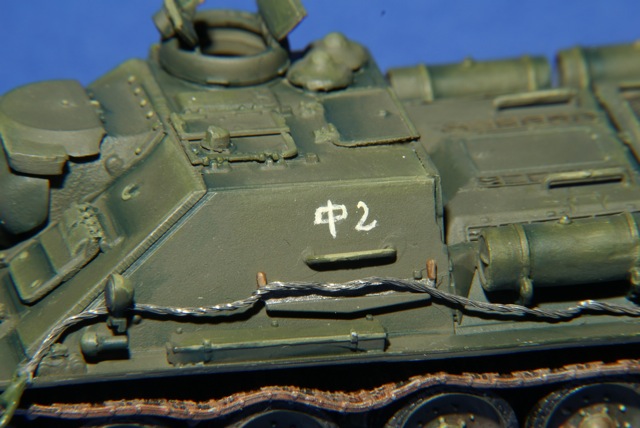
The decals that you get with the kit are fairly limited and from looking at many pictures I think I can be sure that most Russian equipment does not carry many markings. Rather than use the decals I decided to actually paint versions of them on the fighting compartment sides. As many markings that I saw were hastily done by hand I felt the painted markings would add to the overall effect. For the curious, the markings are 3/32 of an inch or a tad over two millimeters in height and were painted with a very fine Script brush.
For final detailing I used various Delta Ceramcoat Decorative Artists acrylics with no small measure of assistance and guidance from my artist spouse. The techniques and tricks that she showed me are too numerous to be detailed in this article.
conclusion
From reading numerous reviews of different kits in various scales I would like to say that this Braille scale kit compares favorably with its larger cousins. Dragons attention to detail is quite evident and despite a few problems, it builds into a fine representation of this of this vehicle. I would definitely recommend this kit.
SUMMARY
Highs: A highly detailed model considering the scale. Details such as cast metal surfaces, weld
seems and suspension components are clearly present.Lows: Sprue attachment points for some parts are too thick and result in extra work. Instructions were unclear in parts. Tread length is too long.Verdict: A highly detailed representation of this vehicle. Would be a nice addition to any Braille scale collection.
I've been building models since about age 10 with the occasional hiatus due to real life events. First armour model was a 1/76 Airfix Tiger I and was followed by a 1/72 Revell F4U Corsair. I've built primarily 1/76 and 1/72 armour and aircraft but occasionally have tinkered in other larger scales....
Ale, glad that you liked the review. I wanted to show not only Braillers but the community in general what can be done in a compact scale.
Bill, thanks for noticing. It means a lot to have an veteran reviewer take notice.
Cheers,
Jan
Nice work on the build review Jan and will echo the hopes that there will be more like this in the future. 1/72 scale is an area often overlooked but just as deserving of its place in the Reviews section.
Bill P. and Bill C.,
Thanks you for the comments and the interest. As it hasn't been that long since I returned to the hobby I wasn't sure that my skills were up to all the changes (challenges and enhancements) that appear in these newer kits. With this review I was hoping to reach out to those Braille scale modellers that like myself were new or returning. The newer kits, especially Dragon's can be quite intimidating when your last exposure was to Airfix, Matchbox, ESCI and the like. This was my quickest build so far taking just under two weeks.
Current project is a Dragon Tiger I. I was toying with doing an In-Box review but the turret and lower suspension are pretty much done so maybe I'll hold off and do a build review instead.
Cheers,
Jan
Welcome to the club, Jan. Glad to have you back. I also recently returned after a long hiatus (no, I wasn't in prison). SO MUCH HAS CHANGED!!!!
My last kit before returning? The Tamiya Sd.Kfz.7 and 88mm.
Just started this kit the recently and the timing of your article couldn't have been better. I read your post about the kit in the braille forum but this is so much more concise. I've already run into some of the problems you pointed out in your build. I see what you mean about the fuel tank issues. Great info and article.
Thanks,
AJ
Thanks you for the kind words. It's actually a pretty nice kit once you get over the few glitches. If you have any questions during your build, please feel free to post them under this thread.
Cheers,
tread_geek


Comments