This new release by Dragon Models portrays the Panzerkampfwagen III Ausf.J Initial Production version sporting the shorter 5cm L/40 main gun, whereas the later versions used the longer L/60. The Kugelblende was introduced on the Ausf.J and carried through on the rest of the series. Some of the other improvements over the Ausf.H dealt with heavier armor front and rear, tow points incorporated on to the front hull, and improved drivers visor. Since this kit carries the Smart Kit designation, PE is kept to a minimum and fine details are molded on making construction a bit simpler.
contents
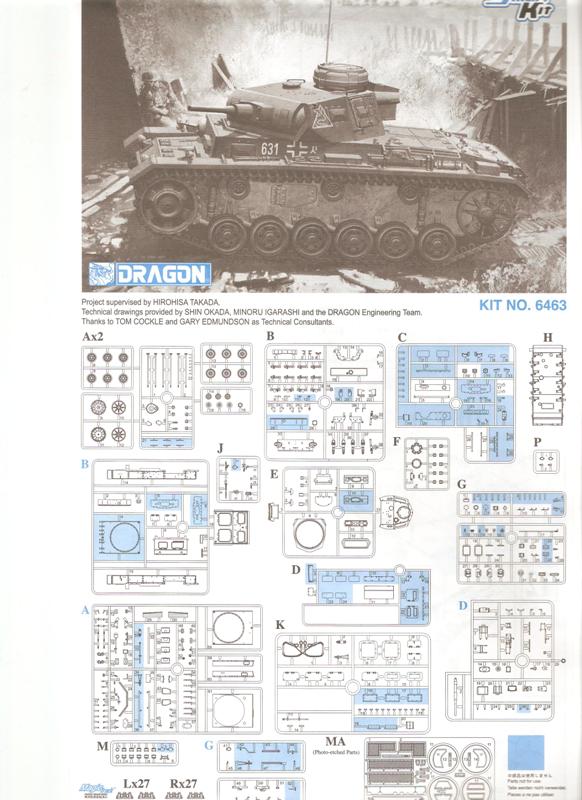
Packed to the top in the familiar Dragon slip-top box, the box art sets the Pz. III Ausf.J supposedly in Russia 1941, and looks to be an almost accurate representation of the kit which can be referred to during the build. The bottom and one side of the box highlight some of the features of the kit, while another side shows the three marking options. The sprues come packed in multiples of two to three per plastic bag, with the hull and turret packed together. Upon initial inspection, everything arrived undamaged and in perfect condition.
Included in the kit are the following:
14 sprues in gray styrene
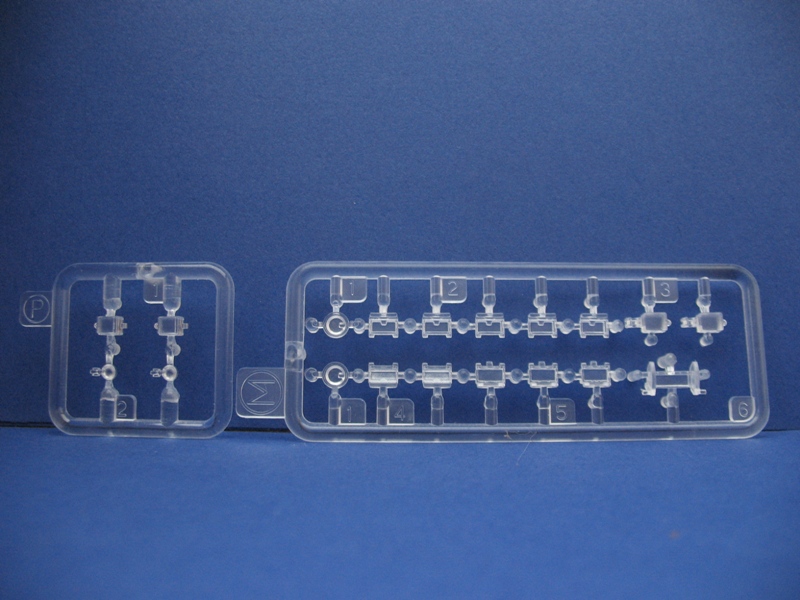
2 sprues in clear styrene
1 semi-tub hull
1 separate turret
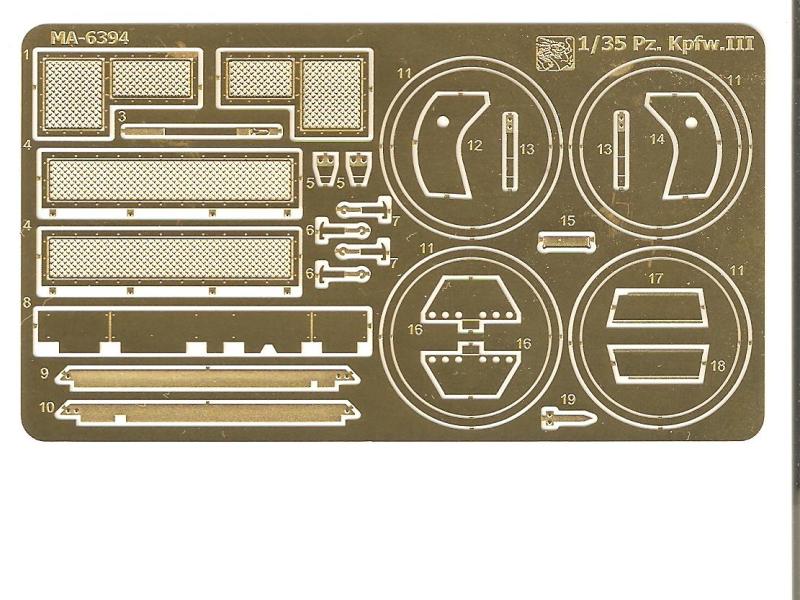
1 photo etch fret
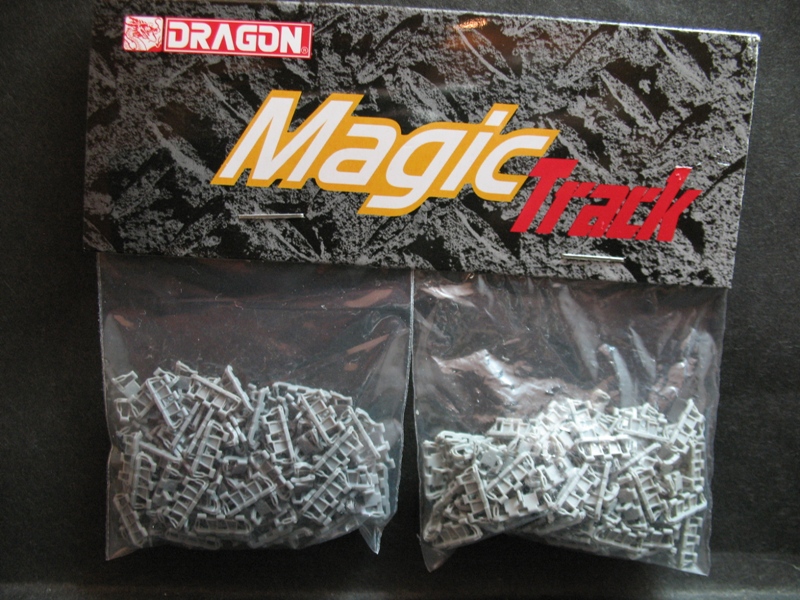
2 bags of Magic Tracks
1 decal sheet
Instruction booklet with addendum
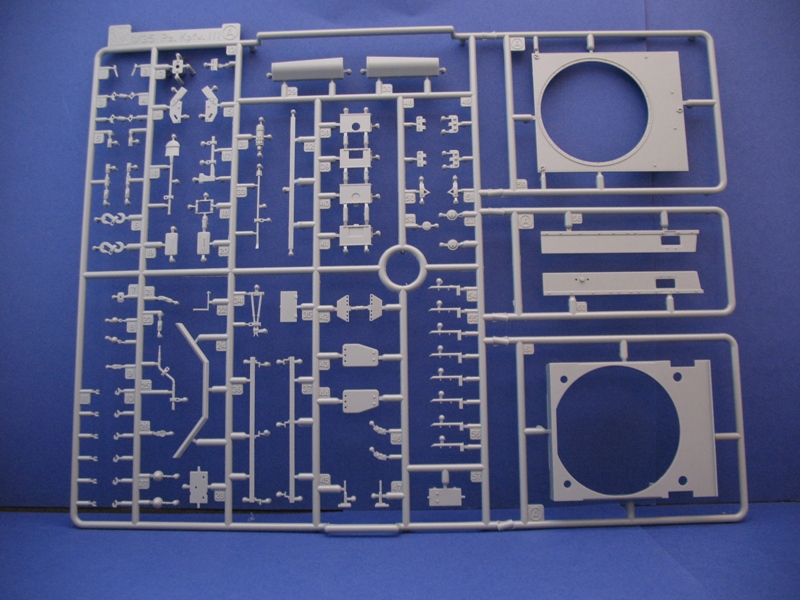
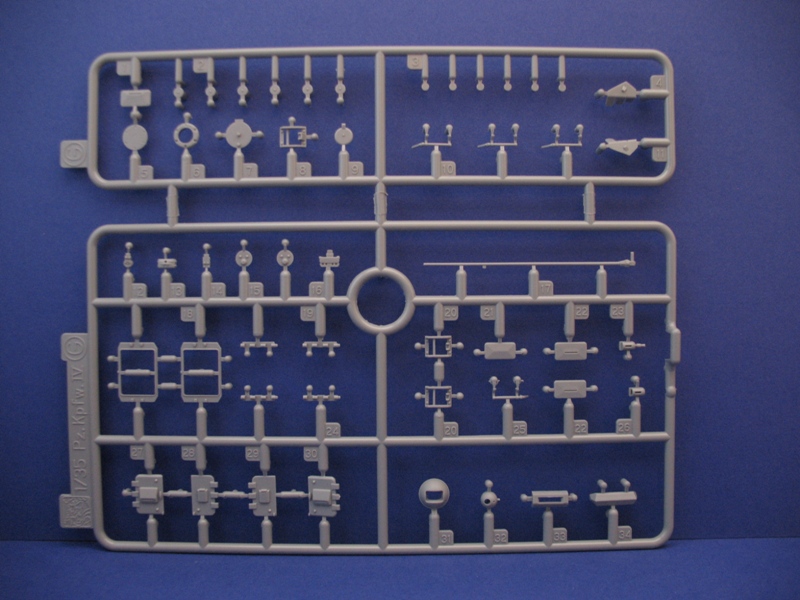
As is common in most DML kits, sprues are used from previous releases leaving a fair amount for the spares box, as shown in the shaded areas of the sprue layout. Containing well over 500 parts, sprues from previous Smart Kits including the StuG III Ausf.G, Pz.kpfw. III Ausf.J, and Pz.kpfw. IV are used, as well as new parts introduced specifically for this kit. The decal sheet is printed by Cartograf of Italy of their usual high quality and should lay down smoothly.
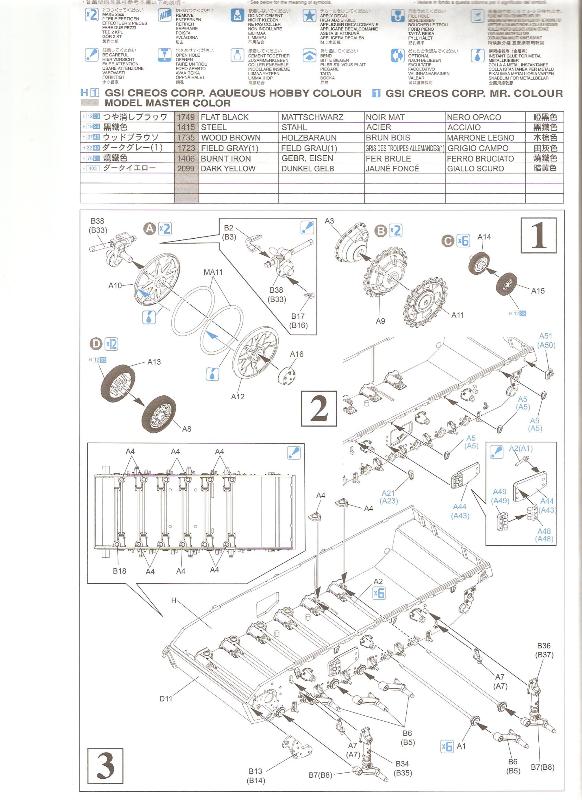
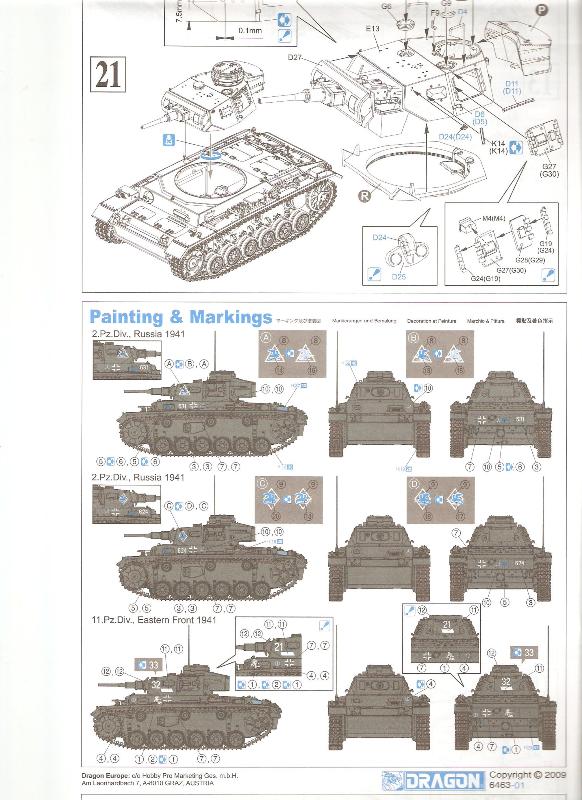
The kit instructions are of the exploded view type and contain sprue layout, paint chart referencing Gunze and Model Master paints, along with 21 assembly steps. The construction steps are broken down into very workable sections, although I still recommend studying the instructions before assembly and to check references for the few options provided. The addendum included shows to remove four rivets from each side of the lower hull, which is correct for this version of the Ausf.J.
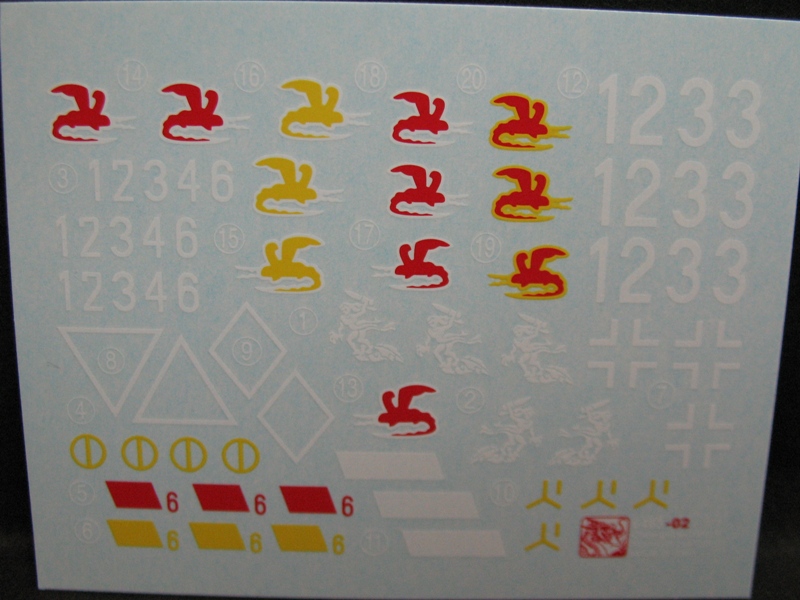
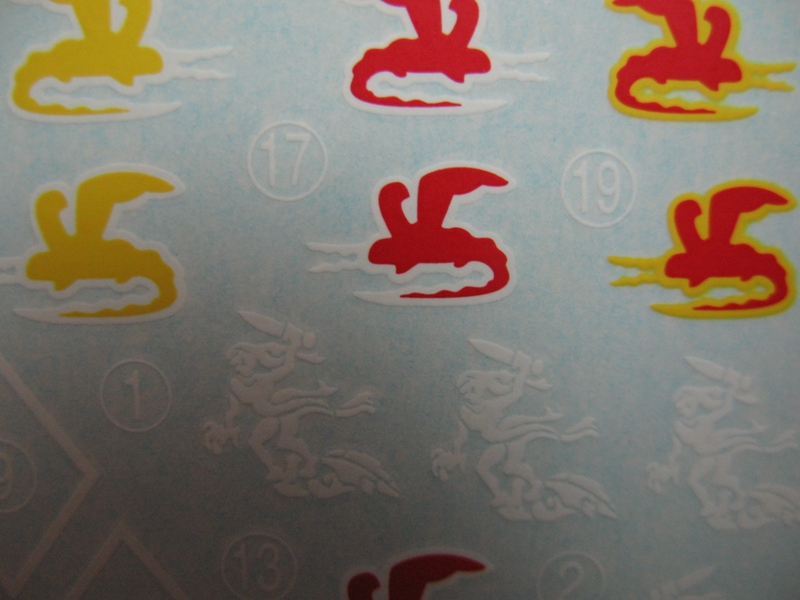
Three marking options are provided for, all painted in panzer gray, and include two in Russia 1941 with the 2nd Panzer Division and one on the Eastern Front 1941 with the 11th Panzer Division.
review
Lower Hull and Suspension:
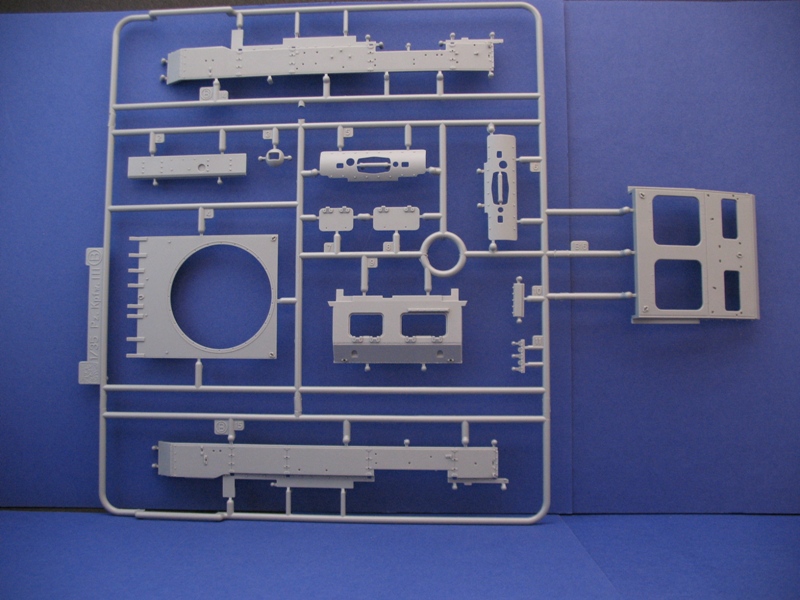
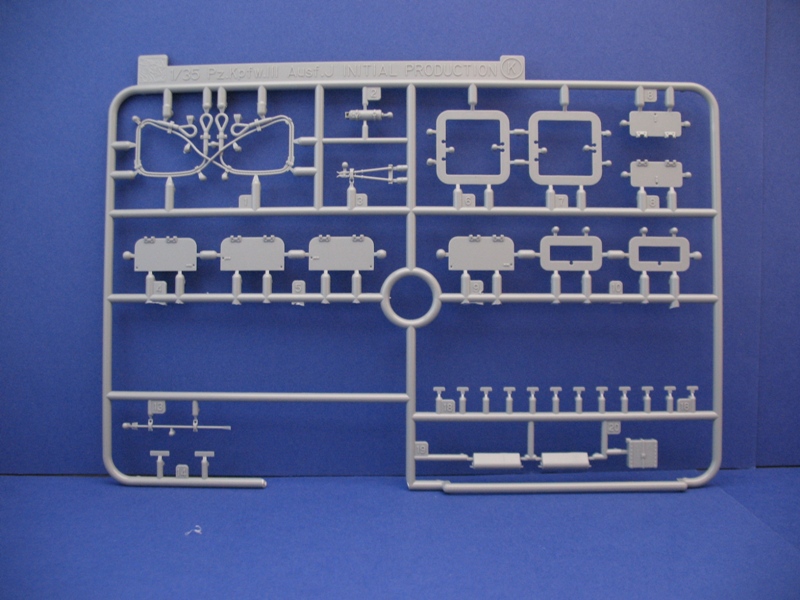
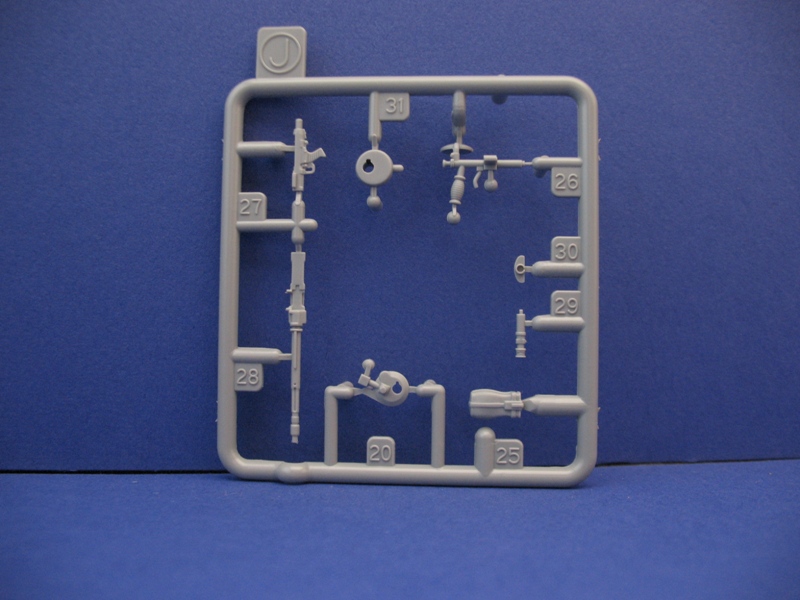
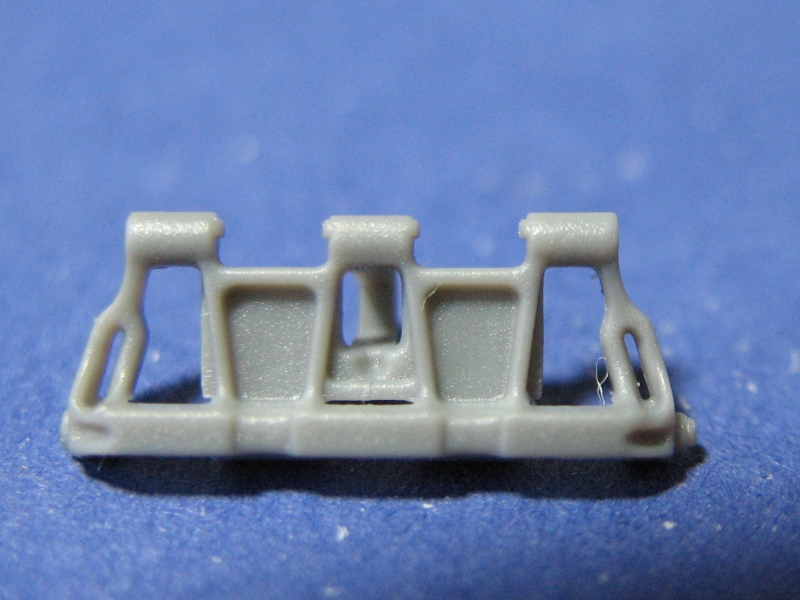
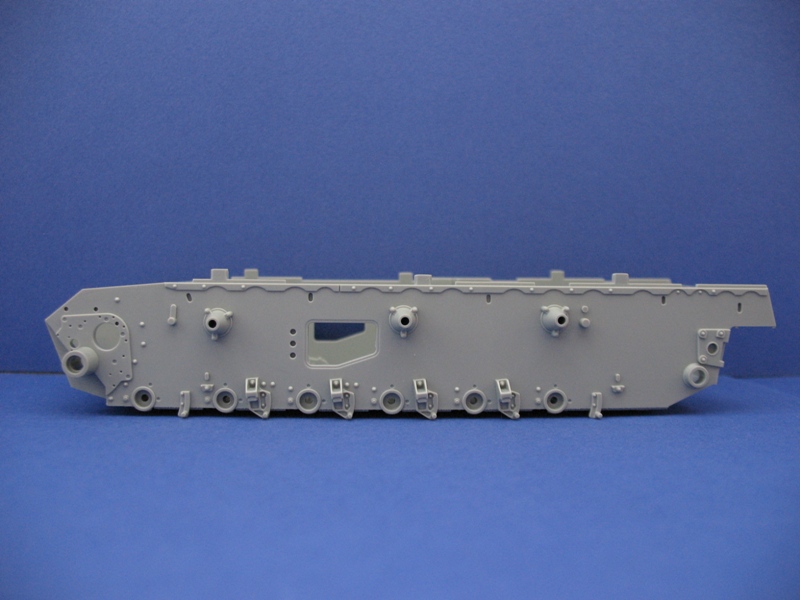
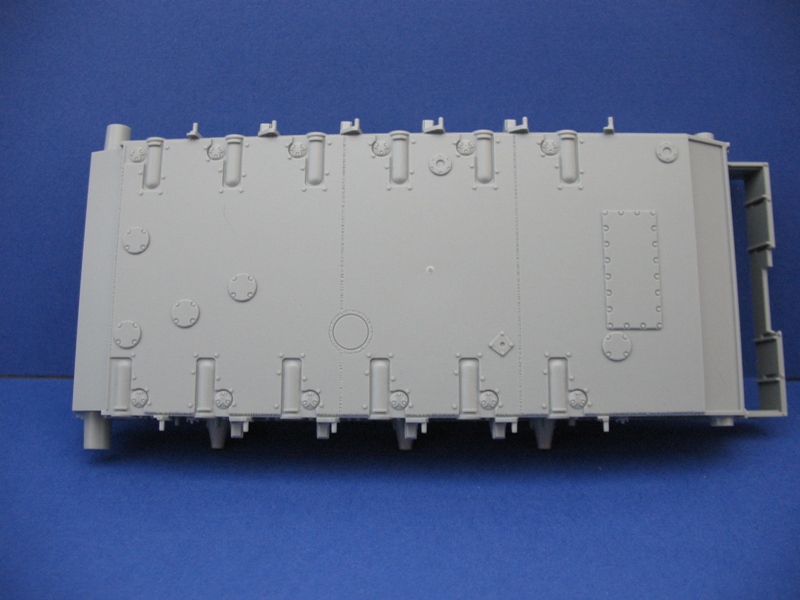
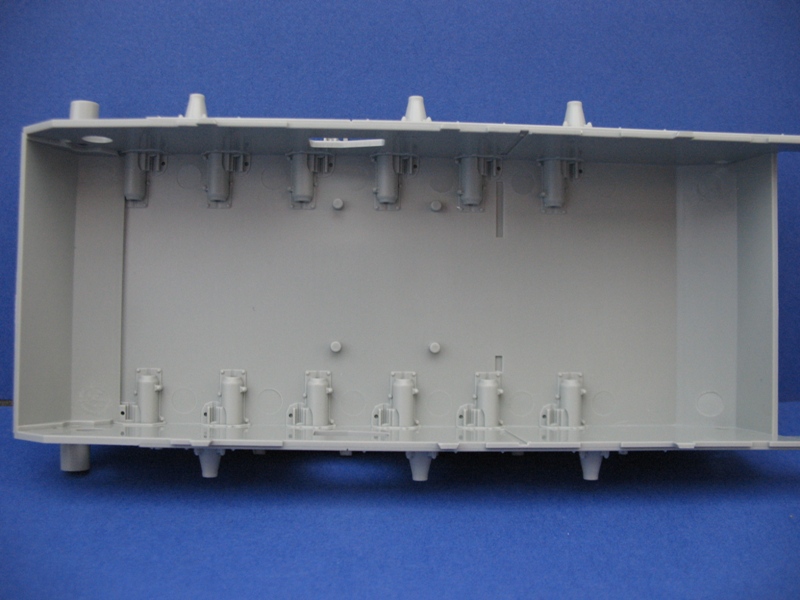
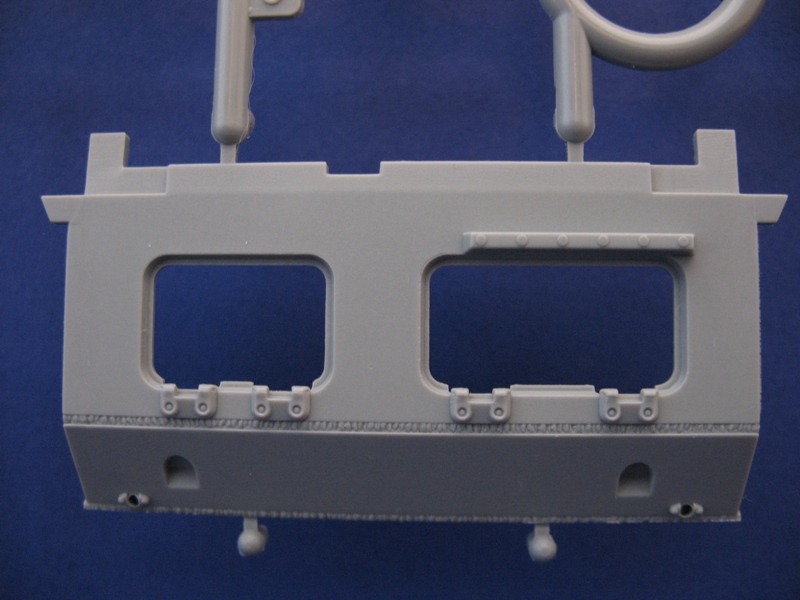
Construction begins with the lower hull area, with the hull itself being a slide molded affair detailed all around. Various mounts and fittings are molded in place for the return rollers, swing arms, bump stops, etc., while the belly pan is detailed with the drain caps and access plates. The interior of the hull has the mounts for the torsion bars and provides a good start for those wishing to further detail the inside. The torsion bars are T shaped on the ends to aid in alignment of the separate swing arms.
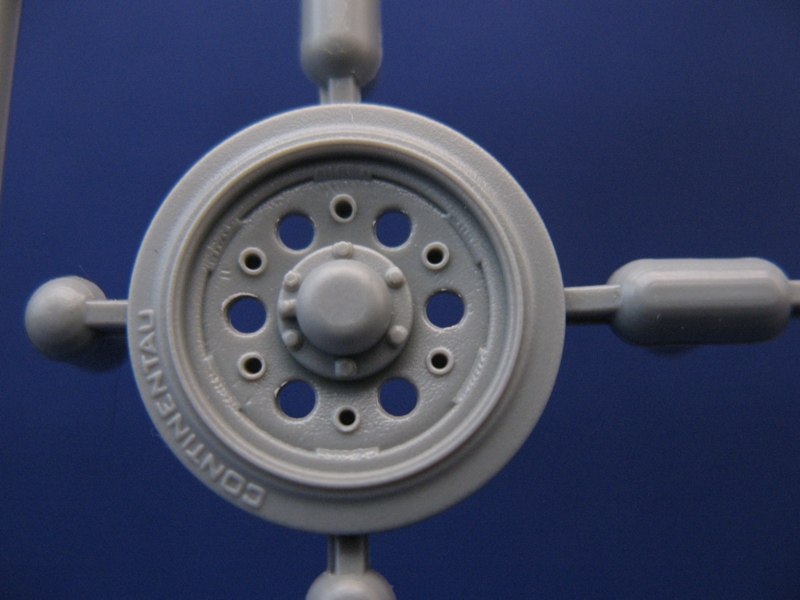
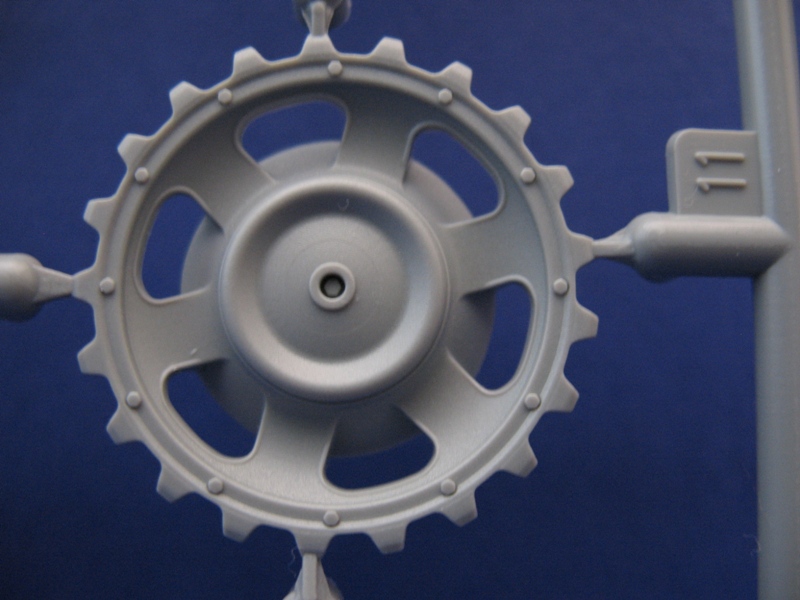
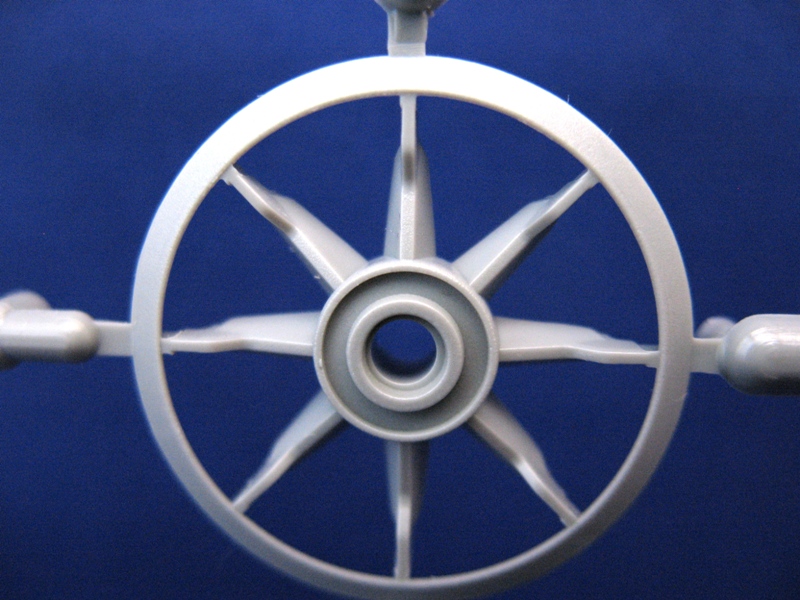
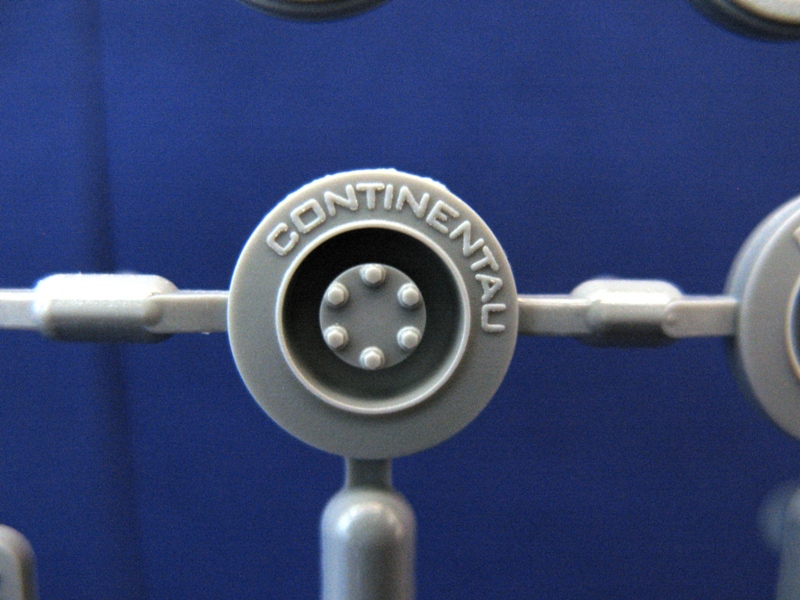
The idlers have PE rings for further detail and are shaped correctly. The sprockets are attached to the sprue at the teeth, so with careful removal clean-up should be a snap. The road wheels are provided as two pieces, with the tubular spacers on the inner wheels. Detailing on these and the return rollers are finely done, and the integrated tires have the now familiar Continentau embossed on them. A quick swipe of the knife will change that last letter if so desired. The road wheels and return rollers will need to have a slight mold seam removed, along with the sprue connection points, and since this involves 36 wheels will probably be a bit time consuming.
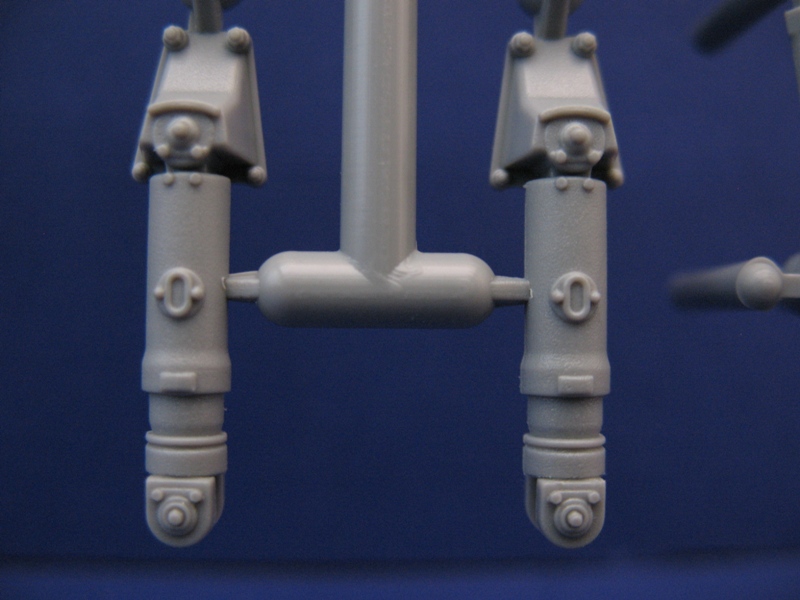
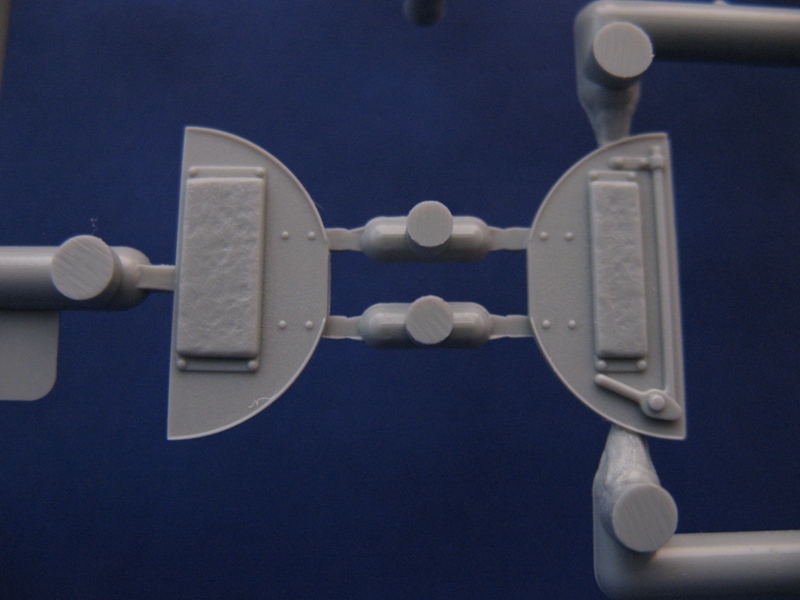
The shocks included are the longer style, which although correct, the inclusion of the shorter shocks would have been a very welcome addition since they were used on many of the Ausf. Js. Otherwise, they are well done and should look the part. The escape hatches on the hull sidewalls include separate hinges and an interior handle, so they can be positioned opened or closed.
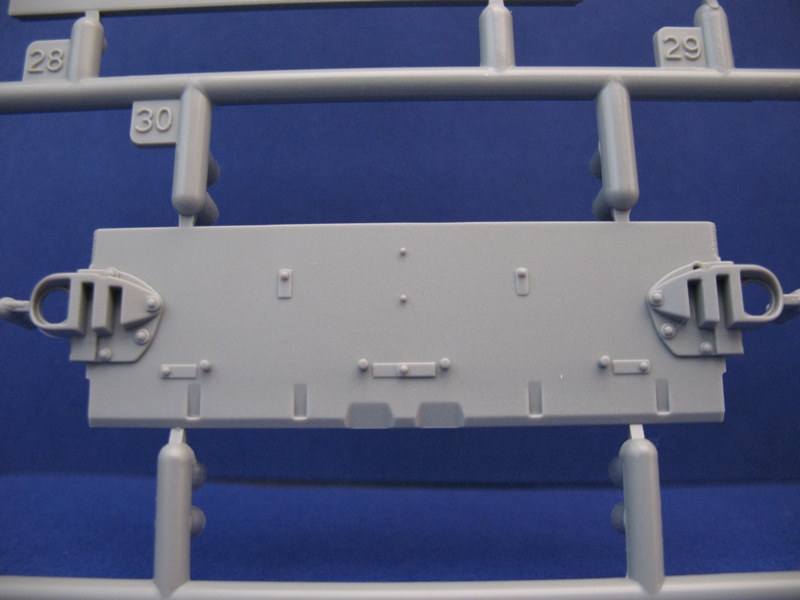
The rear hull plate is detailed and attached separately, with the instructions showing a slight modification to the mufflers. Check your references, as further modifications may be required here for total accuracy. Also shown as an option at this point is the air deflector (parts B1, 21 and 22), which again as an Initial Production, checking references is recommended. Photo etch screens are included for added realism.
Tracks:
Two bags of Magic Tracks are included, as these are handed for the right and left side. Molded in dark grey for the left and light grey for the right, its still best to keep them separated, of course. These links have the slots molded in that were used for the ice cleats, and were a fairly common style especially for the Eastern Front. The instructions indicate using 98 links per side, although in reality an average of 93 per side were used. Since everything so far has scaled out very accurately, including the track links, I would venture a guess that the correct number of 92-94 links will be used. Since the idler does not appear to be adjustable, and depending on the amount of sag desired, its a good idea to confirm for yourself just how many links are needed for each side.
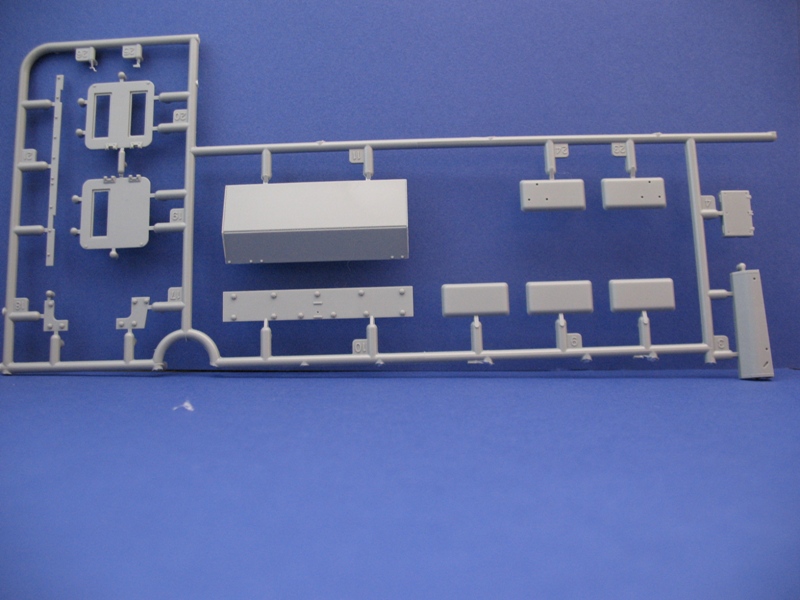
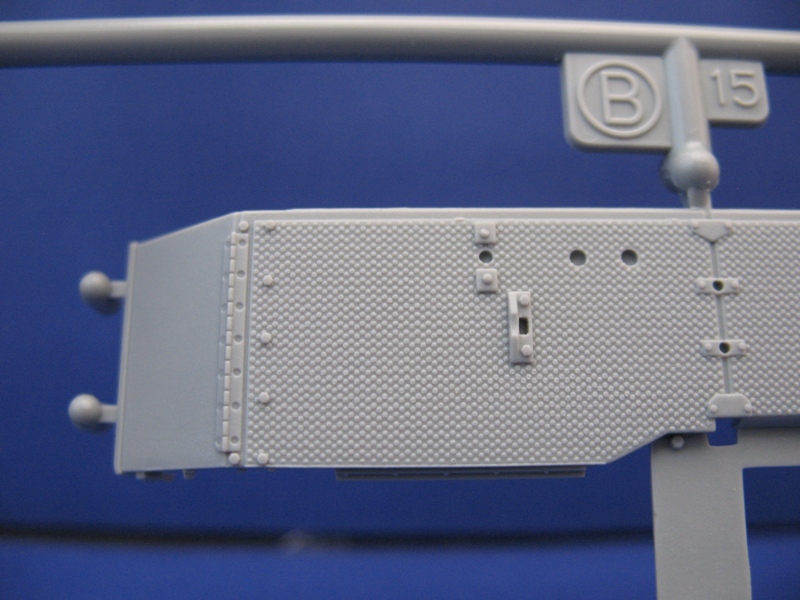
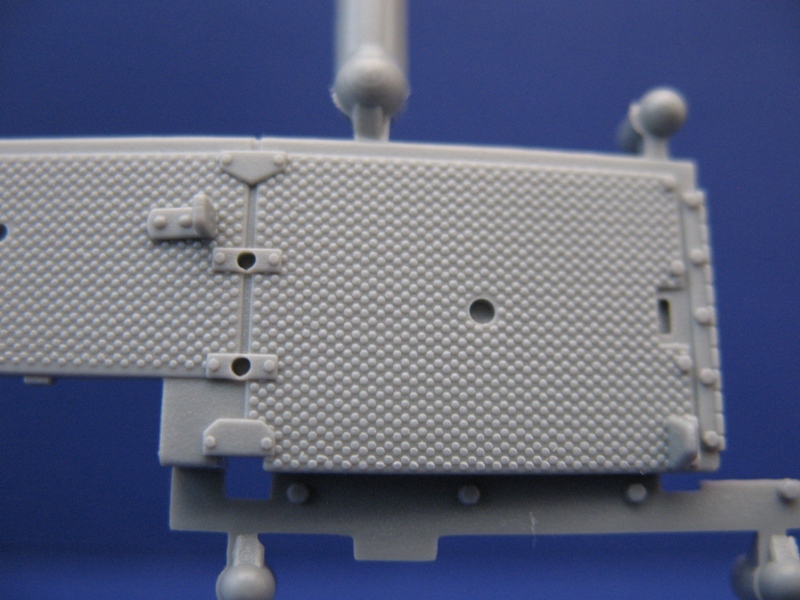
Track Guards:
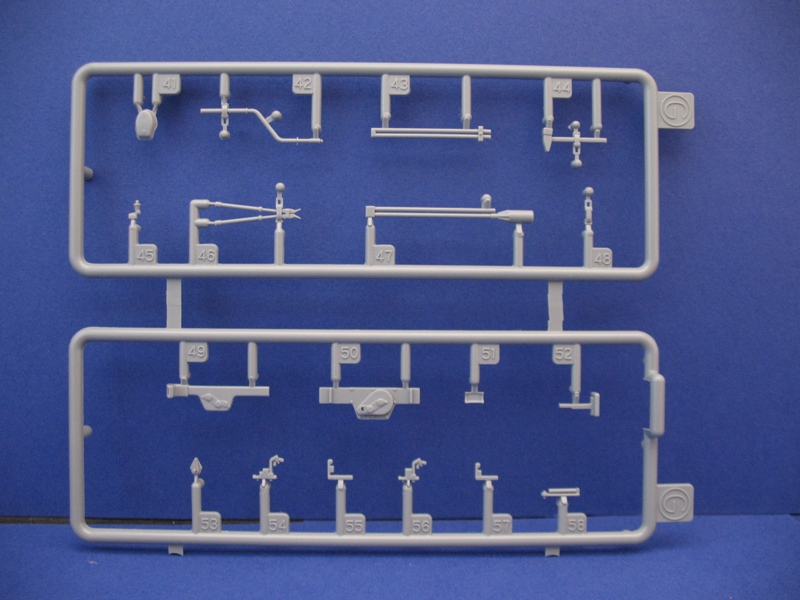
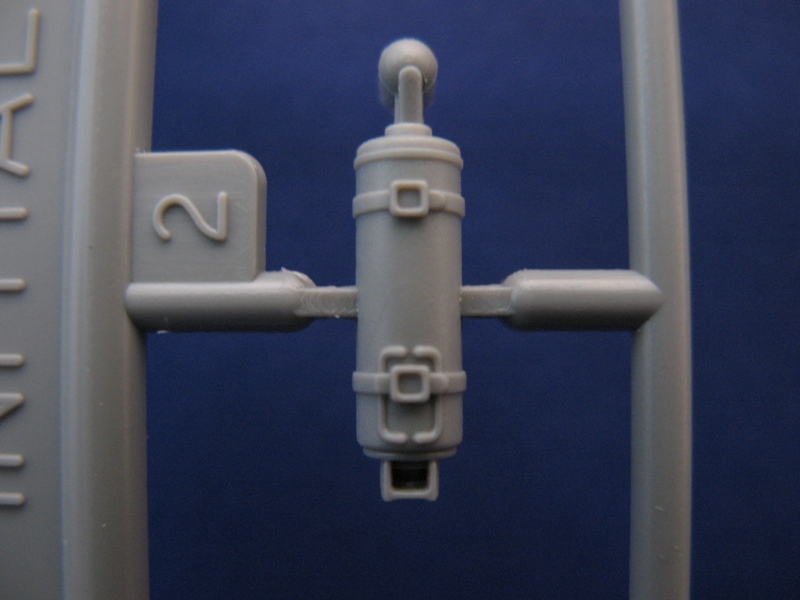
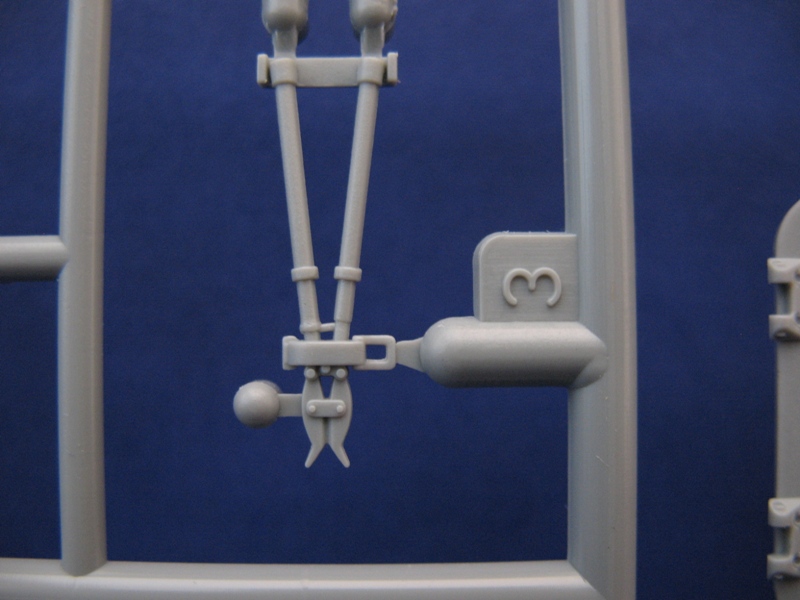
The separate track guards are detailed top and bottom, with the rear mud flaps raised or lowered as an option. The on-vehicle tools have molded on clasps with open handles, although a little thick due to being styrene. Included as newly tooled items for this kit are the correct fire extinguisher, crowbar and jack block, and placement of the all the parts on the track guards looks to be accurate. The antenna trough has a fine wood grain pattern which I thought was a nice touch. The jack offers the option of two different foot styles, which I havent confirmed which is correct, or possibly both are?
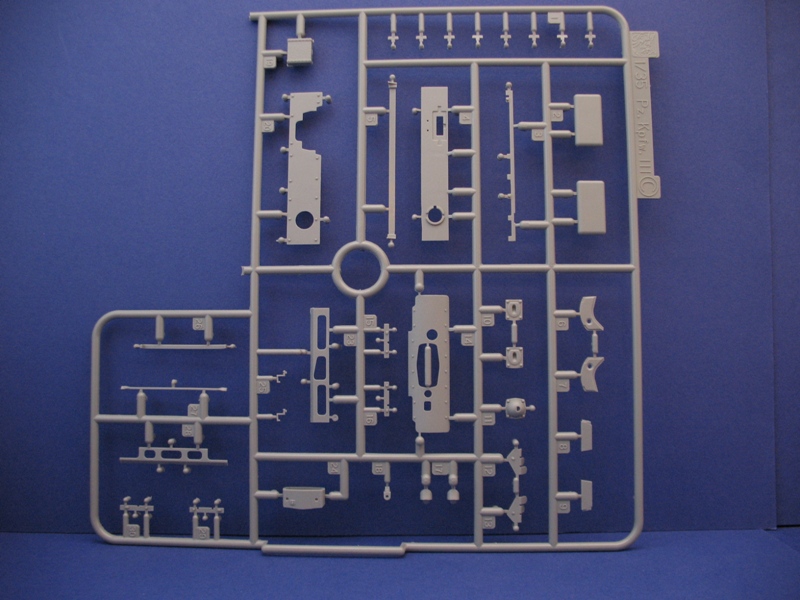
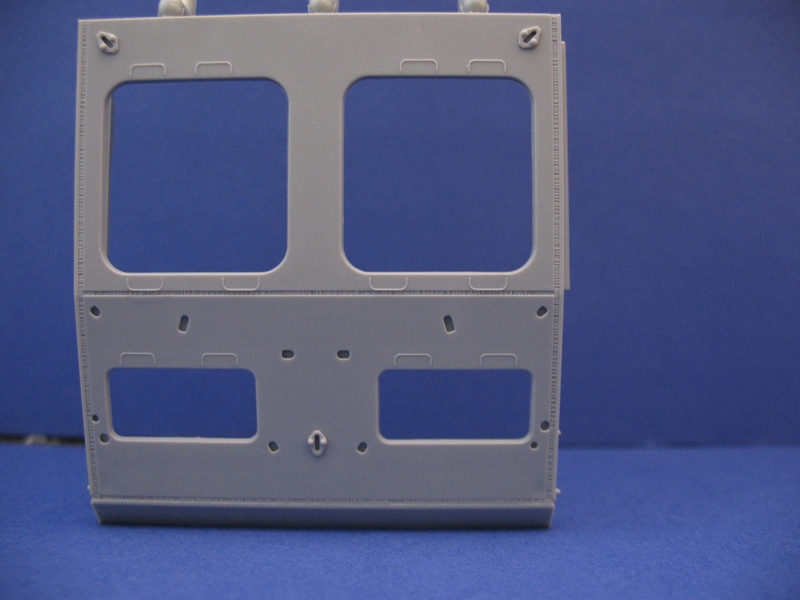
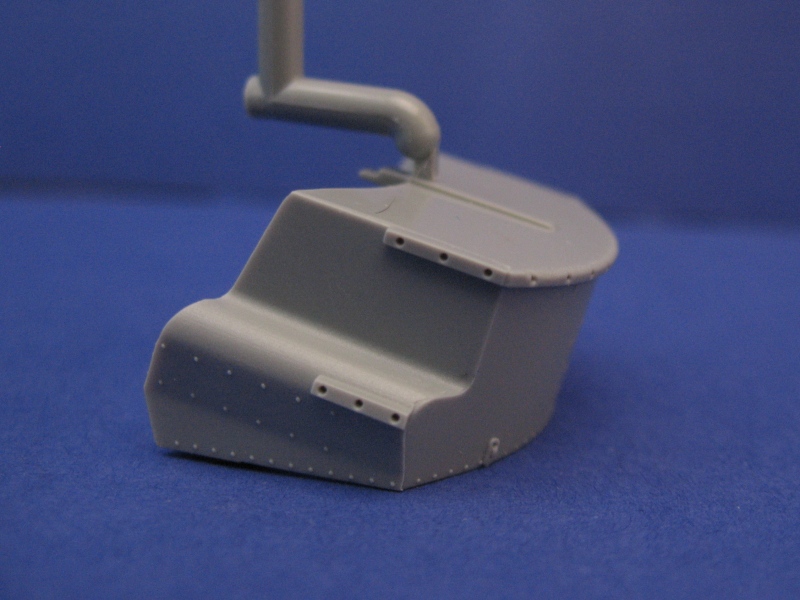
Upper Hull/Superstructure:
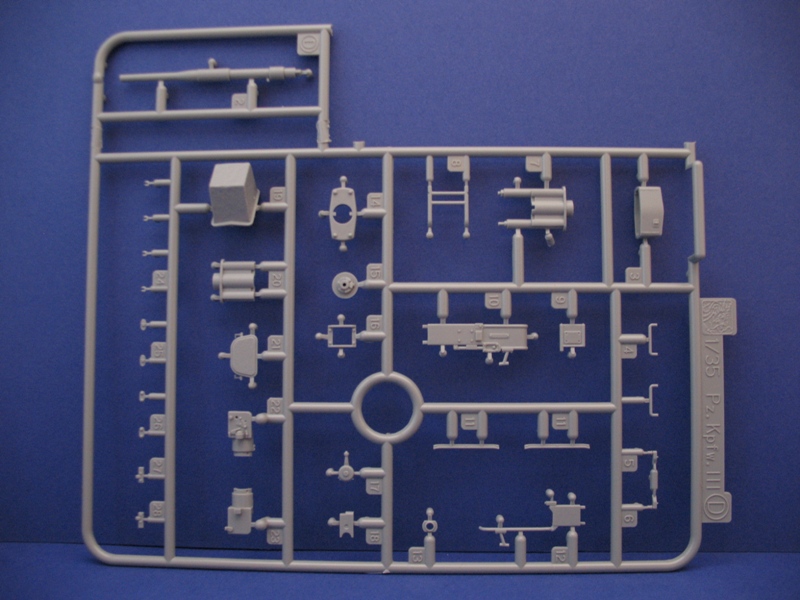
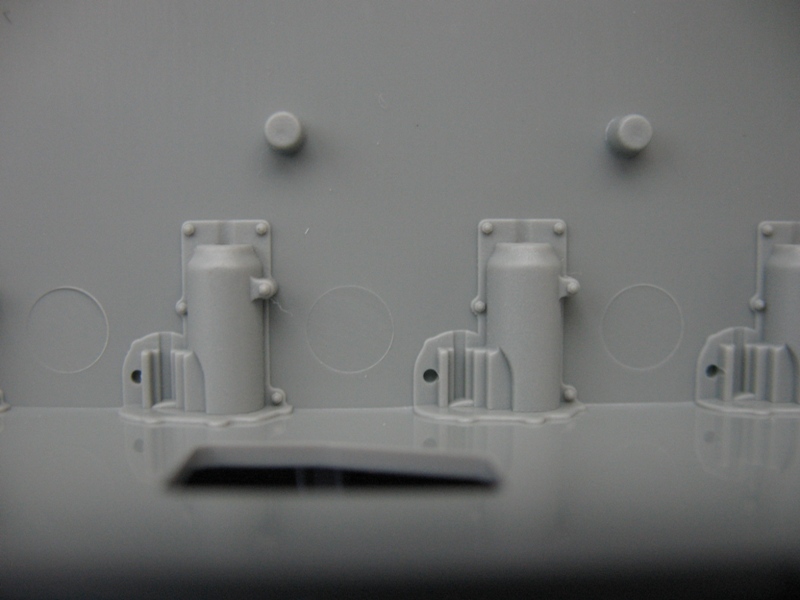
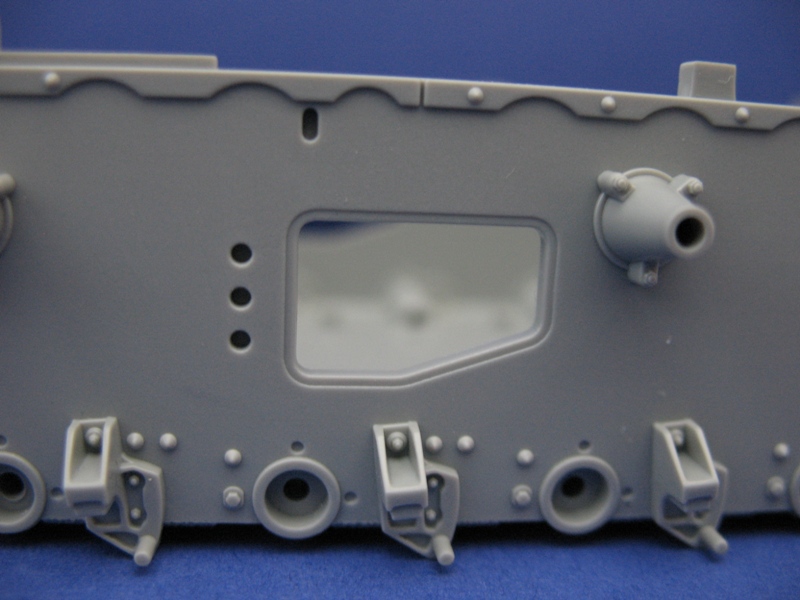
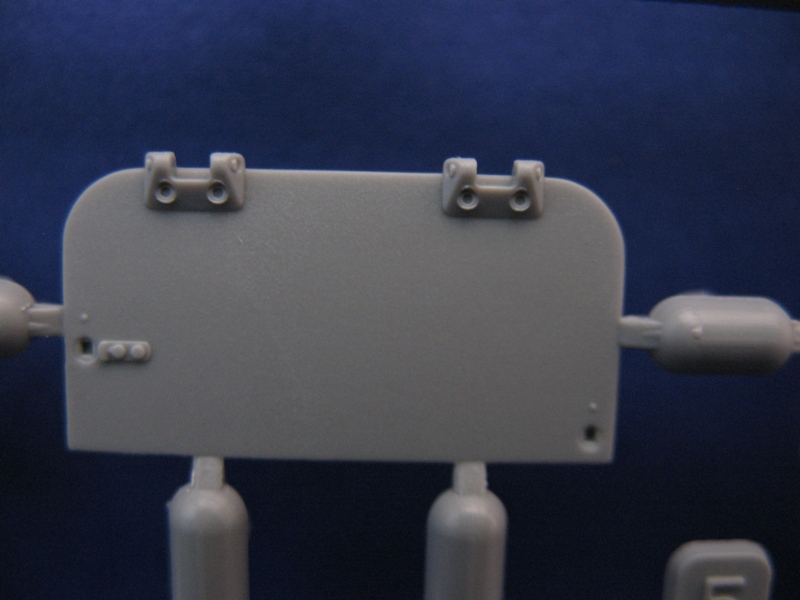
The separate glacis has the armored covers for the cooling vents. The access hatches have interior details molded on for the option of having them opened, and a choice of black out covers or clear lenses are provided for the headlights. Spare track holders are shown to be added here, check references if modeling a certain vehicle as these were used sparingly on the earlier versions.
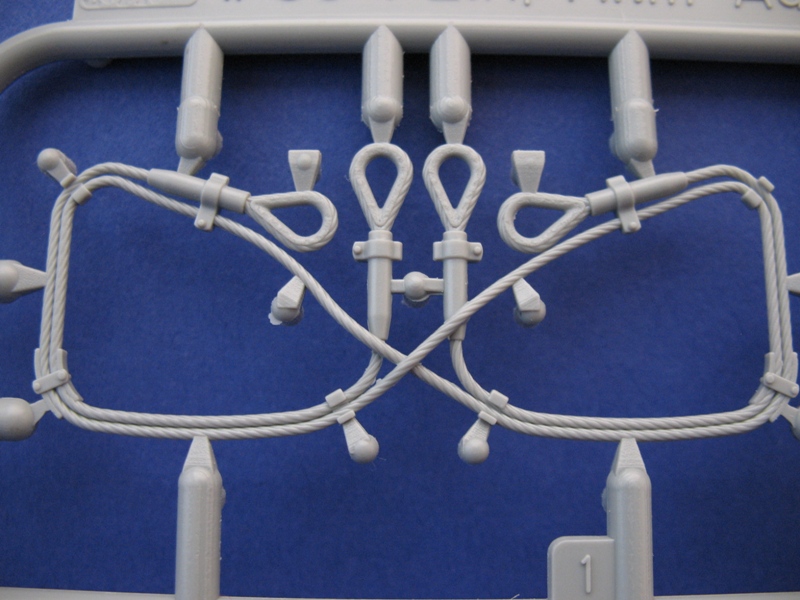
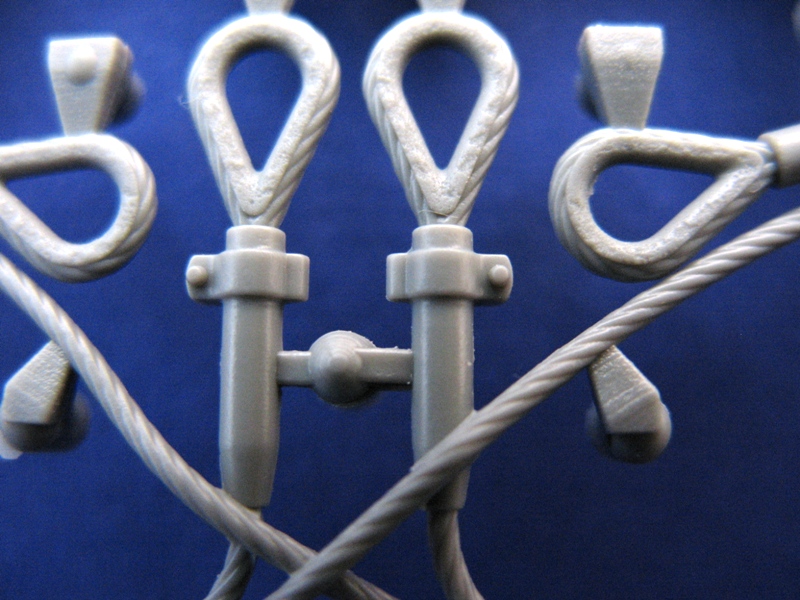
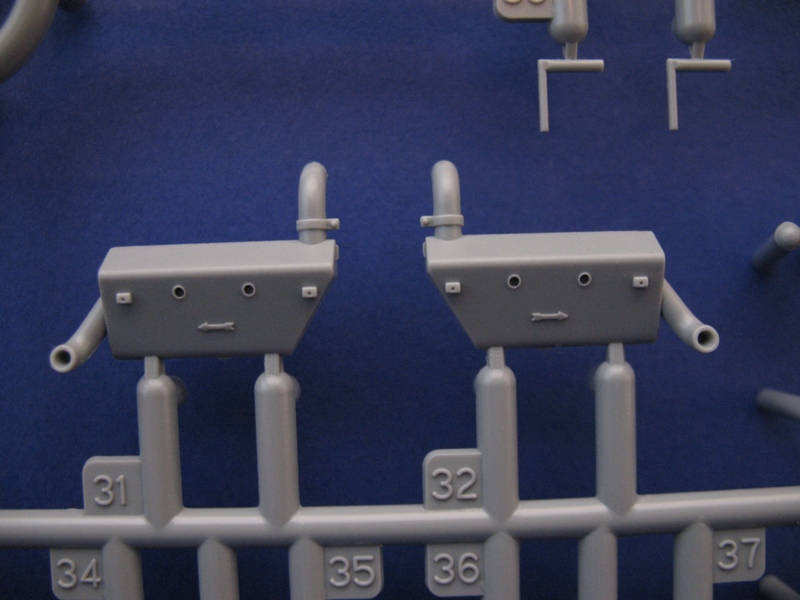
The newly tooled engine deck scales out very accurately and has the proper configuration of the hatches. The intake screens, like the exhaust screens in the rear, are provided in PE and add a nice touch to this area. The tow cables are molded as one piece in styrene, with a couple of sprue attachments on the cable area which may prove difficult to clean up properly. Mounts are also included to depict showing no cables installed, or to use other cables of your choice.
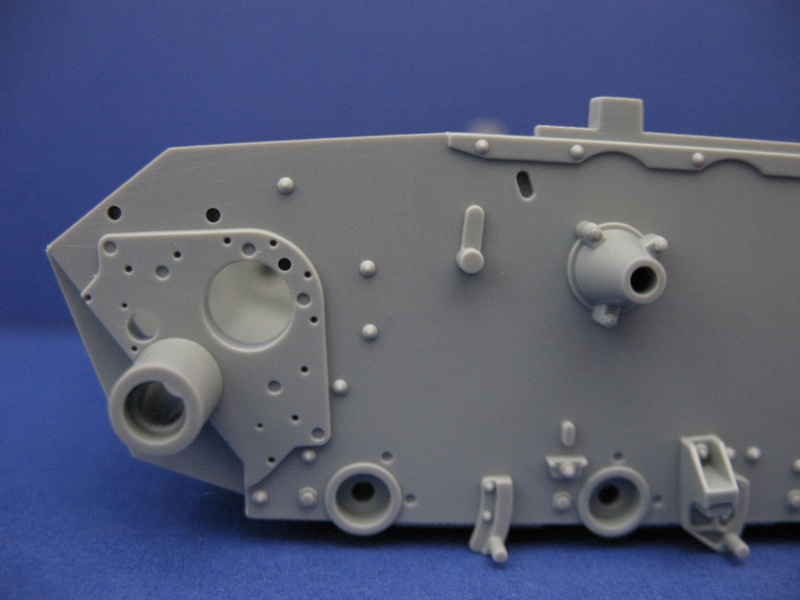
Clear parts are included for the visors, which can be modeled in the open or closed positions. Two armored covers are included for the kugelblende, one being plain and the other having a ring around it that a dust cover attached to. The plain style was most likely more common for this initial version of the Ausf. J. The MG 34 is well detailed in and out, and has the barrel pre-drilled. The antenna mounts to the right side and can be shown in the raised or lowered position.
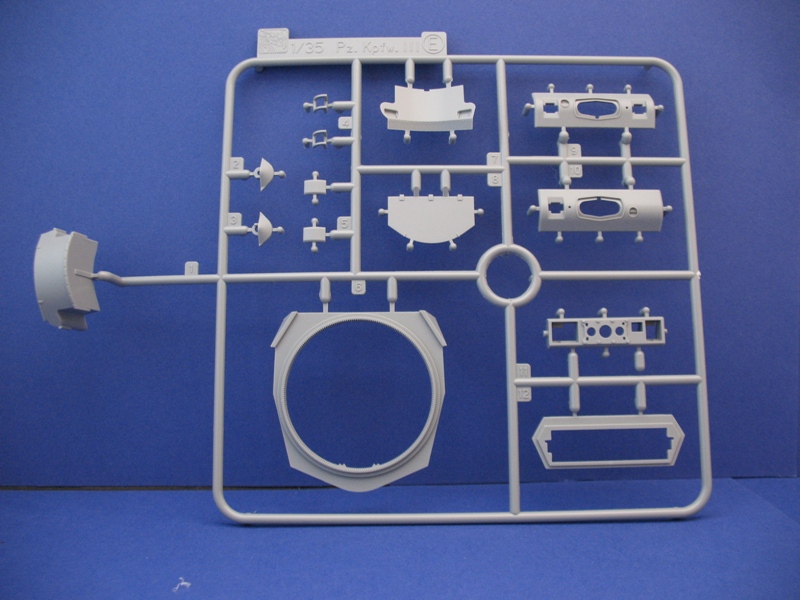
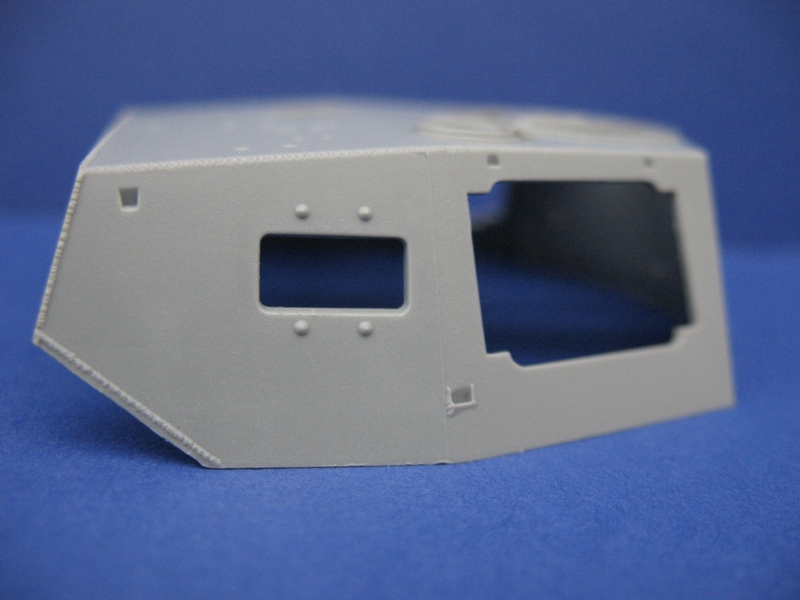
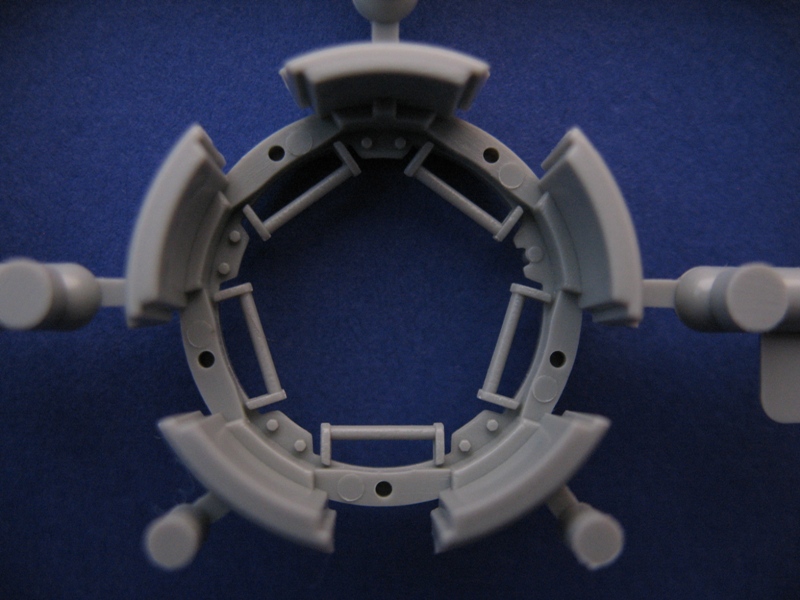
Turret:
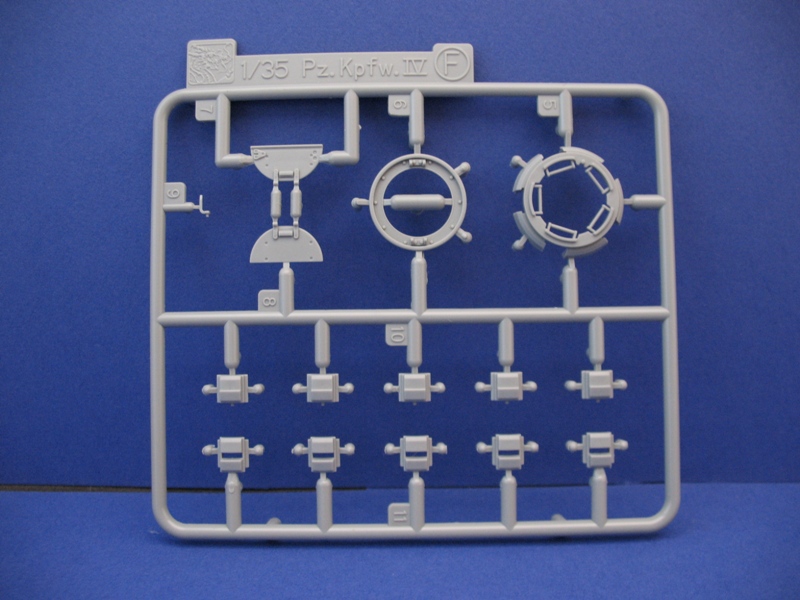
The turret is another work of art, crisply molded showing nice welds and many fine details. Separate deflectors are provided as an option for the side visors. The visors and hatches all show interior details and can be positioned opened or closed, with the hatches having very nice hinge detail. A ventilation fan along with its cover is included, as well as a signal port cover that can be left open. Two piece lifting hooks add to the details. The cupola is from a previous Pz. IV kit, and features open or closed vision ports along with hatches with padding on the interior side.
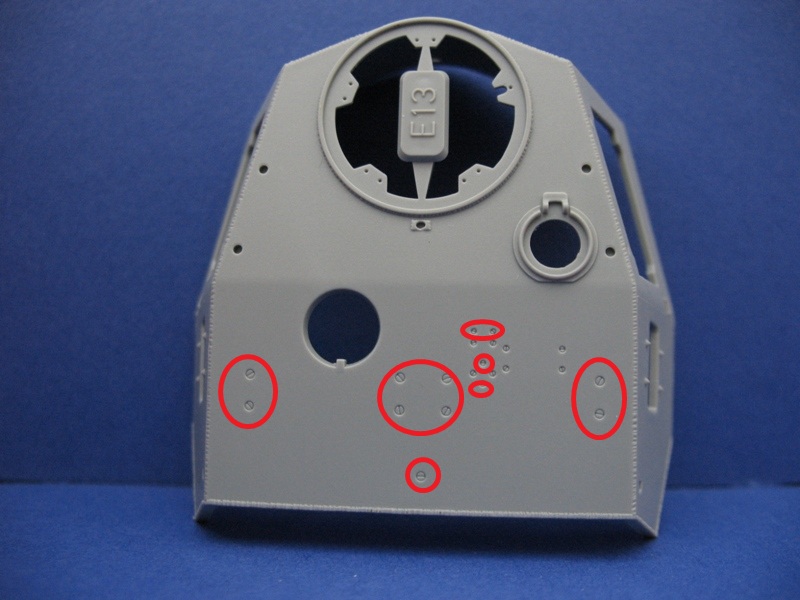
The top of the turret has nice screw and bolt details, although I believe that some were used only for mounting the counterbalance of the heavier L/60 gun and its newer sight mechanism, which I circled in the accompanying image. These should be very easy to take care of with a bit of filler, if so desired.
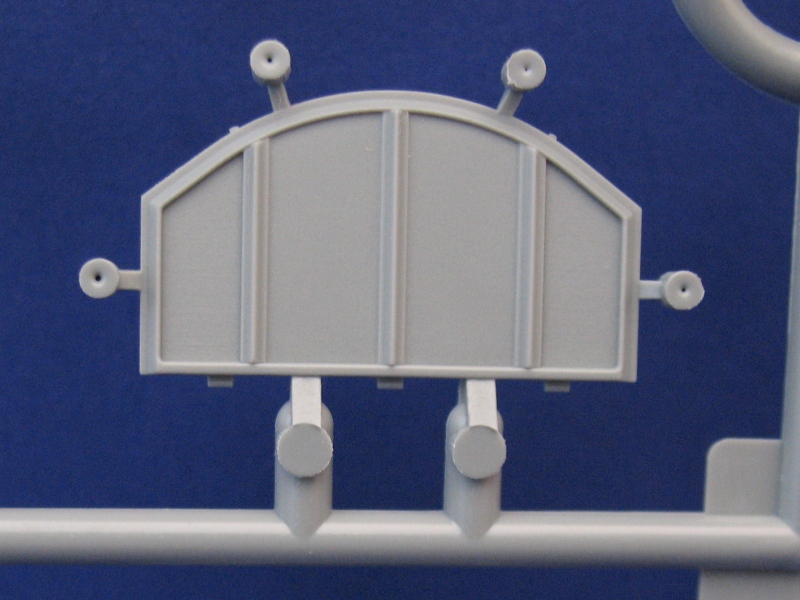
The baggage bin at the rear of the turret is accurately shaped and is detailed inside in the event you would like to show it opened. There are a few ejector marks on the interior which will need to be dealt with or covered with equipment. The wood strips are molded on to the bin, which were added to prevent shorting out the antenna, and the instructions offer as an option to remove these.
A pre-drilled coaxial MG 34 in its sleeve is included, with the option of using just a separately provided armored sleeve to show the gun removed or for using an aftermarket barrel. The 5cm L/40 main gun includes a full breech assembly with a slide molded barrel with rifling and separate sleeve. The mantlet scales out well to plans and has the two ports, which is correct for this version.
conclusion
Overall, this is an impressive kit in the box, and one Im anxious to start building. Living up to the Smart Kit designation, PE is kept to a reasonable level, and many finer details are molded on. The kit scales out very accurately all around, and the newly tooled parts, options and corrections provide the opportunity for the modeler to produce an exquisite rendition of the Pz.III Ausf. J Initial. The only item I would have liked to have seen included would be the shorter shocks, to allow for more specific vehicles to be modeled.
The extra parts in this kit more than hint at an upcoming Tropen version, which will be a welcome addition to this growing family of vehicles by DML. Highly recommend.
References:
Panzer Tracts 3-3, Panzerkampfwagen III Ausf.J, L, M, and N by Thomas Jentz and Hilary Doyle
Hitlers Panzers by Ian Baxter
German Early War AFVs by George Bradford
Panzers at War by Michael and Gladys Green
Standard Catalog of German Military Vehicles by David Doyle
SUMMARY
Highs: Excellent rendition, high quality molding, very accurate while having a 'simplified' build design.Lows: No shorter shocks included, some bolt patterns on turret may be incorrect.Verdict: Stunning kit in the box, accurate and molded very well. I have no doubt this will be a very enjoyable build. Highly recommend.
Our Thanks to Dragon Models! This item was provided by them for the purpose of having it reviewed on this KitMaker Network site. If you would like your kit, book, or product reviewed, please contact us.
About James Bella (c5flies) FROM: CALIFORNIA, UNITED STATES
My main interest is 1/35 scale WWII armor, Axis and Allied, and will occasionally branch out into other areas. The builds I have done so far have been pretty much OOB, and considering what most newer kits include, that is usually more than enough for me. Even though my projects do not always end up ...
Thanks Bill...although after reading the Introduction, which I usually write last, I'm making a note to myself to not write reviews at 2am
Thanks Rudi, I quickly mentioned paint/marking schemes in the review....
"Three marking options are provided for, all painted in panzer gray, and include two in Russia 1941 with the 2nd Panzer Division and one on the Eastern Front 1941 with the 11th Panzer Division."
...and hope to go over these a bit more in the build....which will begin very shortly
Thanks for the review James. Are you working on this yet?
As PzKwG III fan and owner of several older Dragon kits of this tank, I'd like to know how well this one goes together.
I did start a build of this Here, Erik....and am further along but need to update. The fit of the kits' parts is exceptional, although my build methods leave a bit to be desired
One thing I did notice during the build, and it's very minor, is the crispness of the molds is not as sharp as some of DML's newer releases in regards to a slight amount of flash....nothing to fret about though
My not as LHS had this kit and the wirlbewind new in stock, both for about $38. SWMBO would shoot me if I got either one right now but I have them in mind. I'd like to see how this turns out.


Comments