The Bedford QL series provided the chassis for many types of vehicles during WWII. It could be said it was the main medium truck of the British and Commonwealth Forces during that time, the QLD being used at all levels from the RASC down to Battalion and Platoon level.
The QLR (Radio) was designed for a variety of purposes with 8 different body types. This kit represents a QLR House Type Body No 3 and about 1,060 QLRs were supplied in 1943 with W/T Command, Signals Office and W/T Bodies, built by Spurlings, Mann Egerton and Muilliners. The vehicle had a16ft body and was mounted on a modified chassis which embodied an extension similar to the QLT.
This is an older Resicast kit having been around for about 10 years. However, it lacks none of the detail of the more recent full resin kits and conversion sets. This will be both a fun and challenging kit to build.
First look at the parts shows yet another high quality kit, there is a standard produced at Resicast that is simply hard to beat.
The Kit
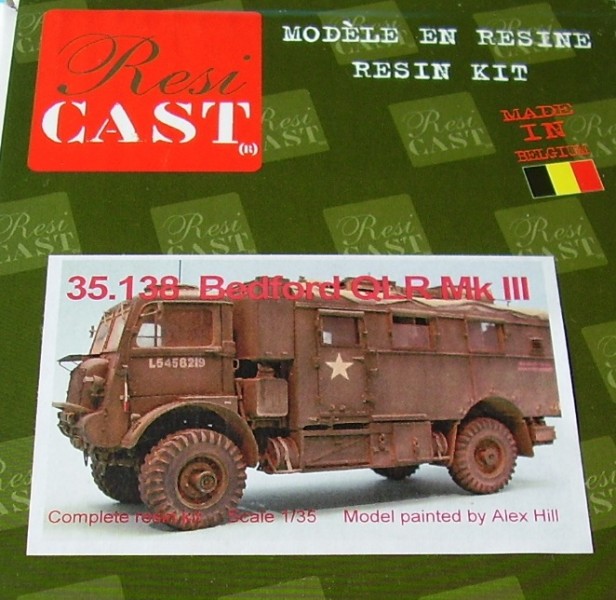
The kit comes packed in a hard cardboard box typical of the quality packing and layout out of the company products. On the front is a picture of the completed QLR painted by Alex Hill, with the manufacturers details and logo.
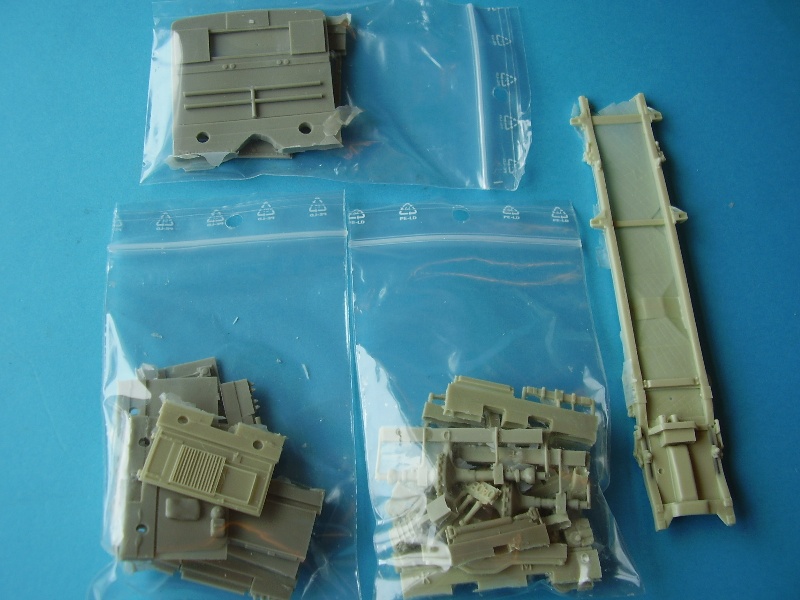
Inside, packed in layers of bubble wrap, are the kit parts. A quick shake of the box gave a reassuring silence. The box contains 10 zip bags of individual parts, the cast hollow house body, house body floor, cab, cab floor and chassis along with 2 Frets of PE and some plastic rod you will need for the build, together with a sheet of glass for the windows.
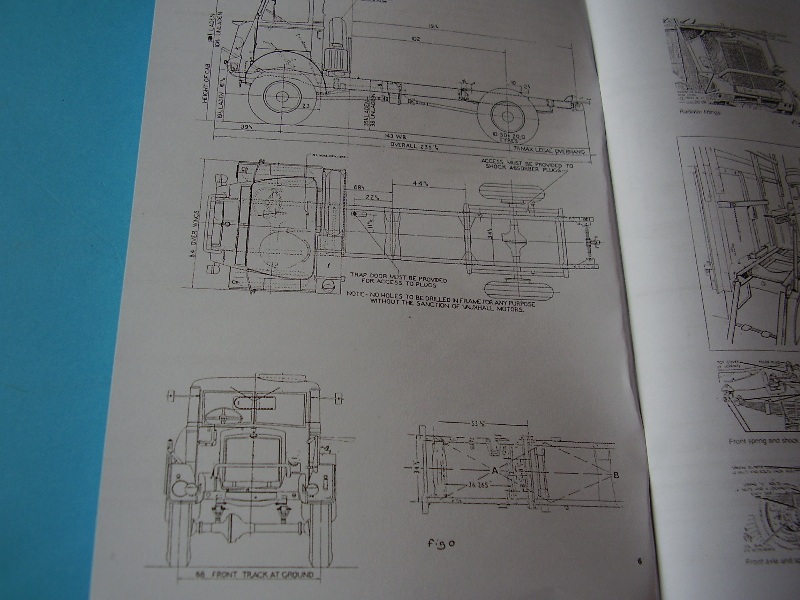
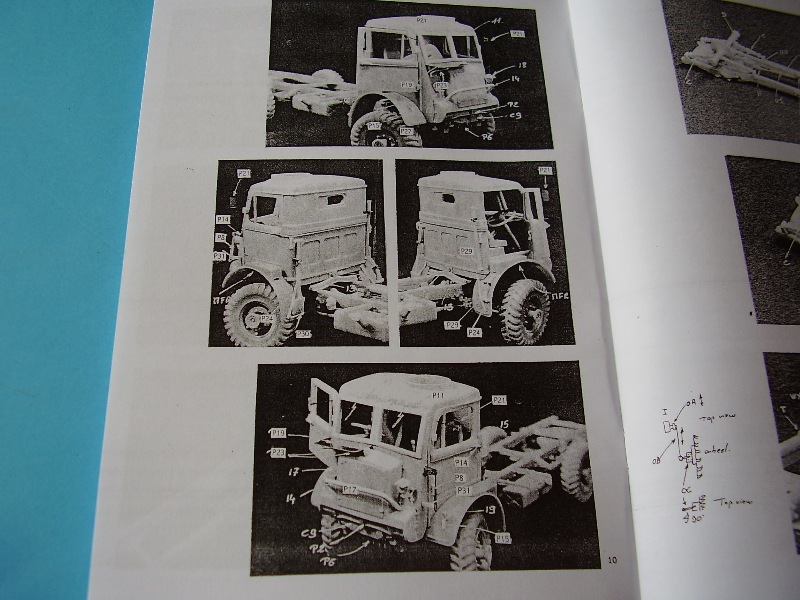
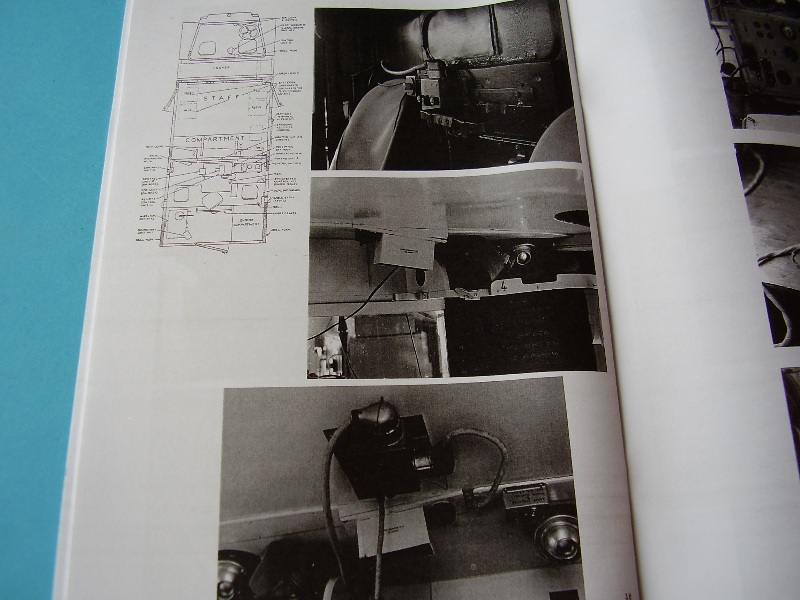
Along with all these lovely detailed parts is a 24 page instruction booklet. Being an older kit, the booklet is still in the old style. Pages 1 and 2 outline the kit parts, pages 3, 4 and 5 covers the build sequence whilst 6, 7 and 8 have detailed diagrams of the various parts for the vehicle. Pages 9 through 14 have photocopy style pictures of the build sequence with the placement of parts marked on the pictures. Pages 15, 16 and 17 have photocopy pictures of various parts of the cab, chassis and house body. On pages 18, 19, 20 and 21 there are similar pictures of the actual interior layout of the house body, while pages 22 to 24 have pictures of the actual exterior vehicle layout. The instructions are not of the quality currently being produced by Resicast, but with careful study of both the instructions and some reference pictures should provide a sound guide to build the kit successfully.
The parts can be broken down in to 6 main areas:
▪ Bedford QL Parts.
▪ Bedford QLR Specific Parts.
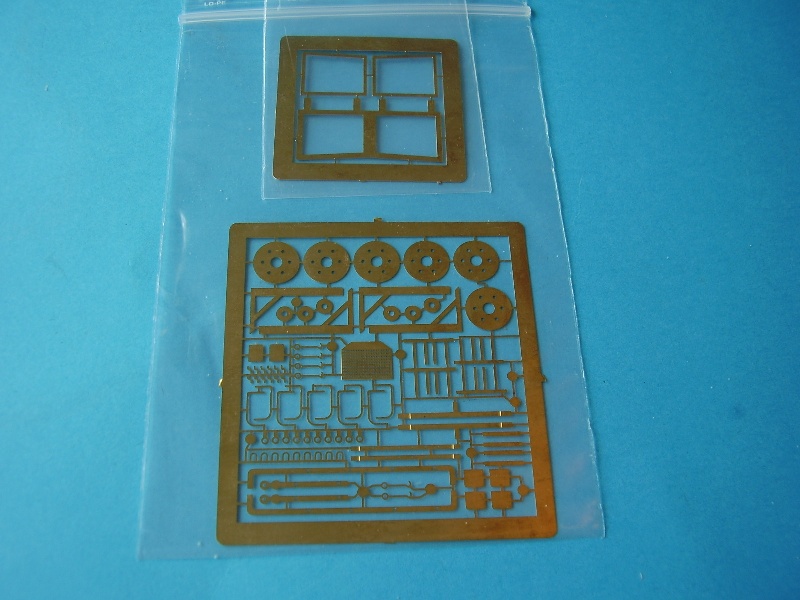
▪ Bedford QL Photo-etched Parts (1).
▪ Bedford QL Window screen Photo-etched Parts (2).
▪ Bedford QLR Specific Photo-etched Parts (3).
▪ Various Parts.
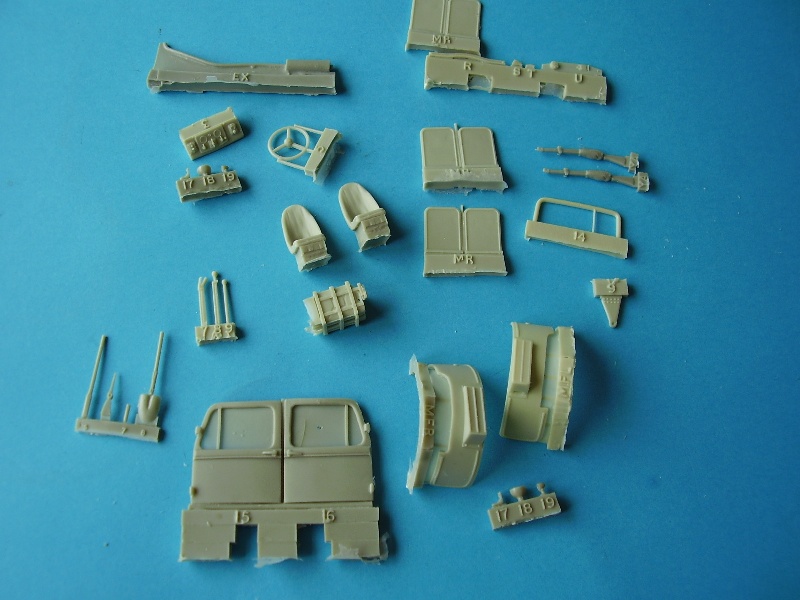
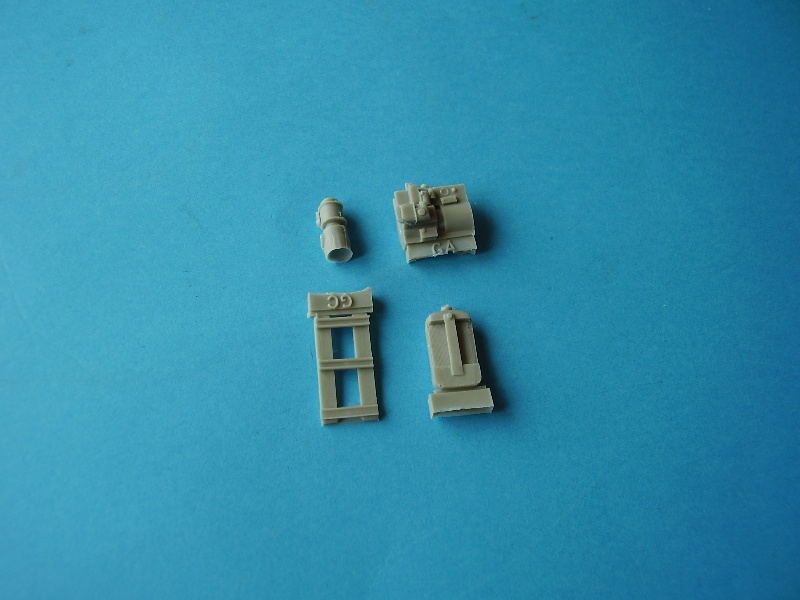
Bedford QL Parts:
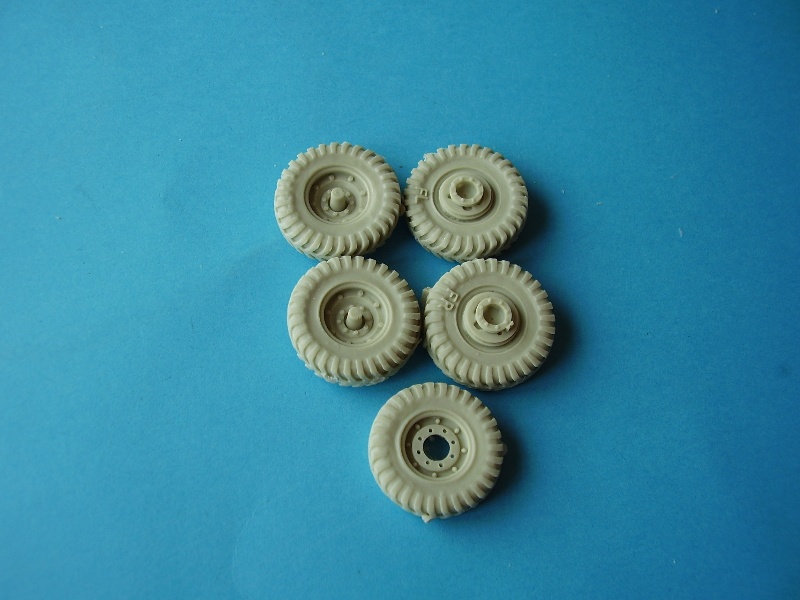
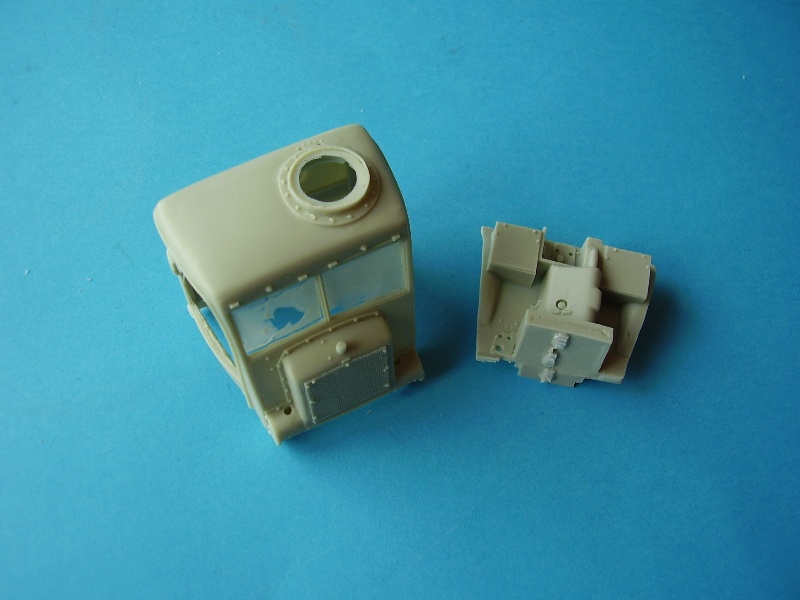
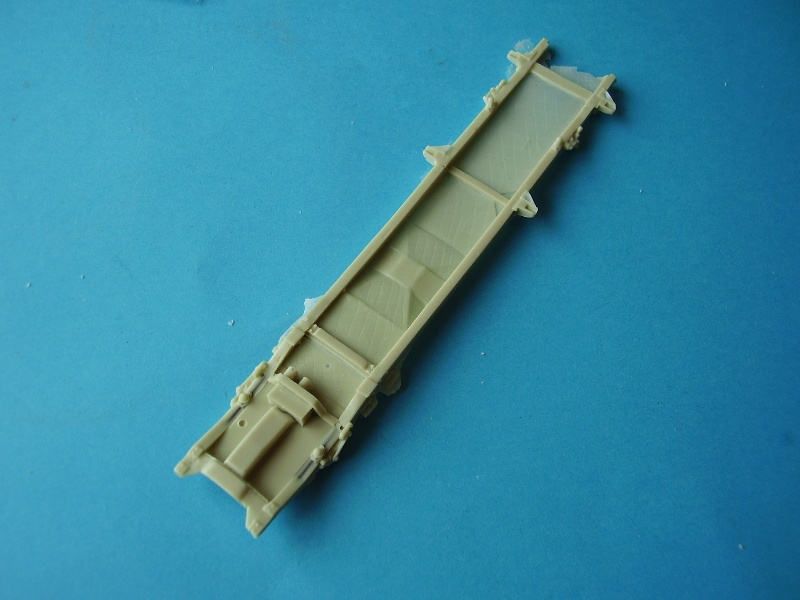
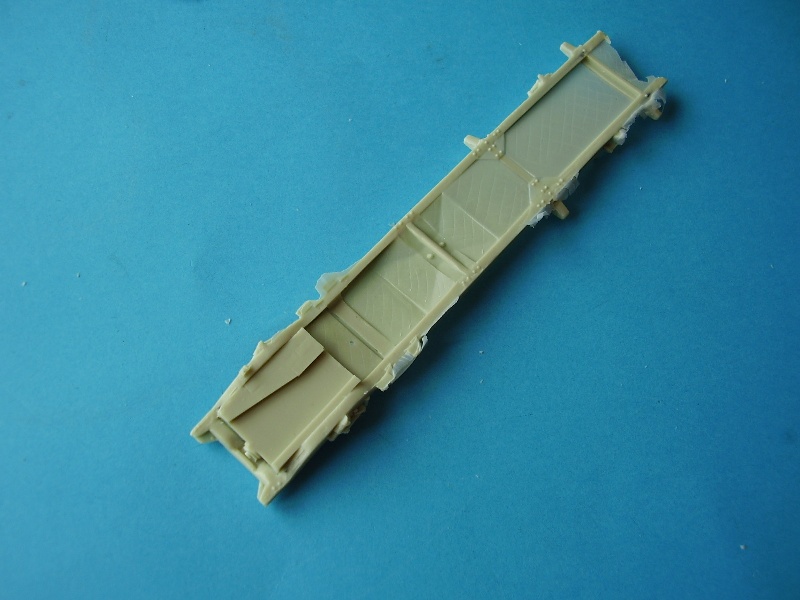
These are the resin parts needed to build the cab and chassis. With well over 60 parts here it would not be possible to comment on each part, but having looked closely I could find no fault with any of these parts and the level of detail is exactly what we have come to expect from Resicast kits. Detail and casting is excellent and careful building should produce a quality cab and chassis.
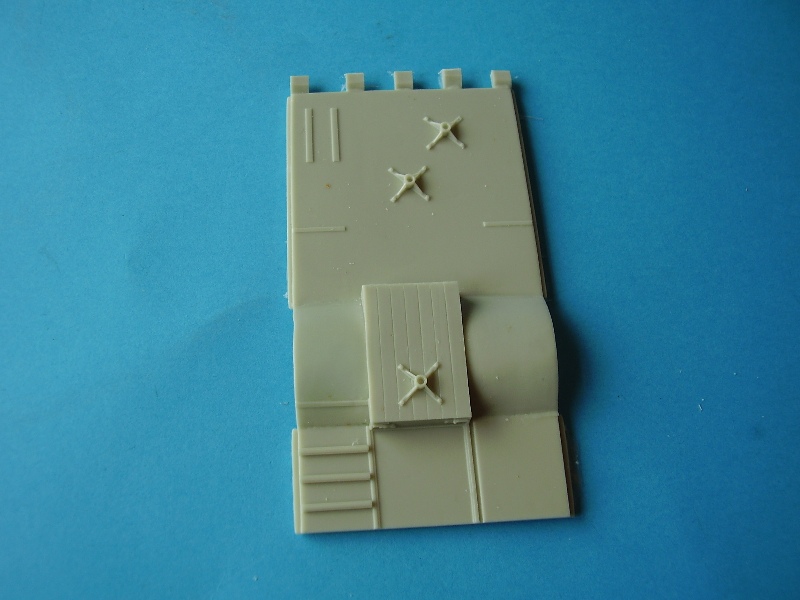
Bedford QLR Specific Parts:
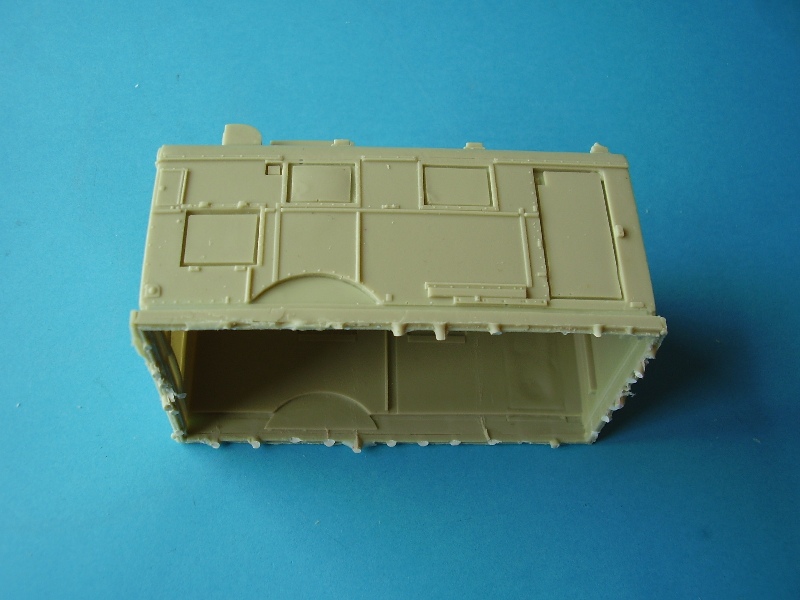
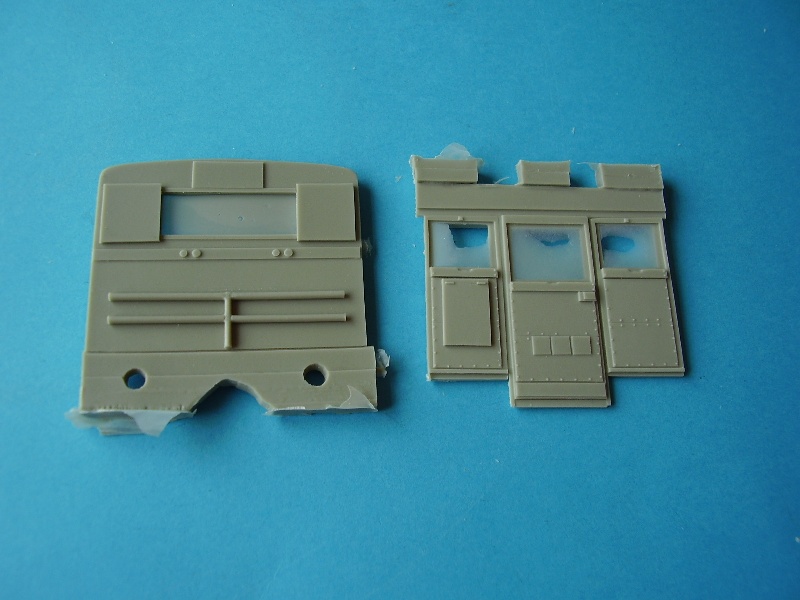
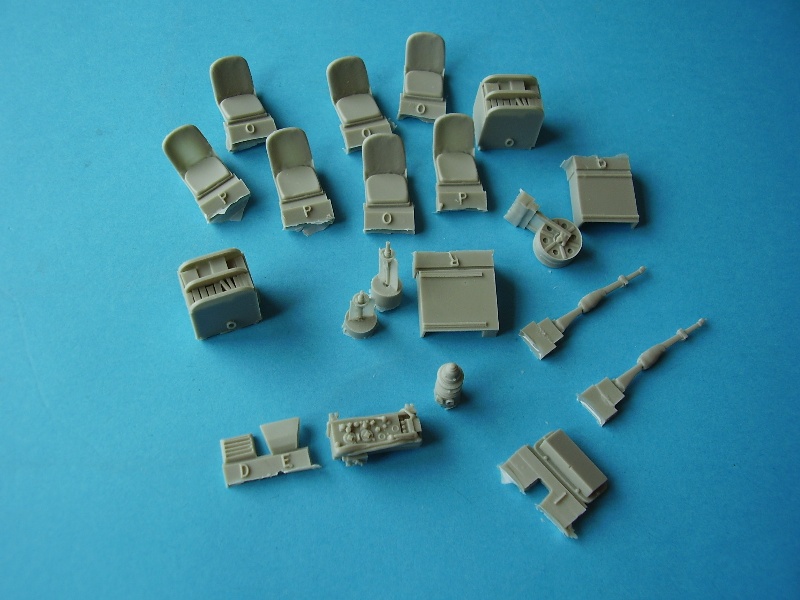
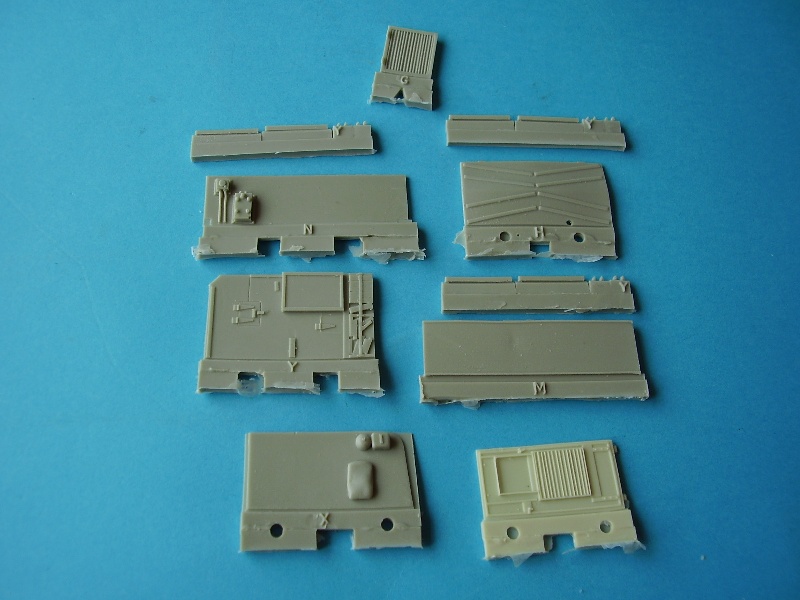
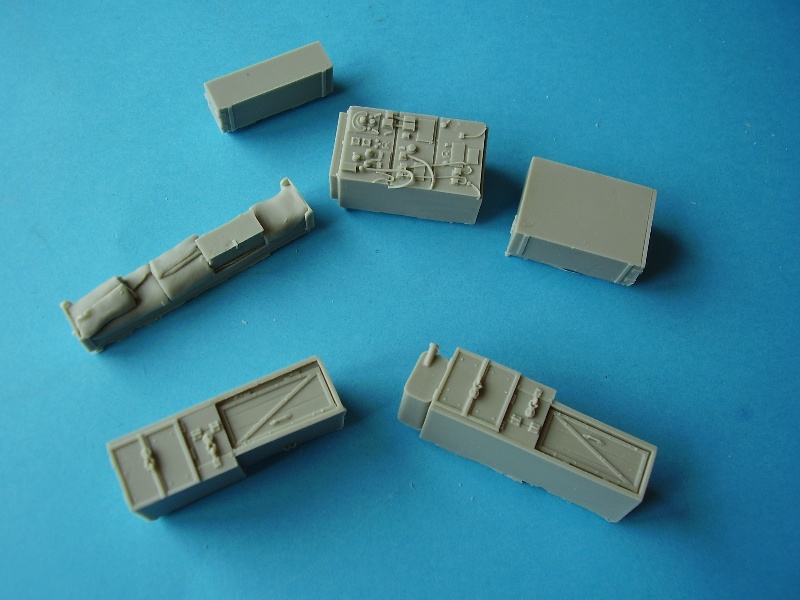
These are the resin parts needed to build the QLR House Body, again the level of detail is outstanding with everything you need to complete the interior of the truck provided. Again over 60 parts it would not be possible to cover them all but some comments on the main ones.
The house body is very nicely cast with detail inside and out. The windows, doors and lower surround have quite thick fillers to prevent the cab warping and these will need careful removal and clean up. The house body floor has good detail on both sides, with raised wheel arches. Doors, radios, radio tables and officers table, chairs, generator, cable reel, rifles, ventilator cover, roof antenna and a host of other small parts go to make up what should be a very detailed interior from the reference pictures I have seen. There will be a fair amount of clean up required to remove all the pour plugs, but the finished result should, I hope, be worth the effort.
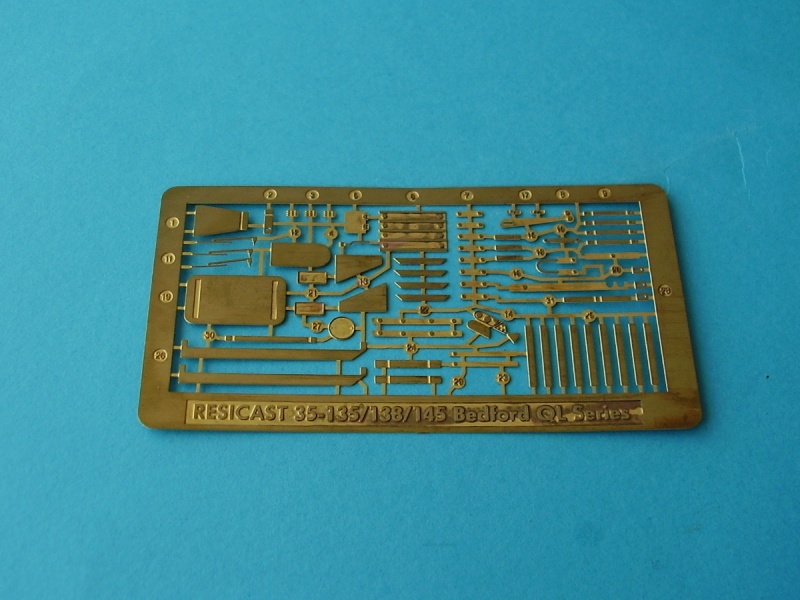
Bedford QL Photo-etched Parts (1):
These include the transfer case bracket, starter plate, pedals, oil hatch, carter protection plate, indicator, handles, dash board side panels, indicator support bracket, side light support brackets, Bedford logo, gaz plate, mirrors, body interior reinforcements, front and rear mudguard supports, spare wheel support, bridging plate, rear door bracket, tool support bracket, spade bracket and indicator brackets.
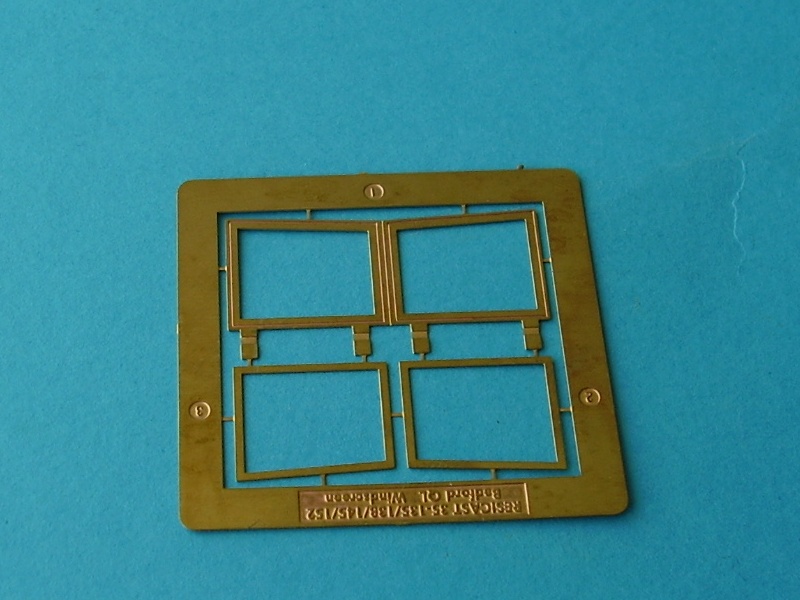
Bedford QL Window Screen Photo-etched Parts (2):
A set of 3 PE parts is included for the cab front and side windows.
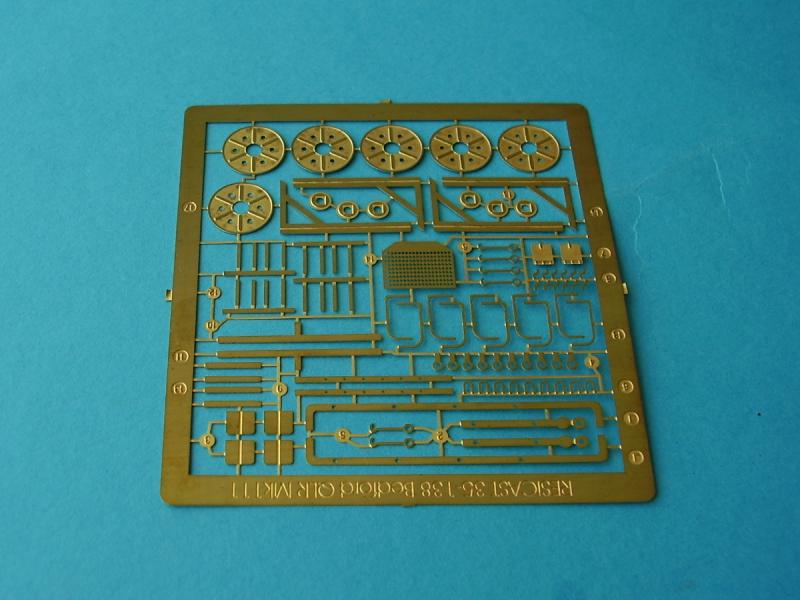
Bedford QLR Photo-etched Parts (3):
A medium sized fret of PE is included to complete the house body and should add an additional level of detail to the build, includes cable reels, rear ladder frame, roof brackets, rear step bracket, cable reel interior, exhaust guards, front bin supports, antenna frame and bracket, tie downs, hatches and other small PE fittings.
Various:
You get a variety of plastic rod to use in the build too plus the window glass.
Conclusion
Im a bit knocked over by the lever of detail and quality of the parts in this vehicle. There is a serious amount of building to do which is excellent. This is not a project to be rushed but one that will give, at least to me, a vast amount of satisfaction and pleasure, when I get it done.
Considering this kit is over 10 years old, the detail is equal to if not better than most modern offerings. Granted the instructions are in the old style and will not perhaps always be clear or easy to follow, but with a little patience and the odd question or two if necessary, this should be a very enjoyable build indeed.
There is ample opportunity for adding your own individual touch and this is a vehicle that would make a fantastic centrepiece for any diorama or as a stand alone vehicle.
No Decals are supplied with the kit so you will have to source those as needed.
References:
Bedford to Berlin and Beyond QL: The Forces Favourite 4 x4 by Robert Coates
SUMMARY
Highs: This looks to be an outstanding kit, with quality casting and amazing levels of detail both internally and externally. A brilliant representation of one of the many QL workhorses of the British and Commonwealth forces.Lows: The older style instructions might give cause for concern but digital cameras, computers and publishing programs werent as common when this one was made and produced.Verdict: This is an amazing kit, and is not a kit for the faint hearted or beginner. Expensive, yes, but you get a lot of quality build for your bucks.
About Alan McNeilly (AlanL) FROM: ENGLAND - EAST ANGLIA, UNITED KINGDOM
Greying slightly, but young at heart. I've been teaching adults off and on for most of my life. Left the services in 85 and first started modelling in about 87 for a few years. Then I had a long spell when I didn't build anything (too busy) and really just got started again during the summer of ...
Hey Al,
Quite the review !!!
I'd like to build more kits like Resicast and Accurate Armour's but their multi media aspect put me off.
You're a braver man than I to take on such a kit, I'll wait for it in plastic !!!
Cheers
jjumbo
Hi John,
Not many kits that aren't multi materials now. There is PE with just about everything, lol, lol.
Just starting my last 2 jeep builds so hope to get the QLR done by Christmas or the New year.
Cheers
Al


Comments