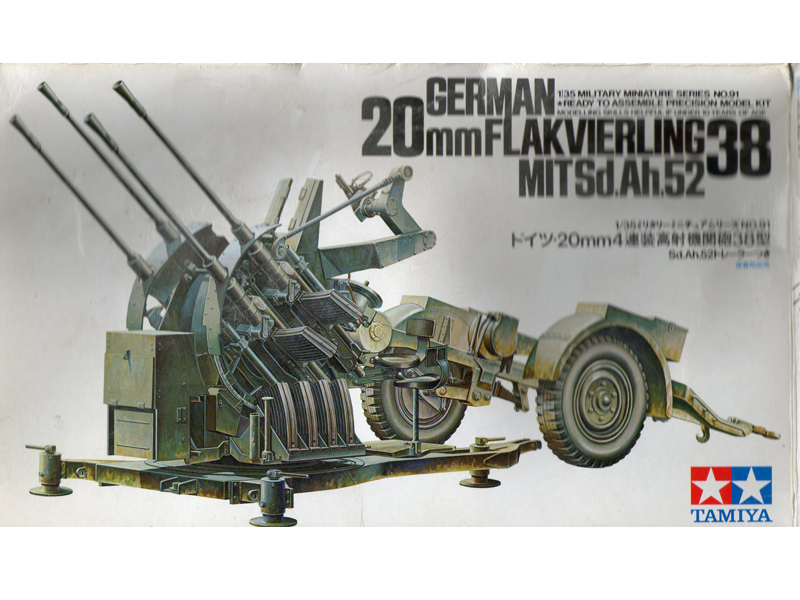
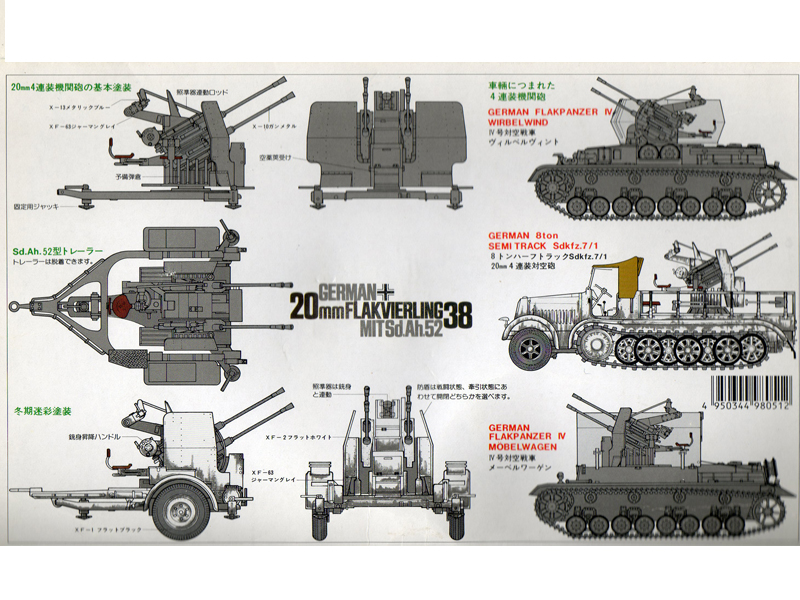
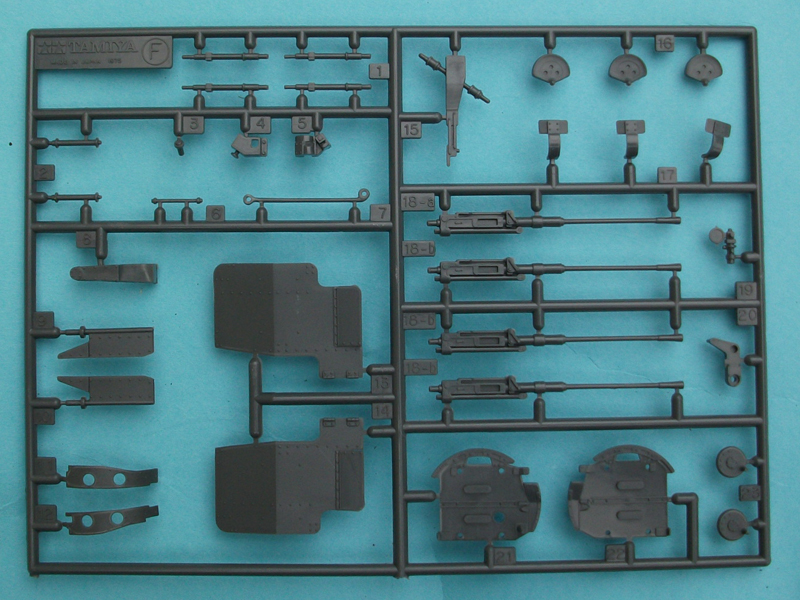
Tamiyas 20mm Flakvierling 38 (1:35) is a simple one-day build. This is a good beginner model which requires some work to get to showroom status. The kit comes with three sprues in grey plastic and one double-sided instruction sheet consisting of nine steps. I will detail all the steps I completed, and summarize the steps I did not complete.
the build
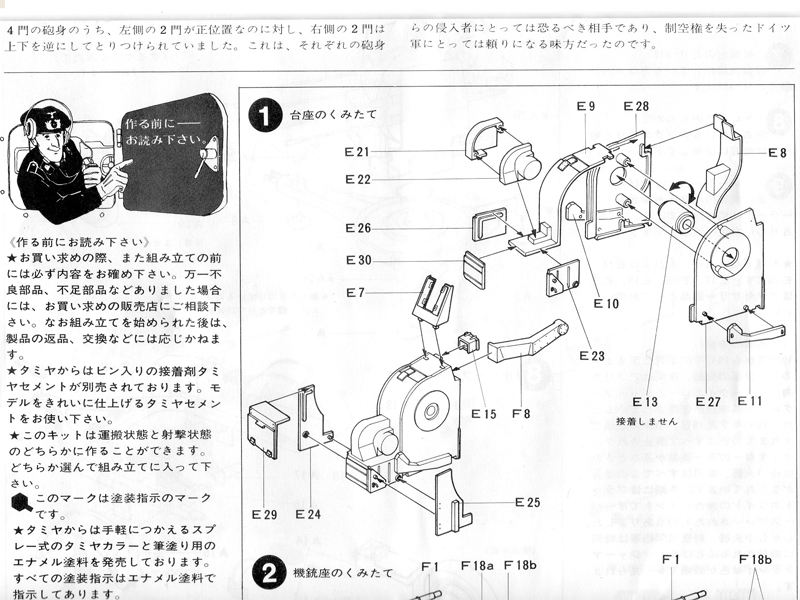
Step One: Assembly of the gun pedestal
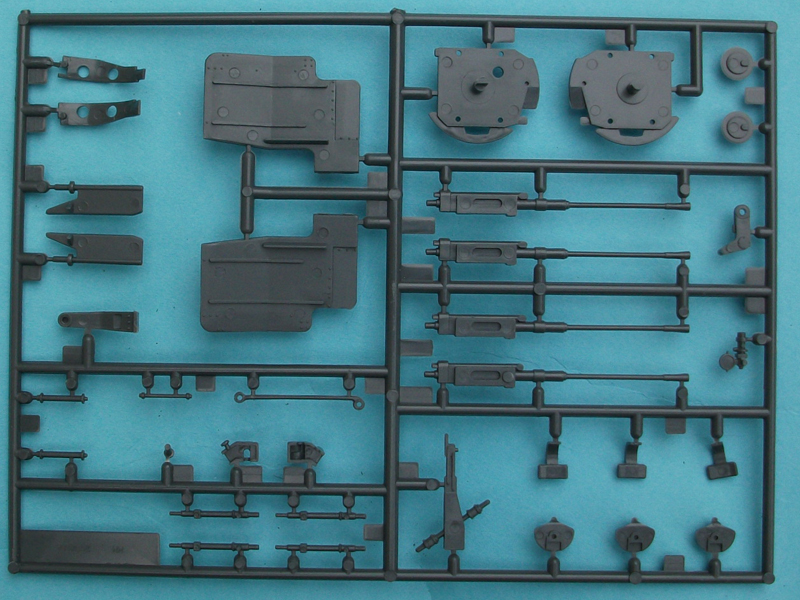
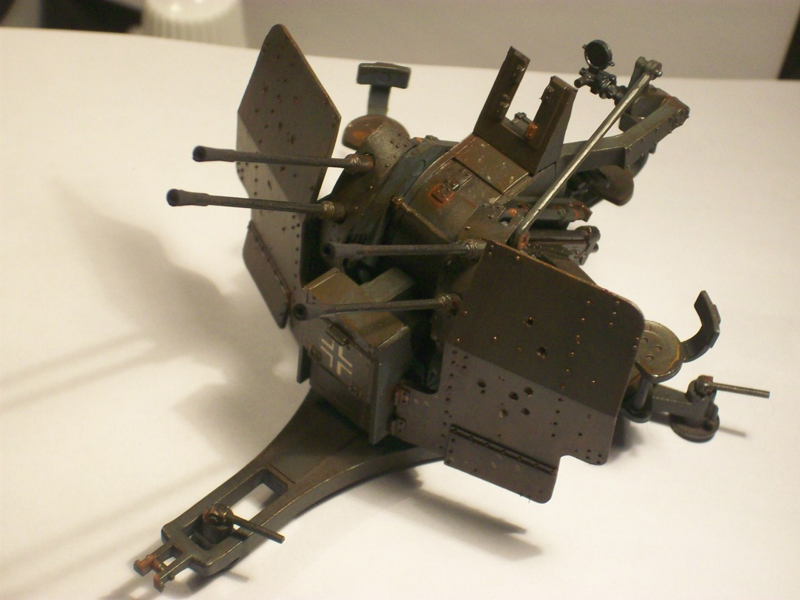
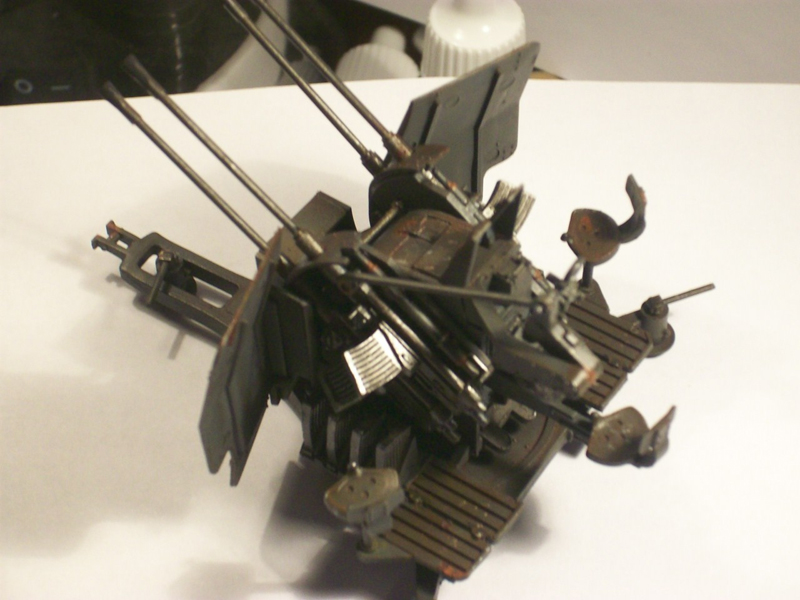
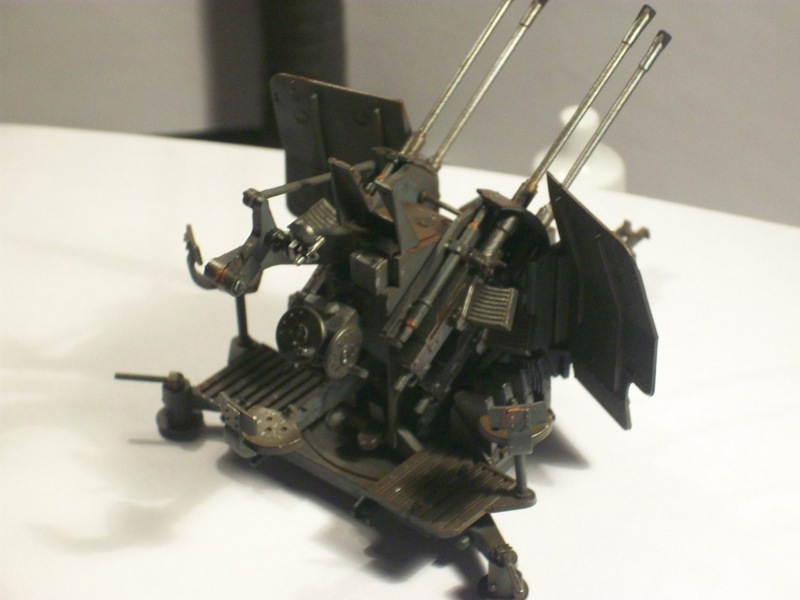
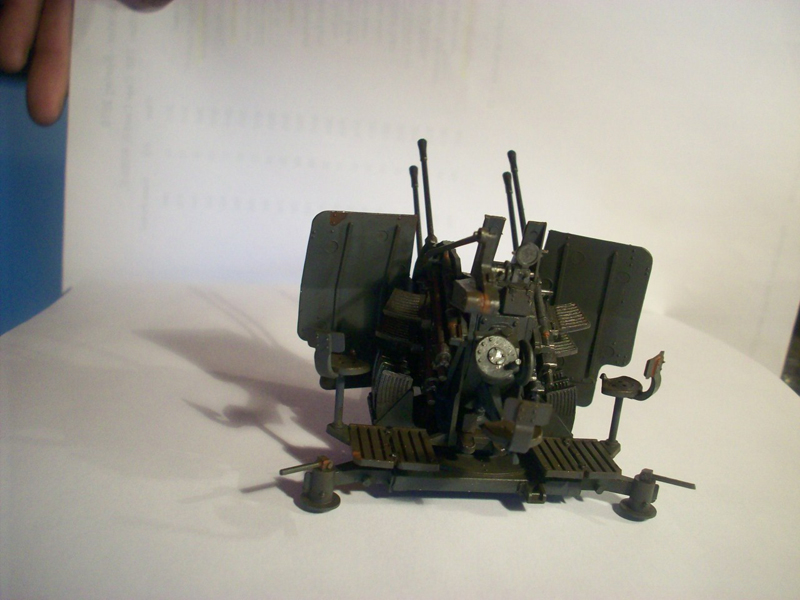
The first step sees the modeler assembling the main pedestal body where the seats, quad 20mm guns, and firing platform attach. This, like most of the kit, is an easy step, the modeler must be sure not to get any glue on the spindle where the gun mounts attach as the guns themselves are moveable (in theory, more on that below).
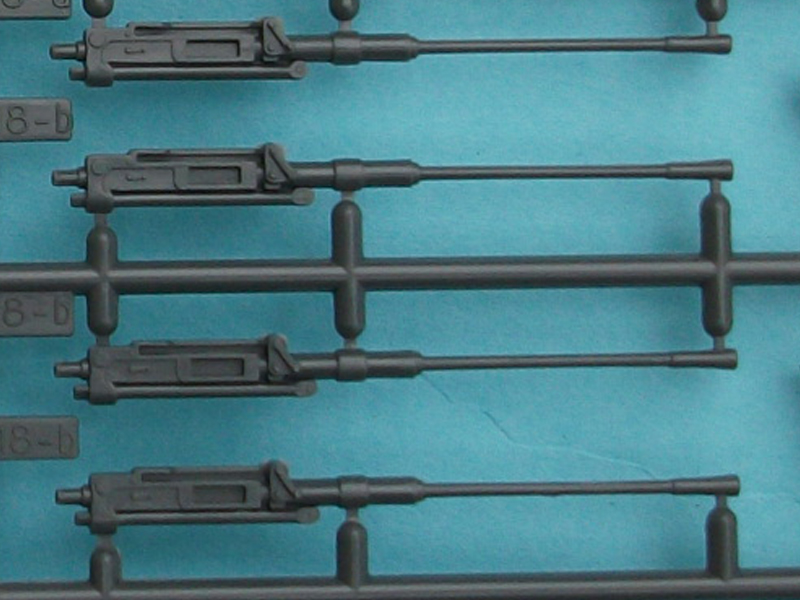
Step Two: M.G. Bases
Assembly of the guns onto their respective mounts. I painted the guns Tamiya X-10 (Gunmetal, as directed) and set them aside to be attached after the mounts were painted.
Step Three: Fixing of Machine Gun Bases
The most difficult and frustrating step in the whole kit. The gun mounts slide into the spindle (the one that was to be left free-spinning) firmly, requiring no gluing to stay put. Gun shields slide over each set of two guns on a side. A swing arm attaches to the pedestal via a small pin; in addition, the swing arm attaches to a rod that in turn attaches to the left gun mount (if looking at the front of the model). The instructions direct you to heat-fix the rod to the swing arm and the gun mount. It also directs you to not cement the pin. If done properly when the guns/mounts are raised and lowered, the swing arm moves with them. The problem is that the pin that fixes the swing arm onto the pedestal is too small to stay in place. After 30 minutes of trying to get the pin to stay I gave up and glued it all into place. I do not know if this is a kit problem overall or a problem with my kit in particular (let us not rule out operator error either!), but it was disappointing that the guns can no longer be moved vertically.
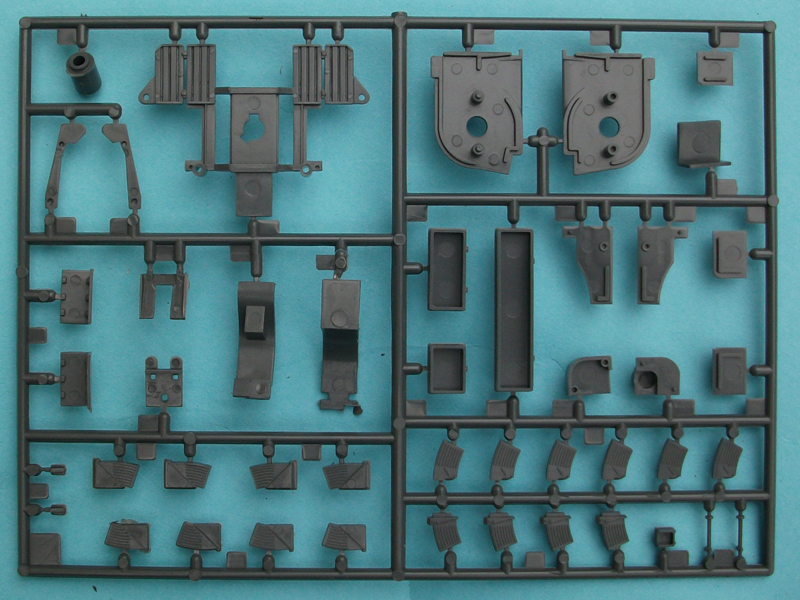
Step Four: Fixing of Gunners Seat
This is a ten piece process that the instructions tell you to construct it in order from the bottom part upward. Thats both what I did and what I highly recommend.
Step Five: Shield
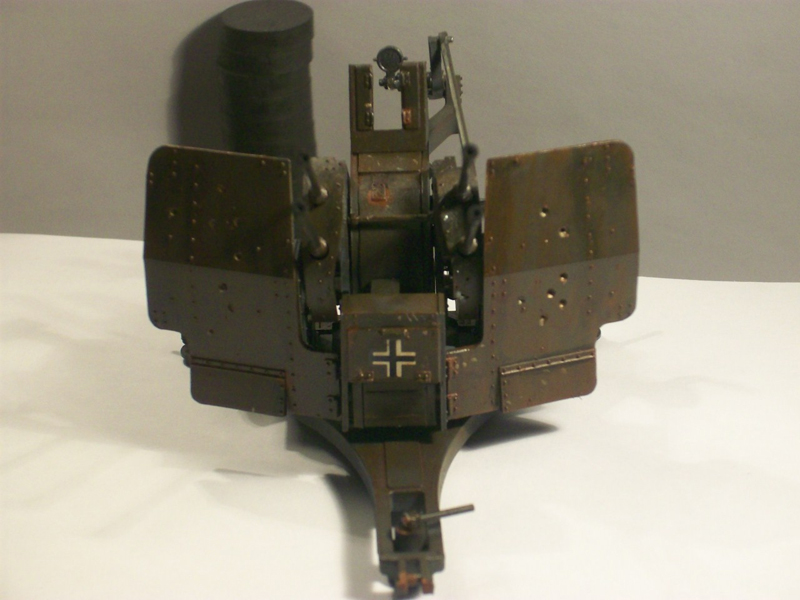
One of the simplest steps in the kit, simply glue the front gun shield to the side gun shield for both sides.
Step Six: Option for Firing or Towed
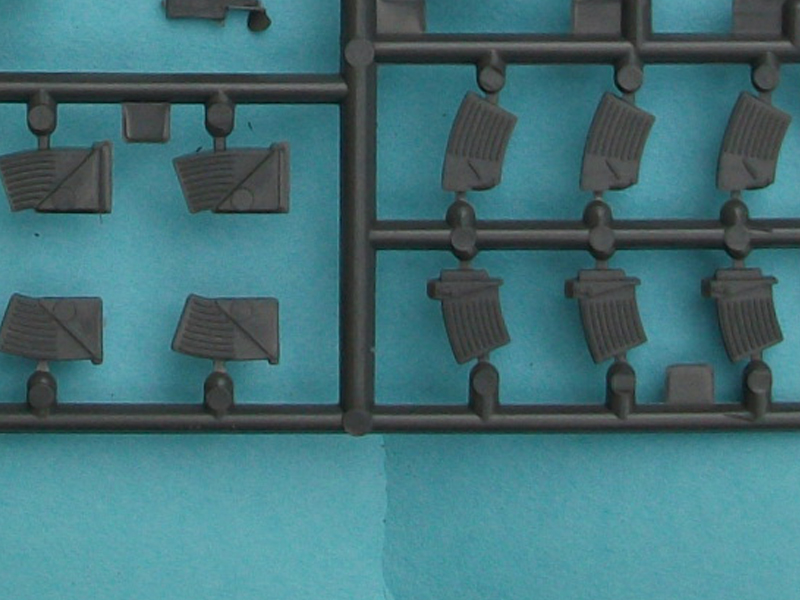
This is the first time you have to make a decision for this kit since the kit can either be assembled in the firing or towed position. If assembled in the firing position (my option), then glue the bottom magazine racks and the two loaders seats together, attach them to the step base, then fix the gun shields to the front. You are supposed to attach the magazines to the guns here, but I did that at step two since the guns and magazines are painted Gunmetal. If you choose to assemble the gun in the towed position, you will be required to cut the steps (looks easy) and glue them up perpendicular to the step base. Instead of fixing the magazines you fix covers (this should also be done at step two) over the magazine slots.
Step Seven: Fixing of Firing Platform
All that is involved in this step, if assembling the model in the firing position, is to fix the legs and the main gun housing onto the firing platform. If assembling in the towed position, the steps are roughly the same, you just have to forego attaching the front leg. This is where I stopped as I am saving the trailer for another project.
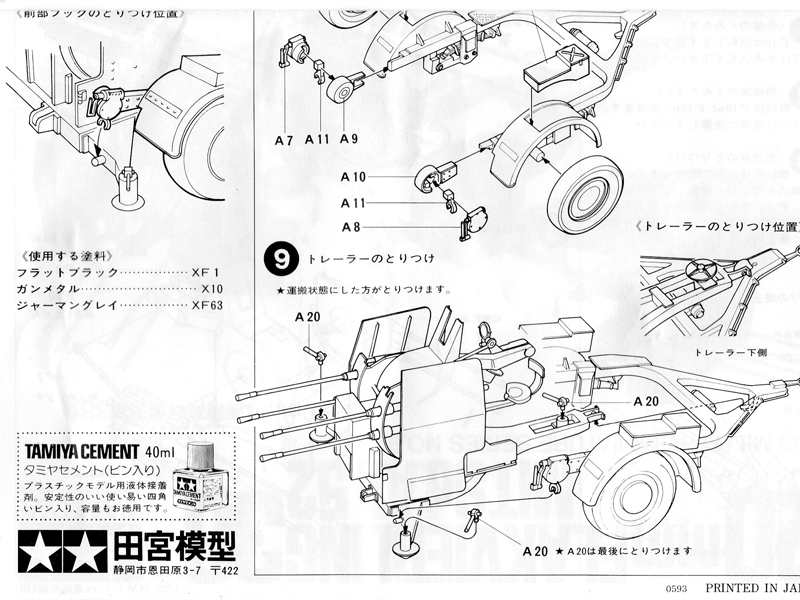
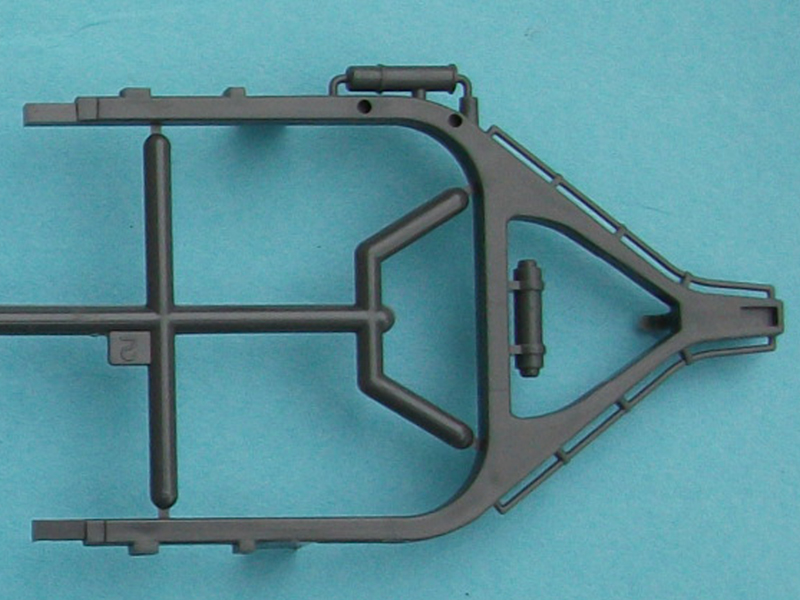
Step Eight: Trailer
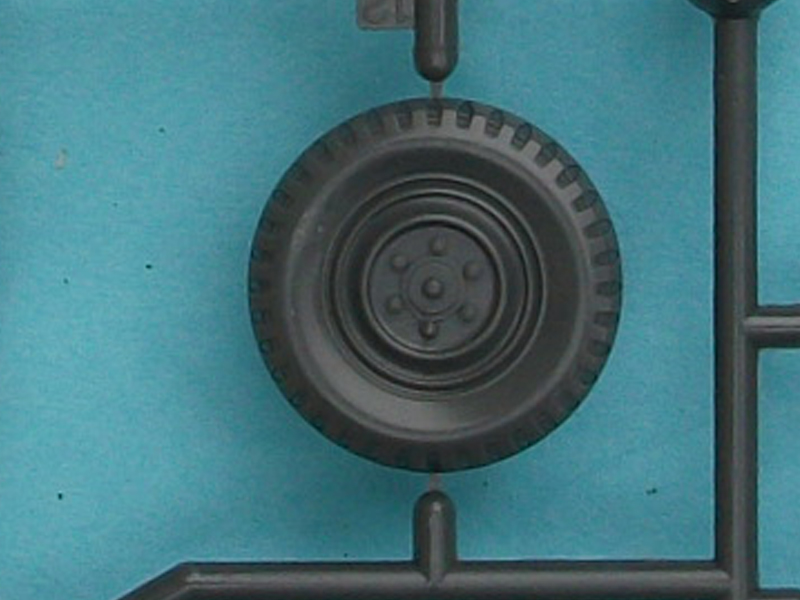
Since I did not do this, I will summarize. Attach the fenders and axels to the trailer body, assemble the wheels, add the tow ring, the cargo boxes and the rear leg trailer supports.
Step Nine: Fixing of Trailer
For the towed position only; simply attach the gun to the trailer (the trailer sits by if built in the firing position).
Painting:
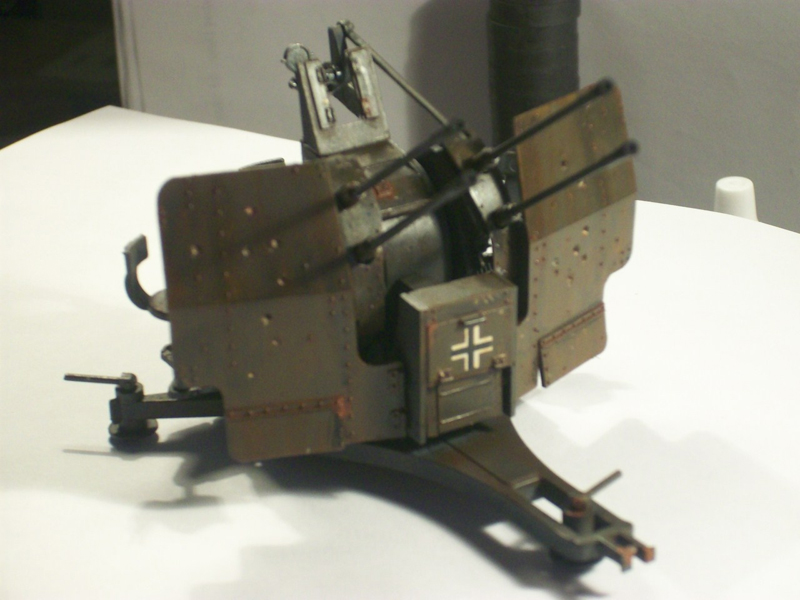
As stated, I painted the guns, magazines, and sight Gunmetal. The rest of the model I painted XF-63 (German Grey). From there I gave it an oil wash using Yellow Ochre and Burnt Sienna. I added paint chips using Vallejo Natural Steel, rust using Vallejo Hull Red, Light Orange wash, and Light Orange drybrush. Although the kit does not come with any decals, I added one on the front to break up the color scheme some.
Conclusion
This was a decent kit that is best suited for either beginners or for practicing. My two major complaints are the swing arm problem as noted above and the numerous ejector pin marks found all over the model. Not Tamiyas best effort. I am interested to see the improvements (hopefully) on the 1/48 scale.
Thank you to Darren Baker for supplying additional images for this review.
SUMMARY
Highs: Few parts; good diorama support piece.Lows: Ejector pin marks; swing arm pin too small.Verdict: Not Tamiya's best effort. If you can find it for the list price ($7.50) or cheaper, it would not be criminal to own.
About Will Caudill (badacidtrip) FROM: COLORADO, UNITED STATES
I just want to let you know that I am not an accuracy-focused modeler; I am interested in the model itself. I do not do any research (typically) so my reviews and opinions are based on the quality of the model kit (or after-market product) itself as a stand-alone thing. I am not casting any negati...


Comments