Introduction
As indicated and hoped for,
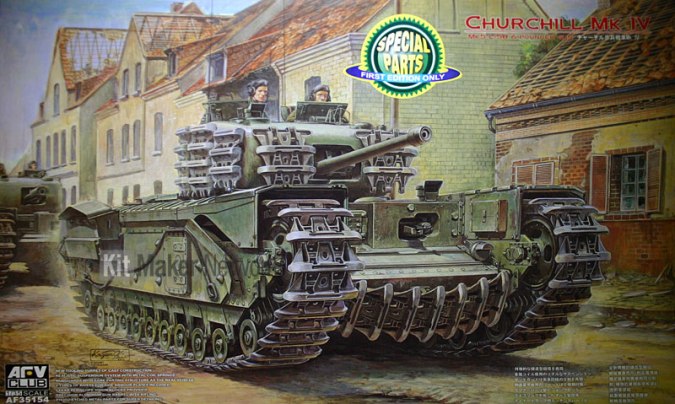
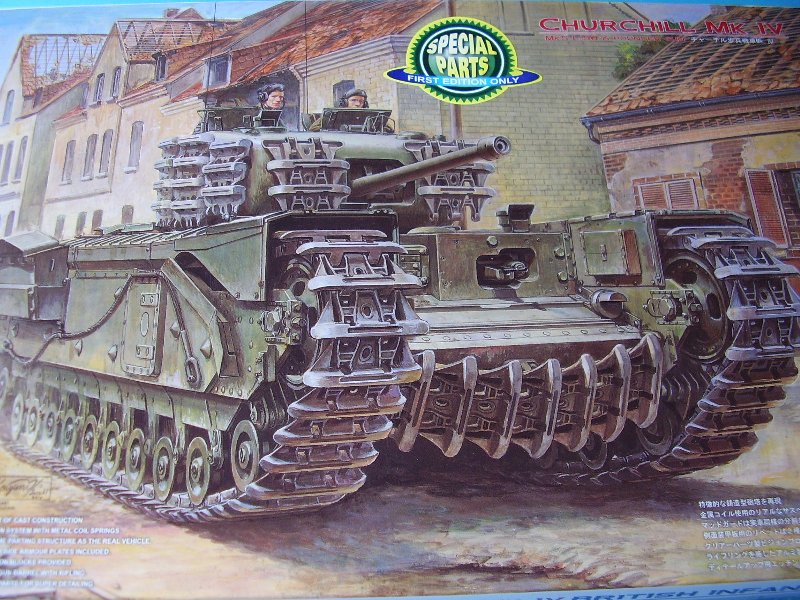
AFV Club continues to expand their range of 1/35 scale Churchill Tanks. The latest release and a very welcome one is that of the Churchill Mk IV Gun Tank. This is a 1st Special Edition Box Kit.
The Churchill Tank continued to be developed throughout the war. The Mk IV came about due to a number of circumstances, the gained skill by British workers in the manufacture of cast metal forms and the need to find an alternative to the pressed steel plate used on the Mk III.
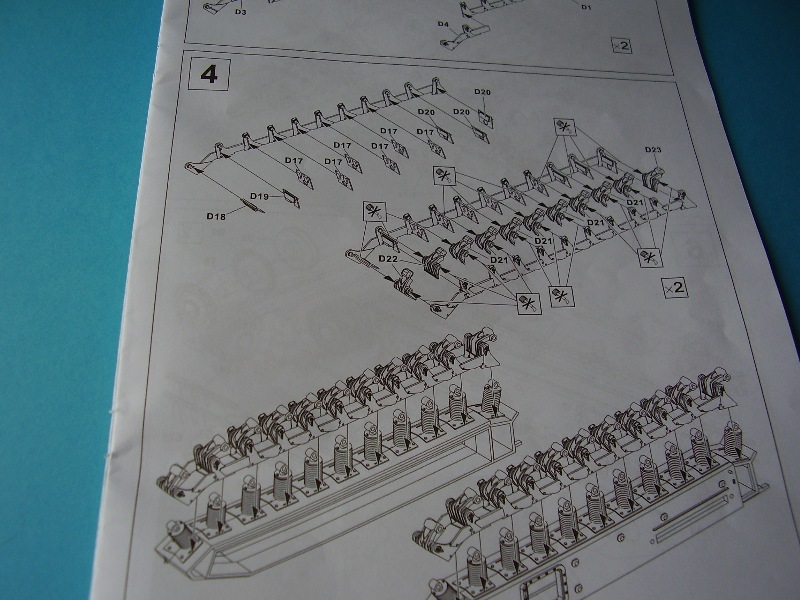
During October and November 1941 Firing Trials were undertaken on the Mk III turret. These trials were considered not very satisfactory as in far too many cases the armour plate was described as flaking. This meant that even if a shell did not penetrate the plate a sizeable bit of plate might come away and could possible do considerable damage to those inside the tank.
Coupled to this problem was a shortage of suitable plate, mentioned above and the Bullet-Proof Plate Technical Committee (dont you love committees!) stated that they were unable to guarantee the supplies of plate needed and that it might not be entirely flake free! Therefore another alternative needed to be found. The skills of British workers to produce castings had increased sufficiently enough to allow for a return to cast turrets and a Tank Board report of 23rd January 1942 gives first mention of a cast 6pdr turret and concludes that trials have been successful so as this seemed to solve the problem the Mk IV Churchill was born. The turret went on to be used on the Mk V and Mk VI and was also use on the MK IV (75mm) so there is scope for more variants from AFV Club all being well.
Fundamental to the development of British tanks was the continued thinking that Infantry Tanks, those designed to support un-armoured infantry must in the main have an anti-tank capability hence the armament of the Matilda, Valentine and early Churchill Variants with the then 2pdr anti tank gun. The munitions and concept of howitzer support played for many years a secondary role. The Mk IV followed this thinking being armed with new 6pdr QF gun. The specification of the new turret did take into account that it should be capable of either housing the 6pdr or the then newish American 75mm that was by this stage in development gaining a good reputation amongst tankers.
AFV Club have continued to maximise the use of the original Mk III kit by supplying the necessary new parts to allow modellers to create the Mk IV variant.
The Kit
A brief in box type preview has already been published on site by Jim Starkweather and a link to same is provided below:
Preview
The Mk III variant which forms the lower hull of the tank has also been previously reviewed here on site by Jim Rae, link below.
Churchill Mk III review
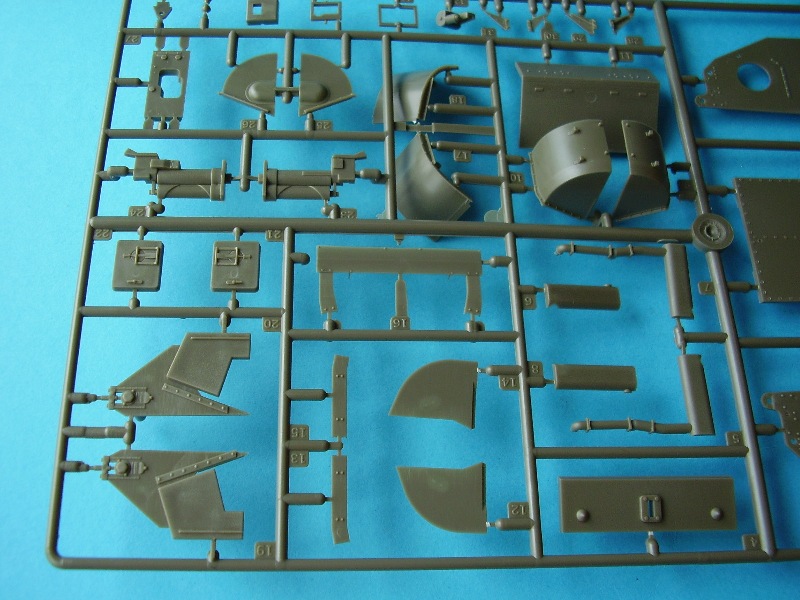
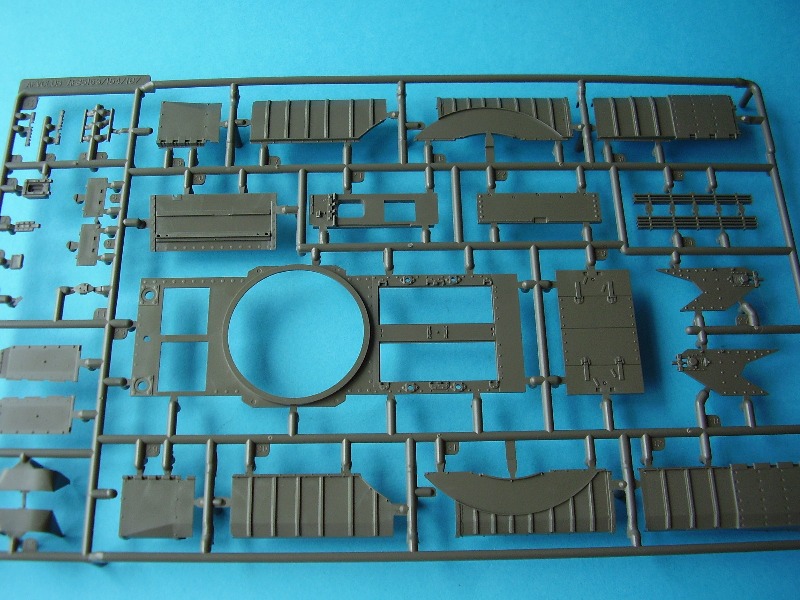
The kit comes packed in the standard professionally present format used by AFV Club. The box art is evocative of the time. The parts are expertly cast and highly detailed and contain little flash so clean up should be normal. It is not my intention to review the lower hull and suspension units nor the track provided in the kit. This has been adequately detailed in previous reviews and it should be sufficient to say that the hull and running gear and additional parts are excellent and fit for purpose, although I have included some comment at the end of the review. Instead my focus will be on the new turret, markings and instructions for the new kit.
The Turret
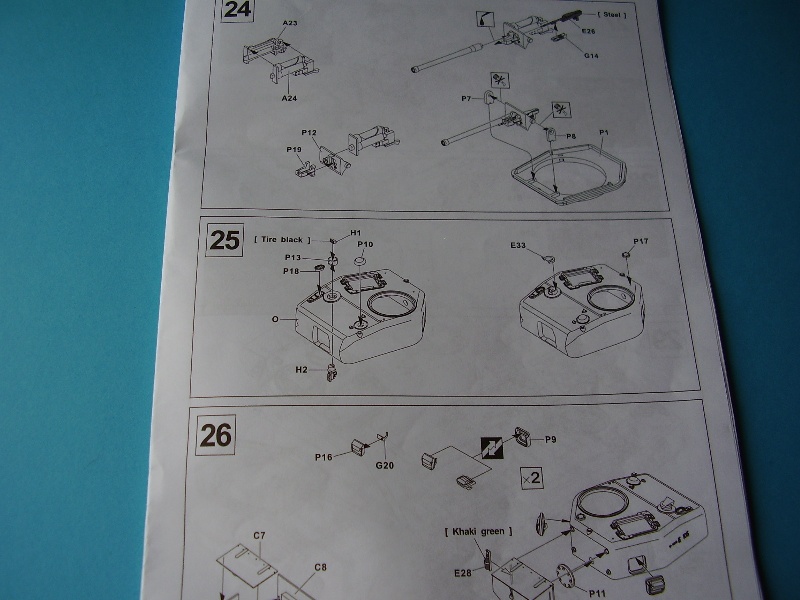
The new turret matches well to the drawing I have of the part and AFV have done a good job here. However, there are some things to watch out for. The early Mk IVs were fitted with the shorter barrelled 6pdr and the kit supplied barrel is the late version of the Mk 5 L/50 Gun. This is in itself not an issue as developments were continuous on the various Mks of tank, but if youd prefer the early version then you could use an AM product.
Similarly they have also supplied later fittings for the turret exterior - the sight (PE part G21) is the later type. The new kit also provided a new set of periscopes in part P13, but again you should use Parts E33 and E34 and Parts H1 and H2. The new kit part (part P13) are those used on the Mk VII.
A note on the periscopes both in the Turret and Hull. The secret to making these parts is to mount the top part E34 first, then add the periscopes from below, otherwise you may find part E34 is unnecessarily forced up and will look a bit odd. (Thanks Chris)
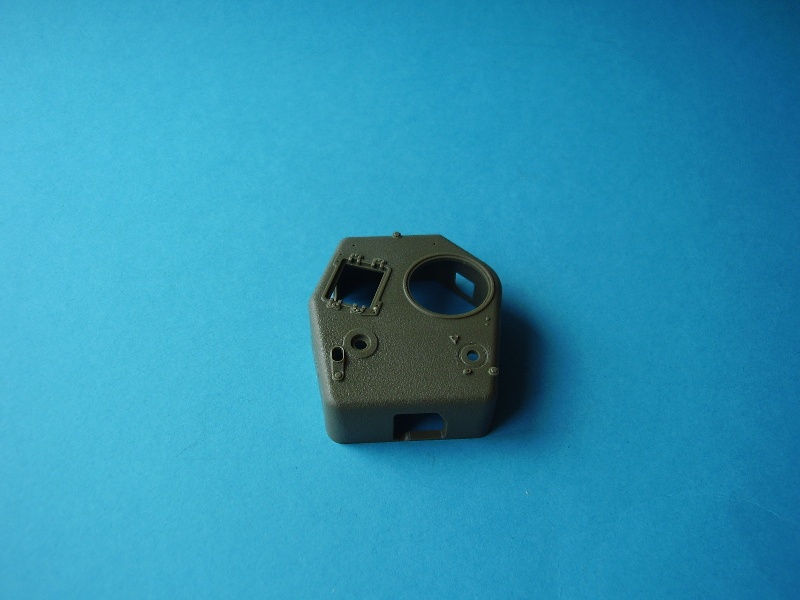
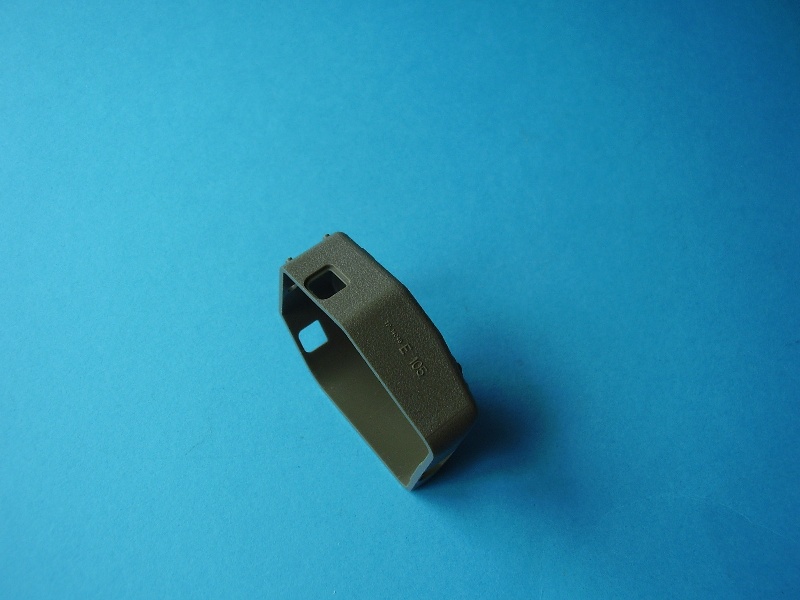
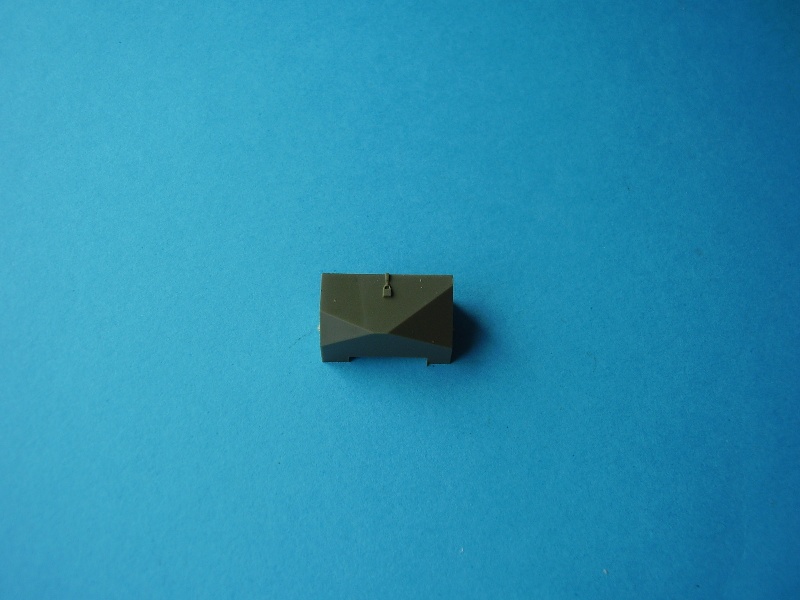
The upper part of the turret comes as one piece and is nicely textured. With the turret ring being a separate item there will be a join seem that will need to be taken care of with a little sanding and Mr Surface or filler of your choice. The right hand side of the upper turret has the cast numbers TP14048 E 105 on the side which is a very nice touch.
The upper turret shell has openings for the main gun and BESA mantlet There are separate periscope and ventilator openings and left and right pistol ports which all seem correctly located. Both crew hatches and the 2" bomb thrower port are also open.
The kit comes with a breech block for the 6pdr and a suitable BESA MG to fit in the mantlet. The BESA is as per the Mk III kit and you might like to drill out the barrel a little. The build steps for the gun are straight forward but I would advise you to check your reference pictures to determine what style of weapon you wish to finish the turret with.
The pistol ports consist of 3 small parts and can be modeled open or closed, again another nice touch.
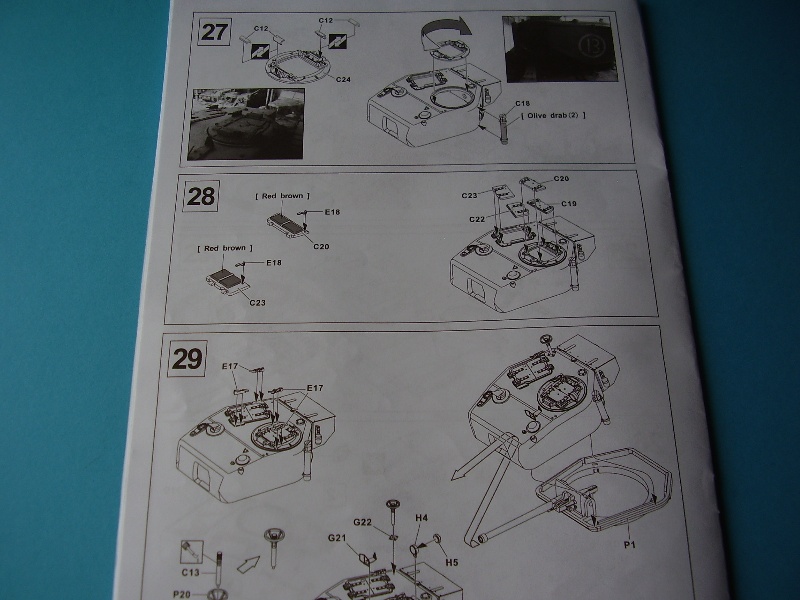
The commanders cupola is nicely done with separate hatches with small handles/latches to add. The handles/latches are on sprue E as parts 16 and 17 but only shown on the instructions as part E17 so keep an eye out for that. There are small covers to be added to the vision ports. The hatches have suitable padding inside with no visible pin marks which is nice. The same can be said for the loaders hatches.
There is a clear spotlight shown as part H4 and H5 to add to the turret. Looking at the sprue I would say this should read parts H4 and H2.
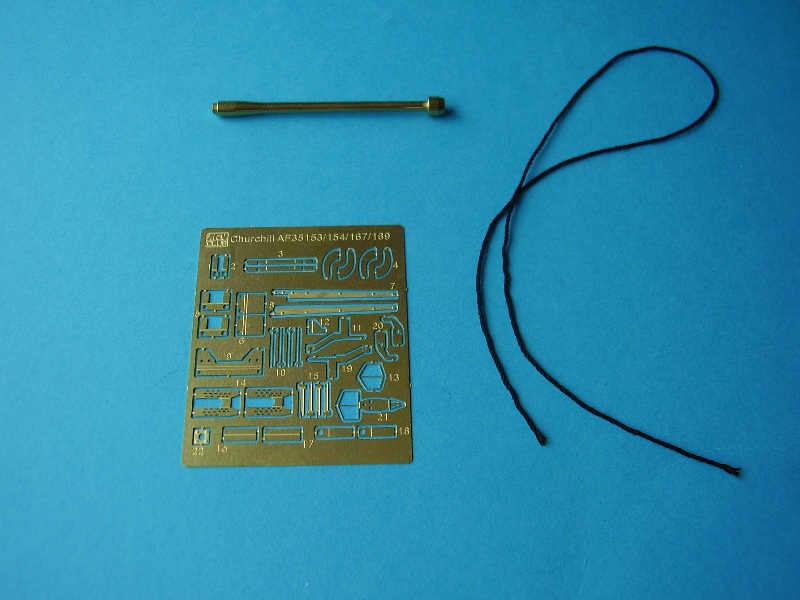
The vane sight is part G21, but again check your references here as this is a later type. However on the PE fret is Part 13 which will provide you with the earlier type. If you choose to use this option note it is fitted to the front of the ventilation dome on the left hand side of the turret.
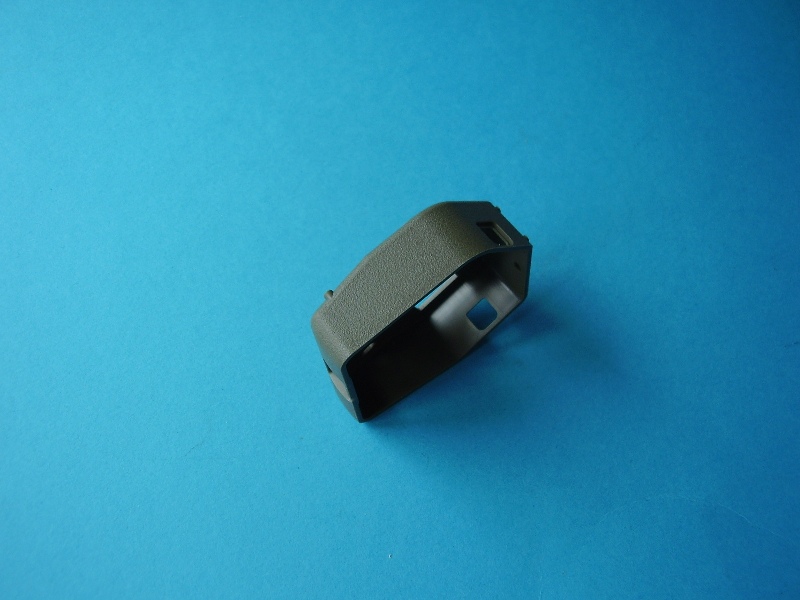
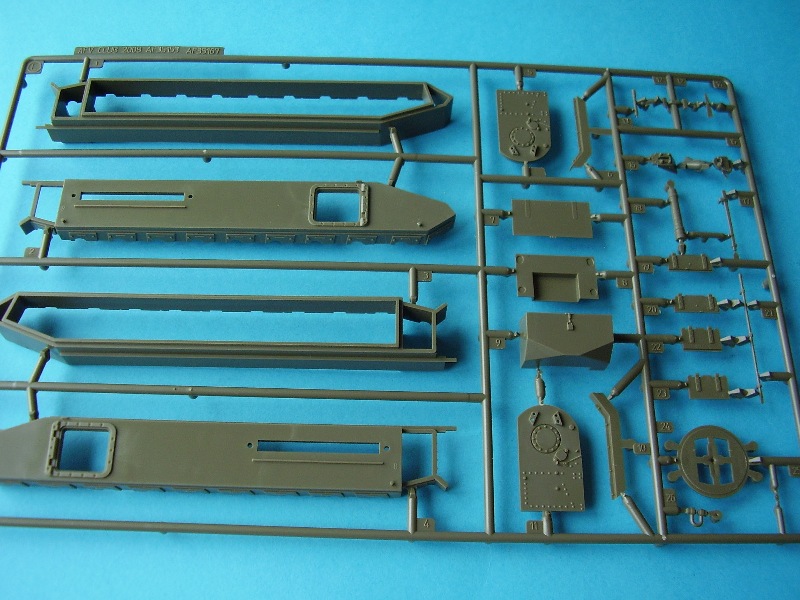
The kit provides a nice blanket box, or stowage bin if you prefer, for the rear of the turret. This has the sloped sides and is appropriate for the kit. It is part numbers C7, C8 and P4. Be careful as the old part (No C9) is included in the kit and should not be used. To add to that you get two late fire extinguishers Parts E 28. These look quite nicely done but could be replaced if you wish by some of the excellent Resicast Extinguishers Kit No 35.2275
Unfortunately no No 19 set is provided in the kit, but again you could source that from your spares box or an AM set like the Resicast 35.2317 No 19 Set and adapt it to the turret or an alternative of your choice.
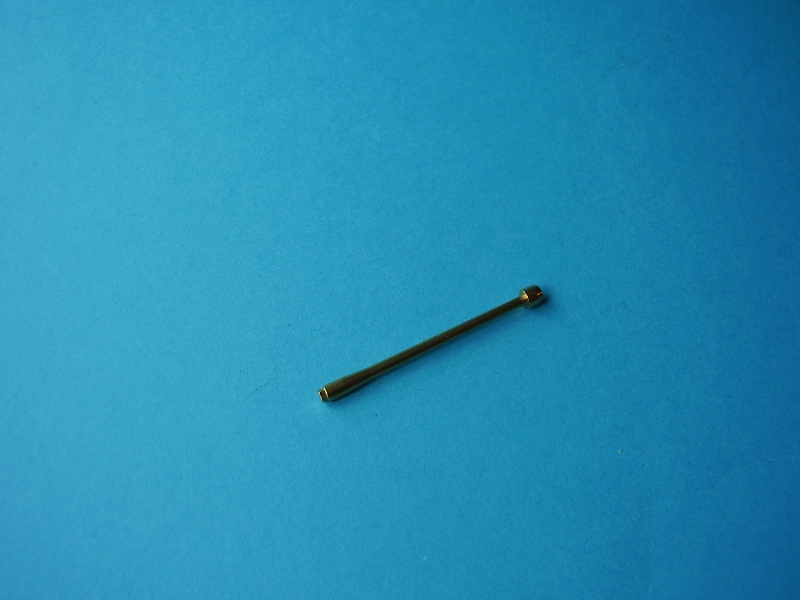
To complete the turret fittings you get appropriate antenna and a signal flag holder.
Instructions and markings
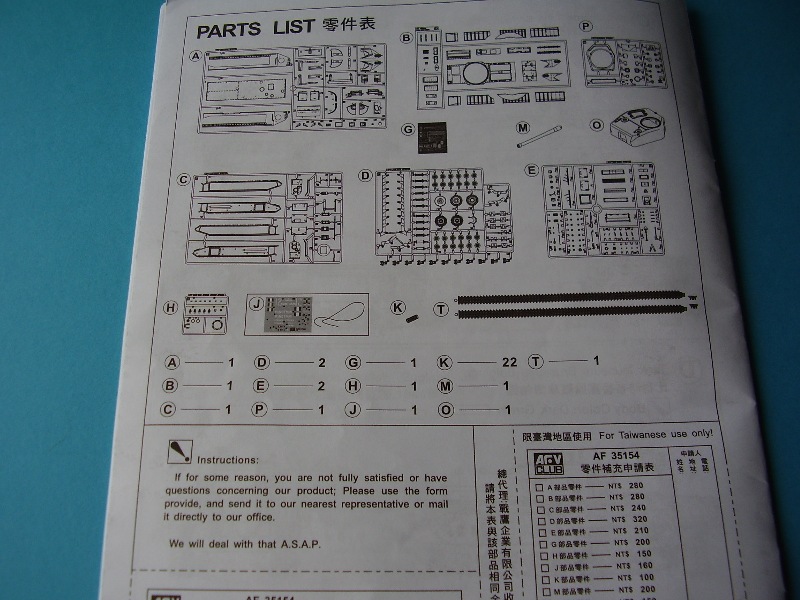
The instructions come in a 20 page A4 black and white booklet. They are logically laid out in the exploded diagram format and apart from the points noted above and below provide and easy to follow step by step guide to building a successful kit.
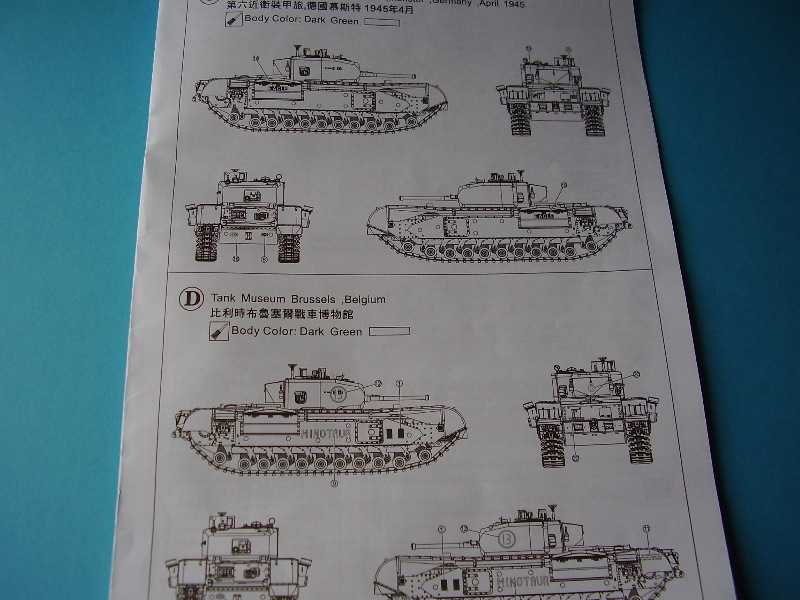
Markings are provided for 4 vehicles as follows:
6th Guards Tank Brigade, Munster, Germany 1945 (BANDIT)
79th Armoured Division, Suffolk, England, January 1944 (SALOME)
6th Guards Armoured brigade, Munster, Germany April 1945 (EAGLE)
Tank Museum Brussels, Belgium (MINOTAUR)
The Mk IV was widely used during WW2 and I felt the selection of decals choices could have been much wider. My good friend Kevin Tucker has done some sterling work on British Tank Names and Numbers and you can access much wider data by visiting the MAFVA site - link below. You should also be able to check the WD numbers there which are provided as follows:
T172660/B x 4
T68425 x 2
Given the easily accessable range of WD Numbers available on line I am somewhat surprised by the very limited choice here!
Special Addition Items
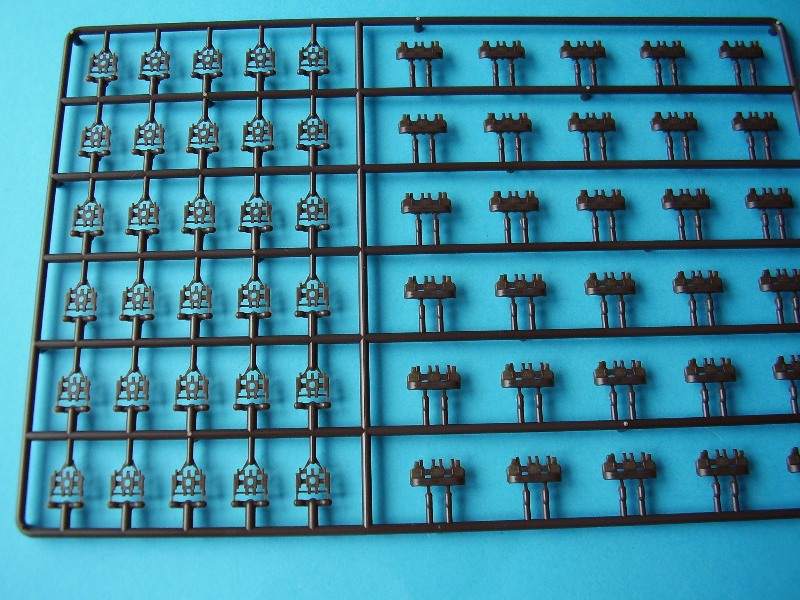
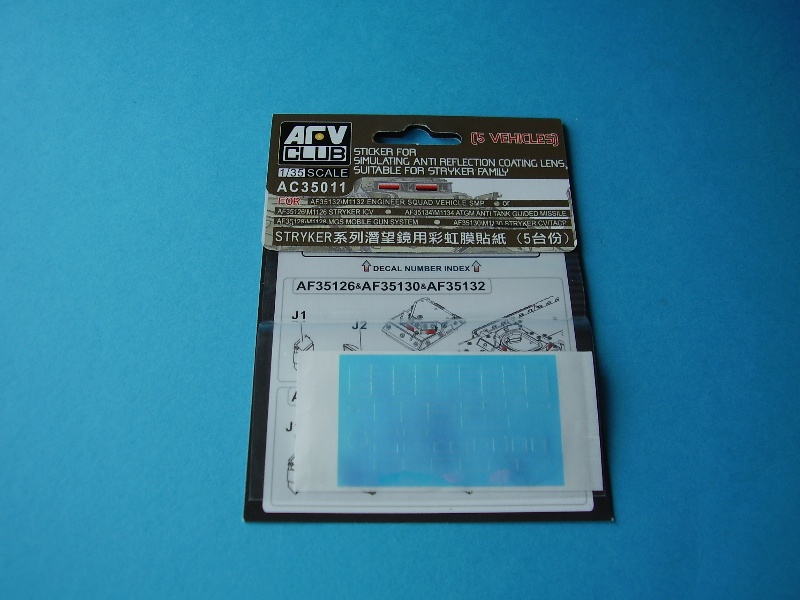
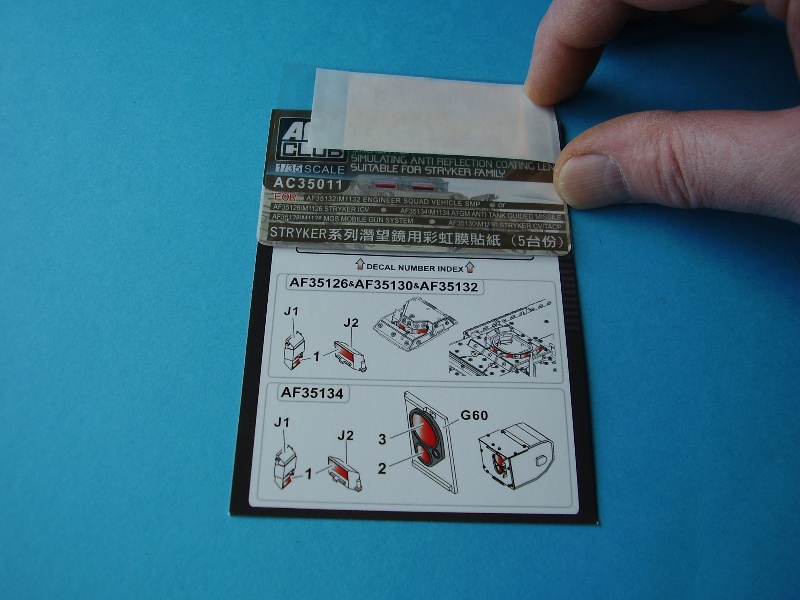
You get a sprue and a half of additional track links to allow you to add additional armour to your vehicle if you desire. Also in the kit was a set of stickers for simulating Anti Reflection Coating Lens which are suitbale for the Striker family. Exactly why that item was included is a bit of a mystery to me but a free-bee is always nice. (if anyone would like same, let me know and I'll forward it on.) You also get a nice A4 size poster of the box art for use as you see fit.
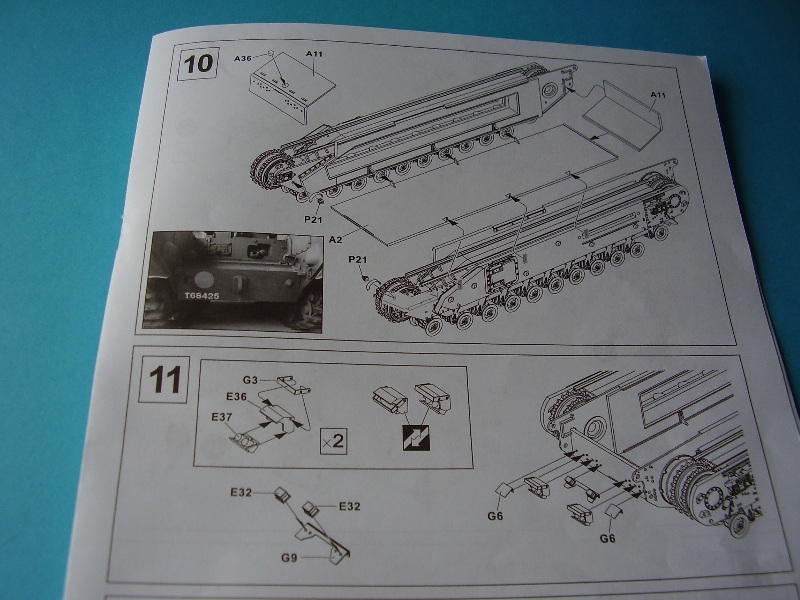
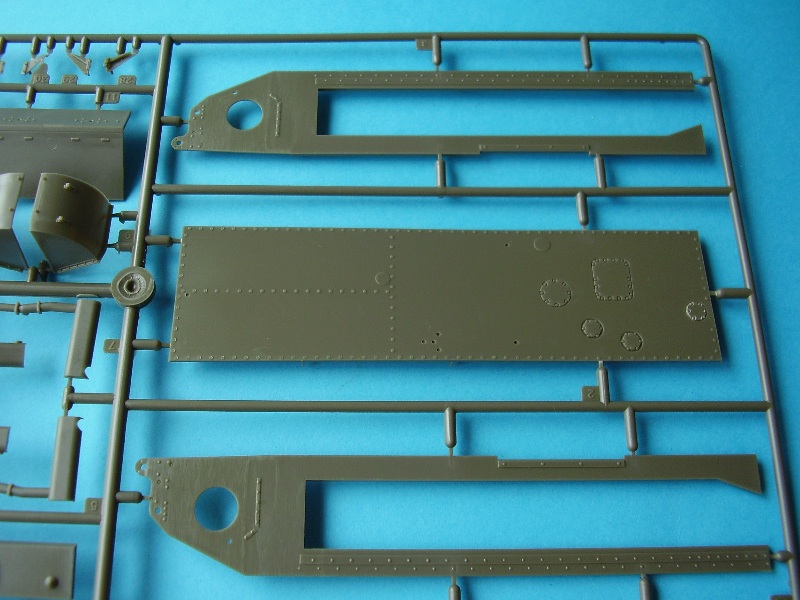
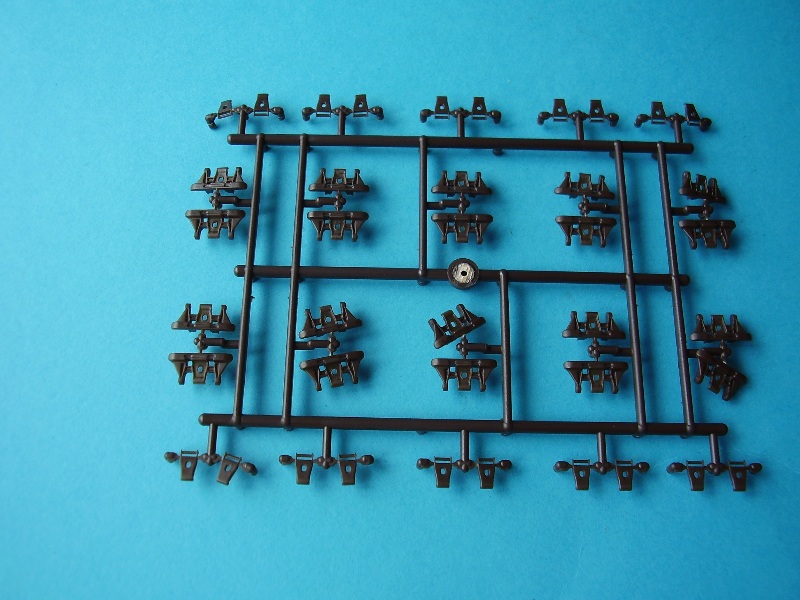
General - Mk III Hull and Running Gear
As mentioned these are for the Mk III kit and have been adequately covered in other reviews. Simply follow the instructions and your reference pictures and you will have highly detailed lower hull and suspension unit. The fit of these parts was excellent and the suspension a work of art.
My only observation here is on part A21 the inside of the lower hull doors. The detail on the inside part is molded on and is a bit weak, so if you plan to leave the doors open it might be worth doing a bit of extra detailing on the inside as the molding looks a bit flat. Also Part T2, the spare track which comes in rubber is better replaced with some resin or steel track. Not mentioned in the instructions are parts 39 on Sprue E which provide the opening supports for the rear hull hatches. If you decide to open up the engine deck you might be best to replace these with thin brass rod.
Thoughts on the Turret and Additional Resources
AFV Club have done a really nice job on the turret. Some items provided are for the later rather than earlier version of the Mk IV turret so check your references and build accordingly. The old kit parts are there if you choose to do an earlier version and the only replacement part you may wish to get is the RB Models 57mm OQF 6 Pdr Mk.III L/36.5 Kit No 53B17, or perhaps you can source one from the Mk III kit. I haven't seen the RB Models barrel so I can't tell you how it measures up.
Slightly off the main topic, but very appropriate to the kit and Churchill builders, is some news I had from Chris at Inside the Armour. A new tooled interior is being produced for the Mk IV as well as a complete new turret with all the necessary fittings, including a gun trunion to fit over and hide the inside of the kit part. Therefore, like the Mk III, there will be good options available for those who wish to detail the vehicle more fully inside.
Similarly, Resicast have the Churchill engine in set No 35.2308 and some additional Churchill Stowage in Set No 35.2312, so lots of good things around if you like the Churchill and want to customize it a bit more. Talking to Graham recently he has a new stowage set in the pipe for the kit but it won't be around until February 2011 so I can't give you any more details at the moment.
You may find the following sites useful for resources and accessories:
MAFVA
RB Model
Resicast
Inside the Armour
Conclusion
AFV Club have given us another exceptional Churchill to add to their growing range of options. The overall quality of the parts is excellent. Care will need to be taken when building the kit as there are some very small parts, but you have here all the makings of another terrific Churchill Gun Tank.
As this vehicle was constantly being developed throughout the war, checking your references is recommended. Alternative tracks are available from both AFV Club and Resicast should you choose, or need,alternatives. With the side fenders being sectionalised you have a great choice of finish.
By starting with the Mk III hull AFV have left the door open for a very wide range of options from the Churchill Family. I do hope they continue down this road with further Mks.
The range of decal choices is disappointing, but modellers of British vehicles will be used to the mix and match scenario to produce the vehicle they want, and Kevins excellent resource at MAVFA will no doubt help and assist many.
That aside this is a very worthy kit indeed and AFV Club are to be congratulated in producing another great model that should be enjoyed by many.
References:
Mr Churchills Tank By David Fletcher
Osprey : Churchill Infantry Tank 1941 - 1951
Modelling the Churchill Tank by Mark Bannerman
MAFVA Churchill Resources
IWM Museum Photographic Collection


Comments