_GOTOBOTTOM
Armor/AFV
For discussions on tanks, artillery, jeeps, etc.
Review
Roden: Holt 75 Artillery Tractor
CMOT
Staff MemberEditor-in-Chief
ARMORAMA
Visit this Community
England - South West, United Kingdom
Joined: May 14, 2006
KitMaker: 10,954 posts
Armorama: 8,571 posts
Posted: Sunday, August 12, 2018 - 02:46 AM UTC


Roden has released a 1/35th scale Holt 75 Artillery Tractor and here Kevin Brant has a look in the box.

Read the Review

If you have comments or questions please post them here.

Thanks!
pod3105
Visit this Community
Waterford, Ireland
Joined: August 08, 2010
KitMaker: 466 posts
Armorama: 444 posts
Posted: Sunday, August 12, 2018 - 03:24 AM UTC
Thanks for the review Kevin. Not my usual area of interest, but there is something about this baby...
simonking
Visit this Community
England - East Midlands, United Kingdom
Joined: March 02, 2011
KitMaker: 128 posts
Armorama: 124 posts
Posted: Sunday, August 12, 2018 - 10:52 AM UTC
Surely this can’t be the same Roden Holt 75 that I bought and attempted to finish.

Keep well away from this piece of *****. It’s badly moulded with awful sink marks (just look at the long sink mark along the whole length of the roof) and the parts just don’t fit. It’s criminal that junk like this is still being peddled in the 21st Century.

Definitely caveat emptor.

If you want a more reasoned review David Nickels reviewed this on Track Link.

Sk
SgtRam
Staff MemberContributing Writer
AEROSCALE
#197
Visit this Community
Ontario, Canada
Joined: March 06, 2011
KitMaker: 3,971 posts
Armorama: 2,859 posts
Posted: Sunday, August 12, 2018 - 11:34 AM UTC

Quoted Text

Surely this can’t be the same Roden Holt 75 that I bought and attempted to finish.

Keep well away from this piece of *****. It’s badly moulded with awful sink marks (just look at the long sink mark along the whole length of the roof) and the parts just don’t fit. It’s criminal that junk like this is still being peddled in the 21st Century.

Definitely caveat emptor.

If you want a more reasoned review David Nickels reviewed this on Track Link.

Sk


While I have not built it yet, the copy I got looks good. I had a second look, and there are no sink marks on the sample I received. Sorry you had such an issue with yours.
simonking
Visit this Community
England - East Midlands, United Kingdom
Joined: March 02, 2011
KitMaker: 128 posts
Armorama: 124 posts
Posted: Sunday, August 12, 2018 - 05:56 PM UTC
Can see the long sink line on the roof on the pictures you posted. That trench along the roof centre line shouldn’t be there. It is a moulding fault.

Sk
Removed by original poster on 08/13/18 - 06:06:42 (GMT).
RobinNilsson
Staff MemberTOS Moderator
KITMAKER NETWORK
Visit this Community
Stockholm, Sweden
Joined: November 29, 2006
KitMaker: 6,693 posts
Armorama: 5,562 posts
Posted: Sunday, August 12, 2018 - 06:10 PM UTC

Quoted Text

Can see the long sink line on the roof on the pictures you posted. That trench along the roof centre line shouldn’t be there. It is a moulding fault.

Sk


Sink marks caused by the centre beam


/ Robin
SgtRam
Staff MemberContributing Writer
AEROSCALE
#197
Visit this Community
Ontario, Canada
Joined: March 06, 2011
KitMaker: 3,971 posts
Armorama: 2,859 posts
Posted: Sunday, August 12, 2018 - 10:54 PM UTC
Thanks for the information, I was unaware that line along the top should not be there.
RobinNilsson
Staff MemberTOS Moderator
KITMAKER NETWORK
Visit this Community
Stockholm, Sweden
Joined: November 29, 2006
KitMaker: 6,693 posts
Armorama: 5,562 posts
Posted: Sunday, August 12, 2018 - 11:58 PM UTC

Quoted Text

Thanks for the information, I was unaware that line along the top should not be there.


I haven't seen the top of one of these tractors so I am not certain about what it should look like. The plastic part looks as if it is a row of sink marks. If they are irregular I would put my pennies on the sinkmark alternative, if they are perfectly regular then it is more doubtful ....

Images on the internet show that at least the front and rear edges of the roof plating are one continuous plate, no break in the edge.

This clip on Youtube shows one being driven around and has some close up views of the edge of the roof. They were focusing on the exhaust pipe and got some of the roof at the same time:
https://www.youtube.com/watch?v=Vz0tF8GqPMg

This is the only overhead view I could find but it isn't clear enough to be conclusive, even if it looks like continuous plates:


If it is sinkmarks they should be relatively easy to fix.
Fixing all the bolts (top of every 5th corrugation) will be a bit more work ....

This clip shows a restored Holt 45 (fortyfive) tractor, no front wheel, with the same type of roof construction. At the 1:53 mark it is being driven up on a trailer and the top of the roof is visible.
https://www.youtube.com/watch?v=1_yOE7jlC20


/ Robin
Kevlar06
Visit this Community
Washington, United States
Joined: March 15, 2009
KitMaker: 3,670 posts
Armorama: 2,052 posts
Posted: Monday, August 13, 2018 - 09:15 AM UTC
I remember the discussion regarding the "roof sink line" in Simon's build of their kit several months ago. I don't think it's a kit "killer" issue in itself. Roden is famous for fit issues-- I've built several of thier 1/32 scale WWI aircraft, and all of them have issues ranging from very mild to severe. But often they are the only "game in town". In this case, I'd just replace the corrugated roof material for a more "scale" look anyway-- there are several manufacturers who make corrugated metal roof material in various scales for model railroad purposes, as well as Evergreen Styrene products and Plastruct which make styrene corrugated material. Or you could use the new corrugated forming tool (Small shop I think) I've seen advertised lately. It would be difficult to bend corrugated roof material into a curved shape, but not impossible. I agree, it's a shame Roden hasn't corrected this, but it's not impossible to overcome.
VR, Russ
Kevlar06
Visit this Community
Washington, United States
Joined: March 15, 2009
KitMaker: 3,670 posts
Armorama: 2,052 posts
Posted: Monday, March 25, 2019 - 03:28 AM UTC
Sooo..... after a long wait, last week I finally broke down and bought one of these Roden Holt tractors, along with their new 8" BL Howitzer. I started work on the Holt tractor almost immediately. It's like I thought, there are some minor fit issues (typical of many of Roden's kits). The roof sink marks are there, but with a little thinned Tamiya putty, some sandpaper and a little effort, I made them go away. The kit is going together quite well, and could be a super detailers dream, but out of the box it's just fine. There is some work to be done around the halves of the front wheel ring, which definitely needs scraping, sanding and a little carving with a sharp scalpel (and just a dollop of thinned Tamiya putty) to get the assembly to look right (mismatched/alignment in the molds, accompanied by some over-engineering of the circular wheel parts). But overall this kit is not too bad, and is going together quite well. I think one just needs to understand Roden Kits are not Tamiya kits (But Roden does offer things other manufactures don't). The BL Howitzer looks pretty simple too--(perhaps a little too simple). But it comes with a limber, the Howitzer, and a stabilizer platform on wheels. Combined with the Holt Tractor, it's going to make an impressive "Artillery train", and it'll make a wonderful addition to my collection of Artillery pieces and their prime movers (which I'm an admitted sucker for). I'm on to the Holt engine now, and am debating whether I'll replace the rocker springs with coupler springs from N gauge model railroad couplers, or continue my OOB build. Not a lot of the top of the engine will be seen when the push-rod tubes are in place and the roof is on.
VR, Russ
Kevlar06
Visit this Community
Washington, United States
Joined: March 15, 2009
KitMaker: 3,670 posts
Armorama: 2,052 posts
Posted: Tuesday, March 26, 2019 - 04:10 AM UTC
Well, I built the engine and water tank assembly yesterday. I'd built most of the frame a few days before, including the front steering wheel. I have to agree that it's not an easy kit to build because there's a lot of cleanup for the parts-- especially anything that's "round". It occurs to me the molds were mis-aligned slightly for my kit, leaving a "ridge" on either side of any circular feature, such as the flywheels, front wheel parts, and the fanbelt assemblies. But then there are other parts which are precisely (and cleanly) molded. There is also a bit of flash on some parts, yet not present on others. Theres an interesting difference in plastic, with one sprue being made of a harder plastic than the rest. I've found if the instructions are followed precisely, the kit goes together well (so far), the places I've screwed up are where I didn't look carefully at the diagrams. But overall, I think the kit is going together just fine-- it requires some cleanup, but only what I'd expected from my experience with other Roden kits.
VR, Russ
165thspc
#521
Visit this Community
Kentucky, United States
Joined: April 13, 2011
KitMaker: 9,465 posts
Armorama: 8,695 posts
Posted: Tuesday, March 26, 2019 - 04:37 AM UTC
As to the groove in the roof: Evergreen makes corrugated roofing (unfortunately corrugations on one side only) and various hobby companies in the railroad vain make actual corrugated metal in assorted scales that could be used as a replacement.
Kevlar06
Visit this Community
Washington, United States
Joined: March 15, 2009
KitMaker: 3,670 posts
Armorama: 2,052 posts
Posted: Tuesday, March 26, 2019 - 06:49 AM UTC

Quoted Text

As to the groove in the roof: Evergreen makes corrugated roofing (unfortunately corrugations on one side only) and various hobby companies in the railroad vain make actual corrugated metal in assorted scales that could be used as a replacement.


Michael,
Yep, I realize that, and even have a package of Evergreen, a package of Plastruct (they make it corrugations on both sides), and a package of Micro-Scale "real" corrugated tin (It's actually Aluminum, but in HO and O scale, which is 1/86 and 1/48) on hand. I also thought of vac-forming it, buts it's slightly to big for my machine. I wanted to build this beast OOB as a challenge, to see what I could do with it just as it is. So far, its entirely doable with a little "elbow grease", sandpaper, sanding sticks, and a very sharp scalpel. There really is no "groove" in the roof--it's a line of very small sink holes at the bottom of each "U" shape in the corrugation. Frankly,that's been the easiest part of the fixes for this kit-- I just mixed some Tamiya grey putty with Tamiya thin cement, then used the tip of the cement brush (I have a special jar of Tamiya liquid cement I keep just for this) and placed a tiny drop of this mixture in each hole. when dry, I used a folded bit of 400 grade sandpaper to clean out the bottom of the corrugation. I used the same sandpaper along the edges of the roof to thin them out on both sides while I was waiting for the glue and putty mixture to dry. The entire process took about an hour. I just finished assembling the tracks-- they have a small sink hole inside the depression ends, but it's easily scrapped out with a rounded scalpel. There's some flash, but the tracks are semi-workable, and look good when assembled. They do lack connecting pin heads-- which I'm debating whether or not to add (I'd really like to finish this OOB).
VR, Russ
Kevlar06
Visit this Community
Washington, United States
Joined: March 15, 2009
KitMaker: 3,670 posts
Armorama: 2,052 posts
Posted: Wednesday, March 27, 2019 - 02:27 AM UTC
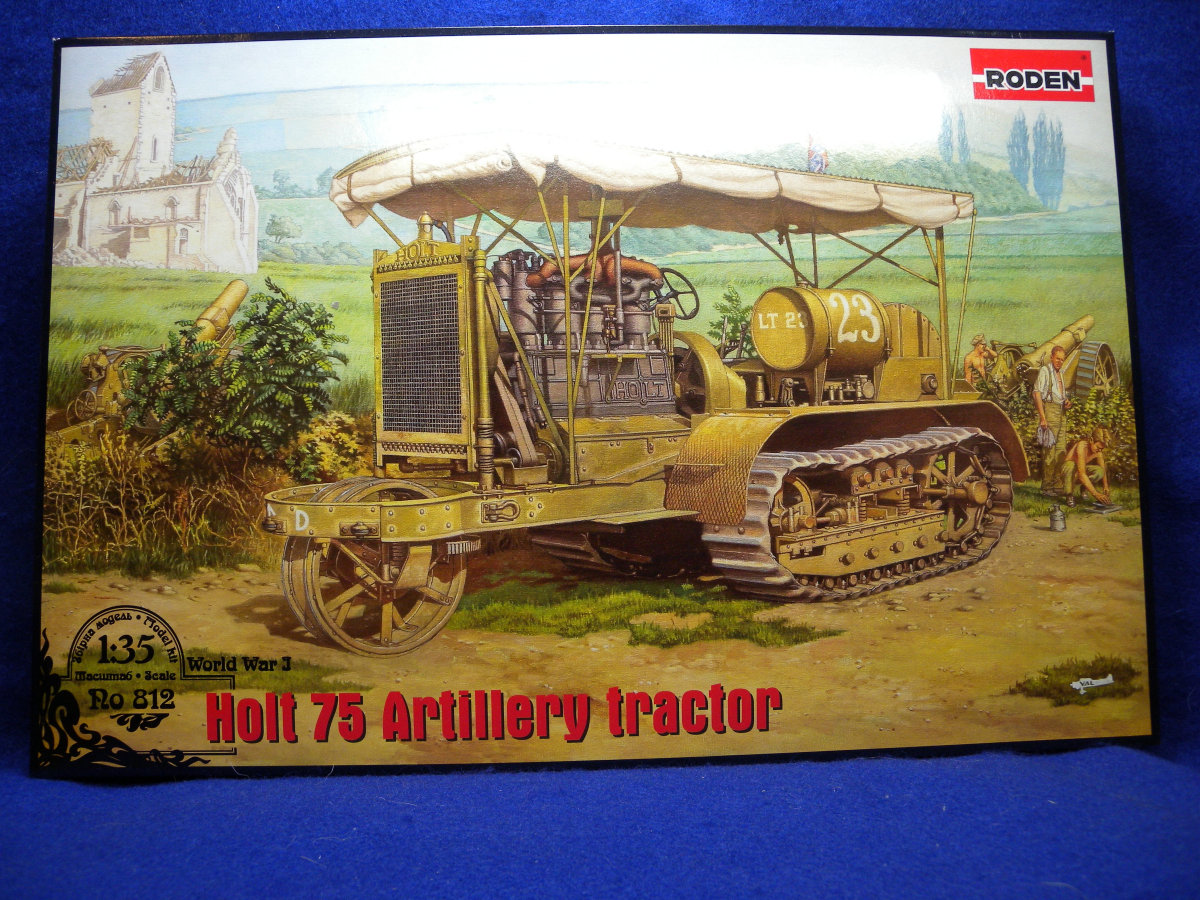
So... I've just about finished the build portion of my Roden Holt 75. The kit fenders have been discussed by others, but I found them easy to bend down, and a drop of CA gap filler spread into the remaining gap has ensured they stay together. The frame of the roof is together, close attention to the instructions and some dry fitting ensures the frame goes together properly. I found the fuel tank has quite a few gaps, and will need some sanding of the retaining bands (molded in conjunction with the frames), and some thinned filler around the edges. Tracks-- these are a bit of a pain to get on. I had to look at several Holt 75 photos to see the excact orientation of the tracks. And they kept falling apart, but eventually I got them to work. Did I mention that I left the idler and driver wheels to freely rotate? I thought it would help with the mounting of the tracks-- but I was wrong, they should be glued in place. The rest of the details are pretty straightforward, although everything needs some sanding and scraping to get rid of obvious seam lines. Altogether, the kit goes together fine, and looks good when completed. I left my tractor in five major components for painting-- A) Frame and suspension with tracks and engine bearers; B) Fenders, floor plates/flywheel cover with seat and controls; C) Engine and exhaust; D) Roof and supports; E) Radiator w/supports.

Overall, I started the build on a Friday Afternoon, and completed major construction by a Tuesday evening, working about 5-6 hours a day off and on (I'm retired). I watched four movies in the background while building too!

This model is not an easy one, thanks to the level of sanding, scraping and filling needed, mostly for anything that's molded as a "round" part. But, the fit is not too bad, the detail is nice ( could be "crisper" in places), and it builds into a fine model. It's an excellent base for super-detailing if desired. One aspect that's not included in the kit is a prop shaft, and the large winch reel at the rear, with the underside detail being simplified. These would be nice to have in the kit, but, they are not really necessary for an artillery tractor. Next I'll be tackling Roden's rendition of the 8" BL Howitzer. That kit (in the box) looks pretty good, without many of the mold misalignment issues of the tractor. I guess we'll see.....
VR, Russ
 _GOTOTOP