

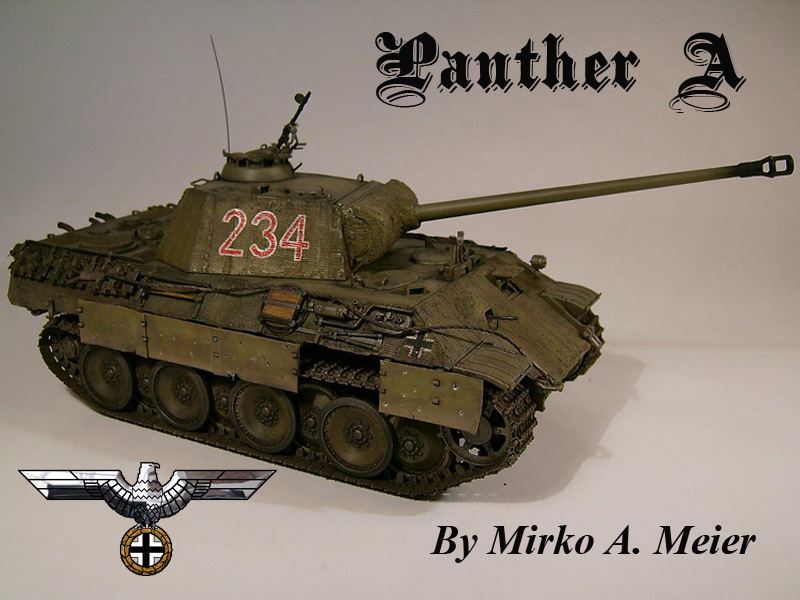
1⁄35Panther A
4
Comments
Introduction
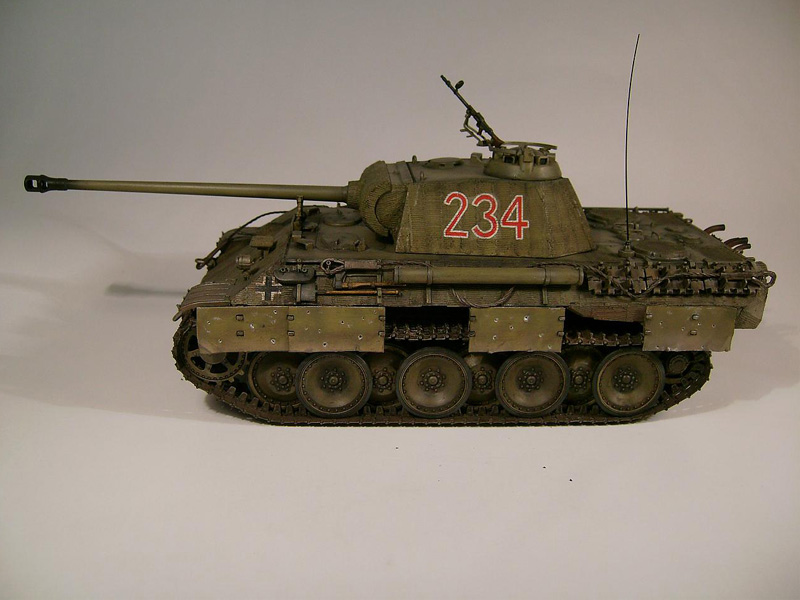
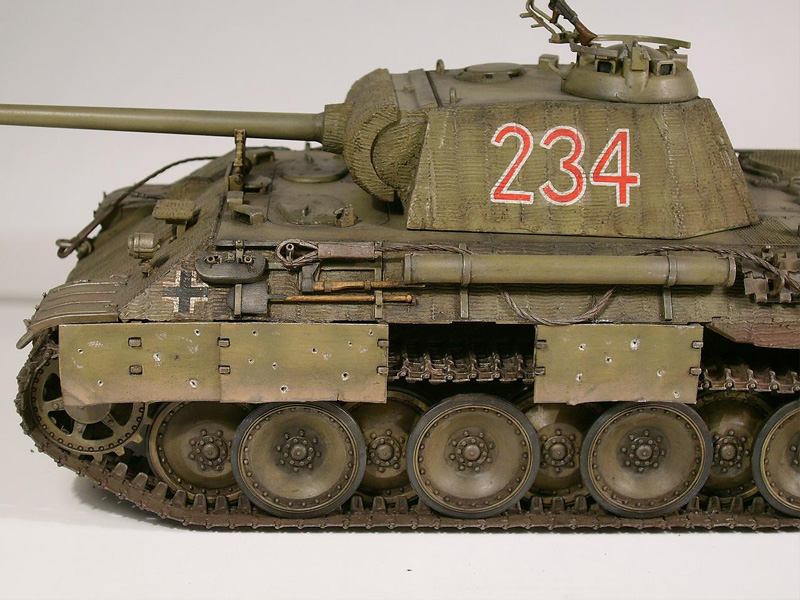
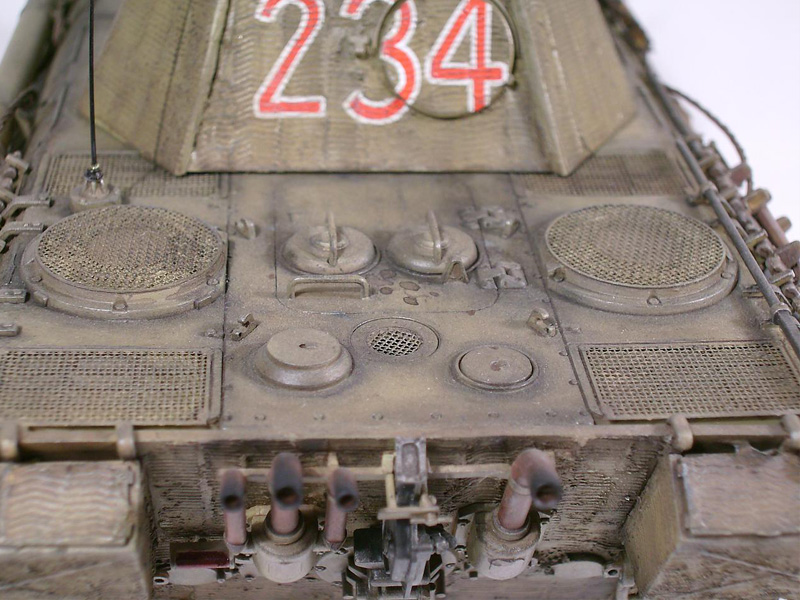
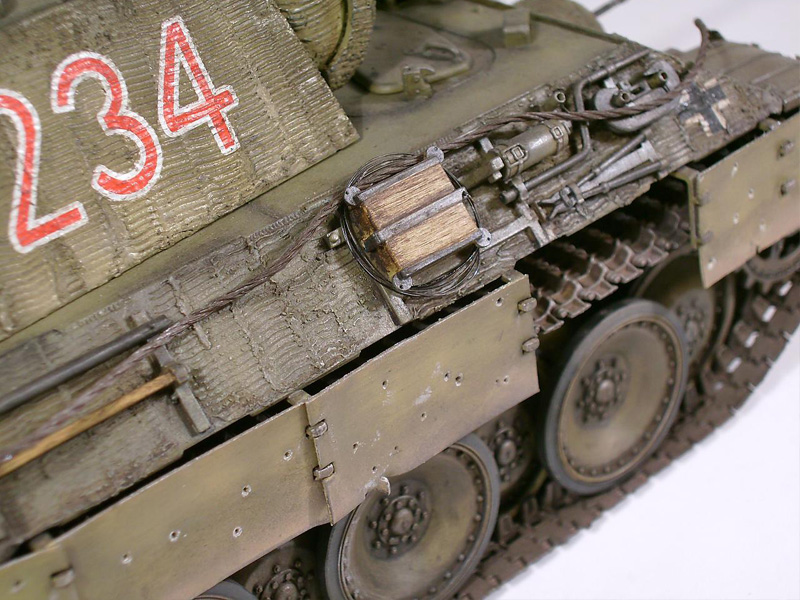
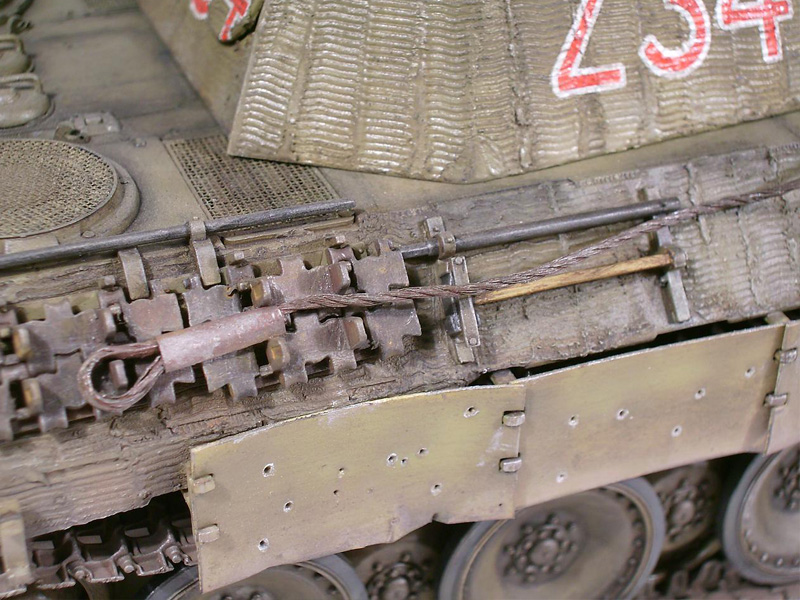
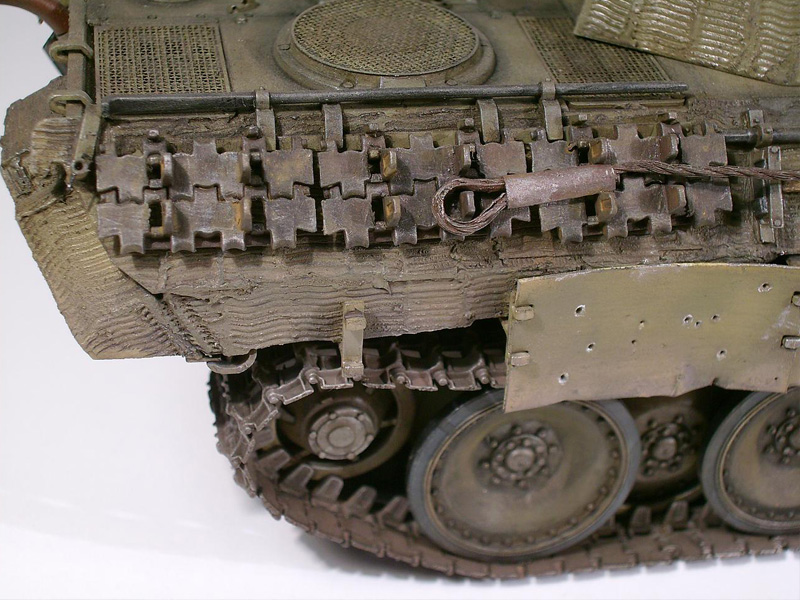
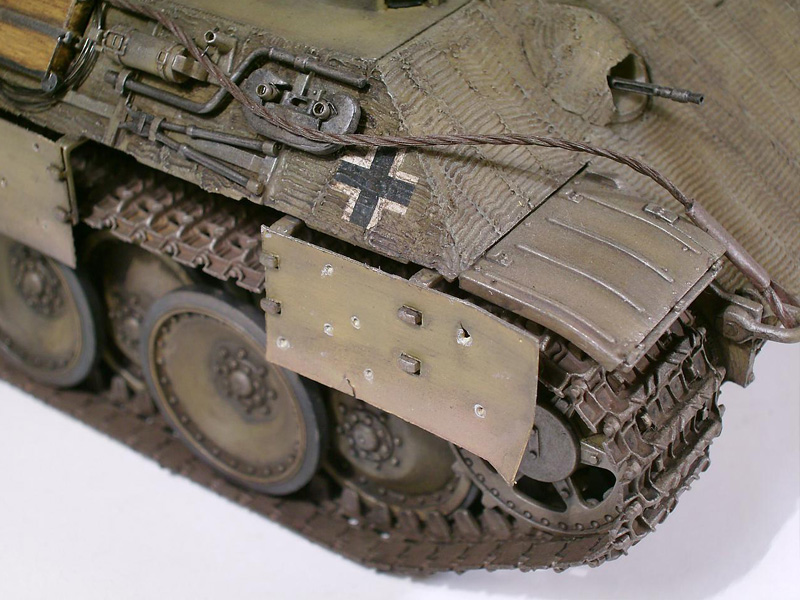
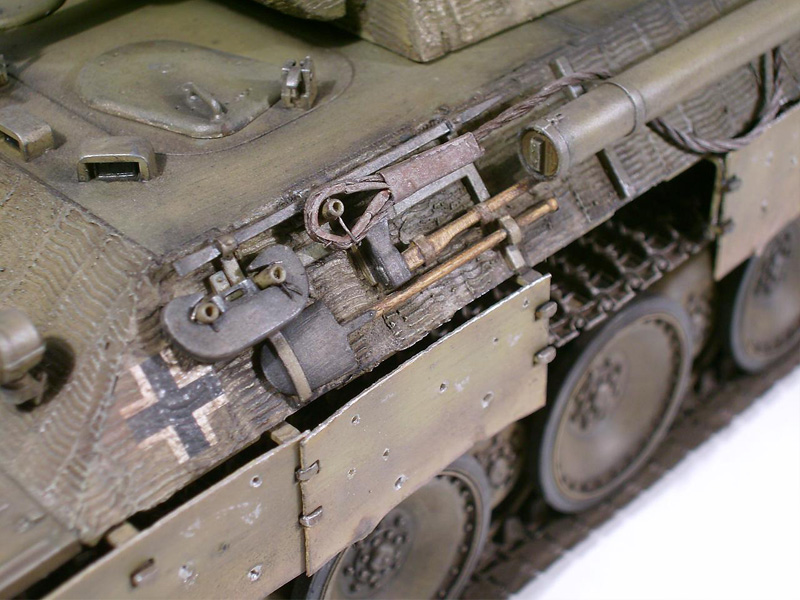
The kit employed for this project was a Panther A Battle of Normandy Anniversary from Dragon which included a metal barrel, photo etched grills and thin plastic side skirts. This one was produced before the current era of Dragon Models which includes the Smart series and Premium Editions. The kit was built pretty much out of the box. Some minor changes were done such as damage to the side skirts, harnesses and locks for the tooling, scratched towing cables and antenna from stretched sprue. The zimmerit was done with Italeri Putty and Tamiya tools. I recommend for anybody starting or planning on applying zimmerit to avoid fast drying putties, as it can be a nightmare to work lesson learned the hard way.Painting
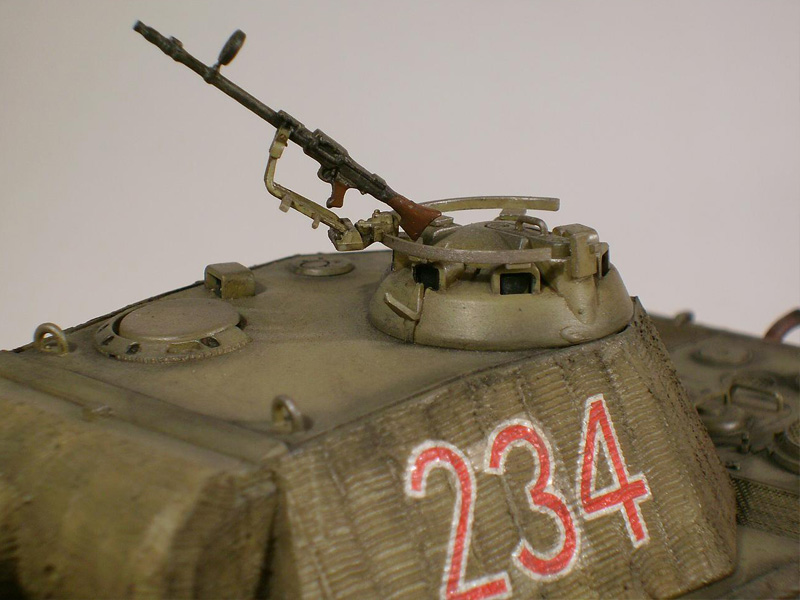
I have never washed with soap and water or primed my kits prior to painting. My usual approach for painting in monotone kits like this is applying a pre-shade coat of Panzer Schokoladenbraun 43 (Model Master Enamel) or any other dark color such as flat black over the angles and major surfaces of the kit. Next step after a few hours of drying, the desired color is applied, in this case Panzer Dunkelgelb 43 (Model Master Enamel) with the help of a Paasche VL airbrush. As soon as all the kit is covered with this main color I usually start adding a few drops of flat white to the paint mix in the airbrush and paint here and there, particularly the flat and large surfaces, trying to break the boring look of a single tone. After letting dry at least 24 hours, a coat of Testors gloss lacquer is applied to all the kit in order to prepare the surface for the decals. After letting set the lacquer, the decals are applied with MicroScale decal solution. After a couple of hours, a semi gloss lacquer coat is applied and the kit is ready for the weathering process.Weathering
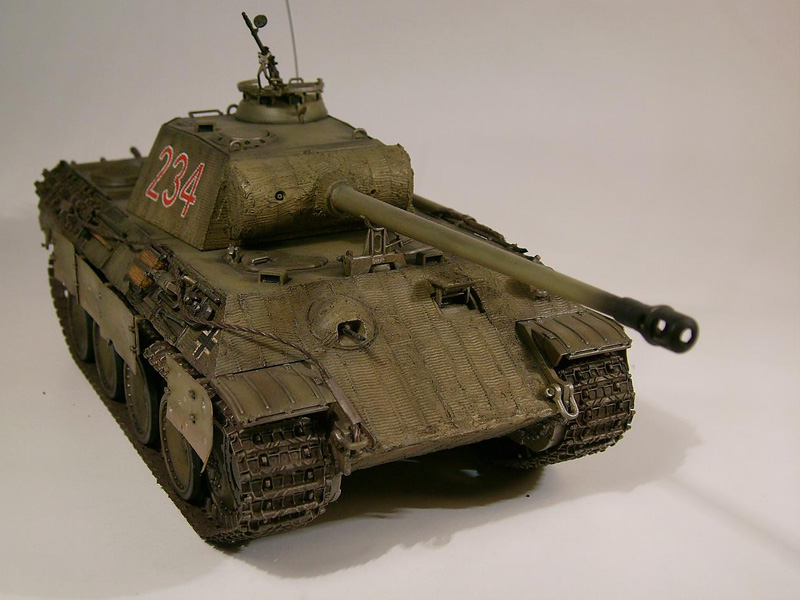
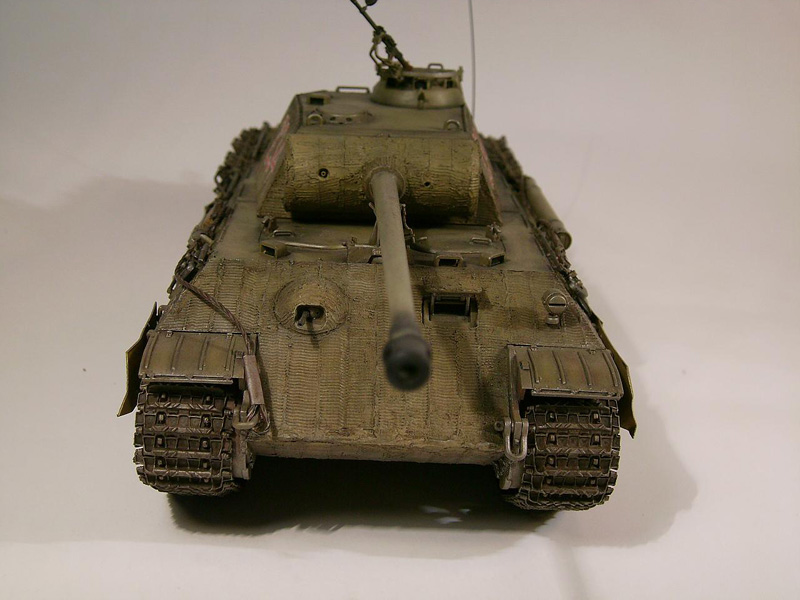
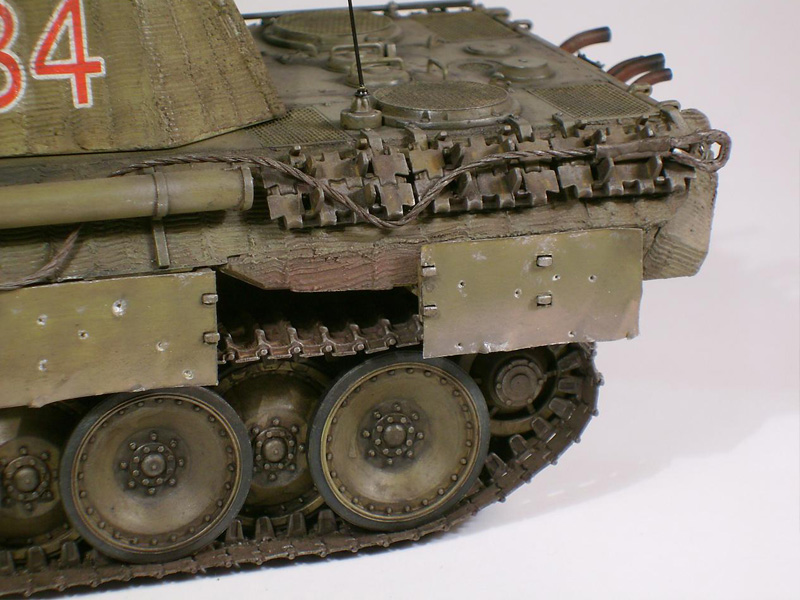
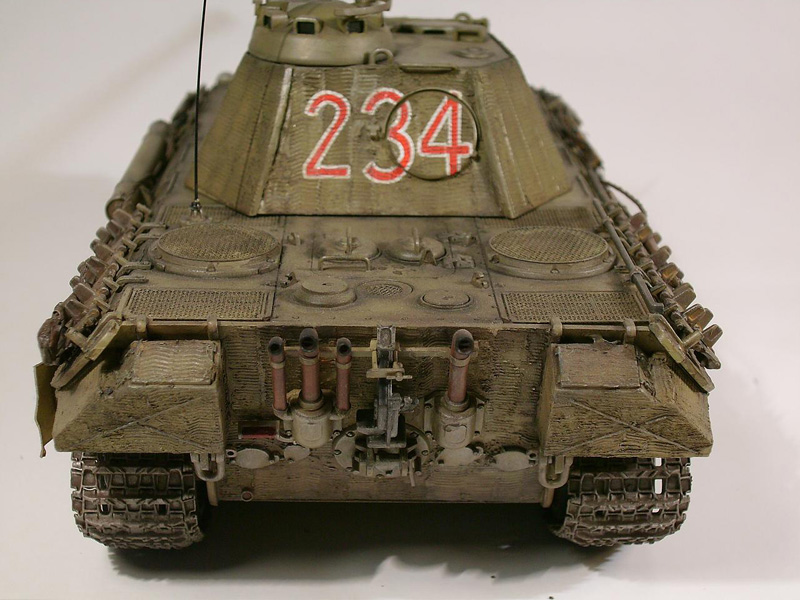
I do not have a particular technique or standard when it comes to weathering my models. In this particular kit the first step consisted of applying an oil wash with a mix of Ivory Black and Raw Umber, trying to let it fill all the small areas and crevices around the kit with the goal of providing some depth and contrast to the overall yellow. After a couple of days of drying (major disadvantage of oils: prolonged drying time) a mix of Model Master Steel and Raw umber oil was prepared for dry brushing areas of major contact and wear. Notice that the tracks received the same treatment, i.e. dry brush over a base of Panzer Schokoladenbraun 43 (Model Master Enamel) and oil wash. The rusted areas on the spare tracks and tooling were accomplished with thinned streaks of Raw Sienna oil paint. Finally, after a few more days of drying time, pastel chalks were used to add some dust to almost all the surfaces particularly the side skirts and tracks.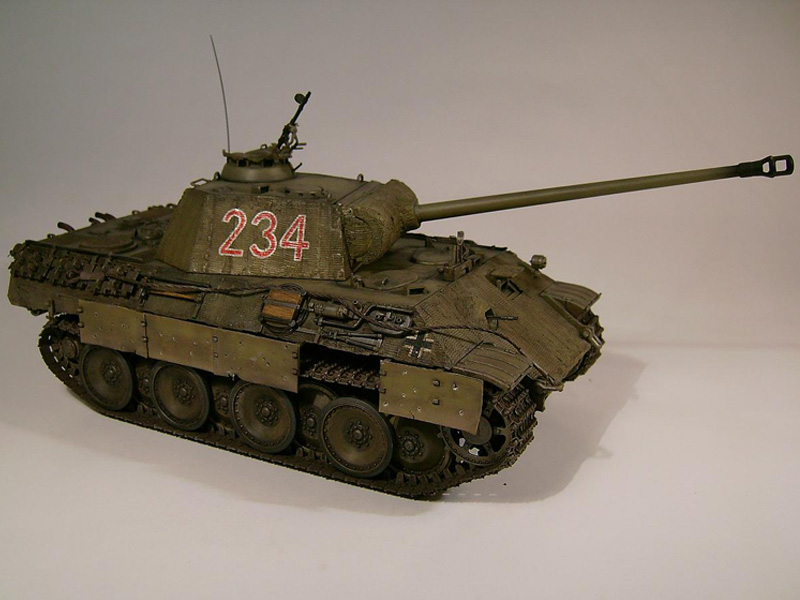
About the Author

Comments

FANTASTIC PANTHER ! I especially like the paintjob. Very Well Done! milvehfan
MAY 31, 2009 - 12:34 PM
Very nice kit! I really like the painting of the tracks and the tools! Congratulations
JUN 02, 2009 - 02:31 AM

Very excellent! Especially like the attention to detail. Wood block and pioneer tools are top shelf!! ................more please! RL
JUN 02, 2009 - 02:53 AM

Copyright ©2021 by Mirko Meier. Images and/or videos also by copyright holder unless otherwise noted. The views and opinions expressed herein are solely the views and opinions of the authors and/or contributors to this Web site and do not necessarily represent the views and/or opinions of Armorama, KitMaker Network, or Silver Star Enterrpises. All rights reserved. Originally published on: 2009-05-31 00:00:00. Unique Reads: 9184

WEB HOSTING BY


Copyright ©2021 Armorama and Kitmaker Network, a subsidiary of Silver Star Enterprises
All Rights Reserved. Please read our Conditions of Use and Privacy Policy.
All Rights Reserved. Please read our Conditions of Use and Privacy Policy.