

1⁄35Italeri Panther D
3
Comments

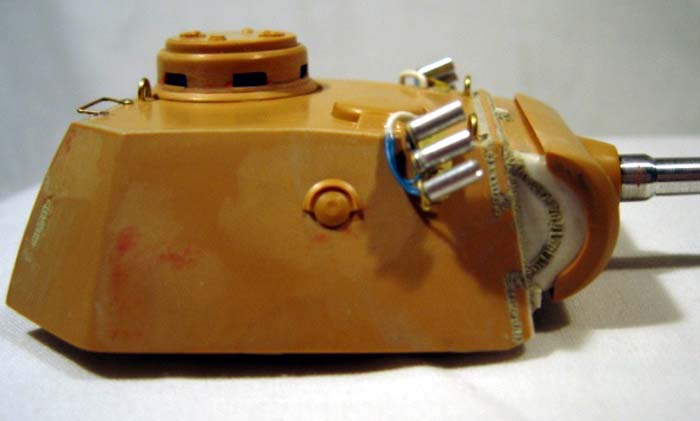
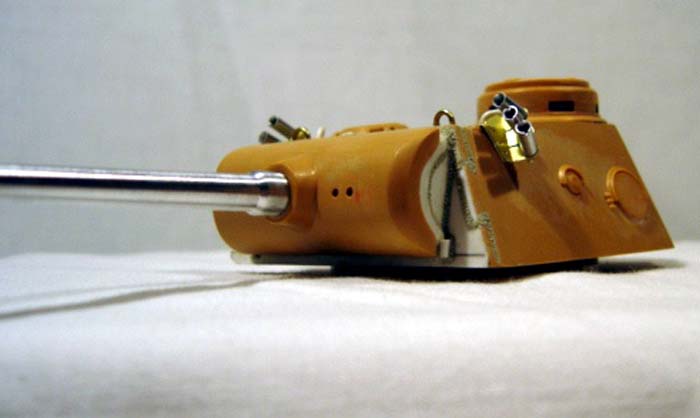
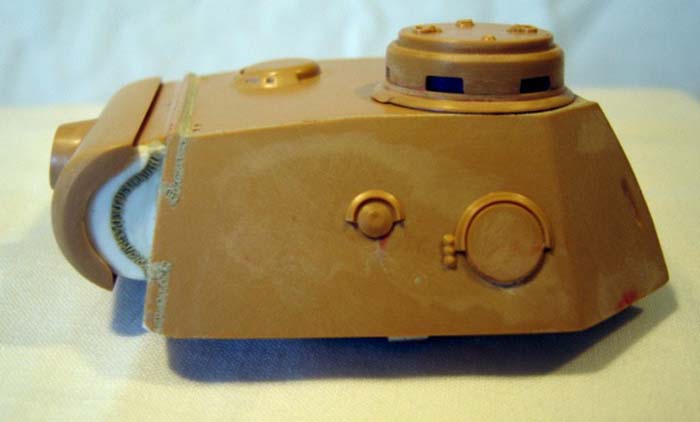
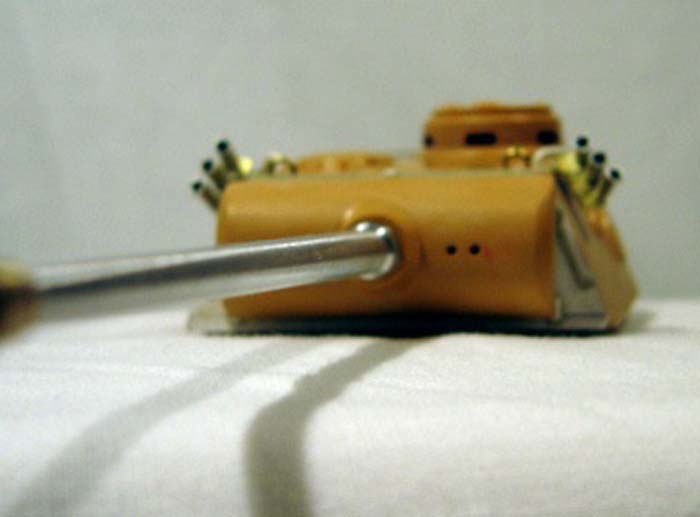
the turret
Part 1 of this build will focus on the turret. Part 2 will cover the hull/chassis and finish. I do not claim to be an expert on German Armor, nor an authority on Panthers, or a Master Modeller/Scratchbuilder. I am only attempting to portray a Panther Ausf. D from the April 1943 production batch and after reading my references and studying pictures, this article details the corrections I felt needed to be done. I am sure that there will be those in the know that could blast holes in this article and my build.


About the Author


FROM: WASHINGTON, UNITED STATES
I started modelling when I was 6 and with a few short breaks here and there due to the Navy, I pretty much havn't stopped. Started with cars, ships, aircraft and then armor. Can't say which is my favorite. Spend most of my time in the navy in the Reconnaissance "Shadow War" business and am looking f...
Comments

Chief,
That is a fine looking panther you have created. Great work on improving the base kit and very nicely written article.
Best regards,
Robert
JUN 25, 2005 - 08:02 AM

Thats great! Very inspiring. I'd never been in to scratchbuilding and all that, but I'm really inspired. Thanks for sharing
JUN 25, 2005 - 09:08 AM

Good Article. I think if you're prepared to put the work in Italeri kits are a bargain. They sometimes score over Dragon in detail as well.
JUN 30, 2005 - 10:17 AM
Copyright ©2021 by Lauren Blakley. Images and/or videos also by copyright holder unless otherwise noted. The views and opinions expressed herein are solely the views and opinions of the authors and/or contributors to this Web site and do not necessarily represent the views and/or opinions of Armorama, KitMaker Network, or Silver Star Enterrpises. All rights reserved. Originally published on: 2005-06-25 00:00:00. Unique Reads: 18290

WEB HOSTING BY


Copyright ©2021 Armorama and Kitmaker Network, a subsidiary of Silver Star Enterprises
All Rights Reserved. Please read our Conditions of Use and Privacy Policy.
All Rights Reserved. Please read our Conditions of Use and Privacy Policy.